Zzar:
Elodie is not the only one with a weakness for a little something she first encountered at the Yawning Portal…
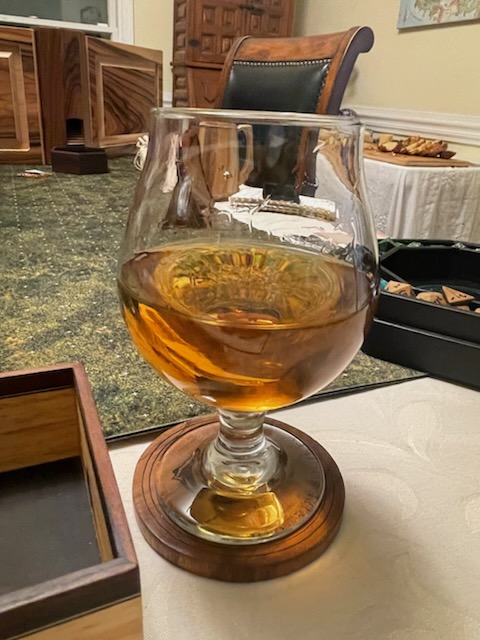
I mean this drink of course. What else?
Our gifted DM is also a fine mixologist and created this recipe for a very tempting version of the Deep’s favorite tipple. He has kindly agreed to share it here:
“As you may know, zzar (https://forgottenrealms.fandom.com/wiki/Zzar) is the favorite regional drink of Waterdhavians, and what better way to make your players feel at home in the deep than serving up a glass of the local vintage? Good news — it’s very simple!
Just grab a nice bottle of Oloroso sherry (a dry sherry with the proper amber color) and some amaretto (I like to use Disaronno, but any almond liqueur will work). Pour half an ounce of the amaretto into a wine or sherry glass, then top with three ounces of chilled sherry. Stir gently, and you’re done! You get a glass of lovely amber sherry with just a hint of almond (https://i.imgur.com/tPO7bou.jpg) — just how I, at least, have always imagined zzar tastes, looks, and smells. You can also pre-mix bottles or pitchers if you like (it’s popular enough at my table that this has become my usual approach). Just add one part amaretto for every six parts sherry, and store in the fridge. Some substitutions:
• If you prefer sweeter drinks, swap out the Oloroso for a cream sherry, and/or add a full ounce of the amaretto instead of the half (warning — this latter step will make it VERY ALMONDY).
• If you’d like a little less strength to your zzar (like our wizard, who… ahem… tends to “drop concentration” after a few glasses of the regular stuff), you can substitute orgeat (non-alcoholic almond syrup) for the amaretto and get a similar taste with less ABV. Obviously, this is only for tables where everyone partaking is of legal local drinking age, but theming our meals and drinks to our campaign has become a big positive for our gaming group, and I thought some of you lovely folks might enjoy it too.
Cheers!”

Chicken and Dumplings:
The most comforting of one-pot meals: whether you are just meeting new party members, or offering solace and showing care to old friends during a difficult time, it is perfect. This one means a lot to me, thank you EH!
The recipe, with a few tweaks, come from the Heroes’ Feast (Dungeons & Dragons): The Official D&D Cookbook. Very appropriately, it can be found in the Hin cooking section.
Serves 4 hungry adventurers
Ingredients:
For the chicken stew:
6-8 bone-in, skin-on chicken thighs, salt-brined (optional step, see below)
Kosher salt and freshly ground black pepper to taste
15-30ml (1-2tblsp) olive oil
2 leeks, white and light green parts, halved and thoroughly washed, then 1 half-leek sliced into thin half-moons and the other 3 leek halves chunked into 2-3 cm pieces.
30g (2tblsp) unsalted butter
2 bay leaves
10g (2tsp) finely chopped fresh thyme or 5g (1tsp) dried thyme
5 garlic cloves, peeled and finely chopped
90gm (3tblsp) all purpose flour
125ml (1/2 cup) dry sherry
500ml (2 cups) chicken broth, home made (optional step, see recipe below) or store-bought
2 carrots, peeled and cut into 2-3cm chunks
2 celery stalks, trimmed and cut into 2-3cm slices
20g (1/3 cup) chopped fresh parsley
20g (1/3 cup) picked fresh tarragon
For the Dumplings:
210g (1 and 3/4 cup) all purpose flour
10g (2tsp) baking powder
10g (2tsp) onion powder
5g (1tsp) kosher salt
Freshly ground black pepper
6 scallions, green and white parts, thinly sliced
60g (2tblsp) unsalted butter, cut into 4 pieces
60ml (2tblsp) chicken fat reserved from browning the chicken
175ml (3/4 cup) whole milk
Method:
- If you are dry brining your chicken, you need to start at least 8 hours, ideally 12 hours, before you plan to cook. You want to use 1.5% salt by weight of your chosen protein. So for 450g (1lb) of chicken, you would multiply 450 by 0.015 = 6.75g (1 and 1/3tsp) salt. To get really crispy skin you can also add 2.5g (1/2 tsp) of baking powder per 450g of chicken. Mix the salt and baking powder together with any additional spices that you would like to include (I keep it simple – maybe just add a little black pepper). Then thoroughly and evenly coat all of your chicken in the salty mix. Place the chicken pieces on a rack over a plate to ensure air circulation and clean collection of any fluid that drips off the chicken. Then leave in the fridge, uncovered, for at least 8 and up to 24 hours. This step will result in evenly seasoned, juicy meat and very crispy skin.
- If not dry brining the chicken, skip directly to this step. Using a small sharp skewer or the tip of a kebab stick, make lots (15+) small punctures through the skin and fat deposit under the skin of each of your chicken thighs. These perforations will create channels for the fat under the chicken skin to drain out while you are browning the meat. Nicely rendered fat will result in crispy skin and more fat to save for the dumplings later! (Thank you Kenii Lopez-Alt).
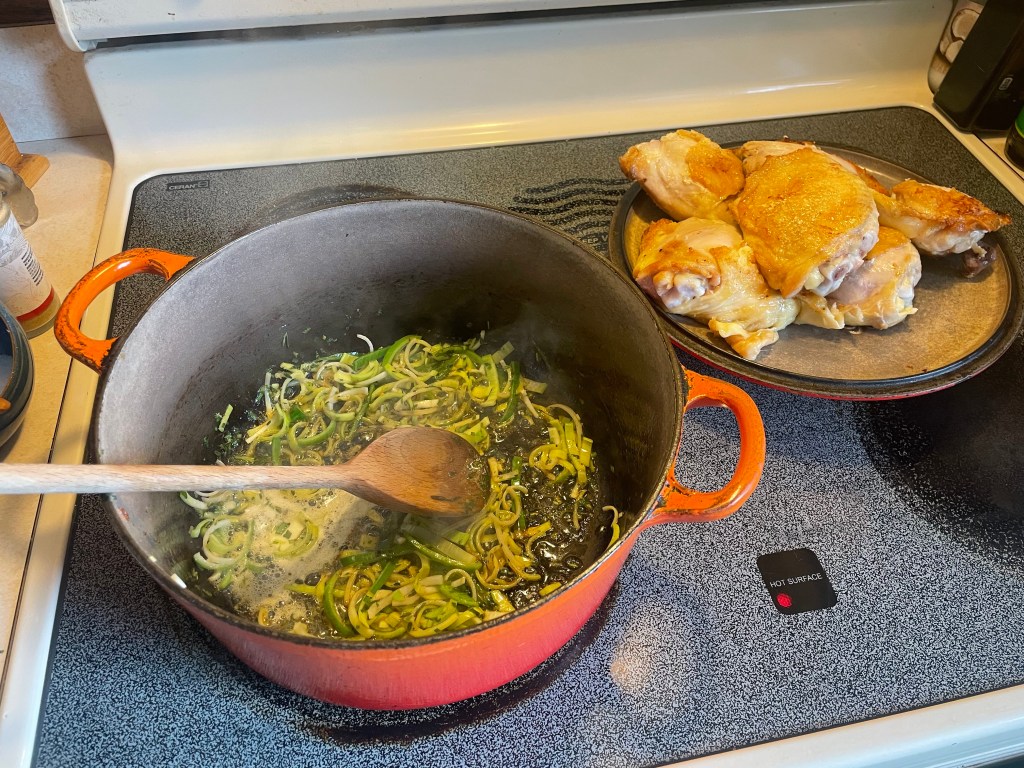
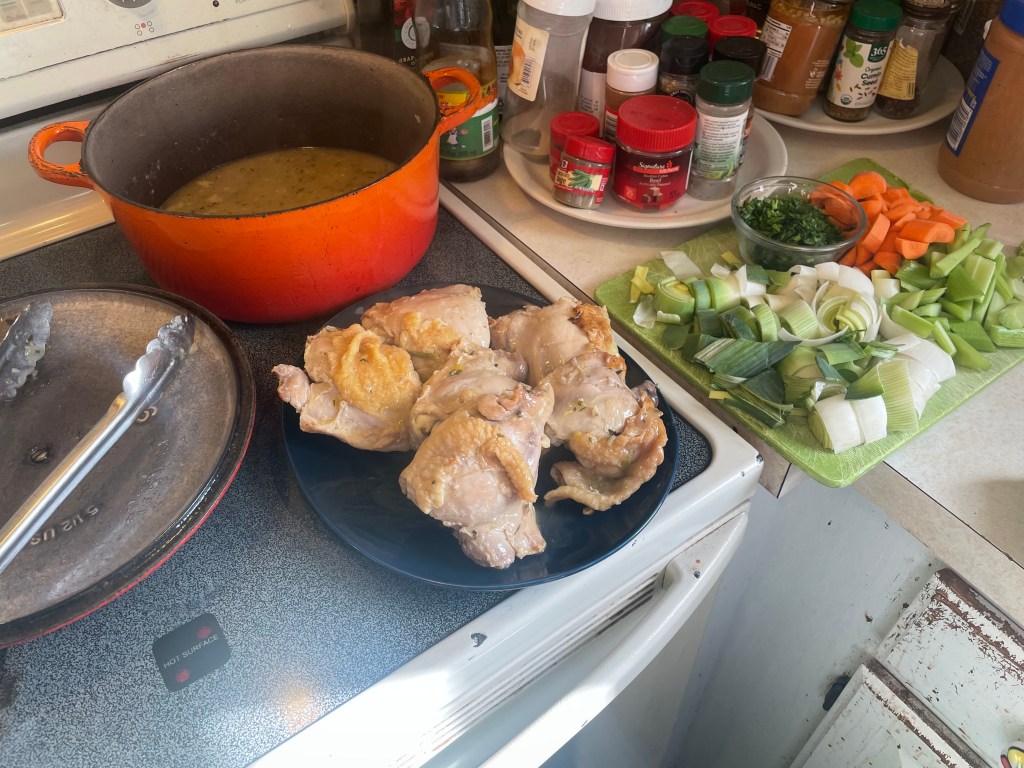
- Warm a large, heavy-based pan (I use a Dutch oven) over medium heat, add olive oil, and heat until shimmering. Place the chicken thighs skin-side down in the hot fat (no need to rinse or wipe them, use them as is). Do not crowd the pan – I always do this in two batches. Leave the chicken pieces alone to sizzle for at least 5 minutes. They should be fragrant, rendering fat, and turning a lovely golden-brown color. When one side of the thighs have browned, turn the pieces over and allow the other side 5 minutes or so to brown too. Remove onto a plate (make sure to catch and save all those chicken juices) and repeat with any remaining chicken pieces that did not fit into the pan. When all of the chicken has browned and is cool enough to handle, remove the skin. Some of this can be greedily consumed then and there. The rest may be saved to chop up and re-crisp as a salad topping. Or, I suppose, discarded if you do not like fatty crunchy chicken-flavored cholesterol bombs.
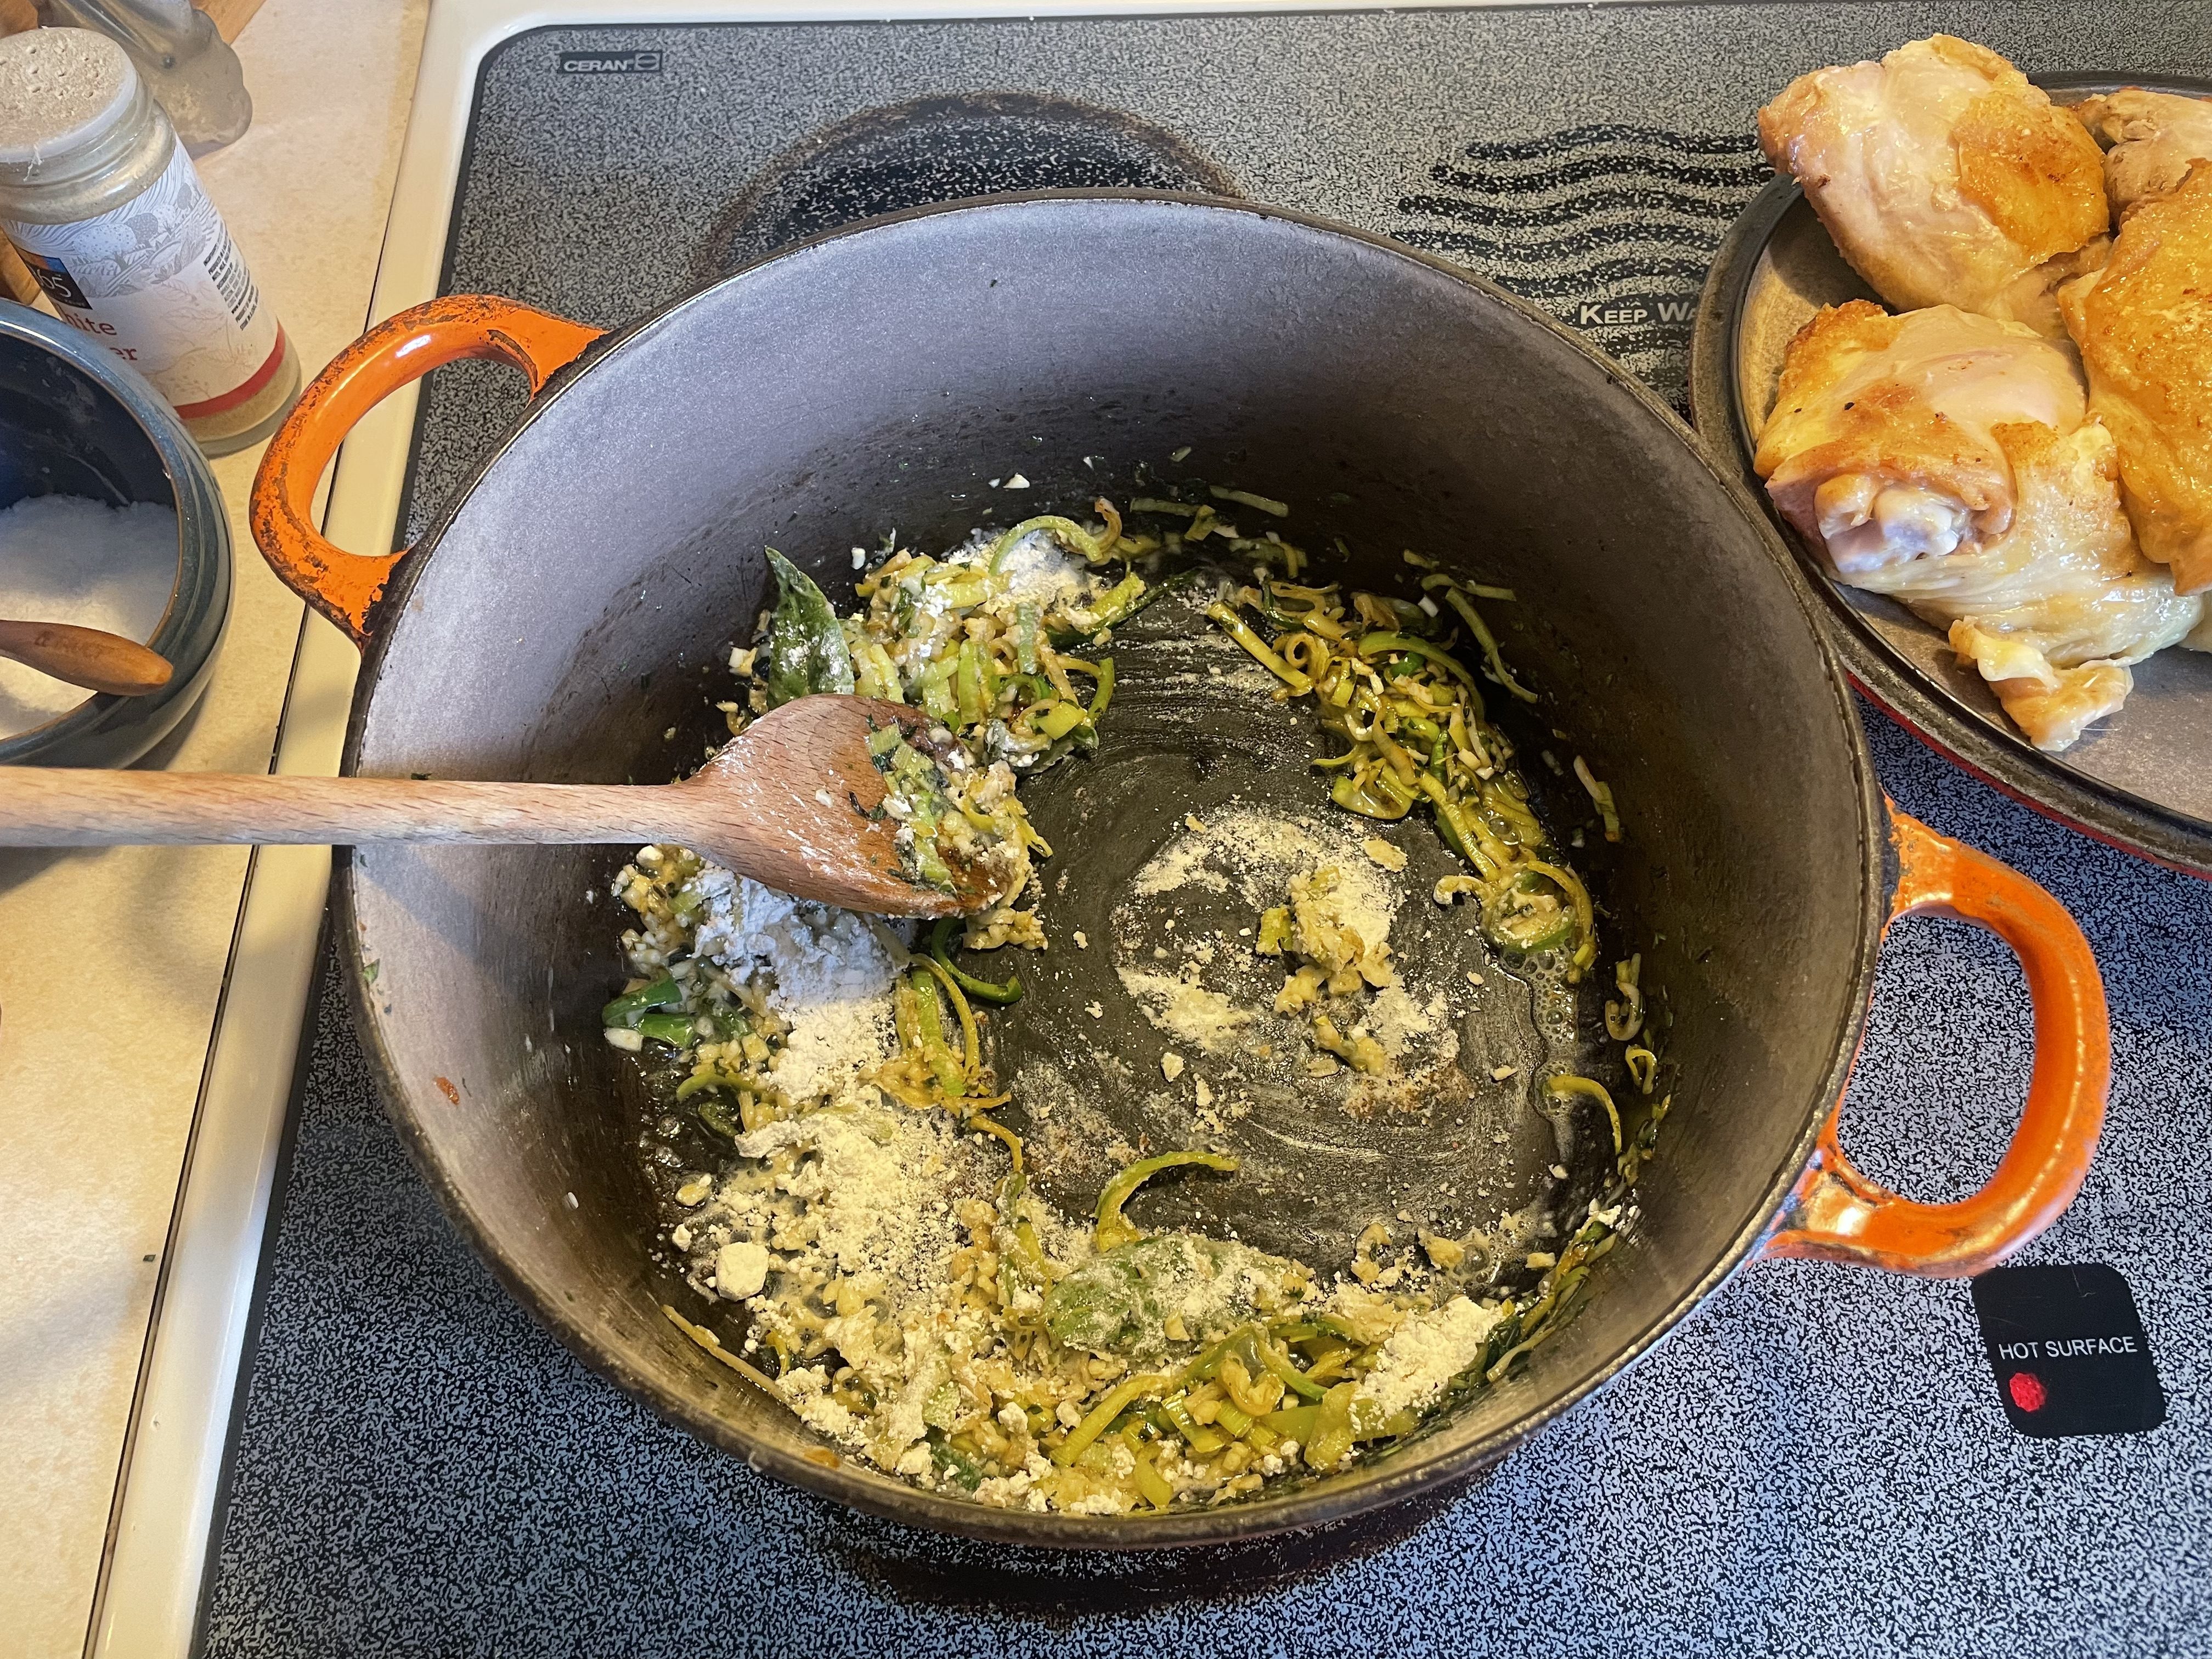
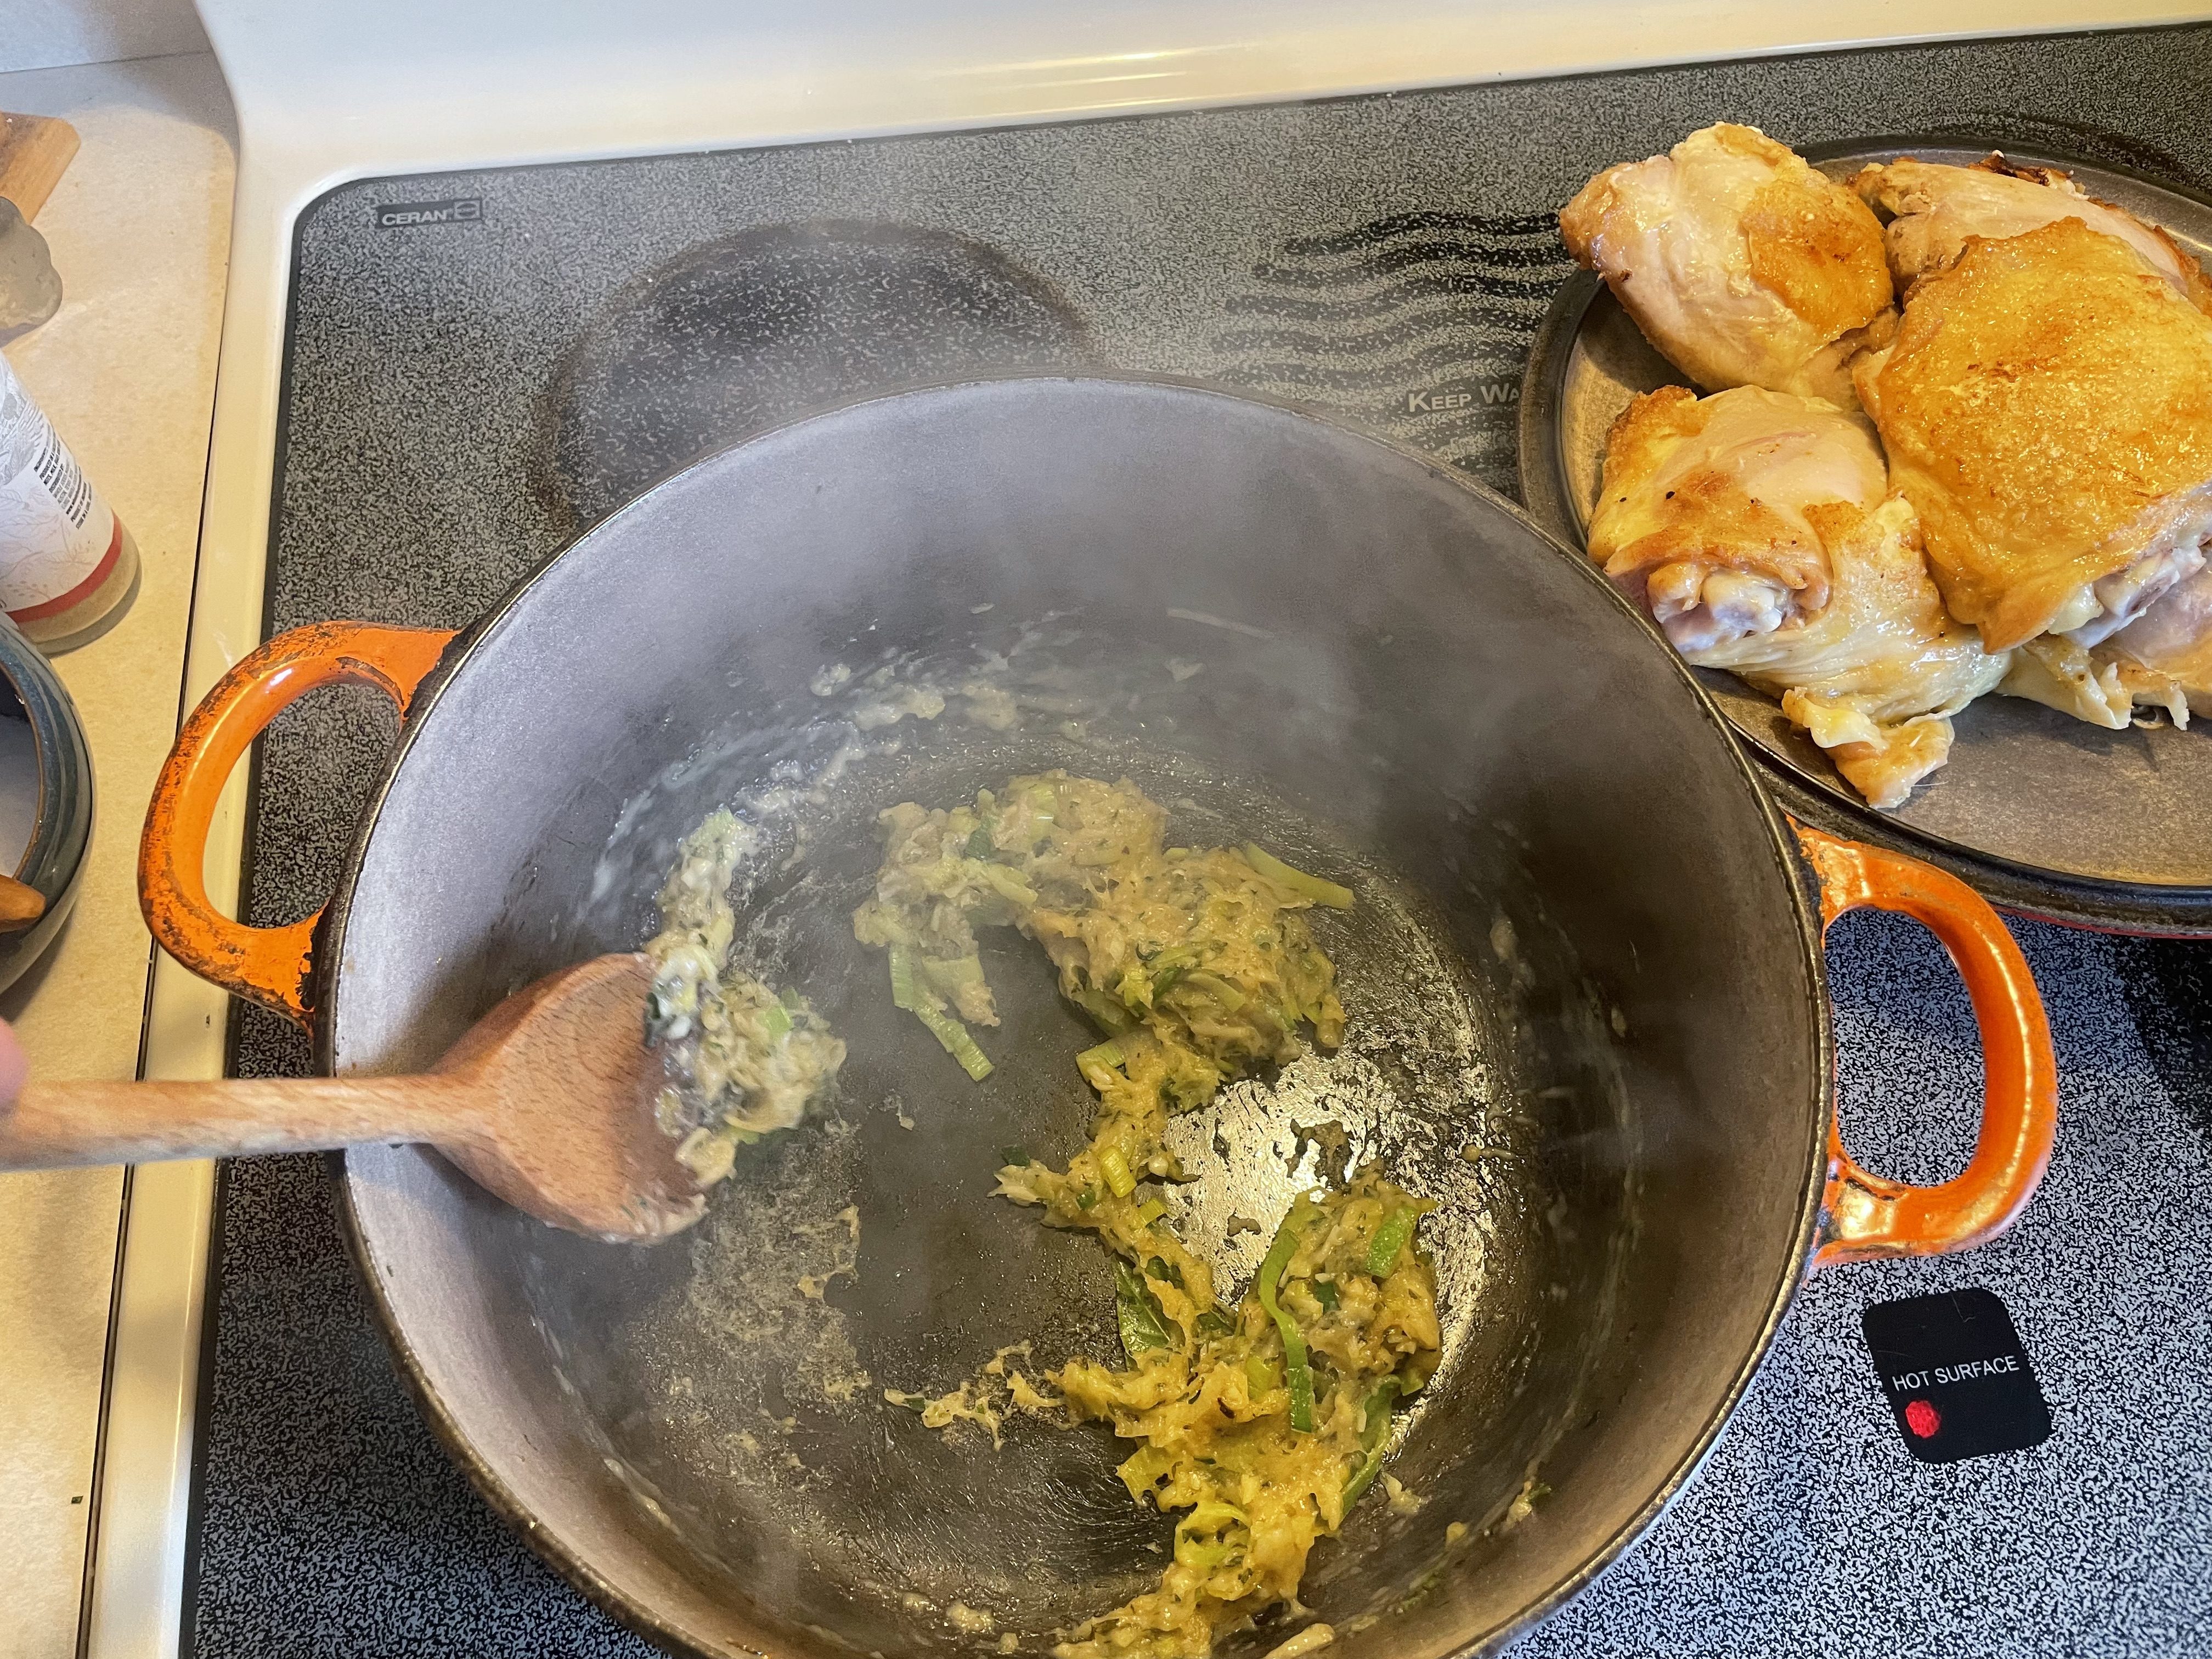
- Using the same Dutch oven, heat up the butter until sizzling and then sauté the thinly sliced leeks for 2 minutes or until soft. Add bay leaves and chopped thyme to the leeks and cook for another minute. Add garlic and flour and stir constantly until you can smell the aroma of both toasted flour and garlic, another 1-2 minutes. Deglaze the pan with sherry, making sure to stir and scrape up any stubborn chicken pieces off the bottom of the pan. And to mix continuously to create a smooth paste of flour with no lumps. Slowly add the chicken broth, stirring to create a creamy, silky mixture.
- Add the reserved chicken thighs and any juices that have collected on the plate to the pot. Bring the mixture up to a boil and then cover. Over a very low heat, simmer gently for 1 hour.
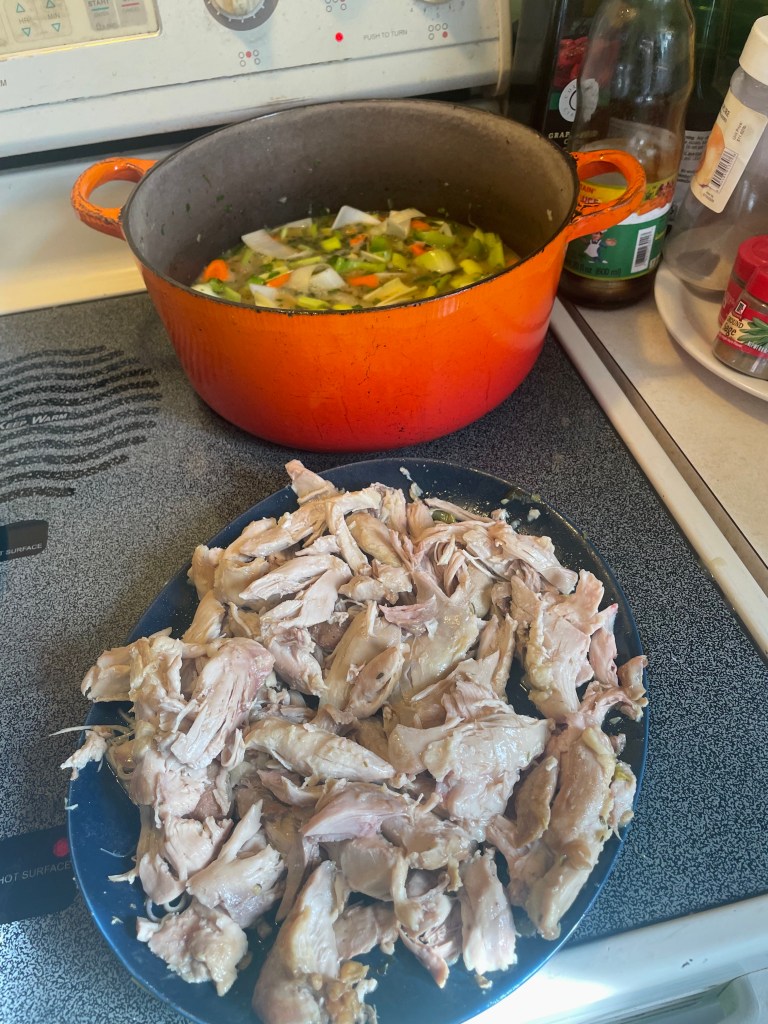
- Remove the chicken thighs from the stew. When cool enough to pick apart safely, remove the meat from the bones and shred into bite-size chunks. Remove the bay leaves from the stew. Return the shredded chicken meat to the pot and check seasoning – add salt and pepper as needed.
Time to start on the dumplings:
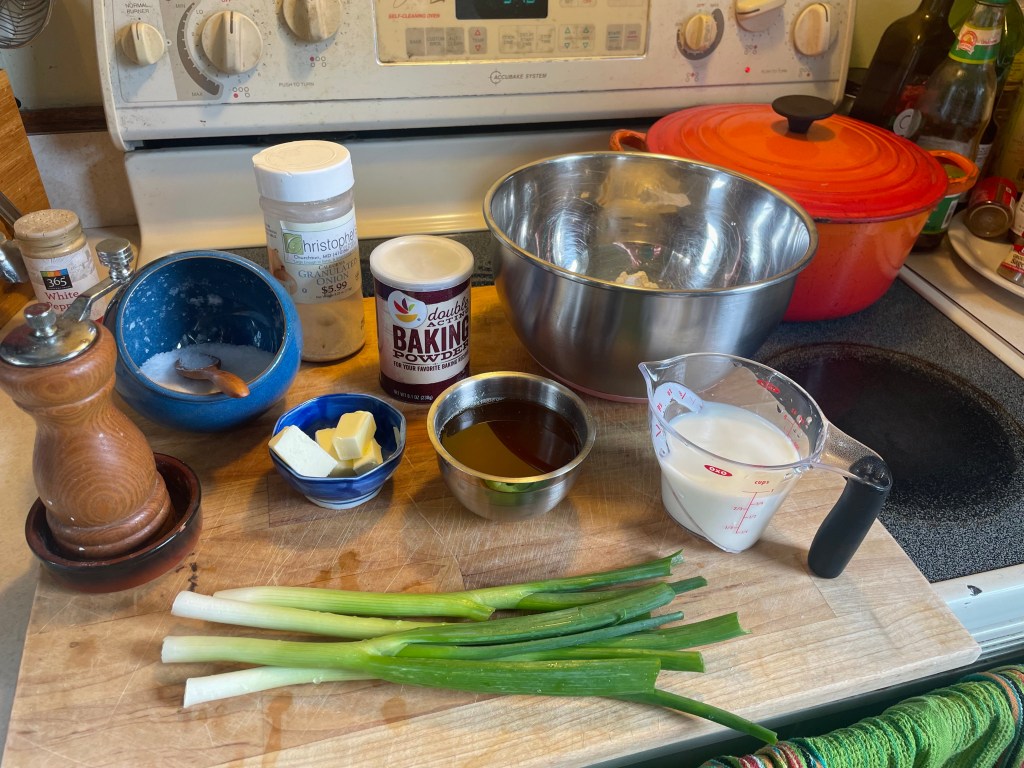
- In a small pot on the stove, or in a microwave-safe container in the microwave, melt together the butter, chicken fat, and milk. Swirl together gently until it is well combined and just warm (not bubbling, not boiling, just melted together and comfortably warm).
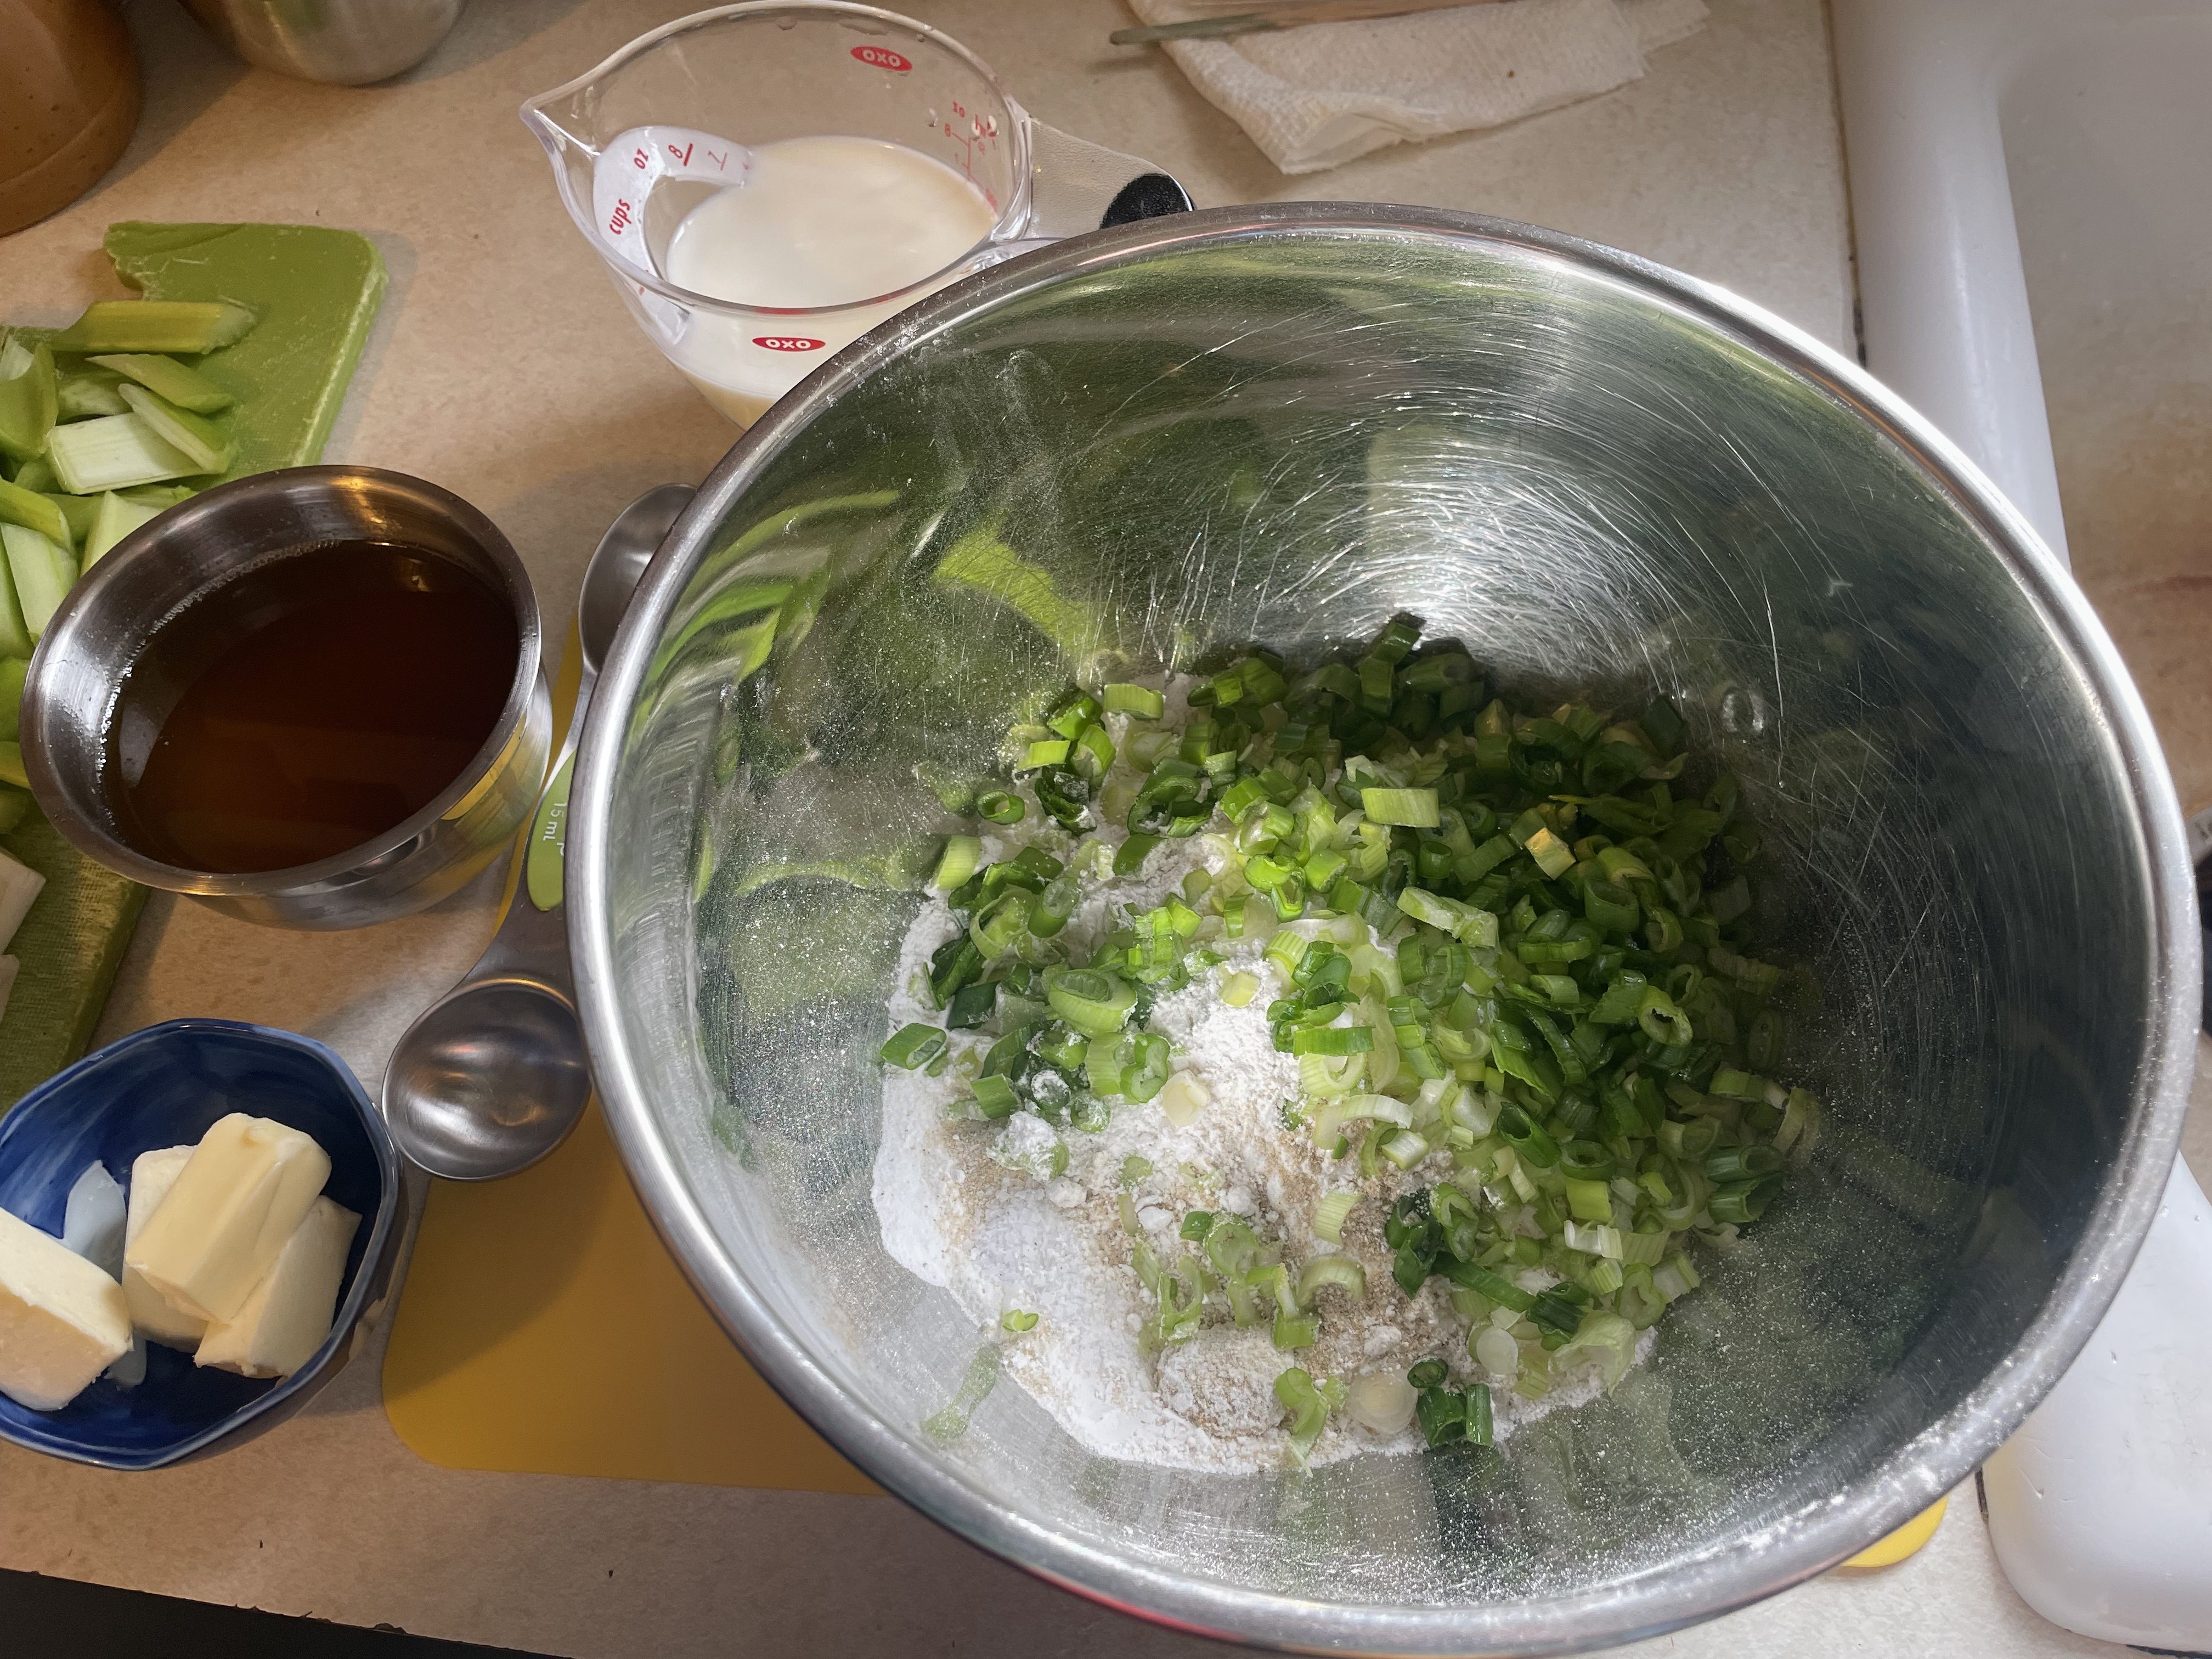
- In a large bowl, whisk together flour, baking powder, onion powder, salt, and pepper. Add the chopped scallions and mix to combine with the dry ingredients.
- Add the warmed fat-milk mixture to the dry ingredients in the bowl. Stir until combined into a moist and shaggy dough.
To finish the stew:
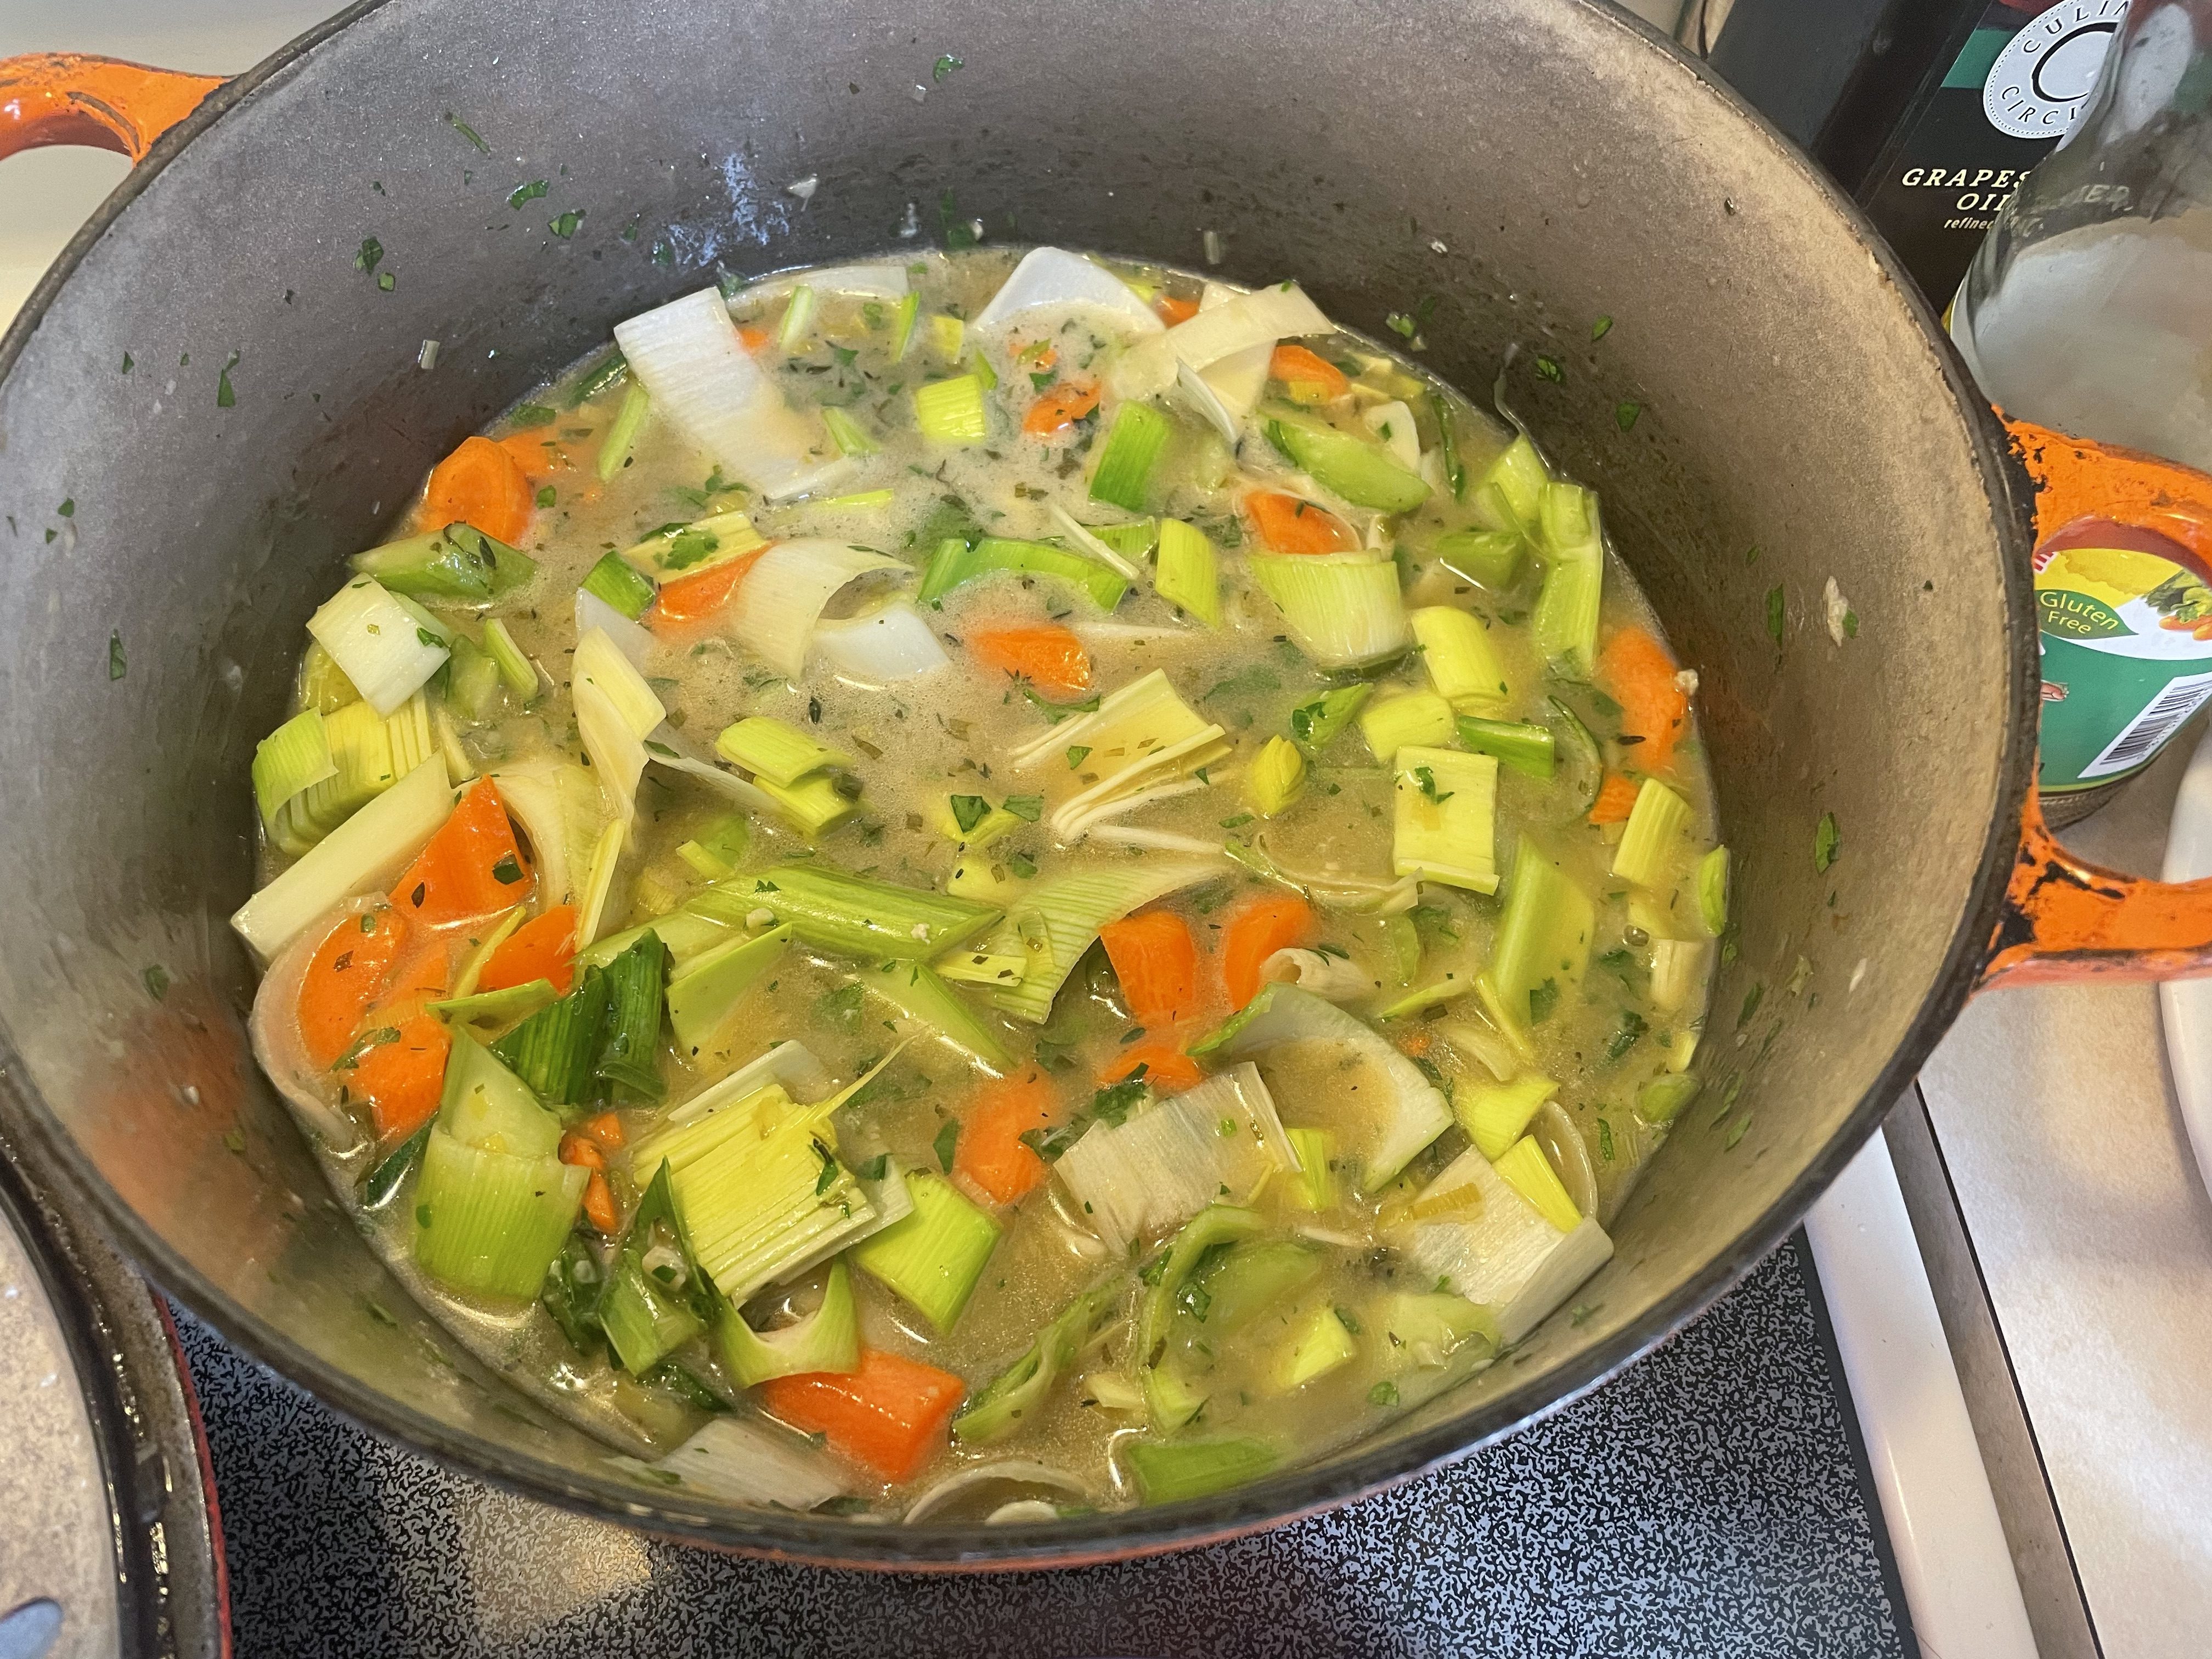
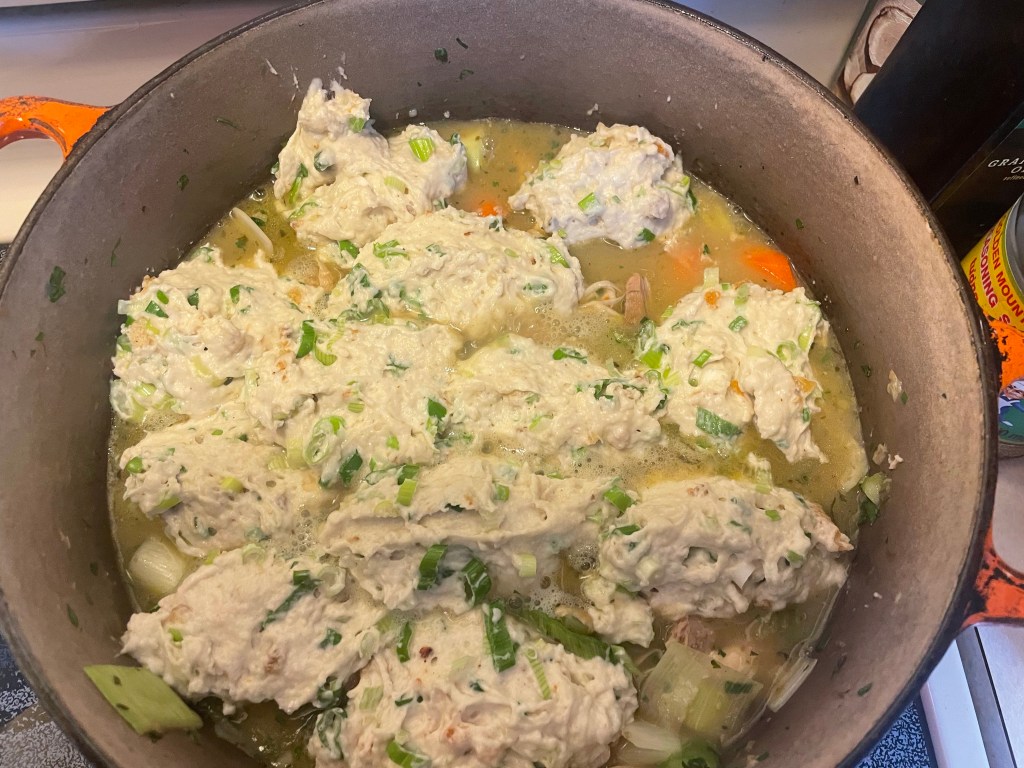
- Add celery, carrots, chunks of leek, tarragon, and most of the parsley to the Dutch oven and stir to combine.
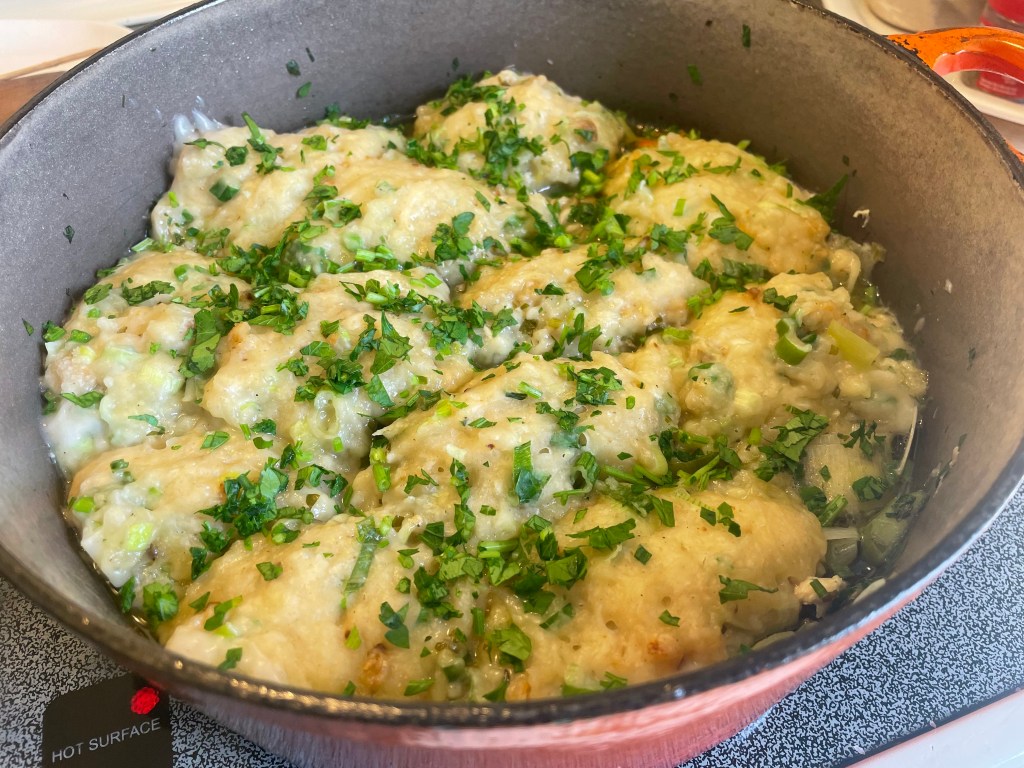
- Use a large spoon to scoop out and drop 12 golf-ball size portions of dumpling dough onto the surface of the stew. The Heroes’ Feast book suggests spacing the dough blobs about 1 inch apart, placing 8 dumplings around the edge of the pan and 4 in the center. Cover and cook over a low heat (no peeking! No deflating of the dumpling!) for at least 15 minutes. You can start checking on these pillowy little goodies after that (you know you want to!). They are done when they are puffed up and a toothpick inserted into the middle of the dumpling comes out clean (mine took 25 minutes).
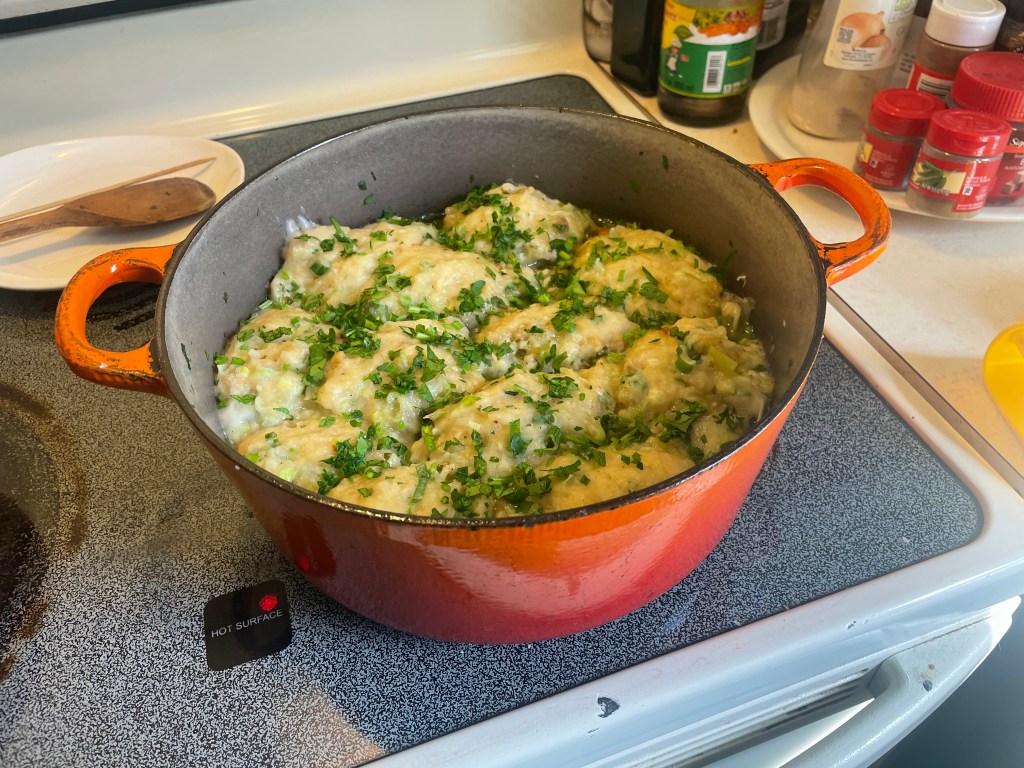
- Serve sprinkled with remaining parsley.


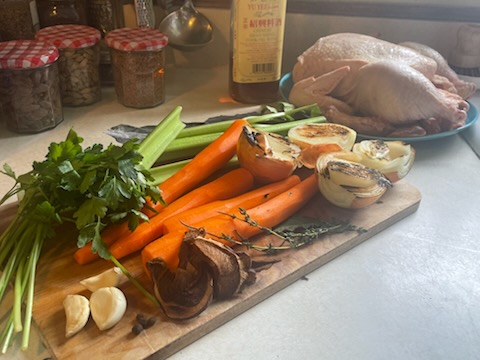
If making chicken stock at home:
Ingredients:
1 whole chicken, or 4-6 bone-in, skin-on chicken thighs or wings
3 yellow onions, halved but left unpeeled
3 large carrots, peeled and cut into chunks
1 large parsnip, peeled and chunked
3 stalks of celery, trimmed, washed, cut into chunks
3 cloves of garlic, slammed briskly to loosen the peels and release their aroma but otherwise undisturbed
1-2 bay leaves, fresh or dried is fine
Handful of fresh Italian parsley
2-4 pieces of dried porcini mushroom or 2-3 dried shiitake mushroom
1 piece of kombu kelp, roughly 4x5cm in size
10g (2tsp) kosher salt
3-4 black peppercorns
1-3 whole allspice berries
75ml (1/3 cup) white wine, dry vermouth, or shaoxing wine
Method:
- Toast (or, let’s face it, burn) your onion. This will add a dark rich flavor profile to your stock. The burnt surface of the cut onion will also improve the stock’s color. As will the onion skins. I usually peel off any really torn or damaged outer skin, and trim away the root and stem end of the onion. I give it a quick rinse to remove any dust and debris, and slice the onion in half horizontally. Then I place my onion halves, cut side down, on the bottom of my stock pot. Which I put over high heat, dry, with nothing else in it but the onion. I wait until I smell a satisfyingly toasty aroma and until the onion half is a deep brown-black on the surface in contact with the pan. Then I take the pot on the stove and give everybody a moment to calm down before I continue with assembling the rest of the stock. Do this if you have a warped and old stock pot that you do not mind abusing a little. And an electric stove. If you have a gas stove, then char your onion directly over the flames instead. And, if you would rather not super heat your stock pot and leave sad singed onion remnants irrevocably seared to its bottom, then maybe toast your onion under the broiler.
- Put all remaining ingredients in the pot with the charred onions. Add enough cold water to cover by at least 3-5cm.
- Bring to a boil, skimming off any foamy, scummy things that rise to the surface as the chicken heats up. Then reduce the heat low enough so that the surface of the stock barely ripples as it simmers away. This happy state of affairs should continue for at least 2 hours. I usually prefer to let my chicken stock simmer for 4 hours.
- If you plan to eat the chicken meat from the stock (it is really good made into a chicken salad), then it is worth taking the trouble to remove your chicken pieces from the stock after 45 minutes of simmering. At this time the meat will be fully cooked but still flavorful. Allow the chicken to cool until you can handle it without injury, and then pick the meat off and set aside for your preferred use. Return all the bones, cartilage, and skin back to the pot. You can now proceed to cook all the life and yumminess out of them for as long as you want.
- After 2, or 4, or 6 hours, strain your stock into a bowl, cover, and refrigerate. Once the stock is cold, you can easily remove the fat that will have solidified on the top. Save this to cook with. The stock can then be used for soup or for other recipes. It will keep for 3-4 days in the fridge. You can also divide it up into manageable amounts (e.g. 250ml/1 cup portions) and freeze for up to 3 months. Who am I kidding? I have excavated misshapen bags of stock from the depths of my freezer, wiped off the frost covering the label, discovered my broth is a 12 month old stock-fossil, and proceeded to happily make tomato soup with it. But that is just me. I like to live dangerously, I fear no freezer burn…


Leave a comment