Other heroic companies reap the rewards of their noble actions in coin, jewels, perhaps rare and mystical artifacts…
The Fromage Formation tracks its successes and popularity by how deliciously people feed us. The meal prepared by Gerta Salibuck, when Renaer Neverember welcomes Elodie, Eliana, and Vaikner into his home to thank us for our help, is a particularly memorable example of this. So, without further delay, here are my non-Waterdhavian versions of some of these lovely dishes.
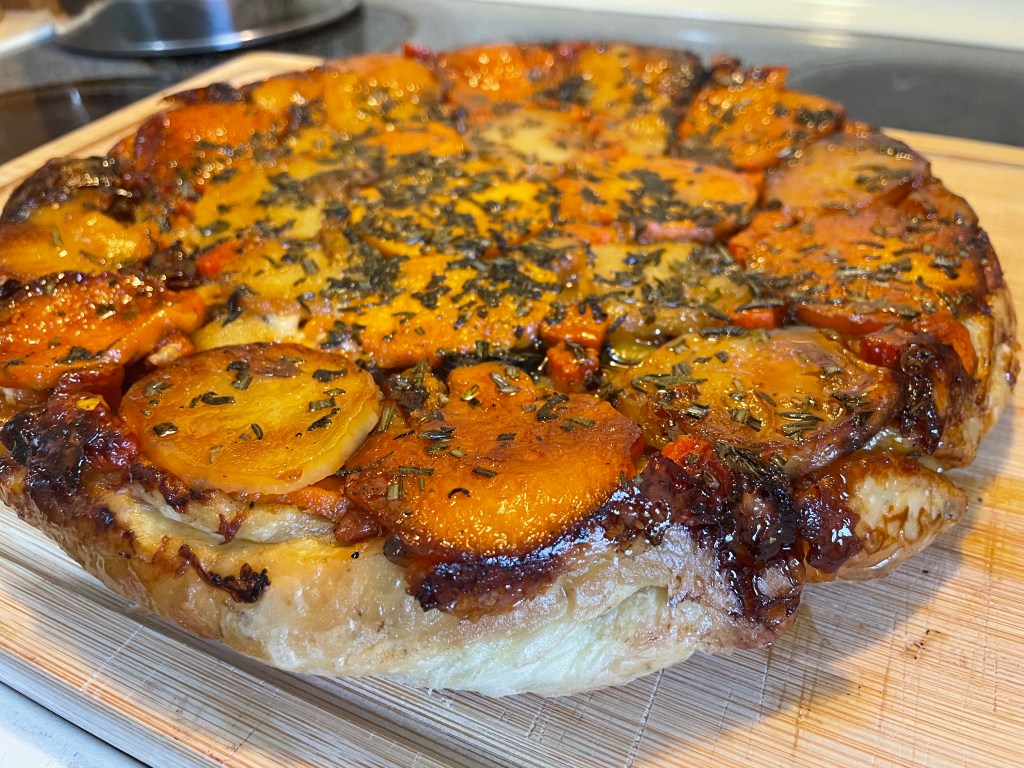
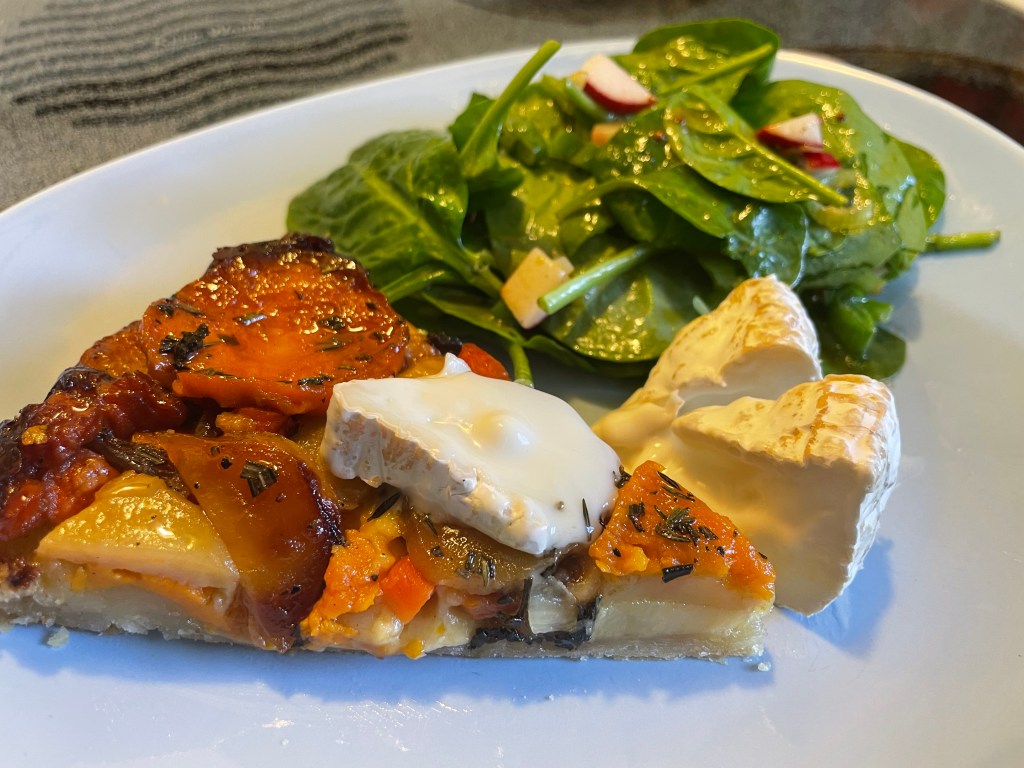
Roasted Vegetable Tarte Tatin

Sweet-savory, rich but not overly filling, voluptuously gleaming with caramel – this is an unabashedly showy display of a dish. It is also very tasty and is good served hot, warm, or cold. It makes an elegant appetizer or, paired with a light salad and perhaps (yes, definitely!) some more cheese, a complete meal by itself.
I use Inez Valk-Kempthorne’s (Bon Apetit) recipe as my starting point, making only a few changes.
Serves 8-10 as an appetizer, 6 as a light main course
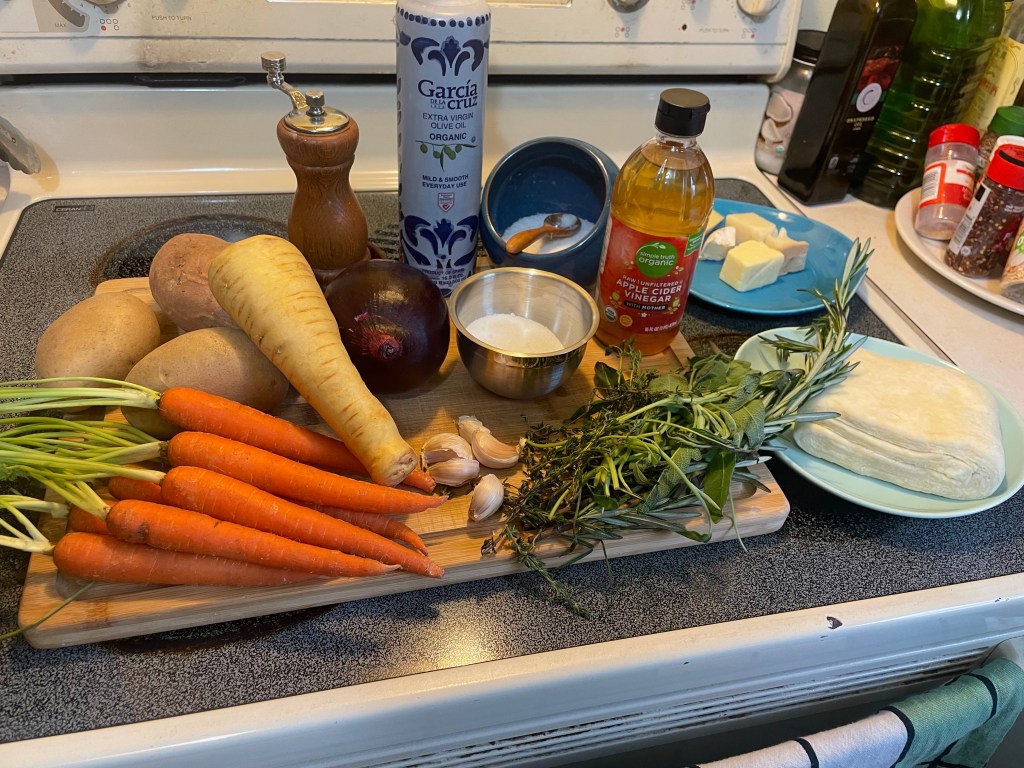
Ingredients:
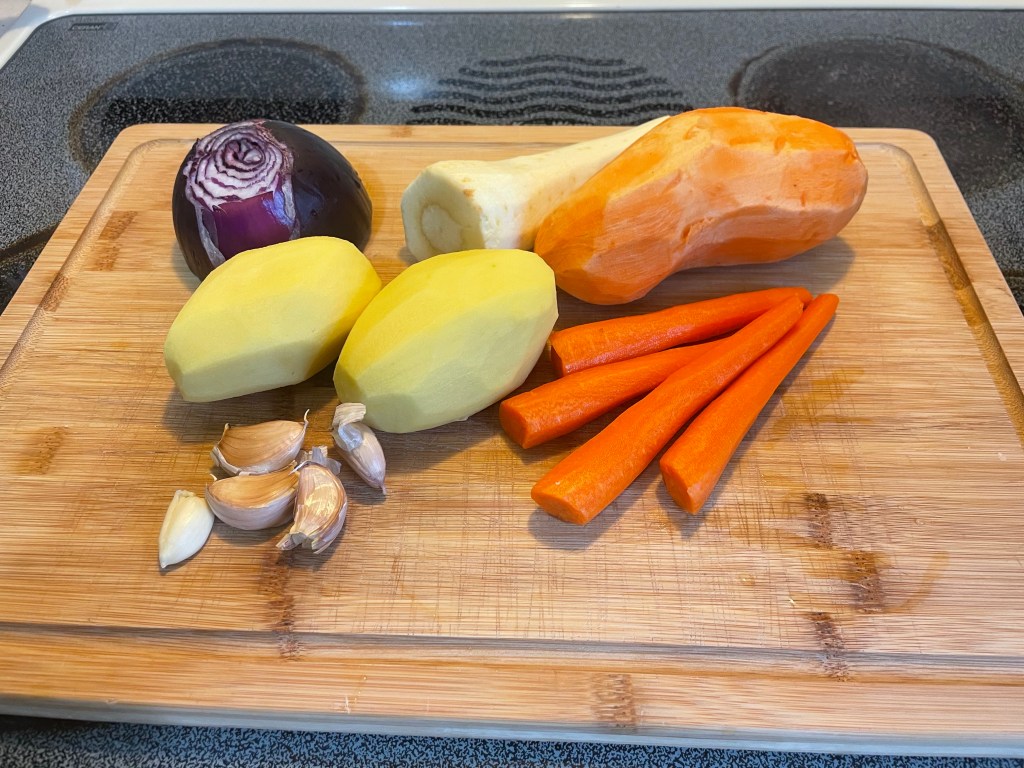
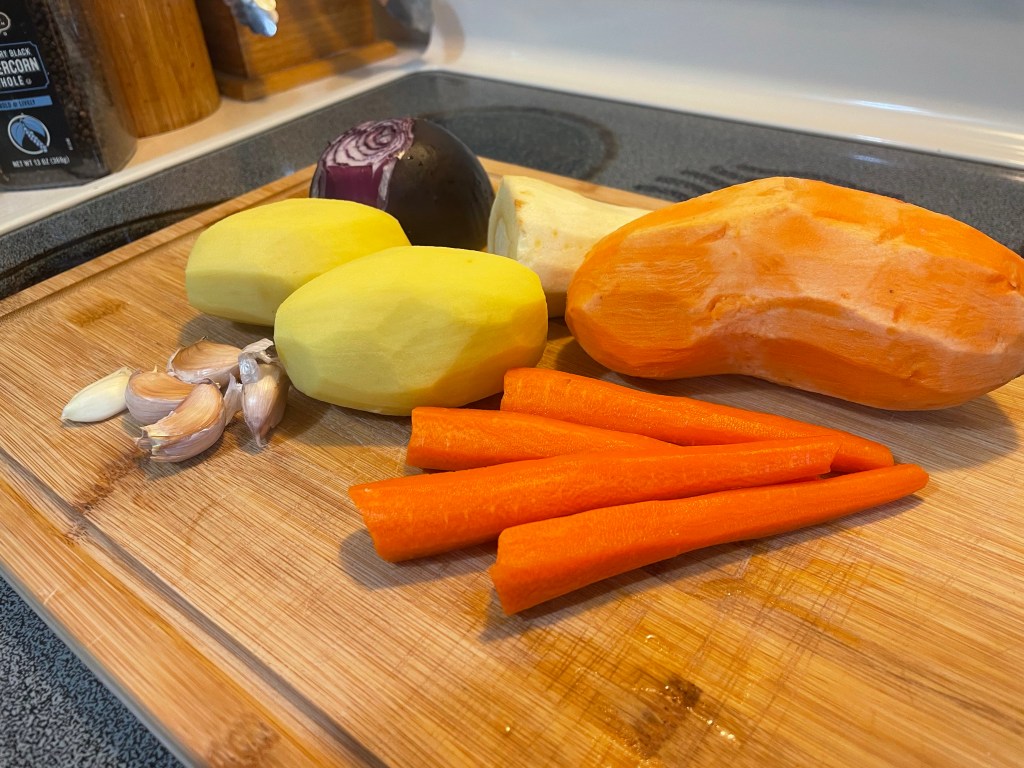
1 medium, or 2-3 small, Yukon Gold potatoes, sliced into 1cm/1/2inch rounds
1 medium sweet potato, sliced into 1cm/1/2 inch rounds
2 medium, or 2-4 small, carrots, sliced into 1cm/1/2 inch rounds
1 medium parsnip, sliced into 1cm/1/2 inch rounds
1 small red onion, sliced into 1cm/1/2 slices
3 garlic cloves, dry bottoms trimmed but unpeeled
60ml/1/4 cup olive oil
Salt and pepper to taste
65g/1/3 cup sugar
30ml/2tbsp water
15ml/1tbsp apple cider vinegar
1 small rosemary sprig/1.5 tsp chopped fresh rosemary
1 small sage sprig/1.5 tsp chopped fresh sage
2-3 thyme sprigs/1.5tsp chopped/picked fresh thyme
230g/8oz cheese – I used a mixture of fontina, cotijja, aged goat cheese, brie…
1 portion of rough puff pastry dough (see recipe below).
Method:
- Place rack in the lower half of the oven and preheat oven to 200C/400F.
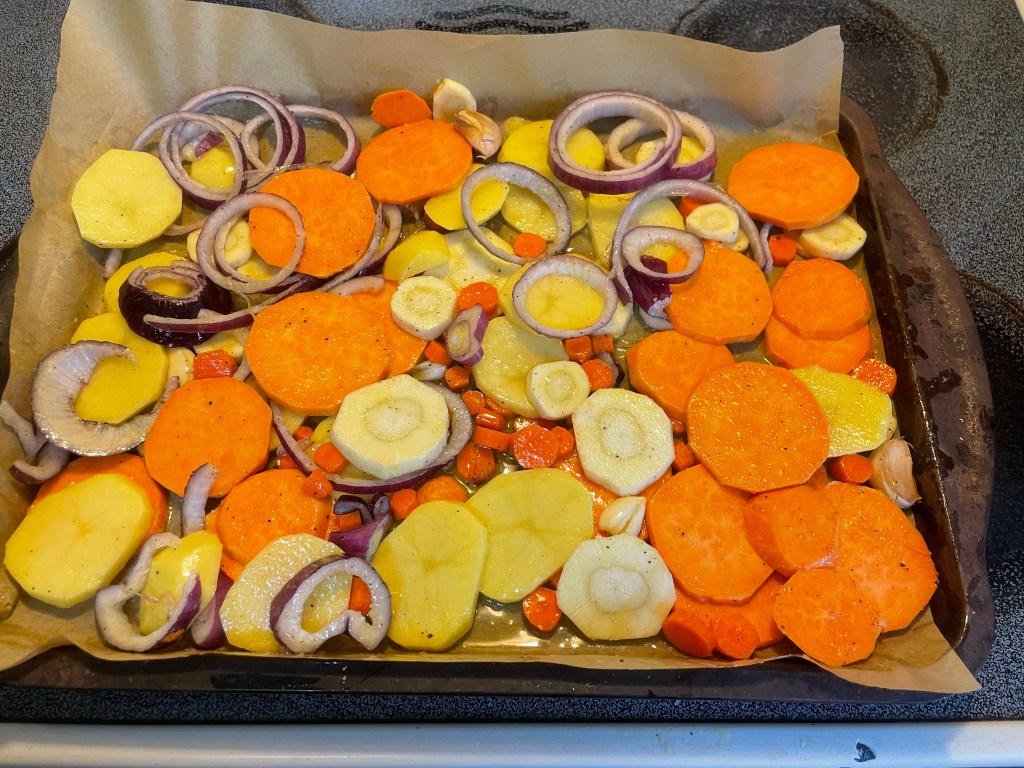
- Line a rimmed baking sheet with parchment paper. Toss potato, sweet potato, carrots, parsnips, onion, and garlic together with olive oil on the baking sheet. Season with salt and pepper. Spread the vegetables out into a single layer as much as possible. Roast until tender and starting to curl with some golden-brown crispness along their edges (30-35 minutes). Remove from the oven and let cool.
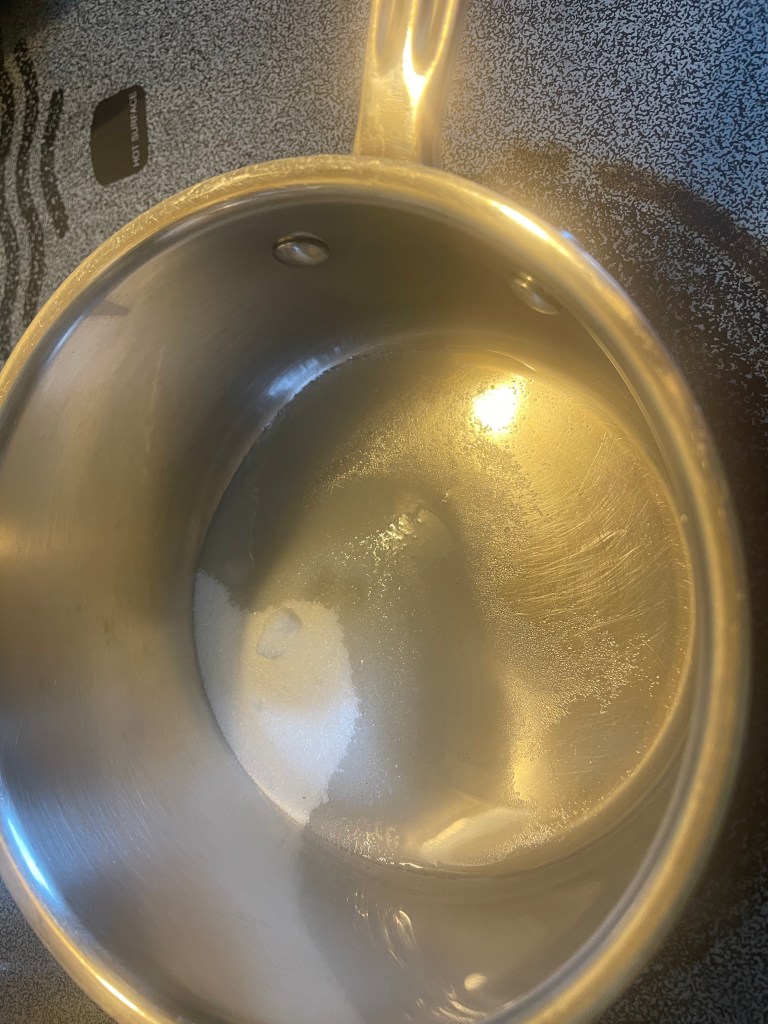
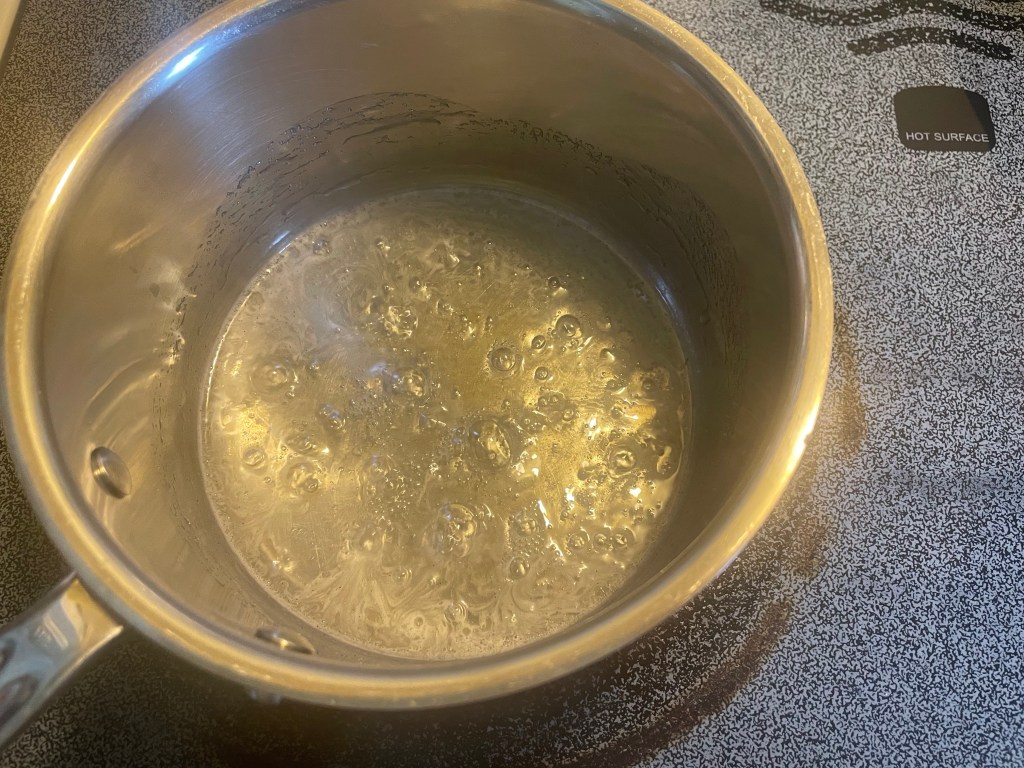
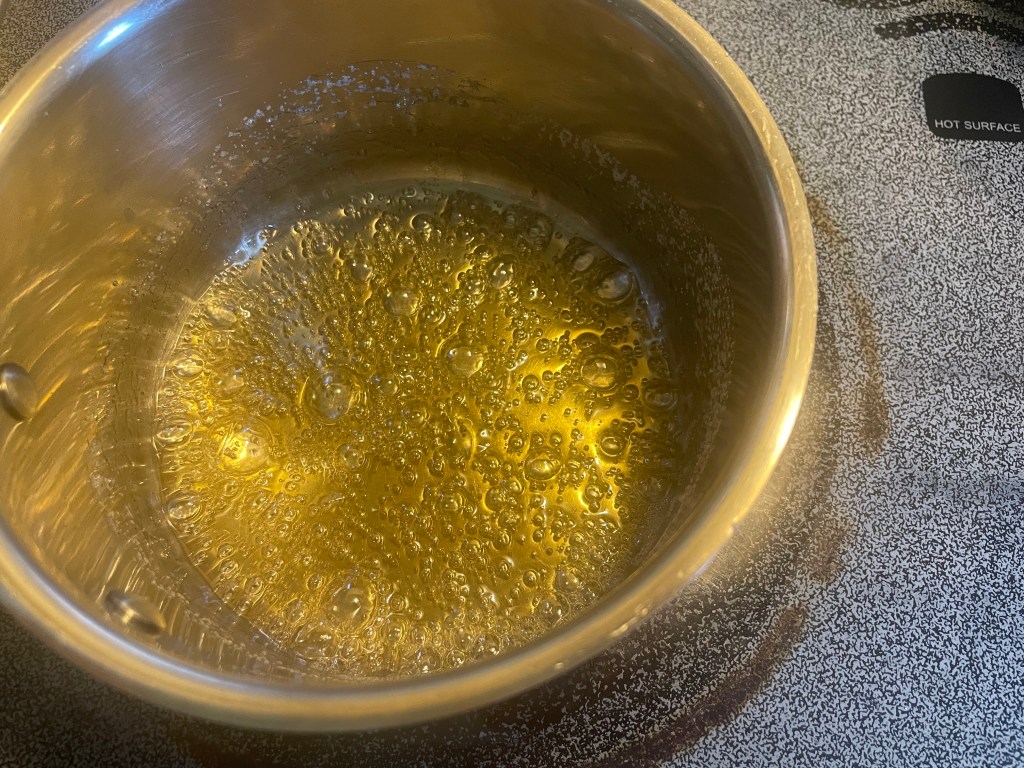
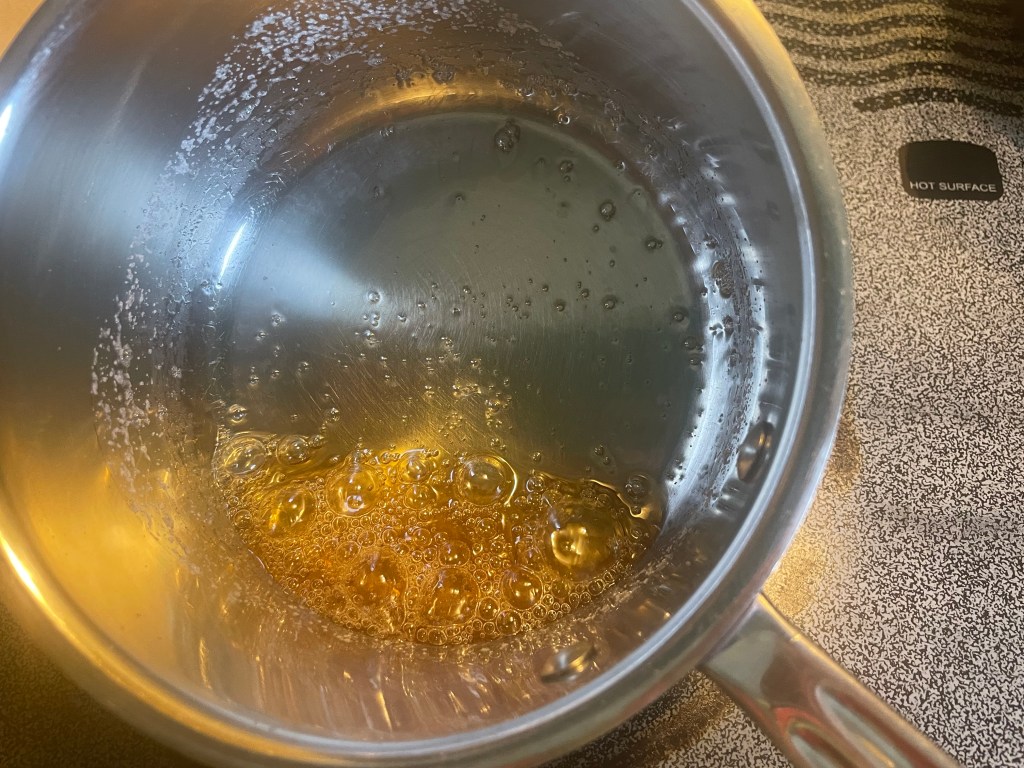
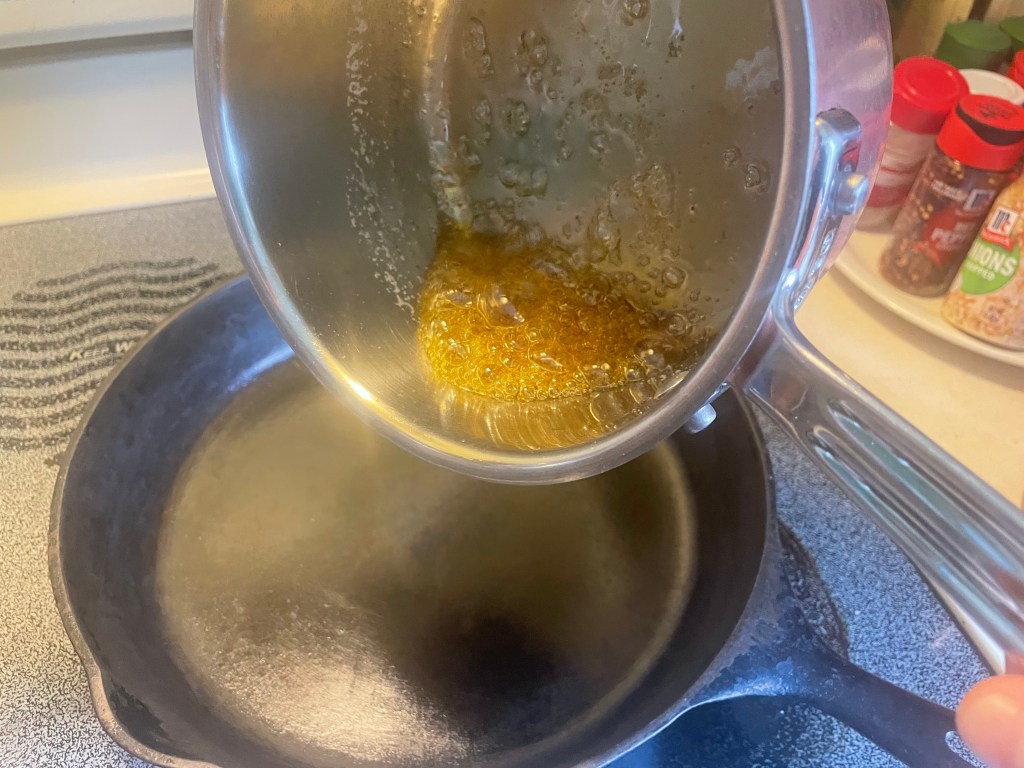
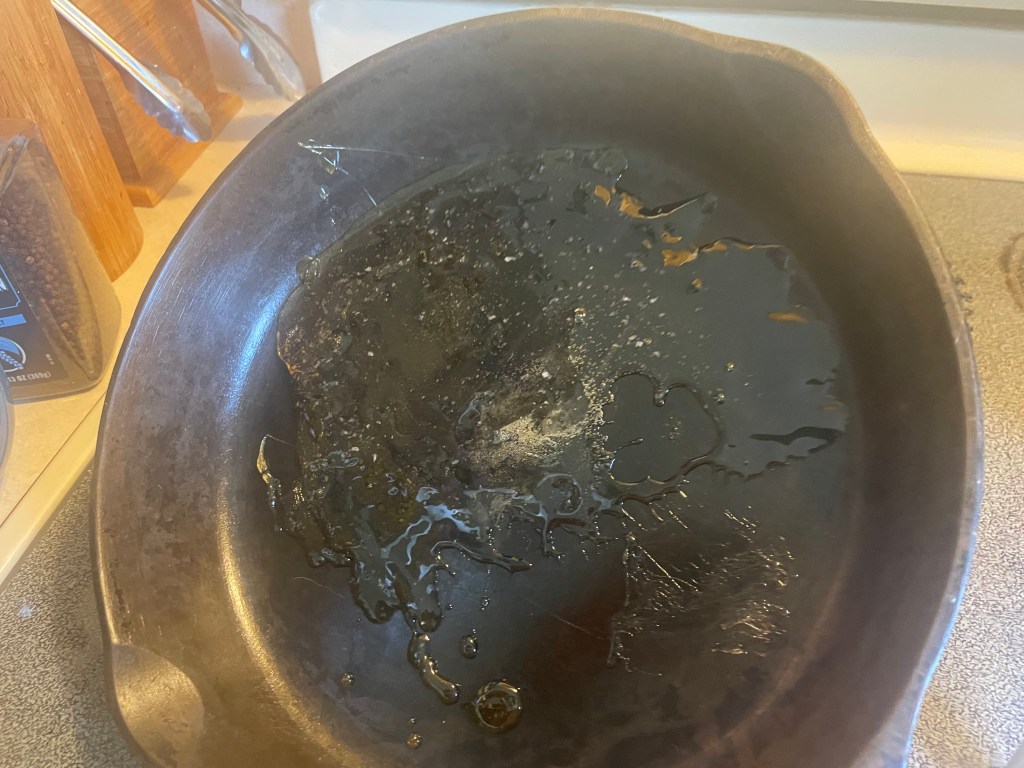
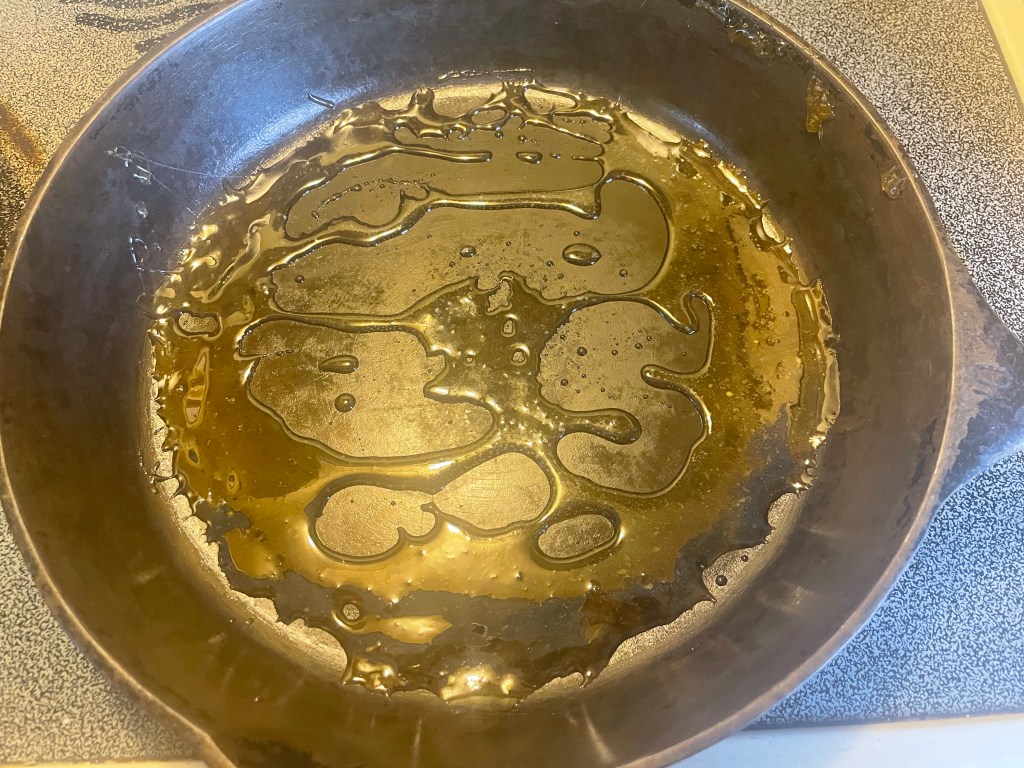
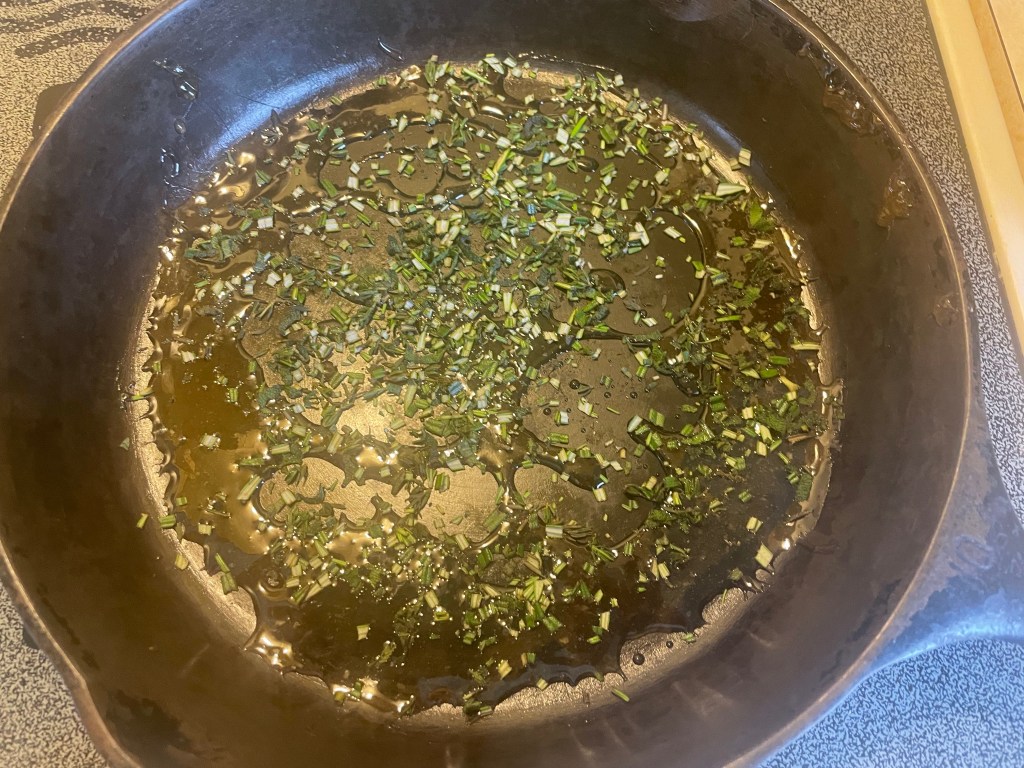
- Place sugar and water in a clean, heavy-bottomed saucepan over medium heat. Swirl occasionally to bring everything together. The mixture will start to bubble energetically. When the bubbling slows and is less audibly fierce, swirl more often and keep a close eye on it. The liquid will turn from clear to caramel fairly quickly once the water has boiled off. Remove from the heat when the mixture is a medium amber color. Add a pinch of salt and the vinegar. It will hiss and try to seize up. Swirl resolutely. Pour the caramel quickly into a 25cm/10 inch diameter cast iron pan or other oven-safe baking dish/pie dish of your choice. You will probably need to place the saucepan and/or the cast iron pan back onto the heat to re-melt the caramel as you swirl, tilt, and rotate to spread it into a thin layer covering the bottom of the cast iron pan. Scatter the chopped herbs over the top of the caramel layer.
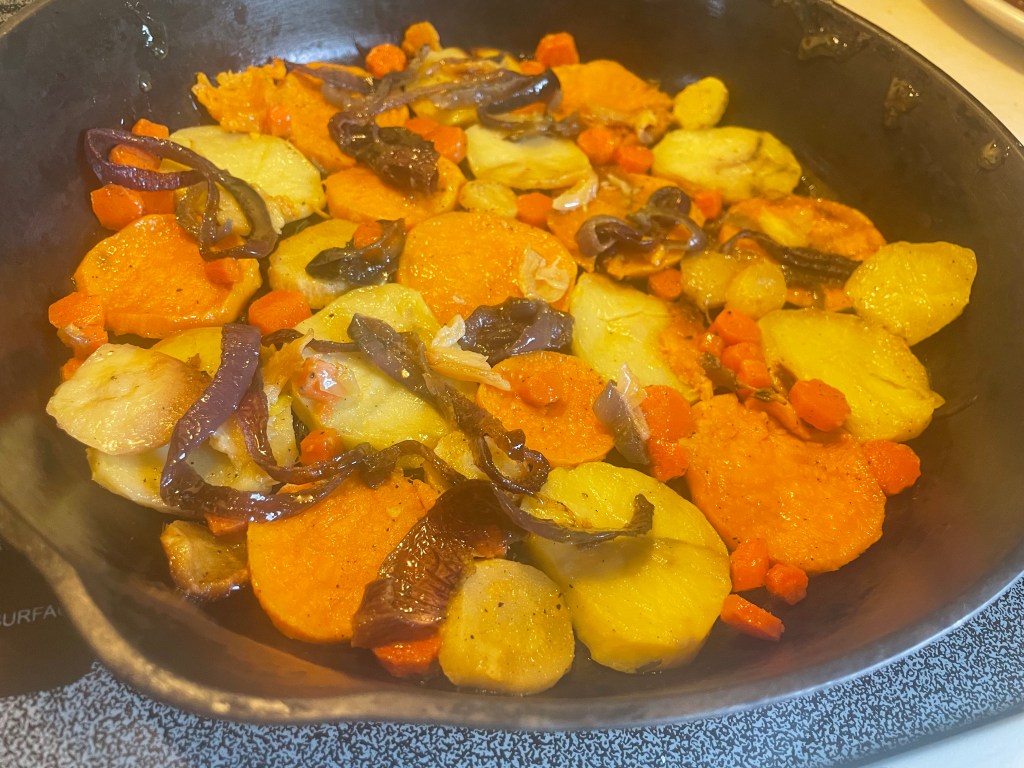
- Arrange your roasted vegetables over the caramel and herbs. This can be done as in the original recipe (bigger slices of potato and sweet potato first, any gaps remaining to be stopped up with little carrot pieces). Or you can follow your organizational or artistic compulsions to layer the vegetables however you choose. Just remember that what is now the bottom layer will be the stunningly caramel-glazed surface of your tart. Squeegee the roasted garlic out of its skin and plop irregularly over the vegetable slices as you go.
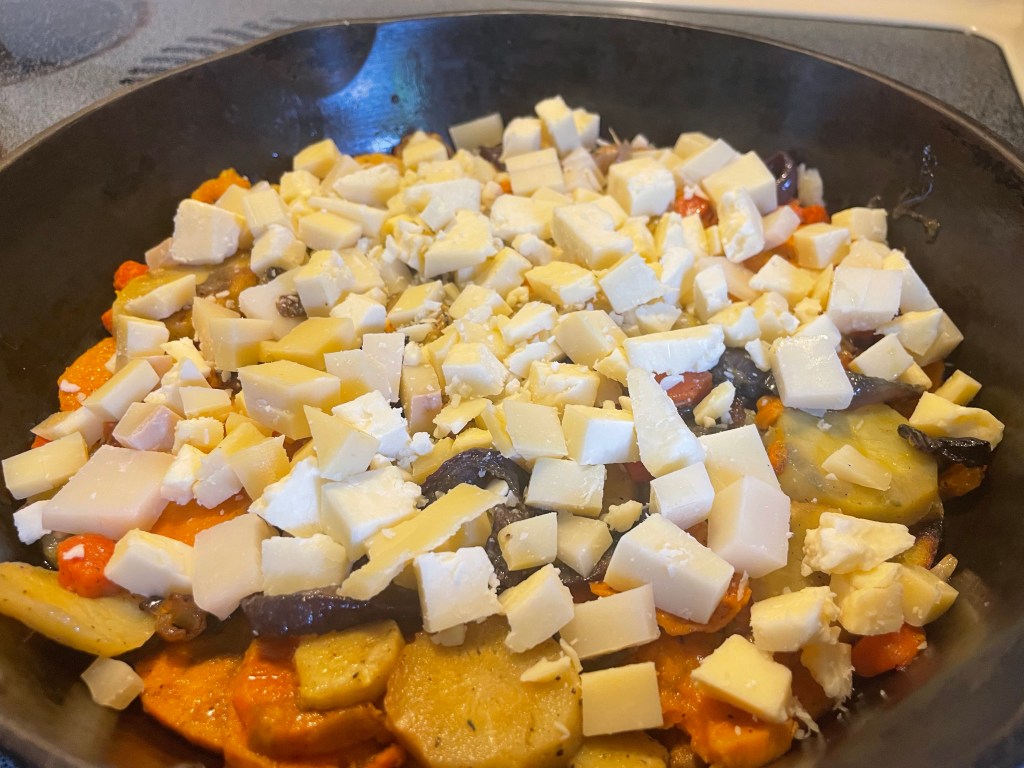
- Top the vegetables with cheese.
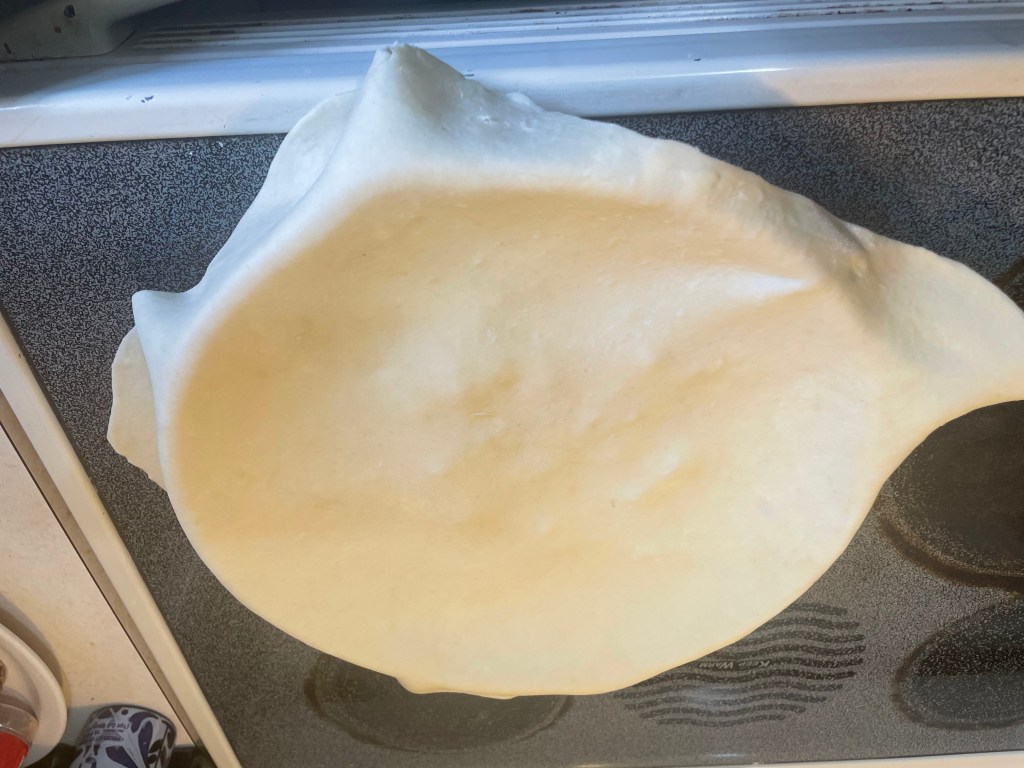
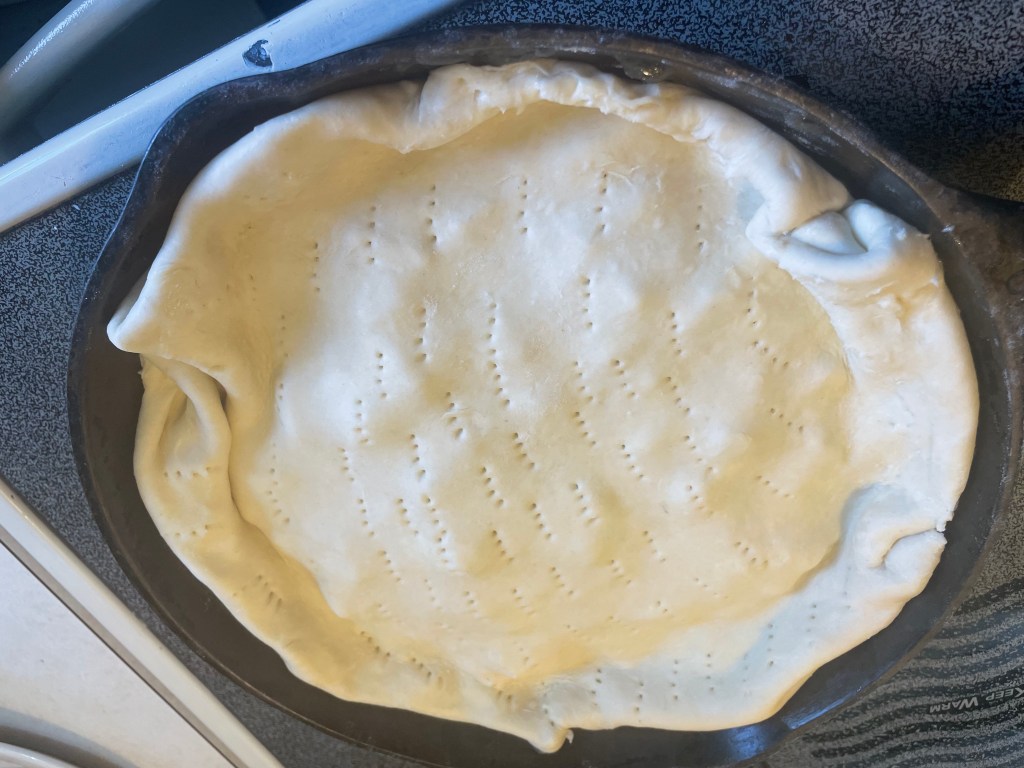
- Roll pastry dough out into a 30cm/12 inch circle and drape over the vegetables and cheese. Tuck any over-hanging pastry edges into the pan, gently nudging them down to cover the filling. Prick the dough all over with a fork.
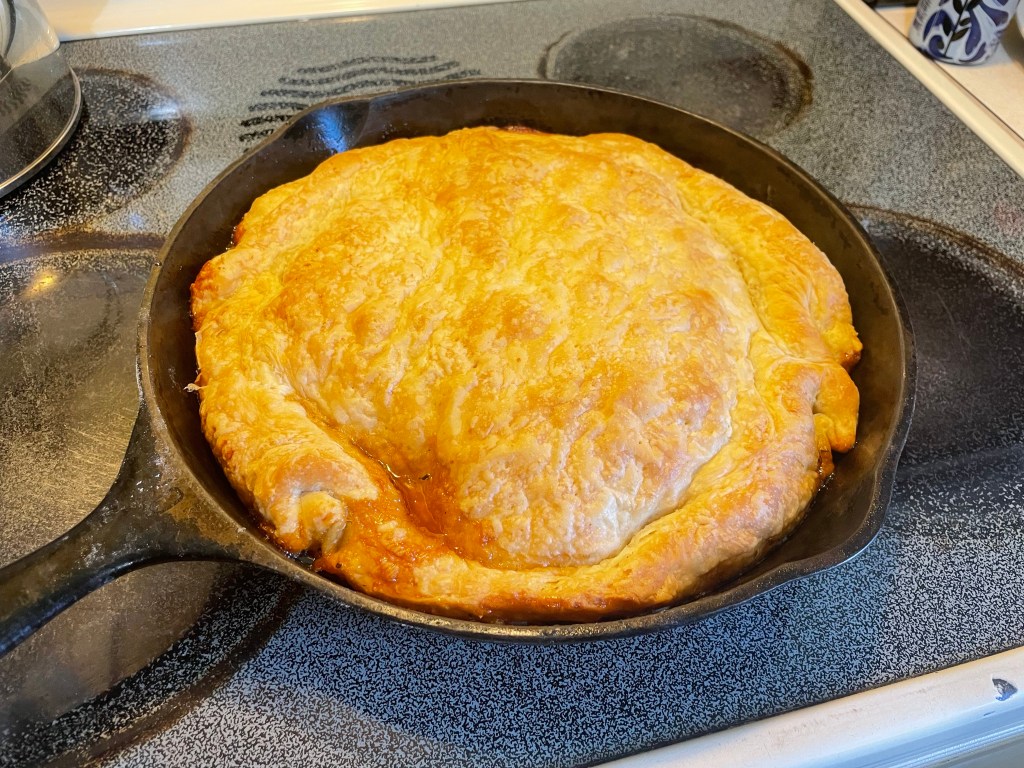
- Bake for approximately 20 minutes at 200C/400F – until the crust looks dry and a little puffy. Then turn the oven down to 180C/350F and continue to bake for another 15-20 minutes until golden brown and richly bubbling.
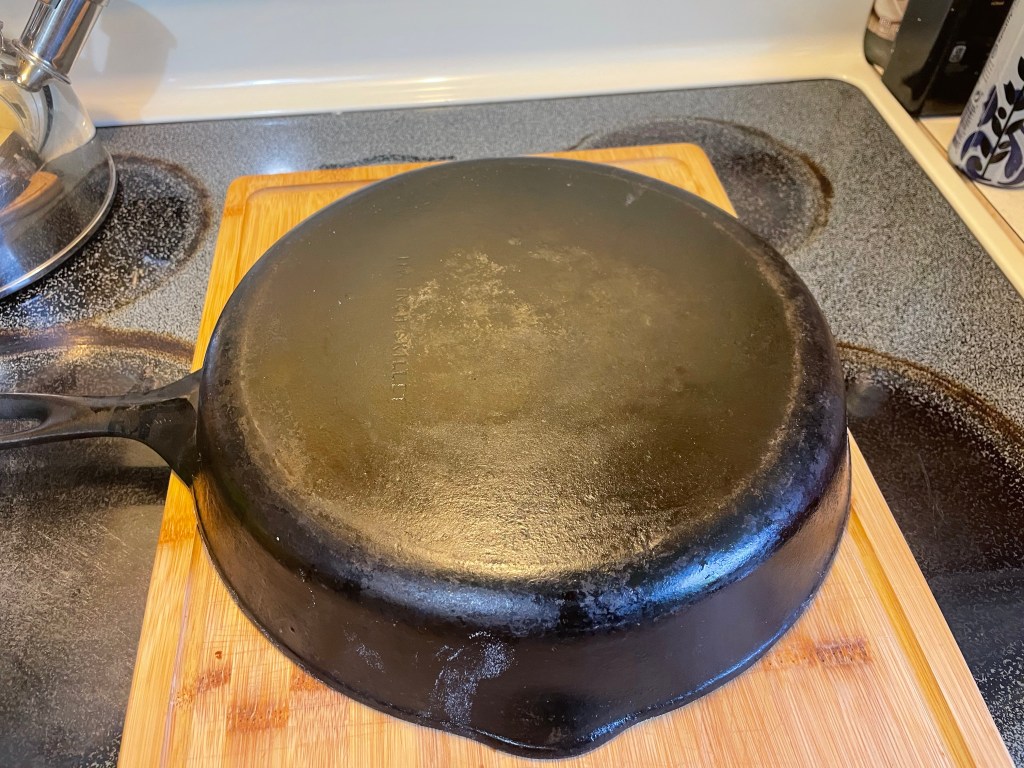
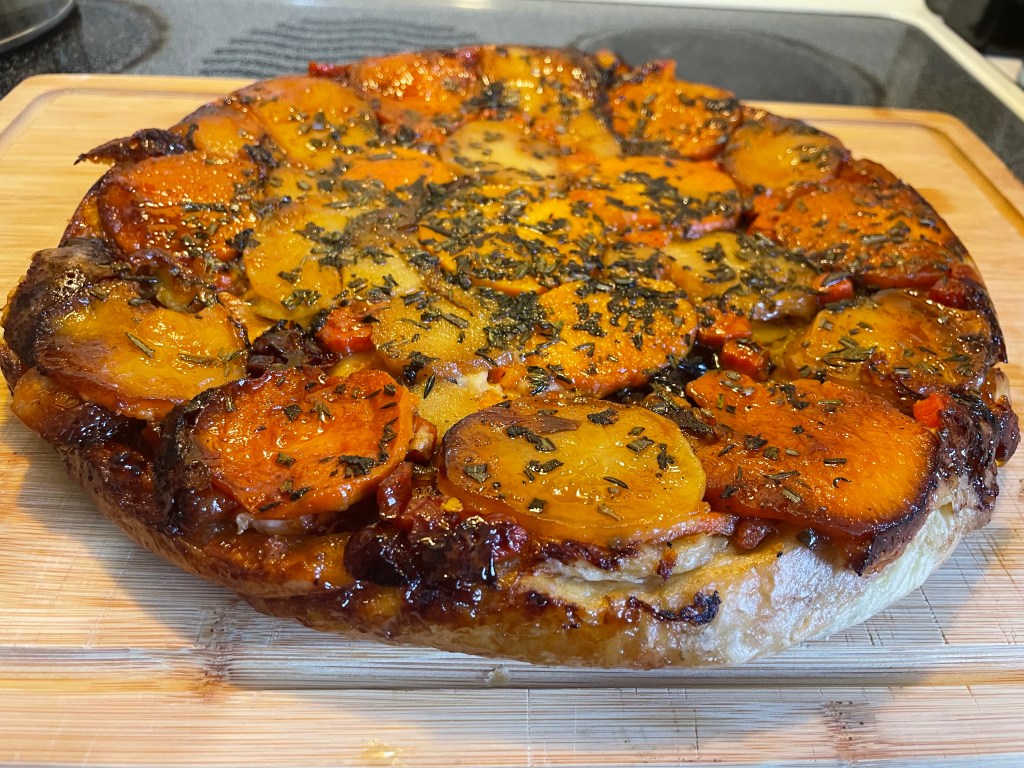
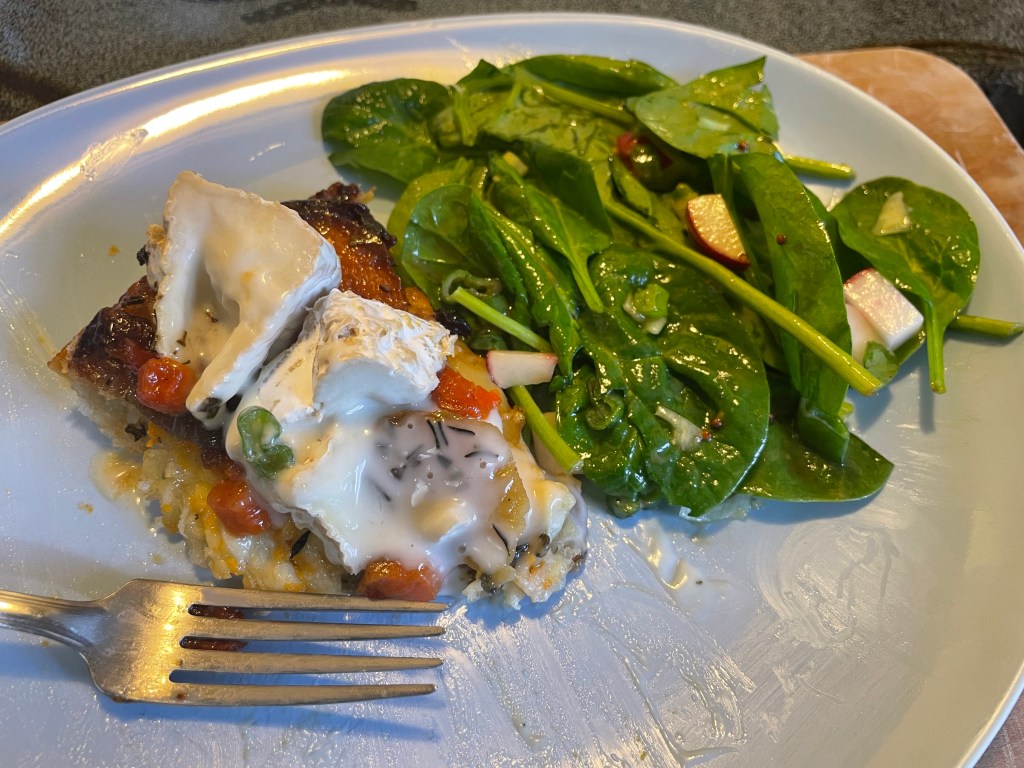
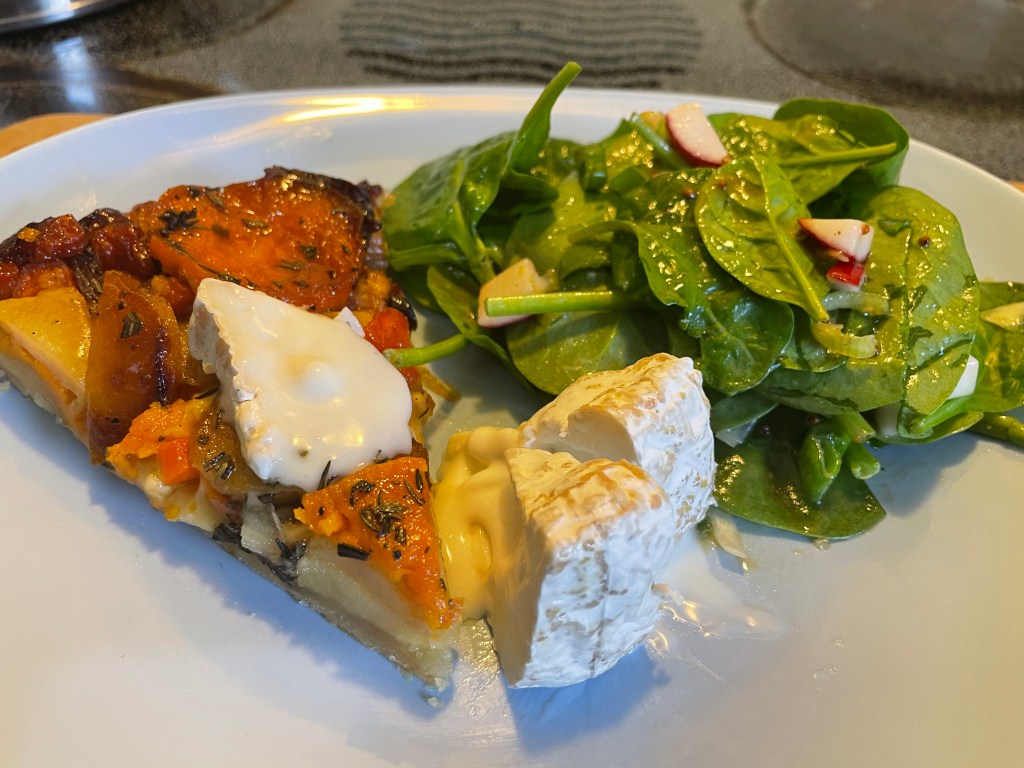
- Allow the tart to cool for 10-15 minutes before carefully inverting onto a platter. Any stubborn vegetables that remain in the pan can be scraped out and arranged back onto the top of the tart. Serve, warm or room-temperature, with wedges of goat cheese and a light green salad.
Notes: The Bon Appetit recipe called for 115g/4oz fresh goat cheese crumbled into the tart as the dairy part of the filling. I, to no-one’s surprise, did not find that to be enough cheese. So the amount is doubled here. Also, many of the comments on the original recipe mentioned that the fresh chèvre did not impart enough cheesy flavor. I wanted to serve the tart like Gerta Salibuck did, with creamy white goat cheese on the side. So I substituted more robust and aged cheeses for the tart’s filling. Basically using up cheesy left-overs. Feel free to use whatever you like best for the filling.
I used a larger pan than the original recipe calls for (10 inch instead of 9 inch) and I had difficulty getting the caramel to distribute over the entire surface of my pan. At first I thought that I would need to double the caramel recipe but, even though my caramel coverage was spotty at best, the tart still came out gorgeously glazed. And increasing the amount of caramel, while making your swirl-work easier, would throw off the balance of sweet to savory in the finished dish. In fact, I may even aim to cut down the sweetness of the dish in my next version: keep the caramel the same but leave out the more sugary vegetables (sweet potato, parsnip, carrots) and just used buttery yellow potato slices.
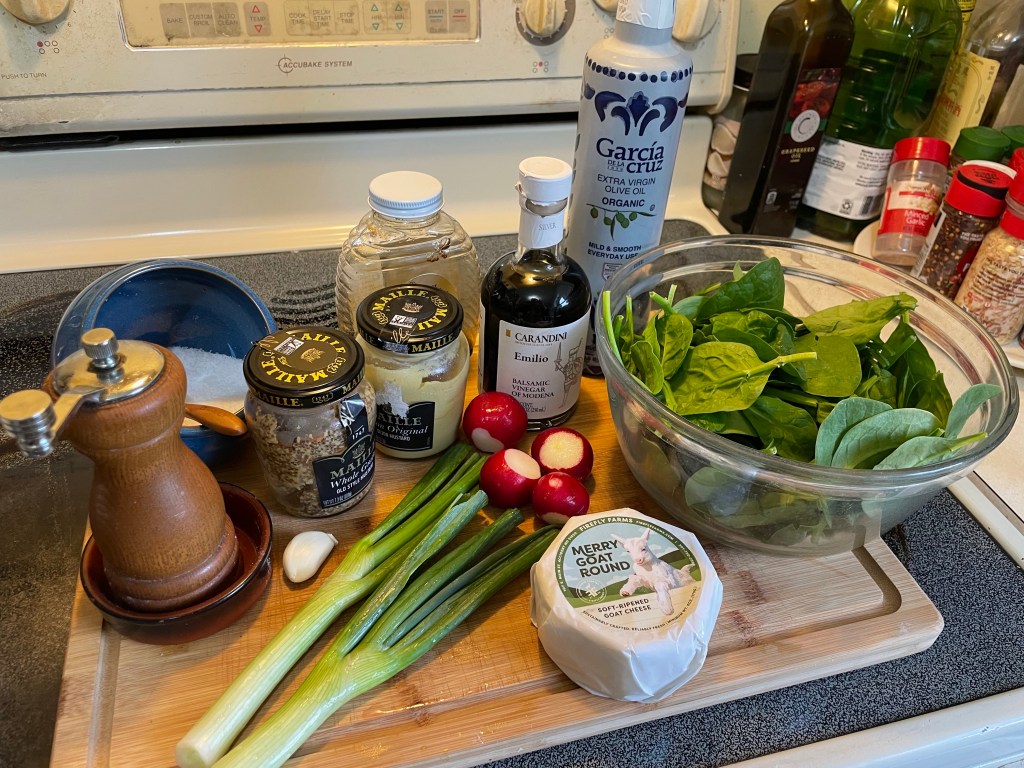
Finally, I strongly recommend that, anyone who can get their hands on it, try the goat’s cheese seen melting so deliriously lusciously in the pictures below (Merry Goat Round from Firefly Farms). I did not pay attention to the label when I bought it and though I was getting the young and crumbly goat cheese that I picture Gerta serving with her tart. Then, when I opened it up, I discovered an amazing, delectable, creamy concoction. Aged soft-rind goat’s cheese for the win! Let’s face it: cheese, just like dice, is better with a liquid core…


Rough Puff Pastry
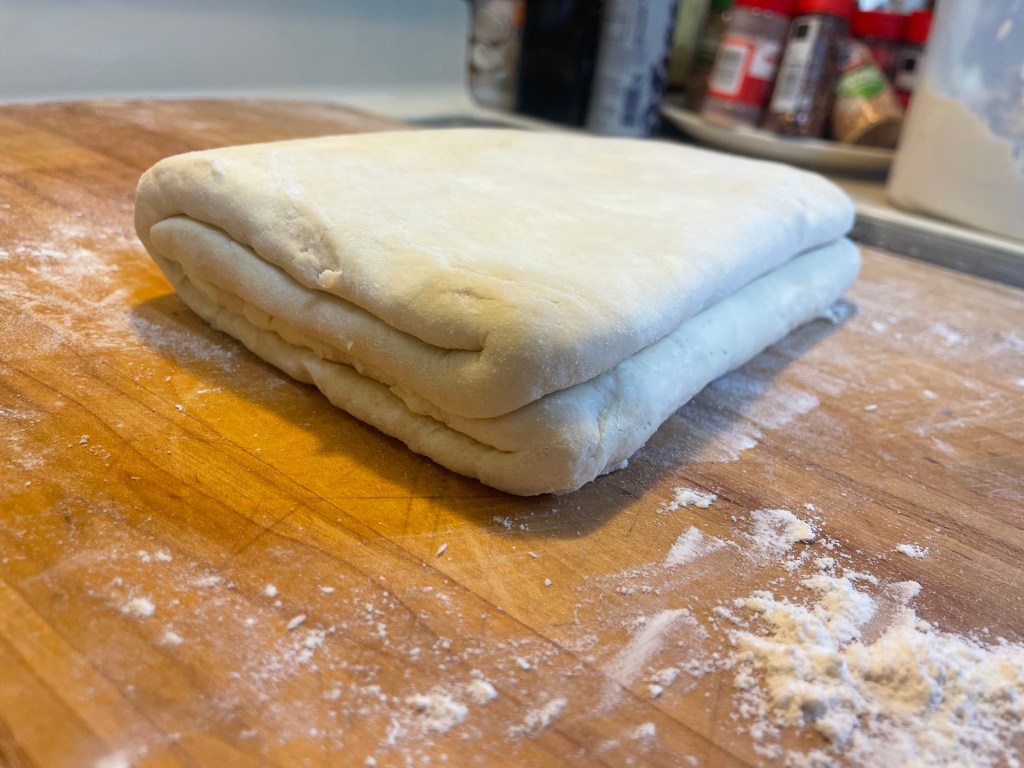
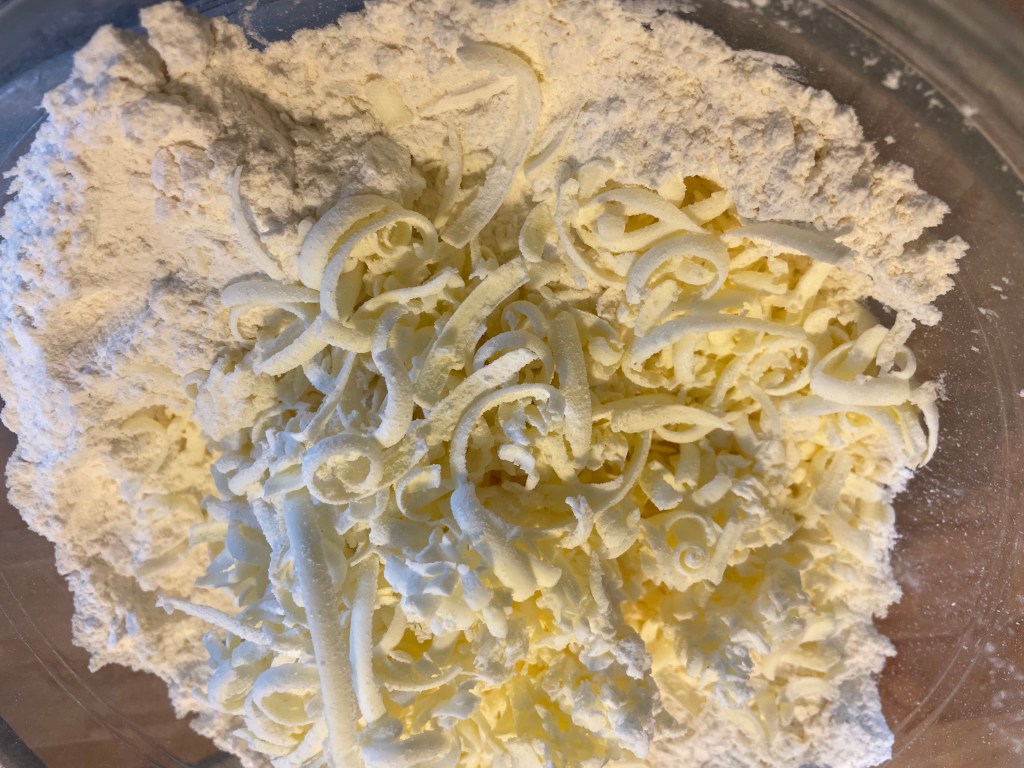
This is from Dessert Person by Clair Saffitz. It is a wonderful book full of very reliable and very tempting recipes. You can also see Claire here: https://youtu.be/EvGGgOJbcGA?si=CW7SyV1kDBW4Z2zV demonstrating how to make this exact pastry. So, no notes. Just watch her skills at work and reap the tasty benefits of her excellent teaching. For example, I learned that quickly coating my frozen butter block in flour before grating it means no slippery butter and grated fingers! Such a good tip 🙂
This recipe makes double what you will need for the vegetable tart. Which is good; you can rest in the smug knowledge that you have another batch of pastry waiting in the freezer for its turn to be delicious.
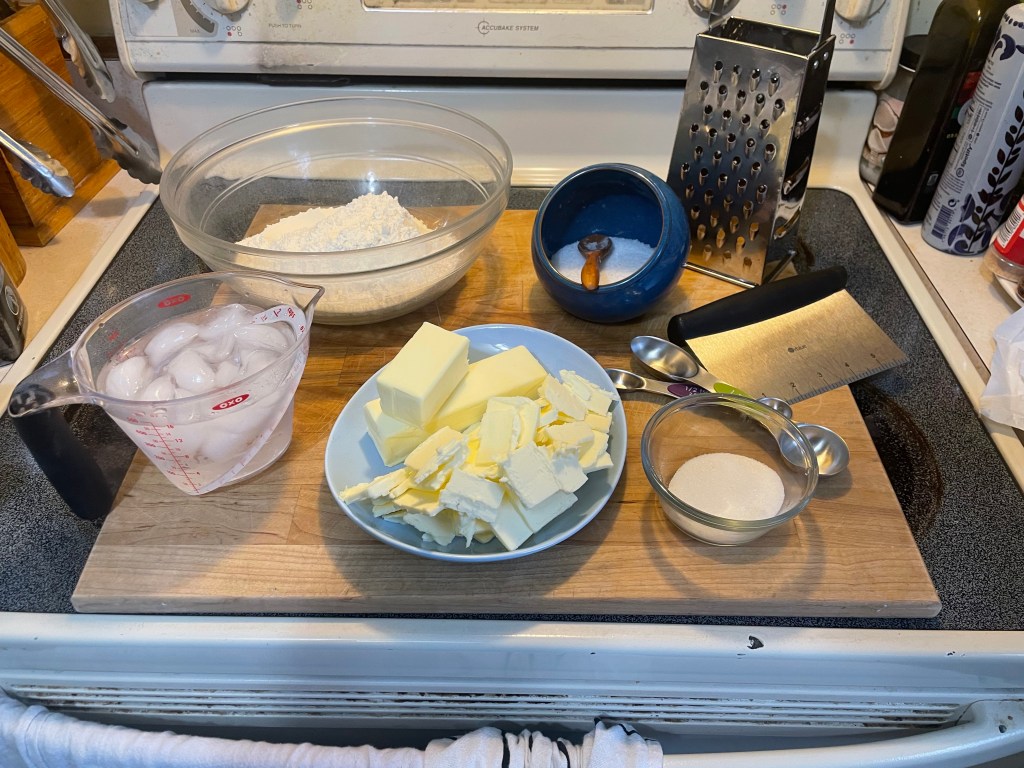
Ingredients:
345g/3 sticks butter, divided
420g/3.5 cups all purpose flour
30g/2tbsp plain white sugar
7.5g/1.5tsp kosher salt
120-180ml/1/2-3/4 cup ice water
Method:
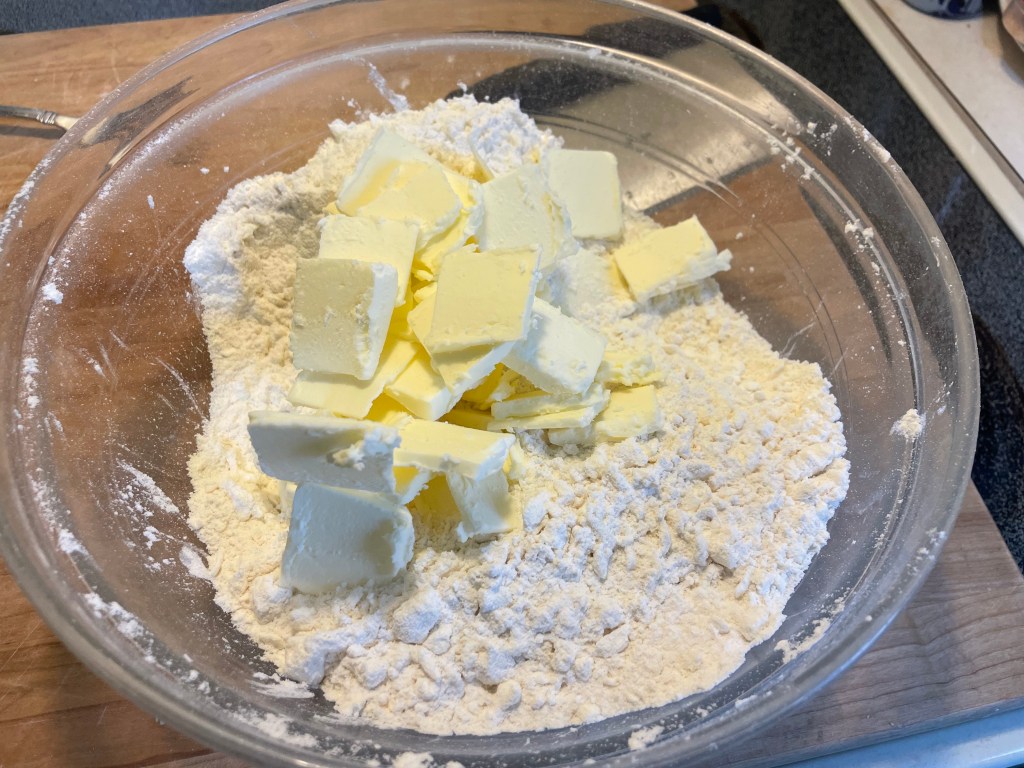
- Place half of the butter (170g/1.5 sticks) in the freezer for at least 30 minutes. Thinly slice the remaining butter and place that in the fridge to keep cold.
- Mix flour, sugar, and salt in a large bowl.
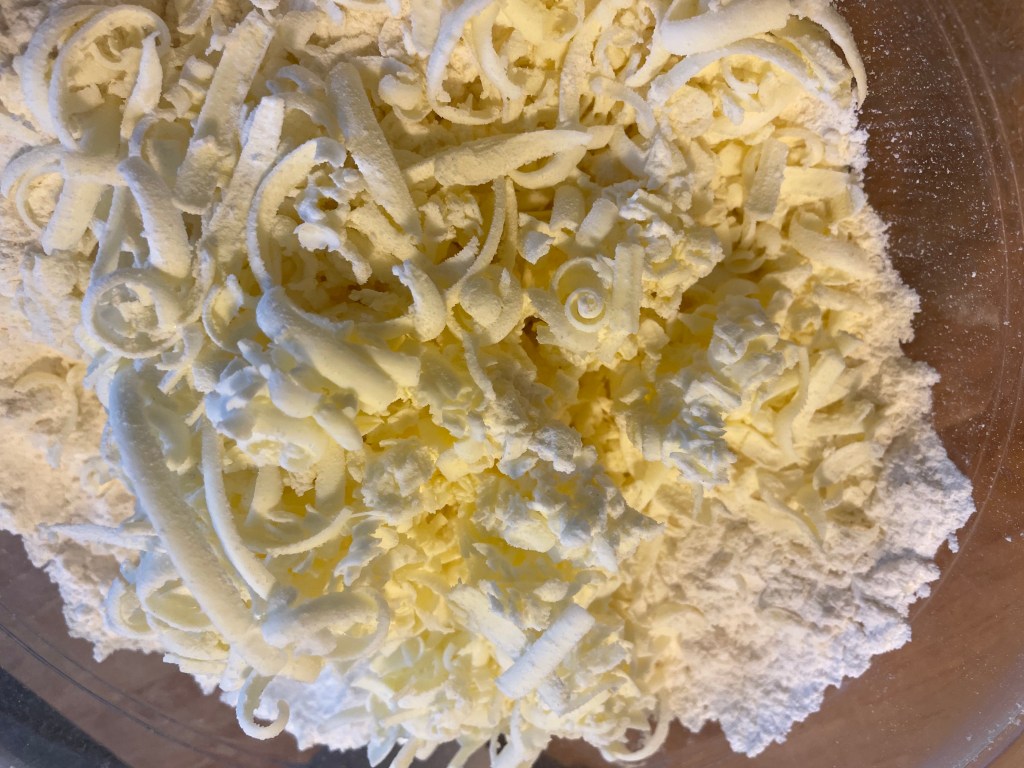
- When the frozen butter block is ready, remove from the freezer and give it a little coating of the flour in the bowl. Then use the large holes on a box grater, grate the butter into creamy swirls over the flour in the bowl. You can also use the grating blade/function on your food processor to complete this step. Toss the grated butter flecks gently through with your flour, sugar, and salt mixture.
- Add the sliced butter from the fridge into the mixture, tossing to coat in the flour and making sure that all of the butter pieces are separate.
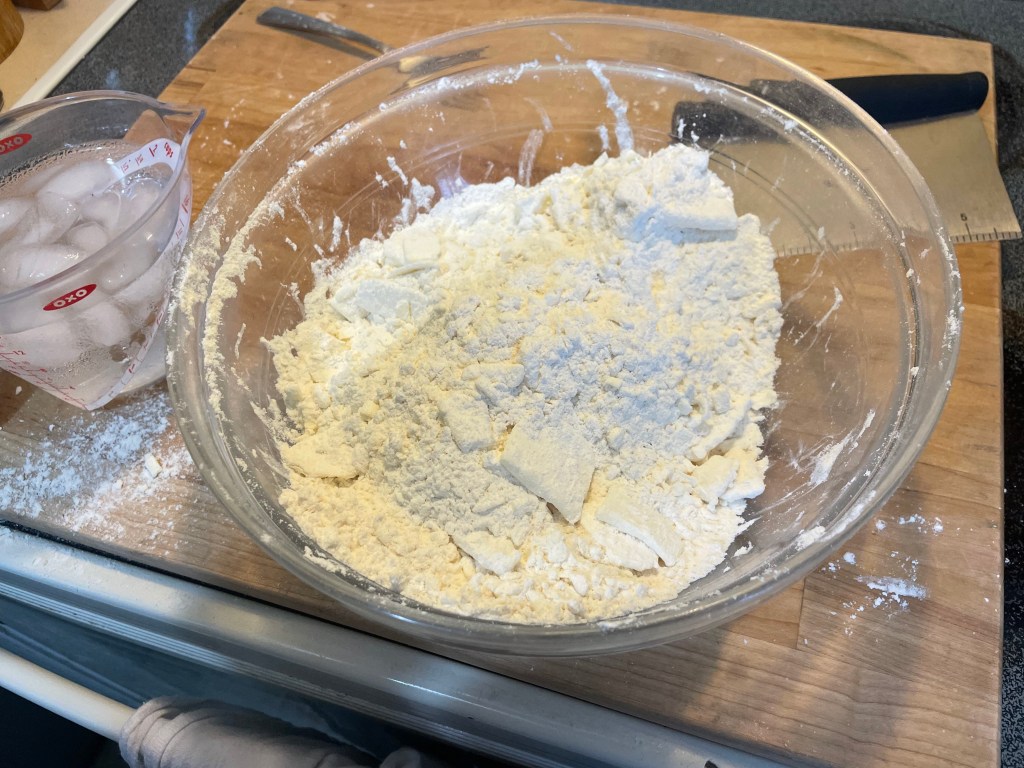
- Start slowly adding ice water to the bowl. Add 120ml/1/2 cup to start, mixing through to hydrate the flour and butter quickly but gently. As pieces of the dough start to come together into briefly cohesive clumps, remove those hydrated portions. Set them aside on a lightly floured work surface. Continue to sprinkle more water on the dry sections of flour remaining in the bowl, gently bringing it together and continuing to remove pieces that roughly hold together.
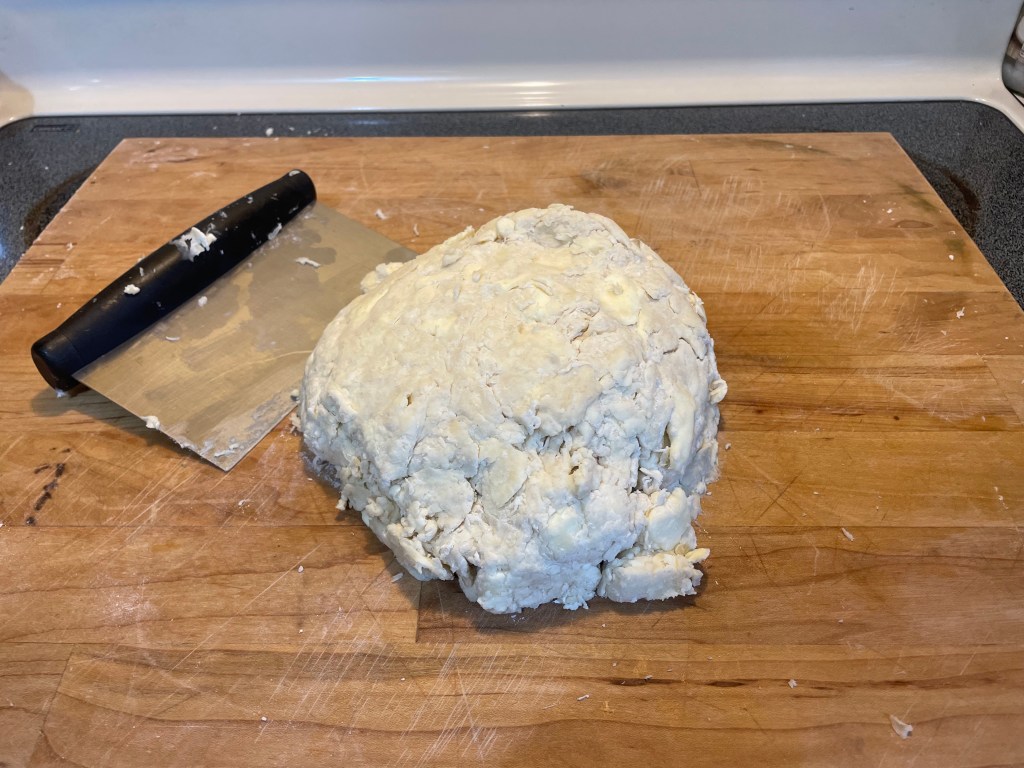
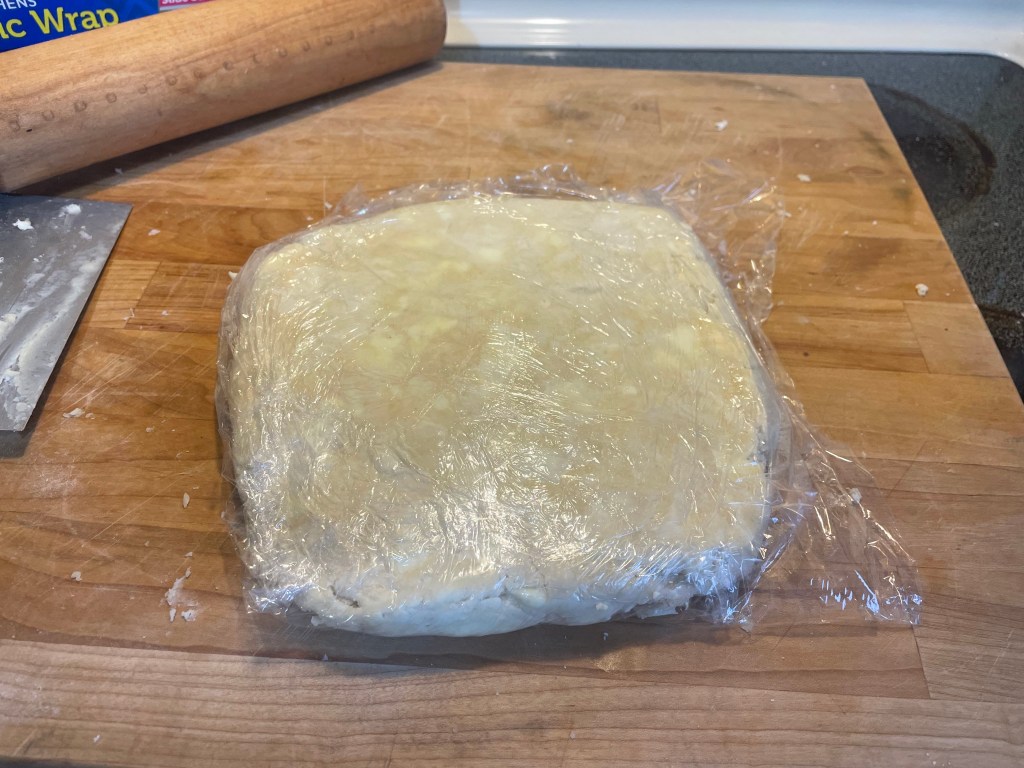
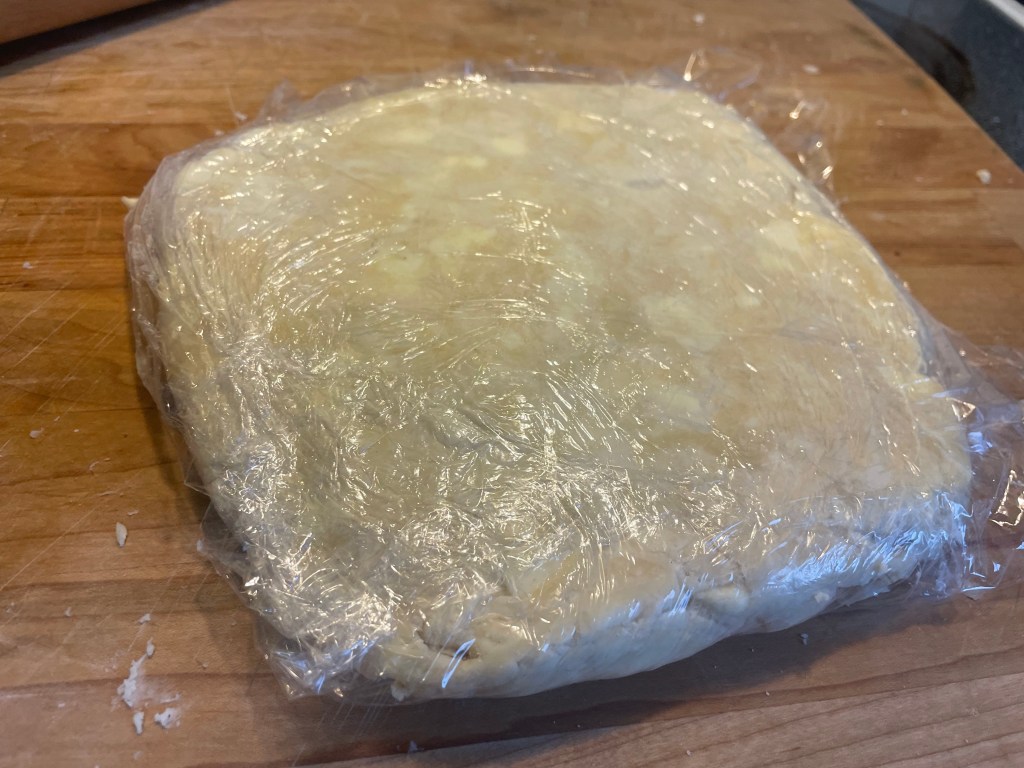
- Once everything is out on the work surface, combine it with some gentle folding and smearing motions, and then use a bench scraper to bring into into a mostly organized mass of dough. Flatten this mass slightly (can use a rolling pin to whack it into gentle submission). Wrap up and allow to rest in the fridge for at least 2 hours.
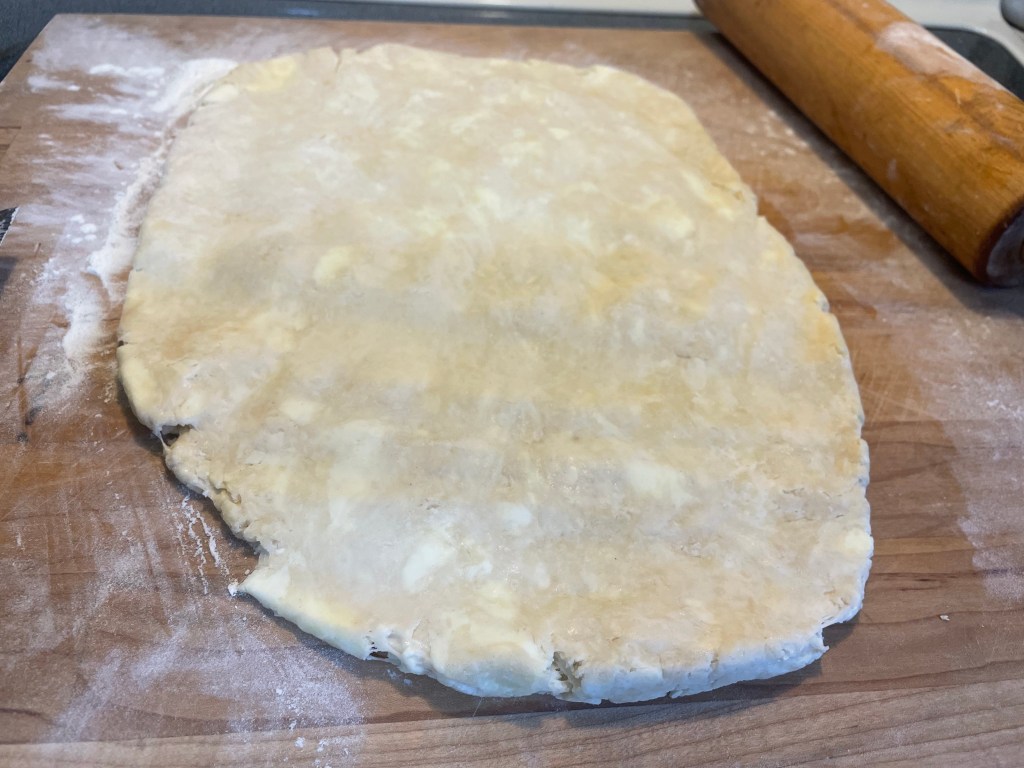
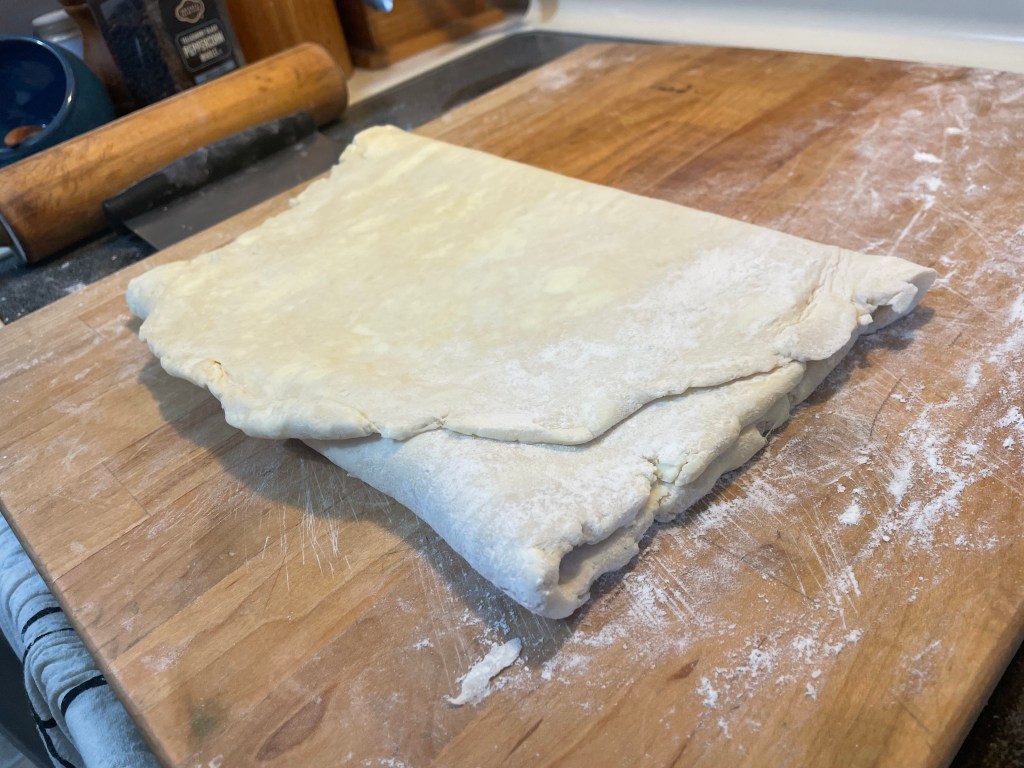
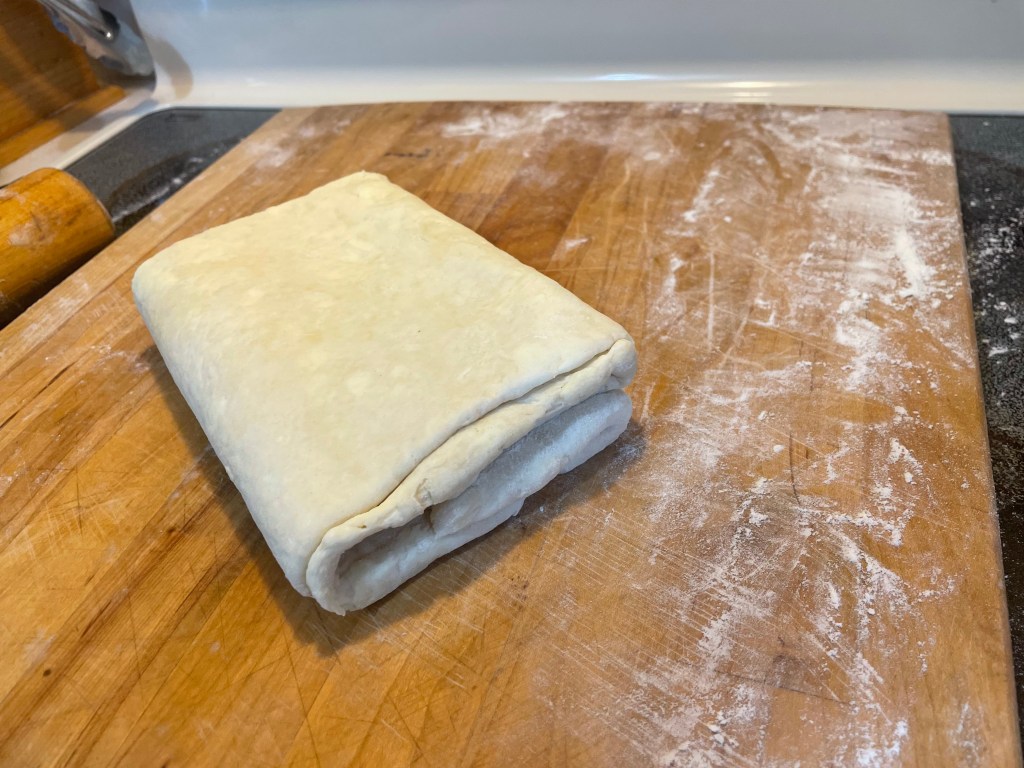
- When the pastry dough has had time to cool and recover, unwrap it and beat once again with the rolling pin. Use even and controlled blows, confident in your higher purpose of flattening the pastry without over-working and over-heating it too much. This activity is very appealing to paladins.
- Sprinkle the dough lightly with flour and roll out to 0.5cm/1/4 inch thick to form a rectangle that is 3 times as long as it is wide. Use your bench scraper as needed to keep the edges trim and neat. Fold the dough into thirds (bottom 1/3 up to the center of the rectangle, then the top 1/3 down over the first fold to get 3 layers.) Turn the dough 90 degrees on your work surface and then repeat rolling and folding one more time. Wrap and return to the fridge until ready to bake. Or divide into two pieces and freeze one or both at this time.


Easy, versatile, and tasty Vinaigrette
I like to make a sizable batch of this because it keeps well and livens up salads all through the week. This recipe makes approximately 160ml/3/4 cup of dressing. It is the most basic of base-lines and can be tweaked in any number of ways by varying the type of oil, the type of acid, and the seasonings and herbs used.
Ingredients:
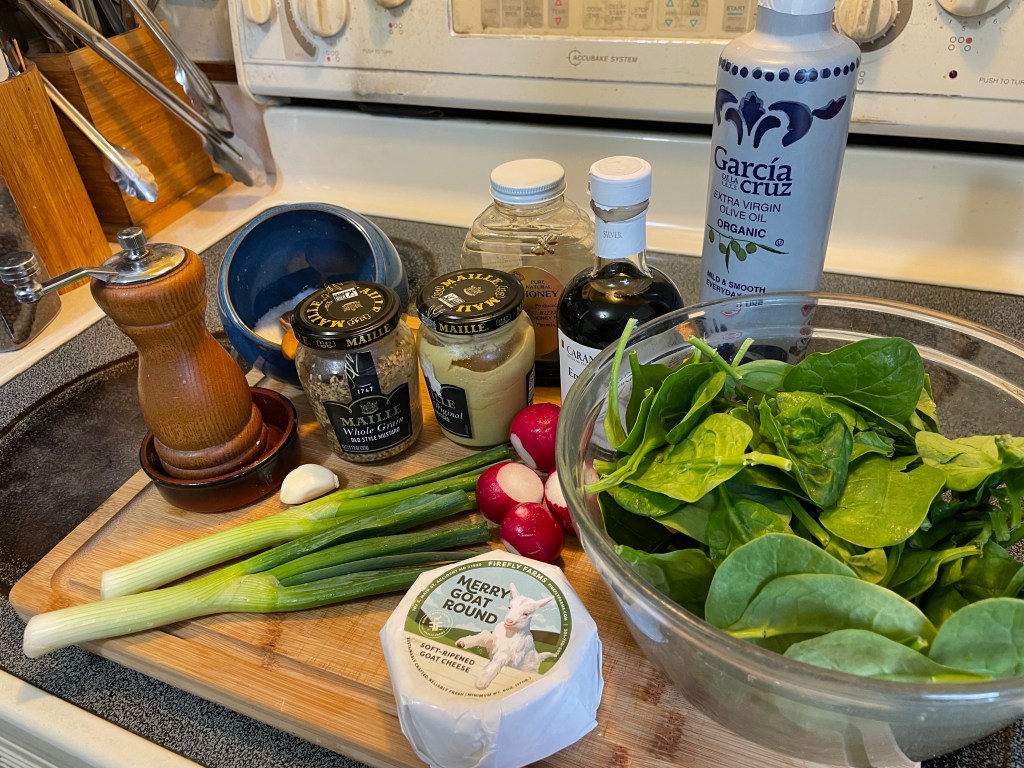
120ml/1/2 cup extra virgin olive oil
45ml/3tbsp balsamic vinegar (can cut this 1/2:1/2 with lemon juice for a lighter, more sprightly dressing)
7.5g/1.5tsp Dijon mustard
2.5g/1/2tsp honey
1 small clove garlic
5g/1tsp kosher salt
Freshly ground pepper to taste
Method:
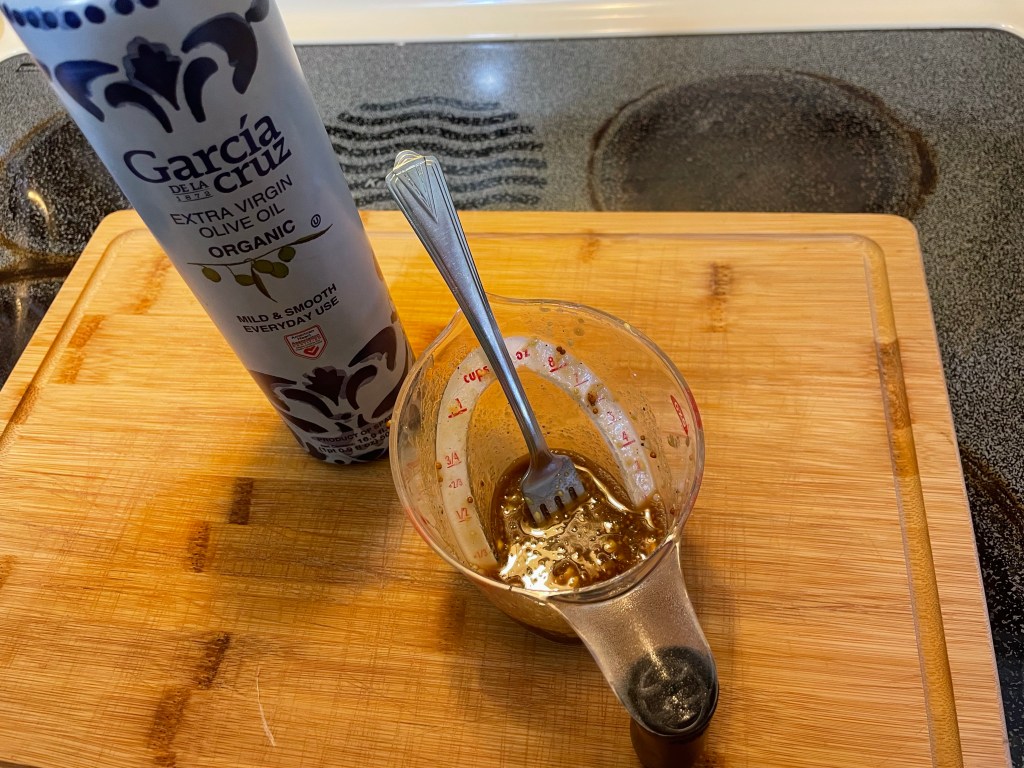
- Pulverize the garlic using your preferred method: grating on a Microplane, using a garlic press, chopping finely. I like to crush the cloves to loosen the skin, making it easier to remove. Then I mince the cloves and crush them with the side of my knife, smearing them against the work surface. I use whatever salt is called for in the recipe as an abrasive to assist the squishing process. It is very satisfying.
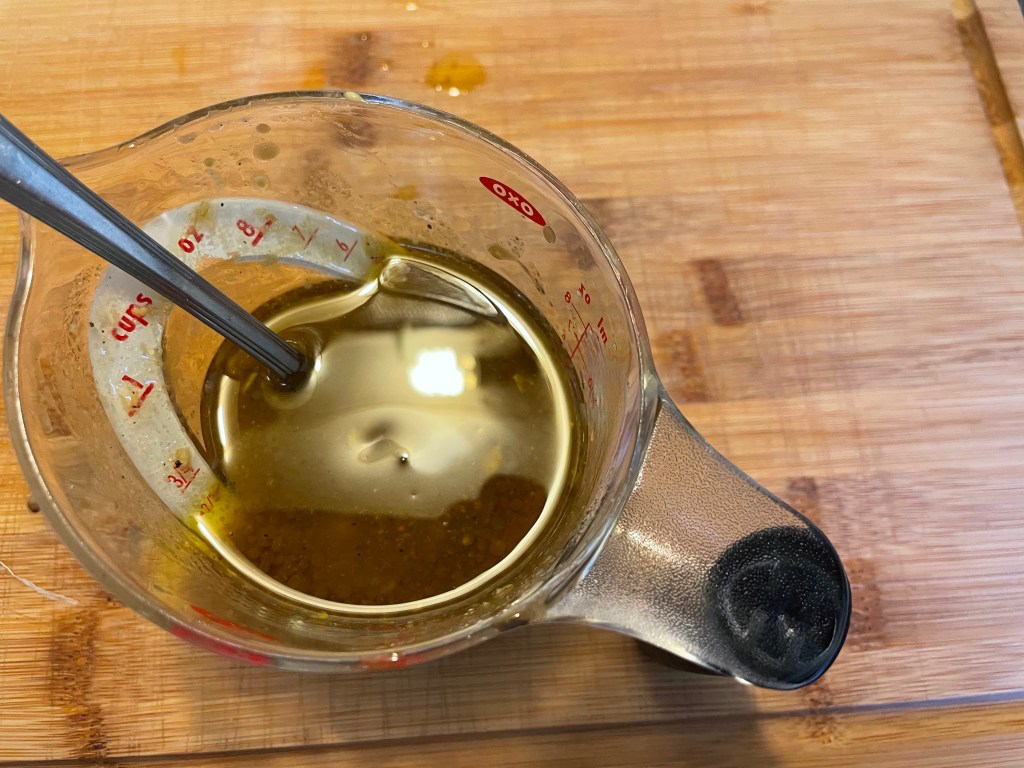
- Add the crushed garlic, salt, pepper, mustard, honey, and vinegar to a small bowl or jug. Mix well.
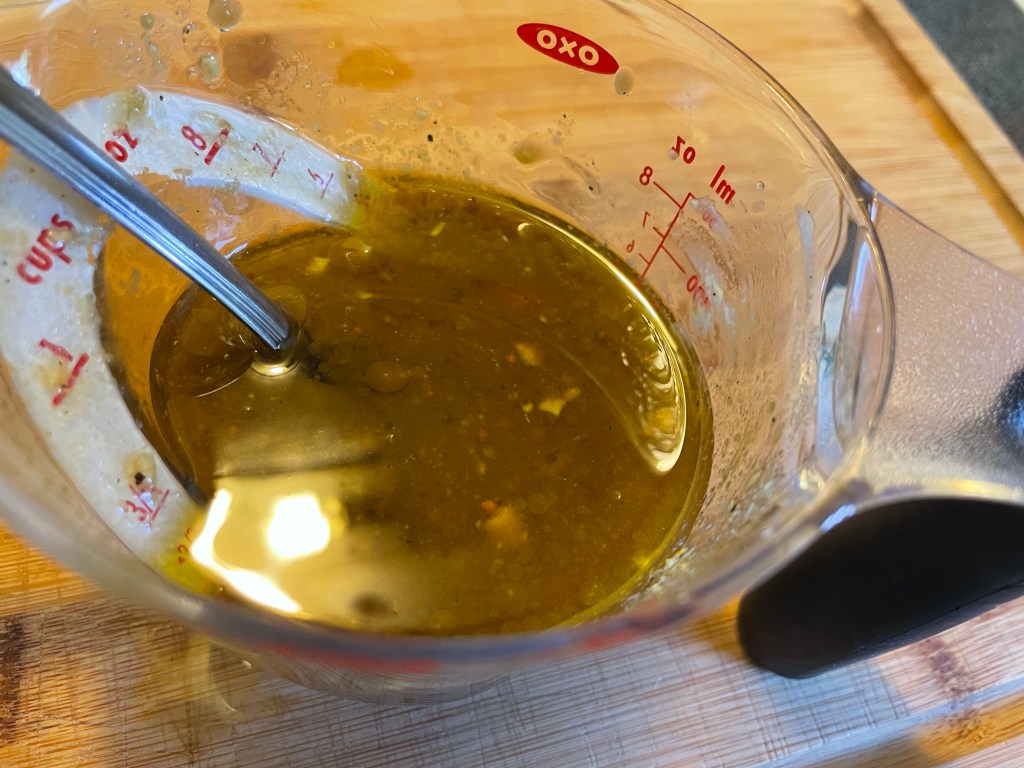
- Drizzle in the oil, whisk in steadily to create an emulsion. Taste and adjust seasonings as needed.

Leave a comment