The Perfect Hotdog
Makes 16-18 hotdogs, depending on how large you make your bread rolls.
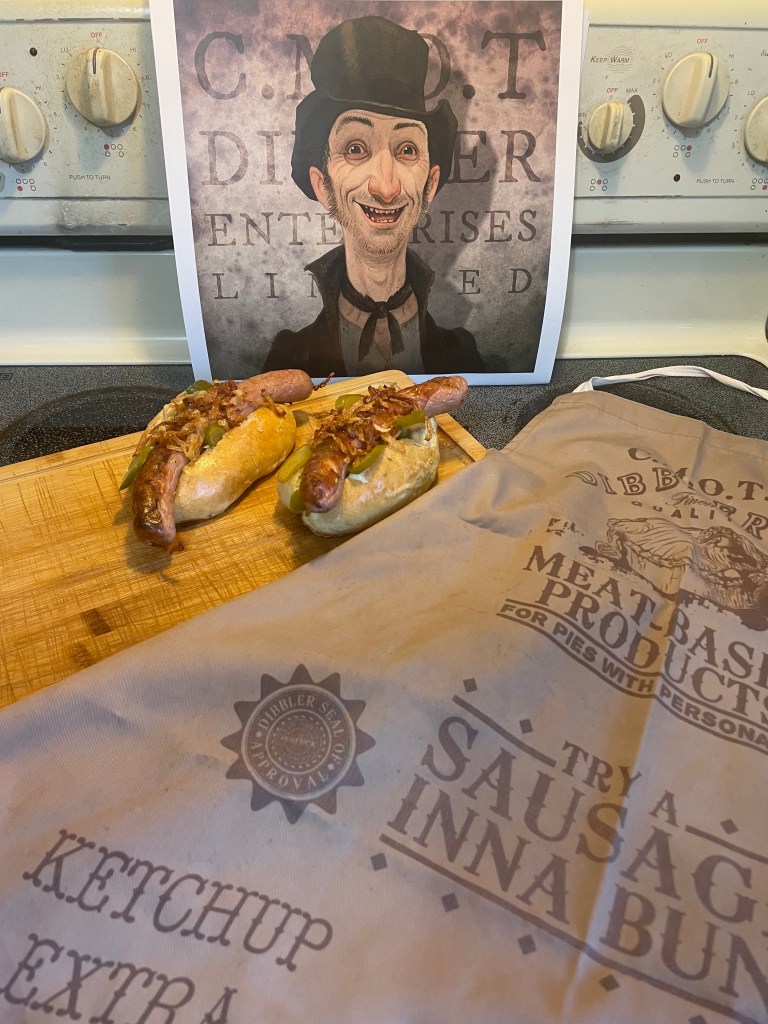
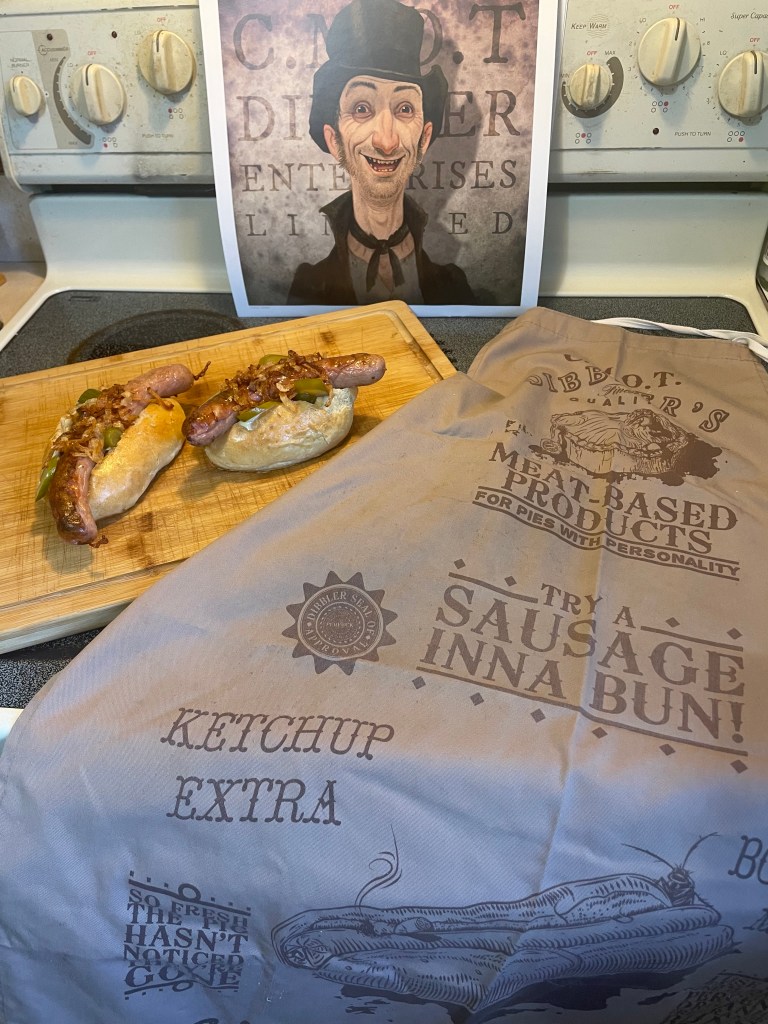
I am sure that this controversial recipe title will raise eyebrows and blood pressures. So let me hurry to clarify: this is my perfect hotdog 🙂 I dare not speak for anyone else. And especially not for Elie. But I feel fairly confident that this snack is tastier, and its various components more readily identifiable, than the sausage-in-a-bun of dubious provenance that our Archer was olfactorily seduced into purchasing.
Truthfully, my Platonic ideal of a hotdog is also based on a street meal. I was eleven years old, it was a raw and chilly day in Warsaw, and my sister and I had just been dragged around a bunch of incredibly boring shops by parents intent on buying, during the course of one exhausting morning, all of the things that had not been available to them for the last five years in Zimbabwe. While not a family that typically trusted to food bought from carts off the street (no matter how temptingly aromatic), my father took pity on his exhausted and ravenously clamoring offspring. And made a memorable exception to the usual “no junky snacks from suspicious sources that may poison you so you die” rule. Purchasing the perfect hotdogs for our late lunch.
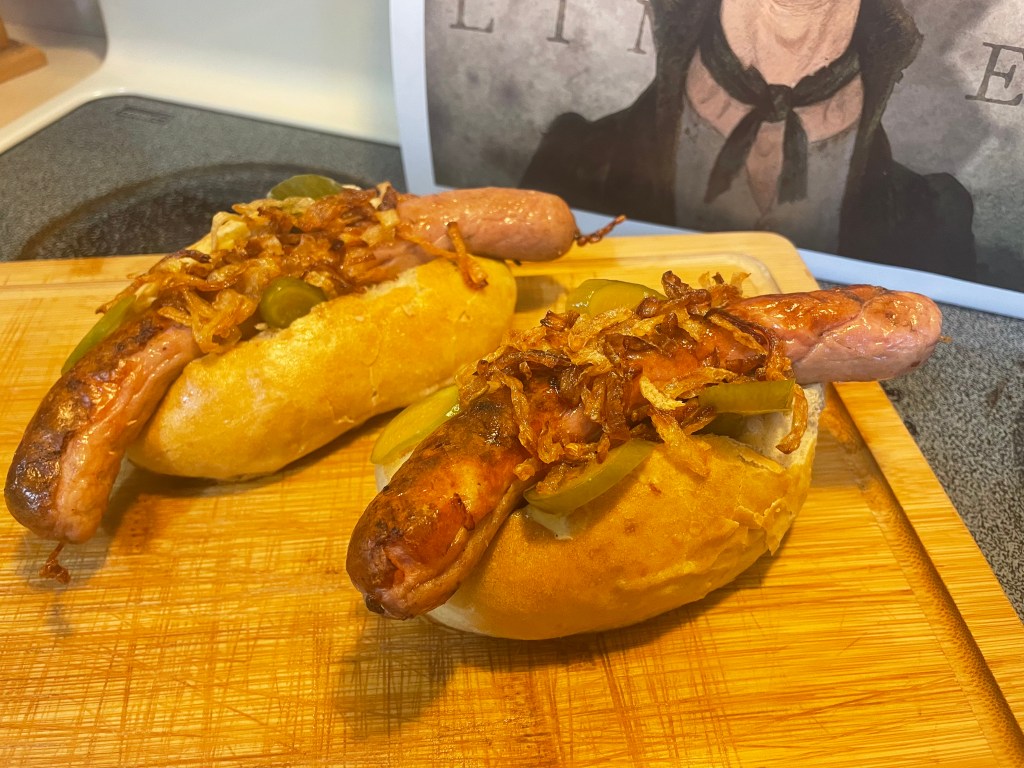
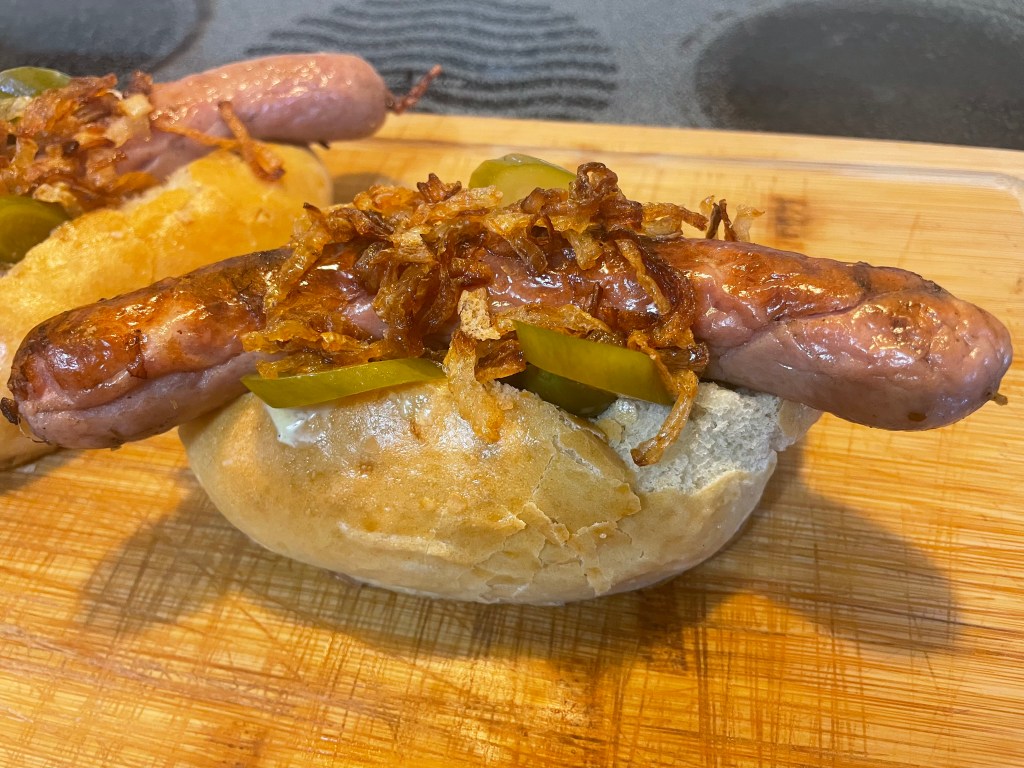
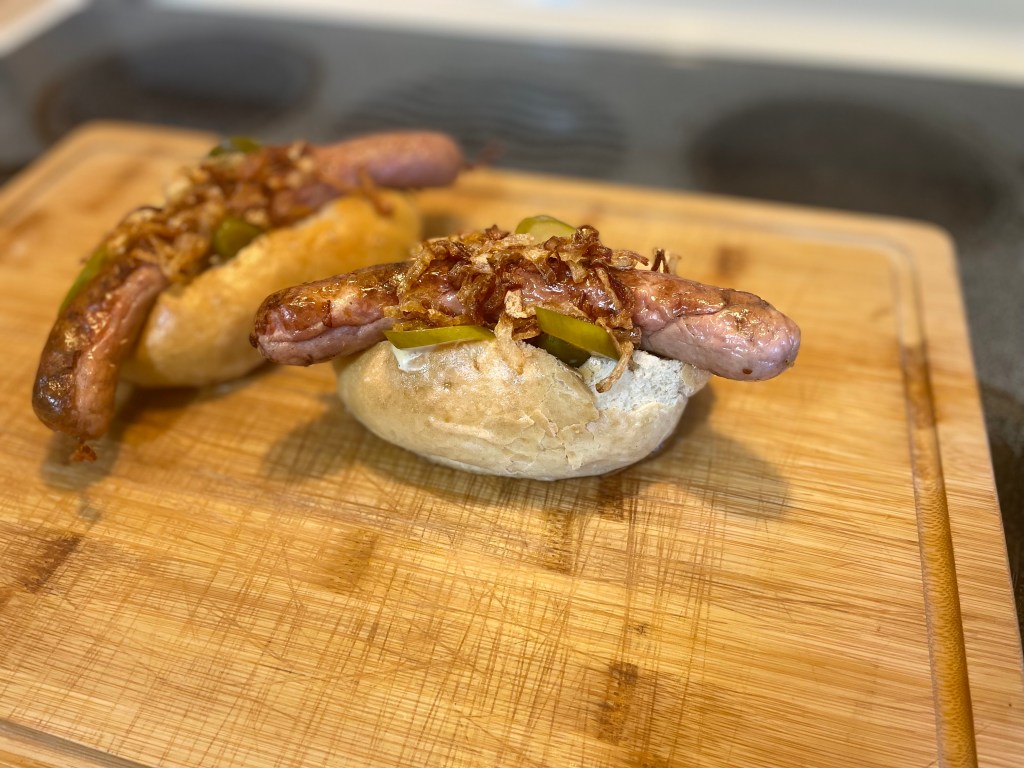
What can I say? Pillowy, unobtrusive bun with just the right proportion of crusty outside (very little) to soft inside (lots). Mild, smoky, pipingly-steamingly-hot sausage. A shower of crispy, golden-fried onions. Crunchy coins of briny and garlicky pickles. A tongue-blistering slather of mustard. Perfection.
This is how that hotdog seared itself into my memory. And this is the meal that I have been trying to recreate ever since. Futile, I know. But fun 😉
So, to keep my promise of quality and transparent clarity of ingredients, I will be making each part of the meal myself. Does this include the hotdog? Yes. Yes it does.
Store-bought beef franks are delicious. But Polish parówki are their own beastie. They are made out of very finely ground pork (mostly pork, sometimes a little veal is added) that gives them a light texture and delicate flavor. Their casings are snappy when they are bitten into. They are gently smoked before being boiled, resulting in a lovely color and complex, but ultimately familiar, comfortingly meaty, taste. They are definitely good enough to eat on their own. And are often served that way. Perhaps with a slice of good country bread and a smear of hot mustard. Or with fluffy scrambled eggs…
Anyway, setting further rhapsodizing aside, hotdogs are a tasty treat to enjoy from time to time. And are available everywhere: from your still-open-at-3am gas station convenience kiosk, through your regular grocery store, all the way to your fine butchery boutique. So do not be deterred from making this recipe because you do not plan on starting a sausage factory of your own! Grab your dogs wherever you can get them and dig in!
I obviously got carried away (hot-dogging it…) with the meaty filling bit. Really, this discussion should begin with the bread.
The Perfect Hotdog Buns
Makes 16-18 (see above regarding chosen size/shape)
I have a favorite recipe for hamburger/hotdog rolls from the King Arthur flour website (https://www.kingarthurbaking.com/recipes/hamburger-or-hot-dog-buns-recipe)
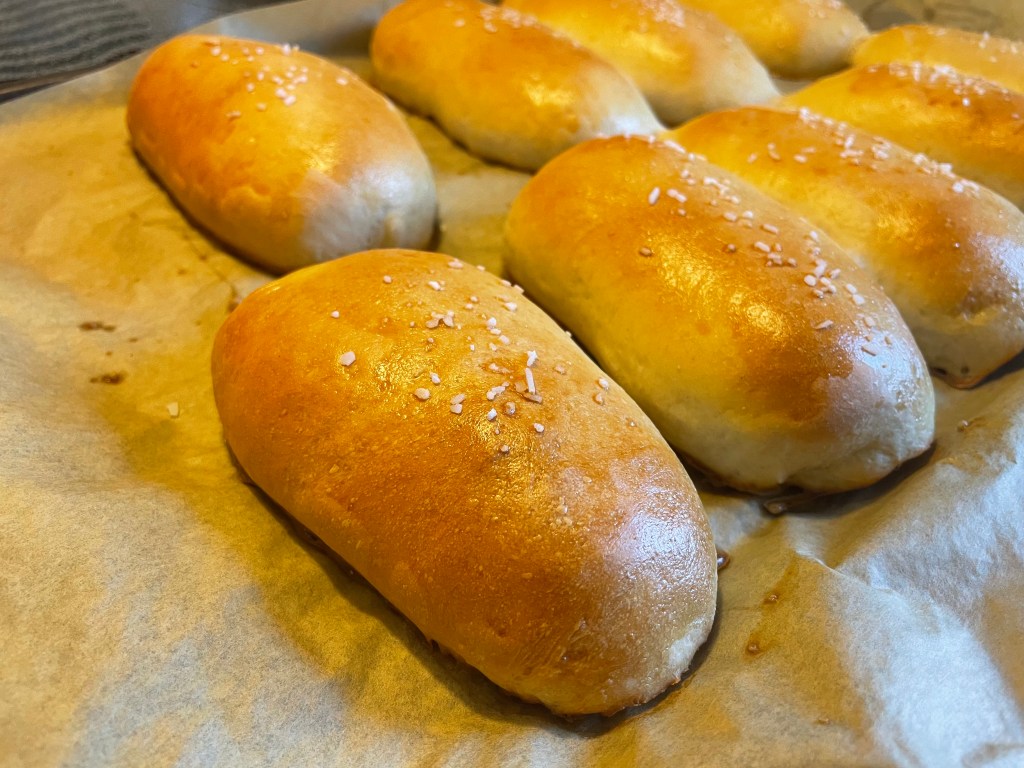
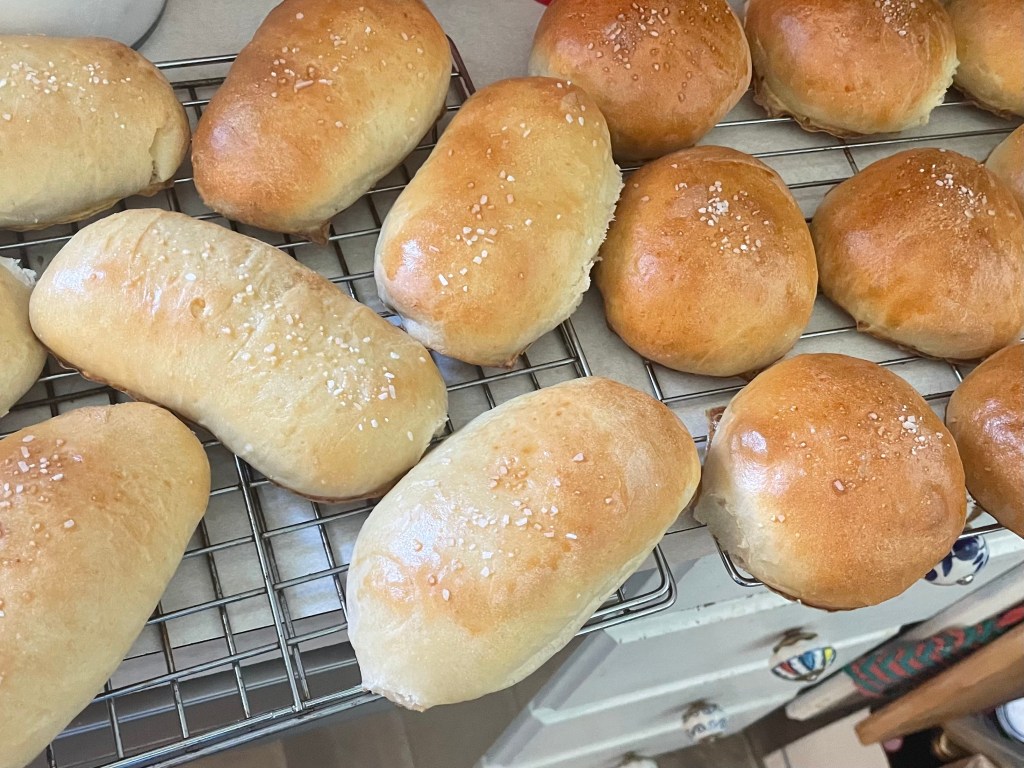
These are delicious when eaten fresh out of the oven, with a generous smear of butter and some salt. They have plenty of flavor. And the right ratio of lovely crusty outside to a light and airy inside. But, as required from all hotdog buns, they are also pleasingly pliant about fading into the background and playing an appropriately supportive role. No distracting sourdough tang or unwelcome, lacerate-your-palate crispness here. These are sturdy enough to hold up to juicy fillings. They shyly remind you that they possess all of the deliciousness of home-baked bread. But are sufficiently self-effacing to make the perfect backdrop for the meaty star of the show. They are definitely the subs of submarine rolls. Here is the recipe, with my tweaks.
Ingredients:
25g/2 tblsp granulated sugar
15g/4.5 tsp instant yeast or active dry yeast
113g/1/2 cup water, warm (105°F to 115°F)
454g milk/2 cups milk, warm (105°F to 115°F)
27ml/2 tblsp vegetable oil
10g/2 tsp table salt
720g to 900g/6.5-7.5 cups AP flour
1 large egg, beaten with 15ml/1 tblsp water (egg wash)
Method:
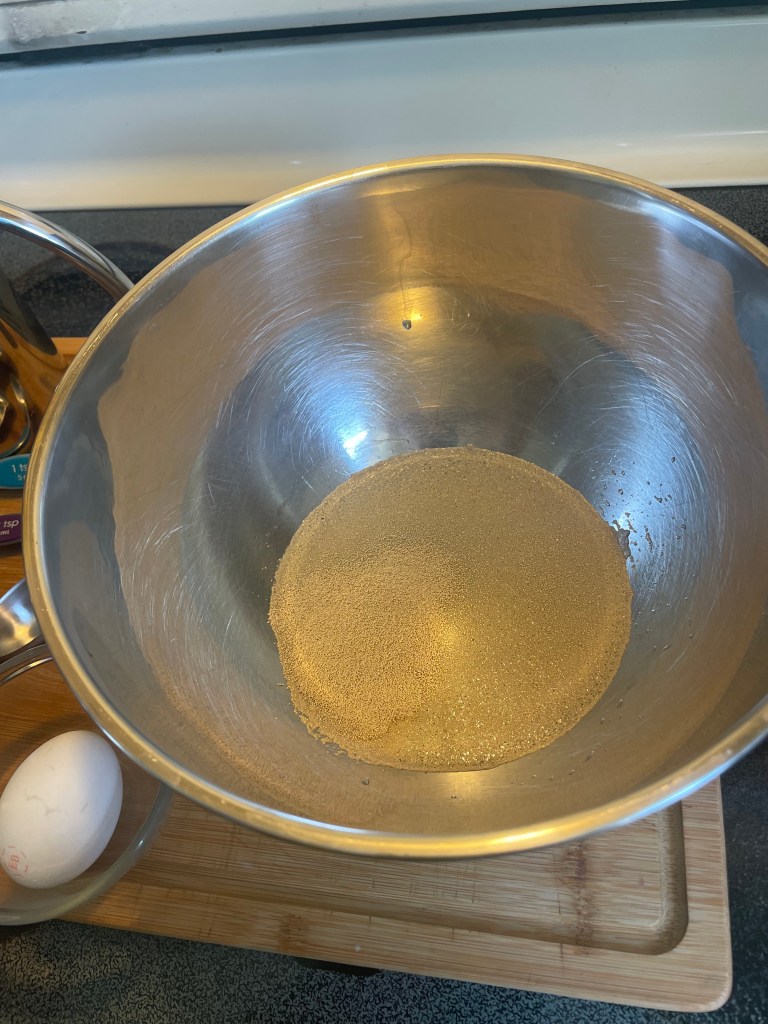
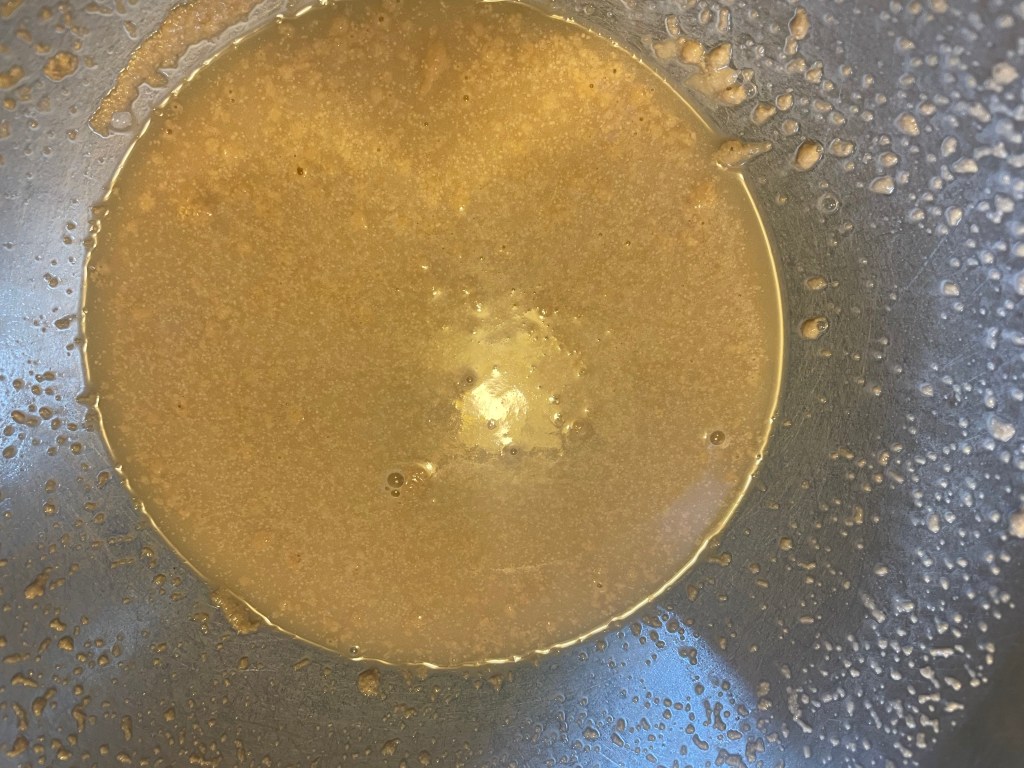
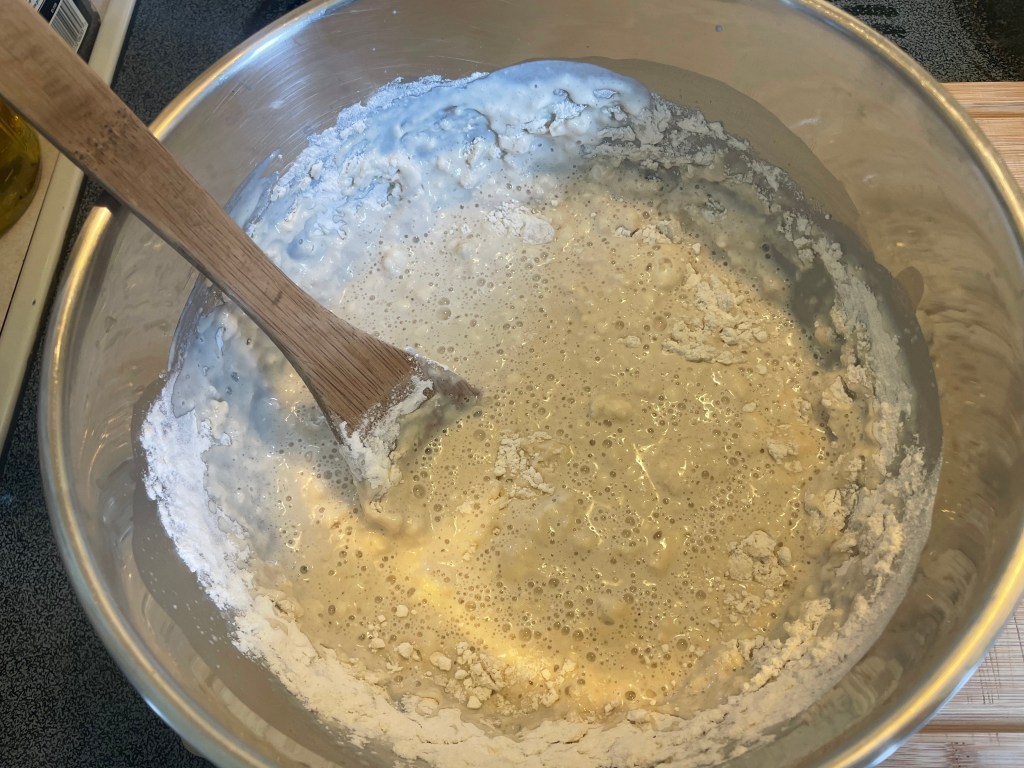
- Option one, as written in the KA recipe: Add the warm water to a large bowl and dissolve first the sugar, then the yeast in the water. Add the milk, oil, salt, and 360g/3 cups of flour to the mixture. Beat energetically for 2 minutes.
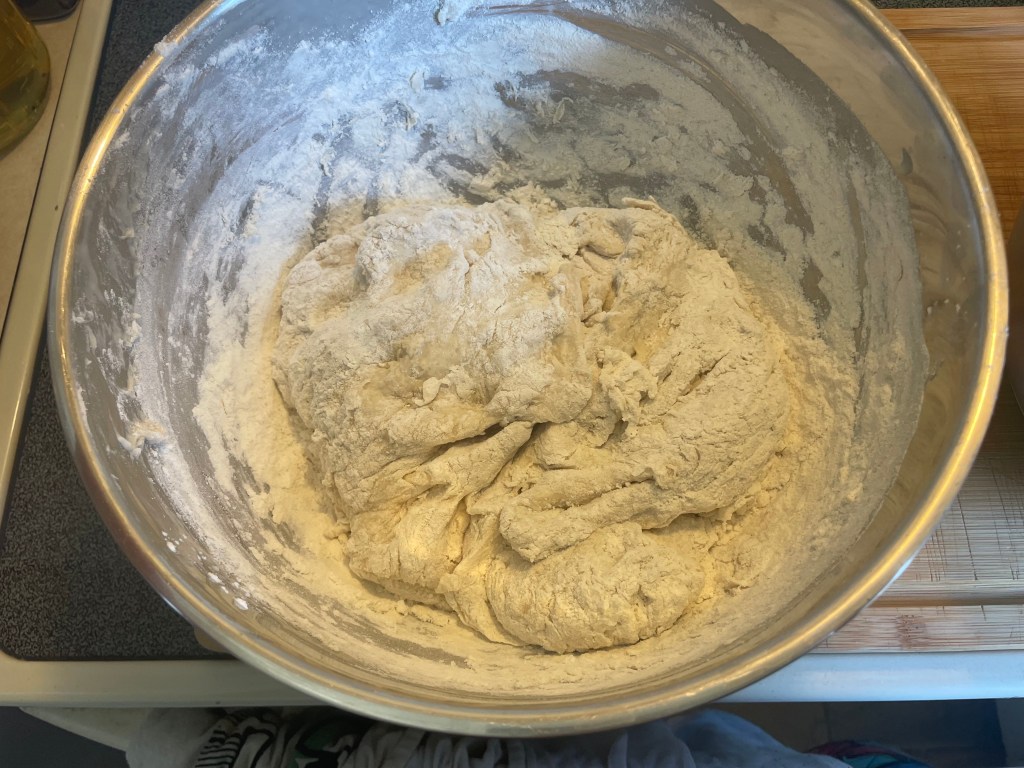
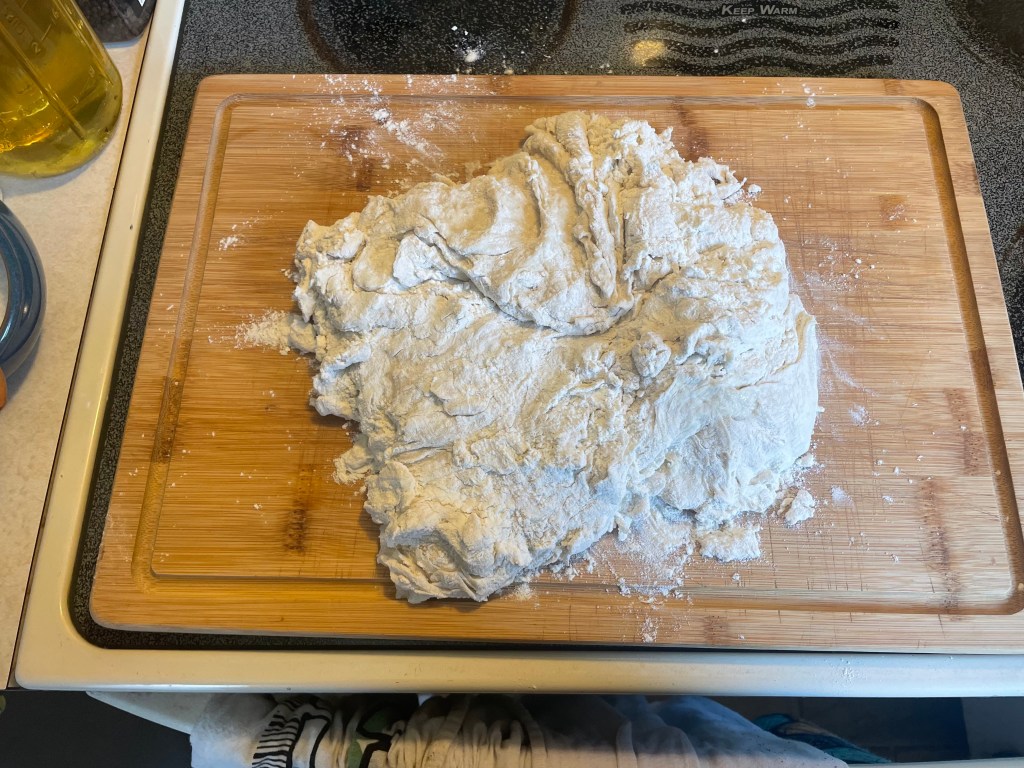
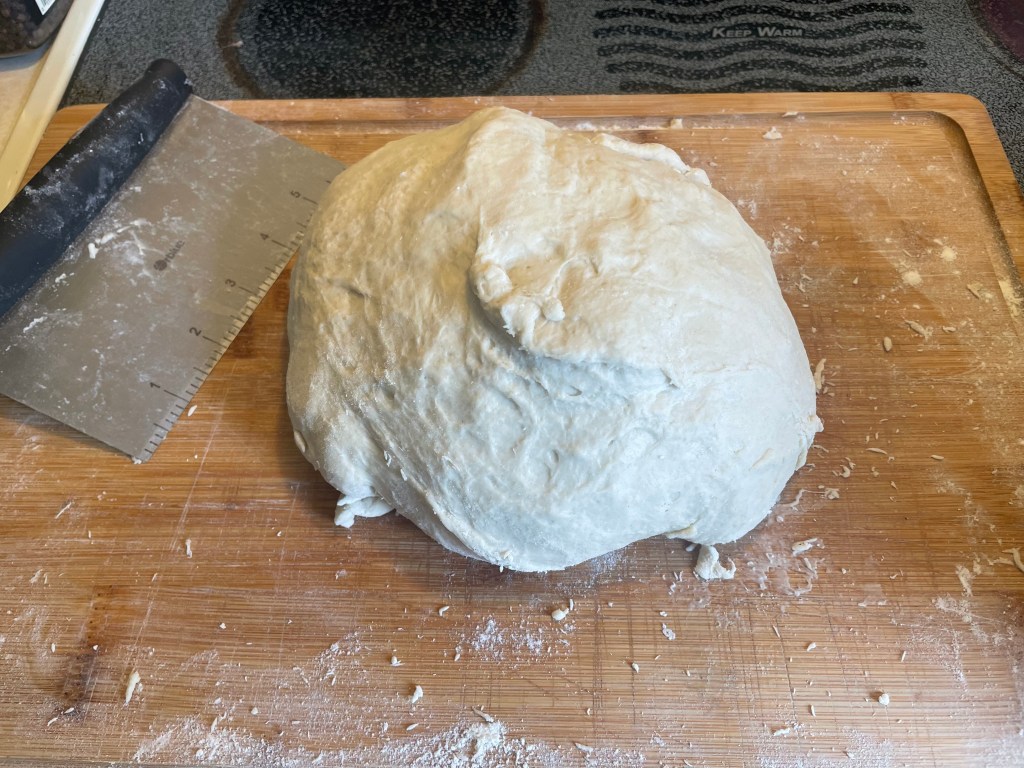
- Start slowly adding the rest of the flour, 30g/1/4 cup at a time, until the dough comes together enough to pull away from the sides of the bowl. Turn out the shaggy mass of dough onto a lightly floured work surface. The amount of flour that you need to incorporate will depend on factors like the ambient temperature and humidity, the type and age of the flour that you are using, and the mood of the Bread Gods. You want a soft and wet dough.
- Knead until smooth and elastic (approximately 10-15minutes). This is a slack dough and you do not want to toughen it by adding too much flour. So just be prepared for a messy endeavor. Use your dough scraper as needed to lift the mass and fold it over on itself.
(Option two, as I most commonly and lazily do: In the bowl of your stand mixer, dissolve the sugar and yeast in the warm water. Add the milk, oil, salt and flour to the yeast mixture. With the dough hook attachment, knead the dough for 10 minutes until soft, springy, and pulling away from the sides of the mixing bowl. This shortcut method works for me because I usually end up using most or all of the called for in the original recipe anyway. And, again, lazy…)
- Turn the dough out onto a floured work surface. Give the dough mass a few more brisk kneads. It should be smooth and elastic.
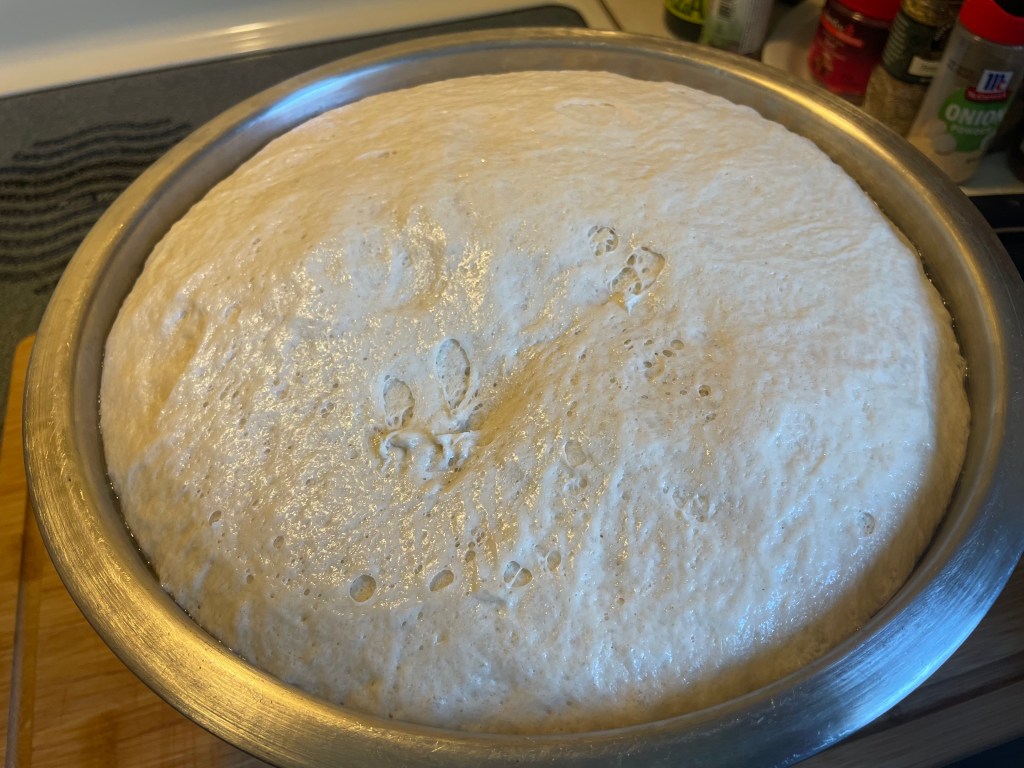
- Put the dough into an oiled bowl. Turn once to coat the entire ball of dough with oil. Cover and let rise until doubled, about 1 hour.
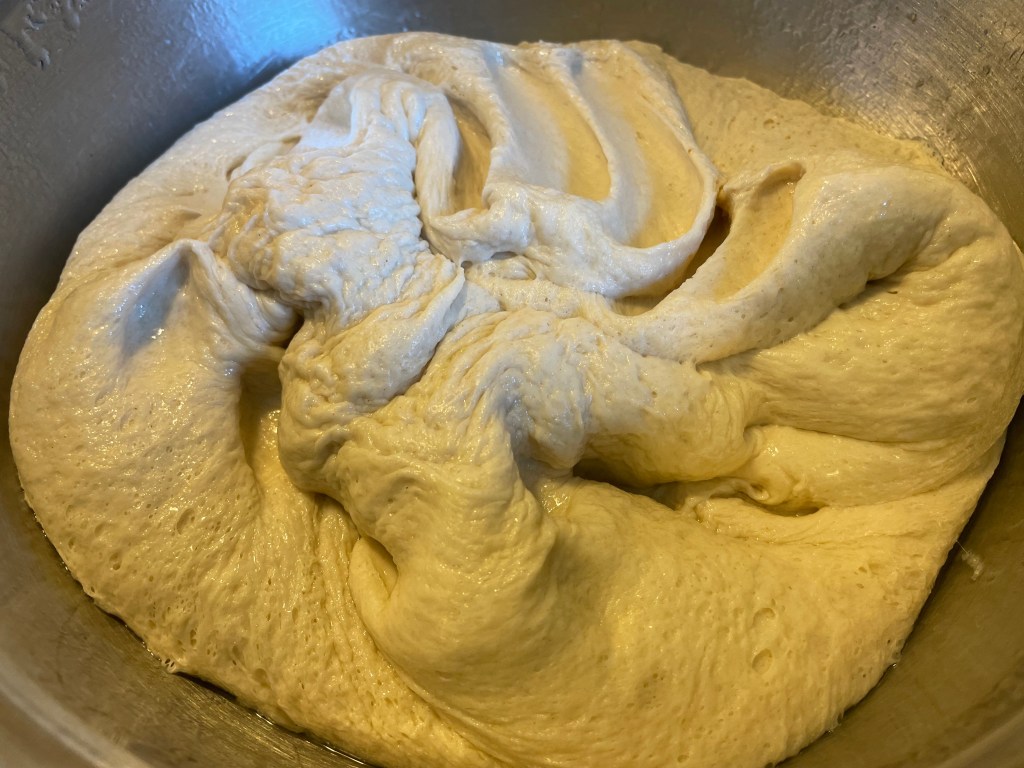
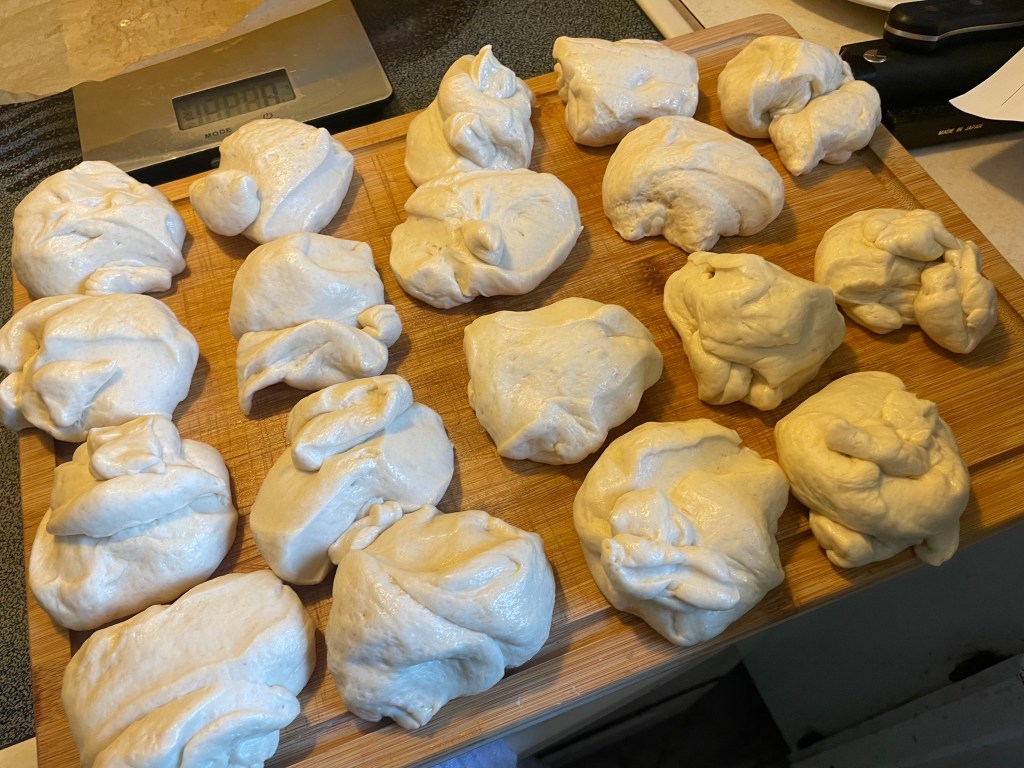
- Turn the dough out onto a lightly oiled work surface. Divide into anywhere between 12 (you will have massive mutant rolls) to 18 (modest, trim little rolls it is) equal pieces. Use a scale if you want evenly-sized buns. Bubbly dough can be deceptive.
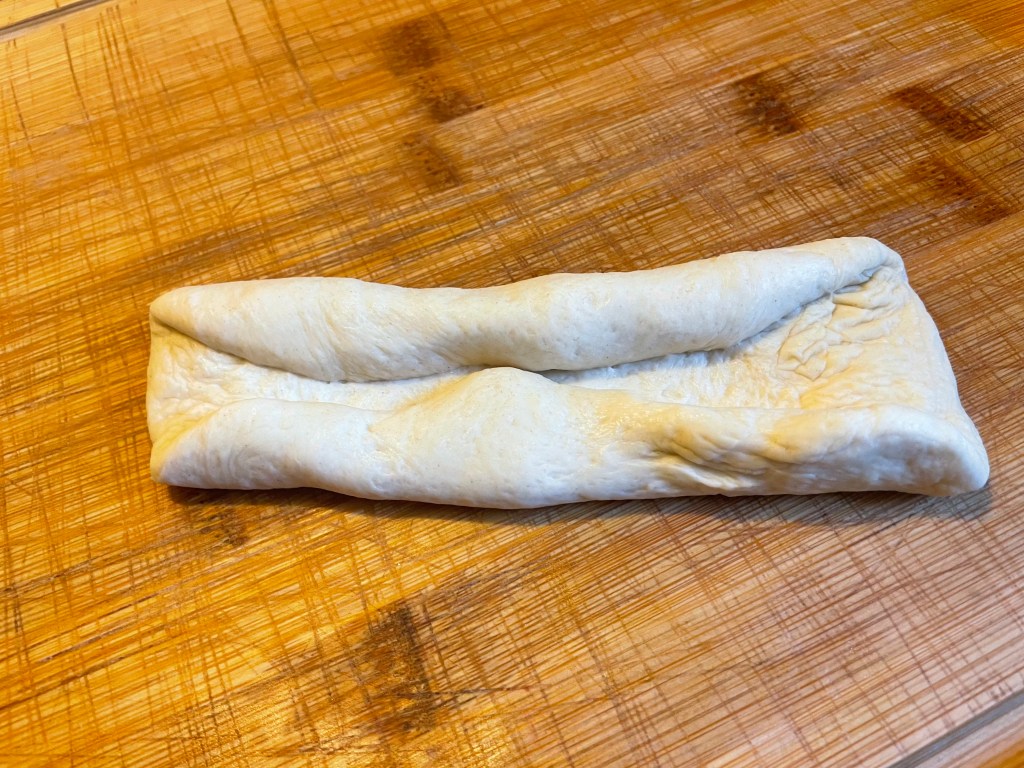
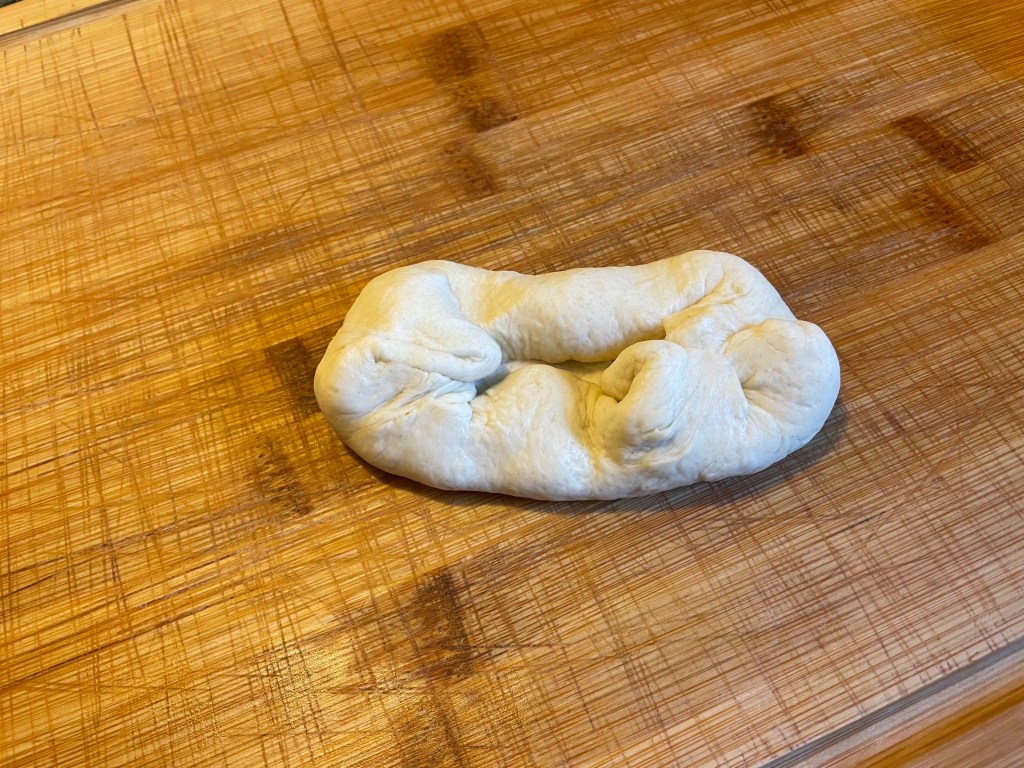
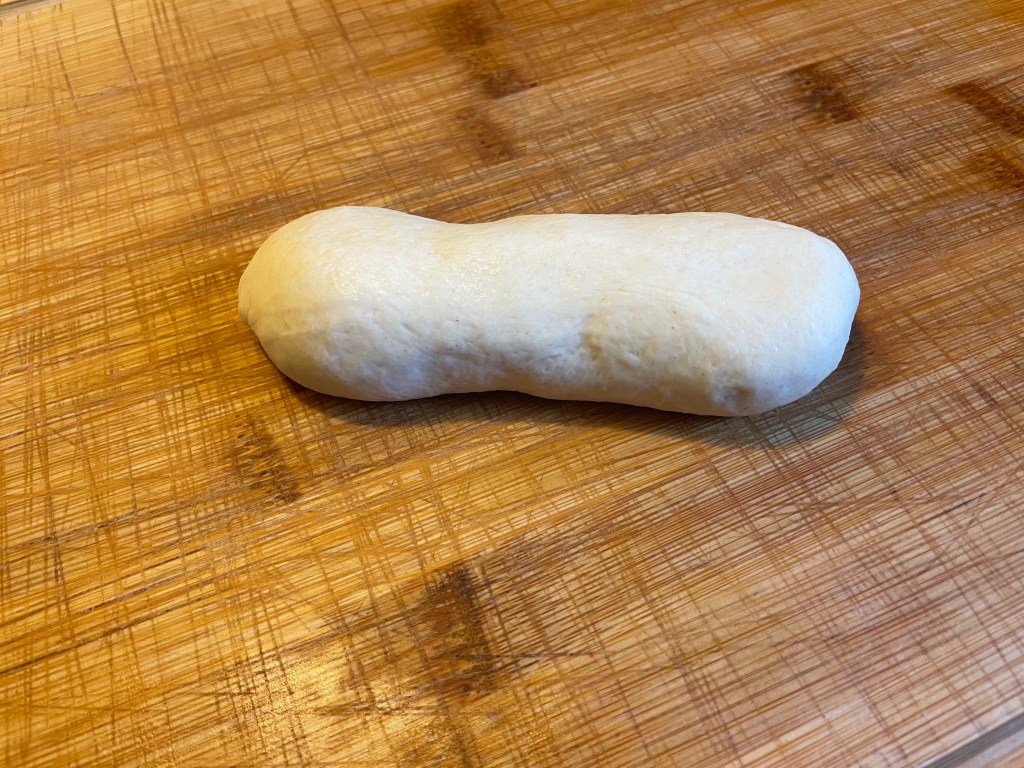
- Shape each piece into a ball. For hamburger buns, flatten the balls into 8cm/3 1/2″ disks. For hot-dog buns, roll the balls into cylinders, 10cm/4 1/2″ in length. Flatten the cylinders slightly; dough rises more in the center so this will give a gently rounded top versus a high top.
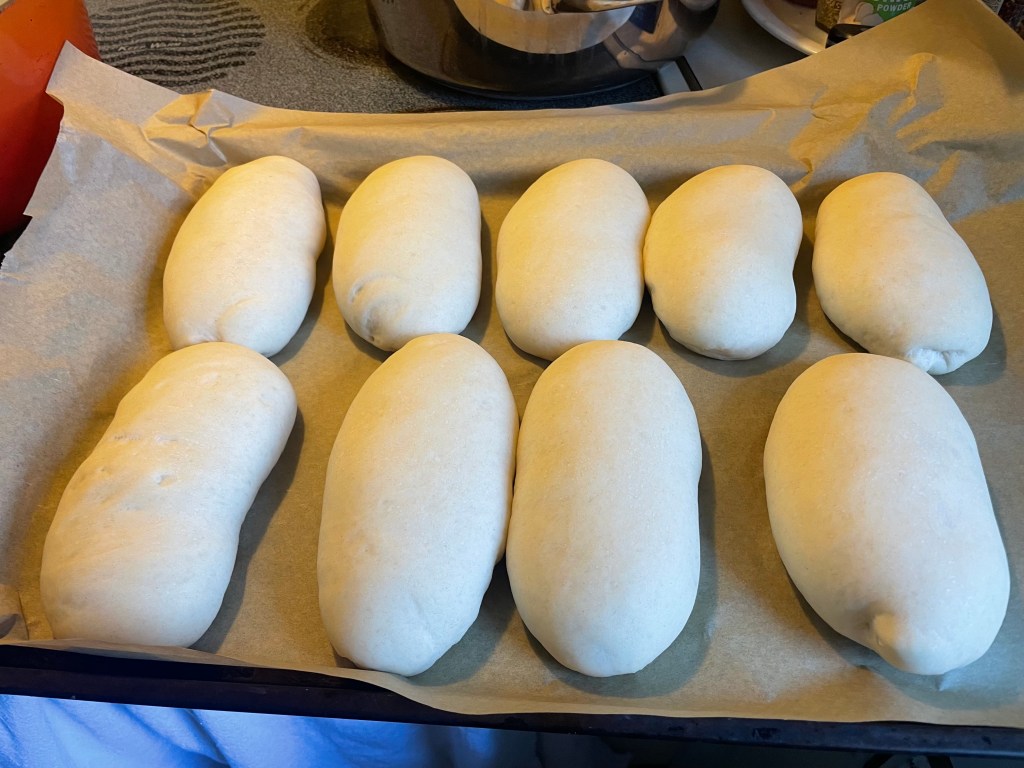
- For soft-sided buns, place them on a well-seasoned baking sheet a 1cm/half inch apart so they’ll grow together when they rise. For crisper buns, place them 5cm/3″ apart. For the second rising, cover and let rise until almost doubled, about 30-45 minutes.
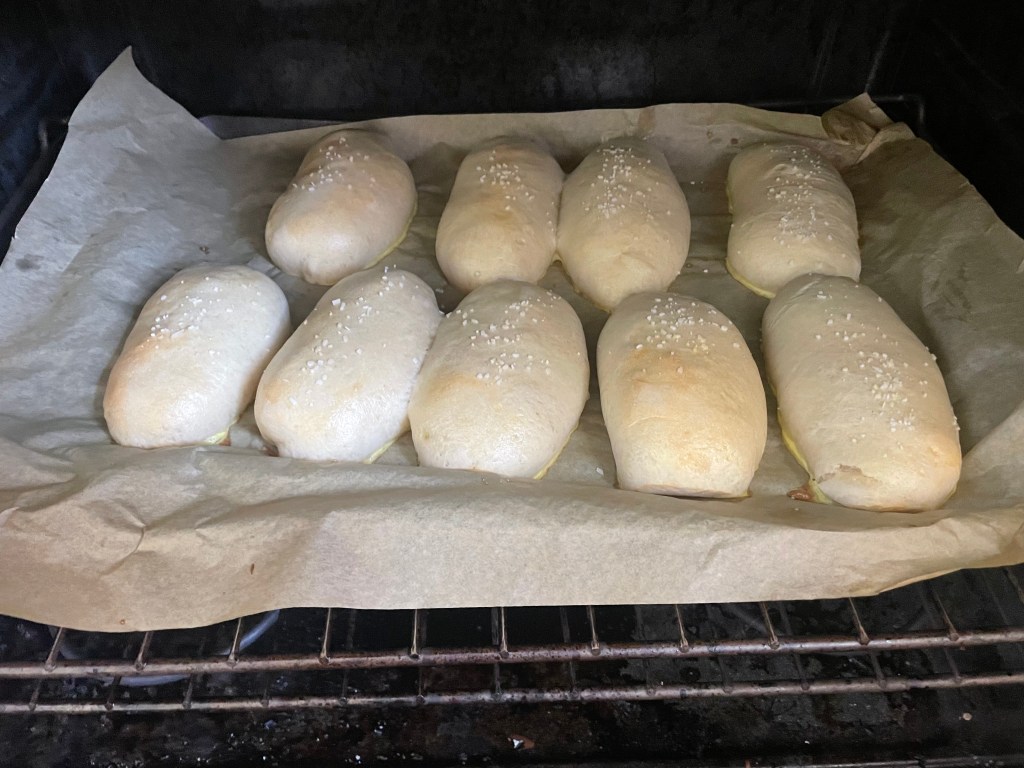
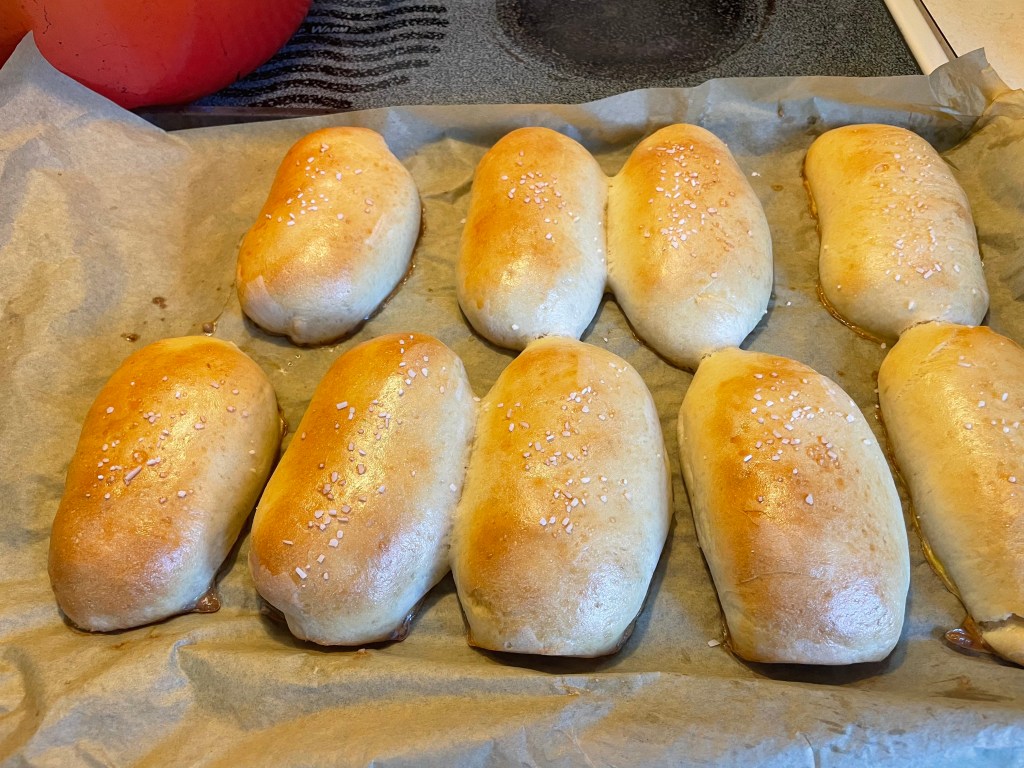
- Fifteen minutes before you want to bake your buns (or, if you, like me, are dealing with an oven in the throes of terminal rebellion, at least 30 minutes), preheat your oven to 200C/400°F. Just before baking, lightly brush the tops of the buns with the egg wash.
- To bake the buns: Bake for 20 minutes or until the internal temperature of the bread reaches 87C/190°F when measured with a digital thermometer.
- When the buns are done, remove them from the baking sheet to cool on a wire rack. This will prevent the crust from becoming soggy.
- Split the buns in half and toast or griddle before serving, as desired. Store leftover buns at room temperature in an airtight container for several days, or freeze for longer storage.


Parówki (Vienna sausages) or the Perfect Homemade Hotdog sausage
As written, using approx. 4.5kg/10 lb of pork, this makes many, many sausages. Probably 30-40, depending on which length you choose. The recipe can be scaled up or down as needed.
First, a graphic content warning. This recipe includes close up and personal depictions of animal protein being…altered. If you are vegetarian or vegan, these pictures will not be palatable. Indeed, even if you are a dedicated carnivore but prefer your meat in dainty, pre-divided, not identifiable as ever having been an animal portions, you may also find the images below disturbing. Basically, if you are not open to seeing meat grinders and intestines, steer clear. That’s it basically. Ground protein and intestines. There is a Magnus Archives level of flesh to be found below. Be warned…
I combined helpful instructions from two YouTube recipe videos to make these hotdogs. These were:
And:
These are both in Polish. The second channel is especially delightful – worth checking out even if you just drool over the images without understanding the words. It’s called Co Mam To Jem. Which translates to I Eat What I Have. And it has so very many fantastic recipes for traditional Polish preserved meats. Carnivores’ paradise!
Ingredients:
3kg/6.6 lb lean pork such as raw ham
1.5kg/3.3 lb fatty pork such as pork neck, jaw, or belly
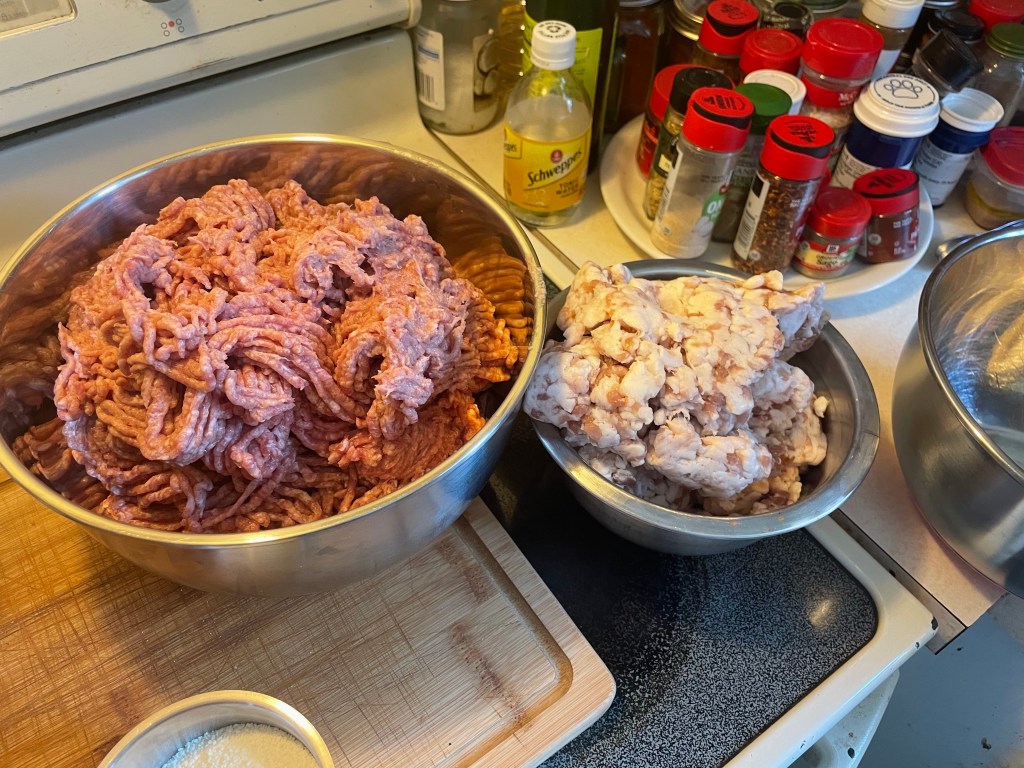
It is not always easy to find cuts like pork neck in my neck of the woods (hehe, get it?). I am usually able to get a pork butt or shoulder roast. Which has a fairly high fat content. And I can almost always find pork belly. I ended up trimming the pork shoulder, dividing the visibly lean portions from the obvious fatty bits. The general ratio should be roughly 70% lean pork to 30% pork fat or very fatty pork meat. Plus, my deconstruction of the pork roast was rewarded by a nice bone that I can use later for soup…
Kosher salt 20g/4 tsp per 1kg/2.2 lb of total meat
Curing salt/sodium nitrate of choice according to manufacturer’s directions. I used InstaCure #1 whose awesome Botulism-be-gone powers are deployed at 5g/1tsp per 2.2kg/5 lb of meat
Spices, all given in weight per 1kg/2.2 lb of meat:
White pepper 0.7g/1.8 tsp
Black pepper 0.7g/1/8 tsp
Nutmeg, freshly grated preferred, 0.5g/1/8 tsp
Sweet paprika 2g/1/2 tsp
Ground ginger 0.2g/1/16 tsp
Granulated sugar 5g/1tsp
Evaporated milk powder 20g/4 tsp per 1kg/2.2 lb of meat
Iced water as needed.
The recipe calls for 600g/2.5 cups but I needed more. You can add up to 30-40% iced water by weight of meat.
Method:
- Prep your pork products by trimming away any skin and then dividing all the meat into two bowls: one for lean and one for fat pork. Weigh the trimmed meat to make sure that your ratio is as close to 70% lean pork to 30% fat as you can manage. You will also need these weights to calculate the amount of salt, curing salt, spices, evaporated milk powder, and water that you require for the remainder of the recipe. Do not forget to weigh your meat and fat!
- Keep all the tools and utensils that you use during this recipe as cold as you can. I cooled down my meat grinder components, even for the first pre-grind, for 30 minutes in the freezer. This becomes especially important in the later stages, when you are working with more finely ground fat and are creating an emulsified product. A bowl still icy from the freezer is helpful to control your temperature here. We’ll get to that. For now, you have weighed your meat and fat separately, yes? Calculate how much salt, curing salt, and spices you will need and save this information.
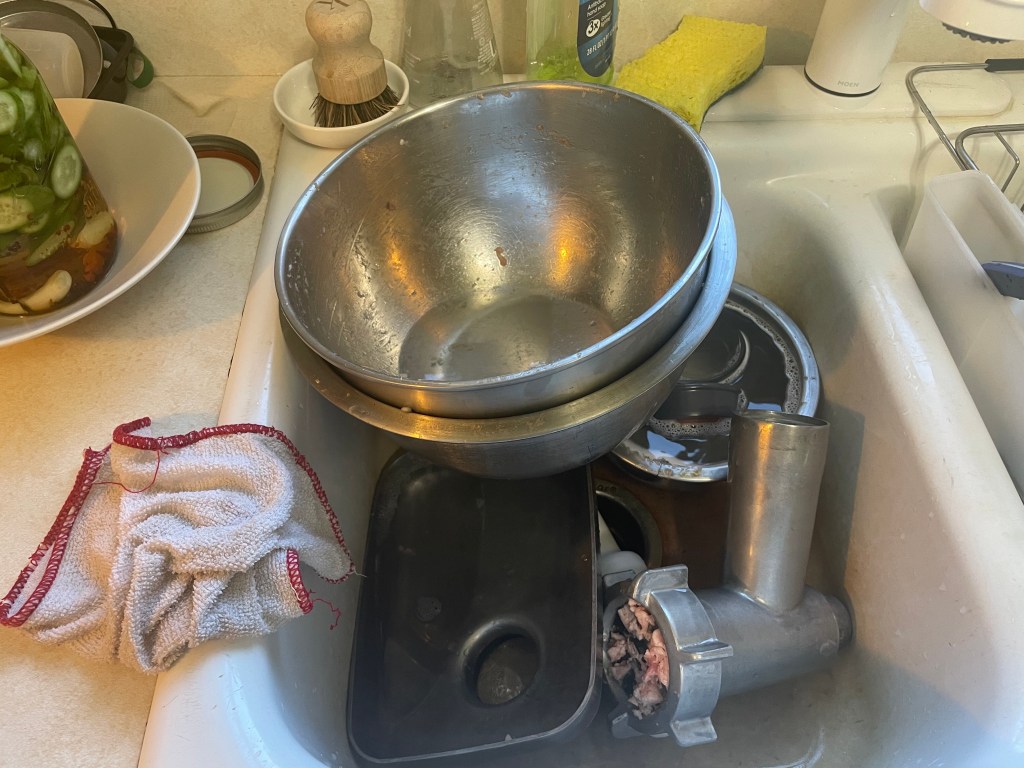
- Cut up all your meat and fat into chunks small enough to feed into your meat grinder. Do not combine – place in separate bowls as you work. At every stage until the end, you will be keeping your lean pork and fat separate. Be prepared to wash many bowls…
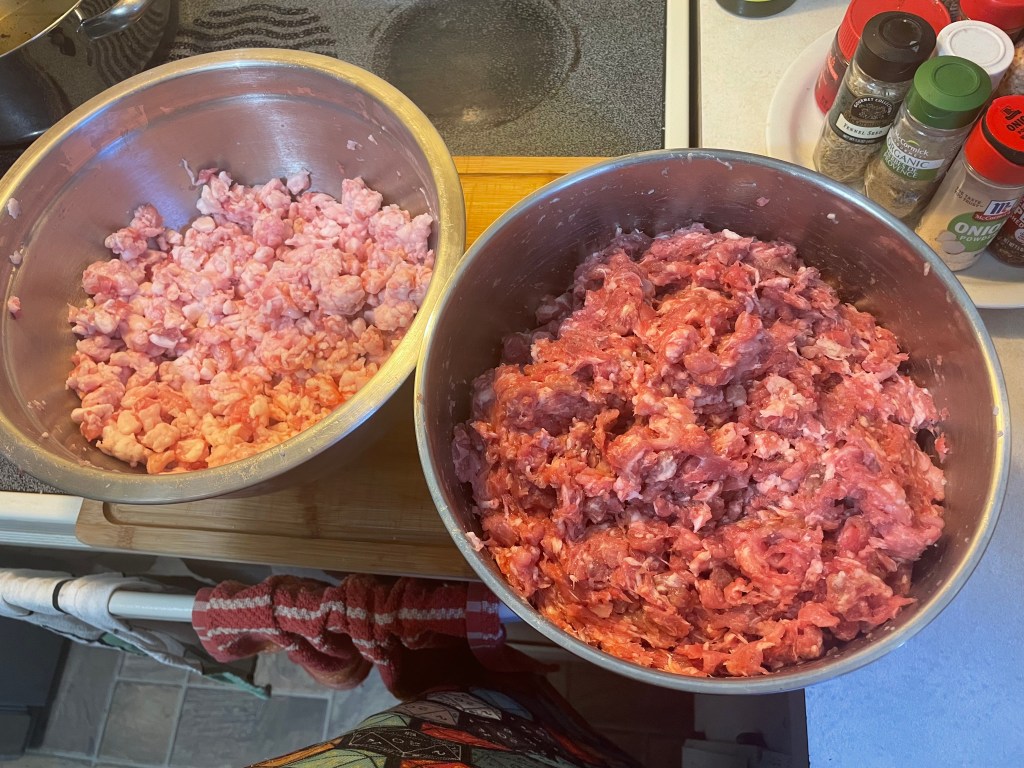
- Grind your lean pork into one bowl, followed by the fat pork into a second (or is it 4th by now?) bowl. This step roughly breaks down the meat and makes it easier to mix with your salt and curing salt. You can use the course chop disk on your grinder or you can forego grinding and just finely chop the pounds and pounds of meat by hand. I mean, if you really want to…
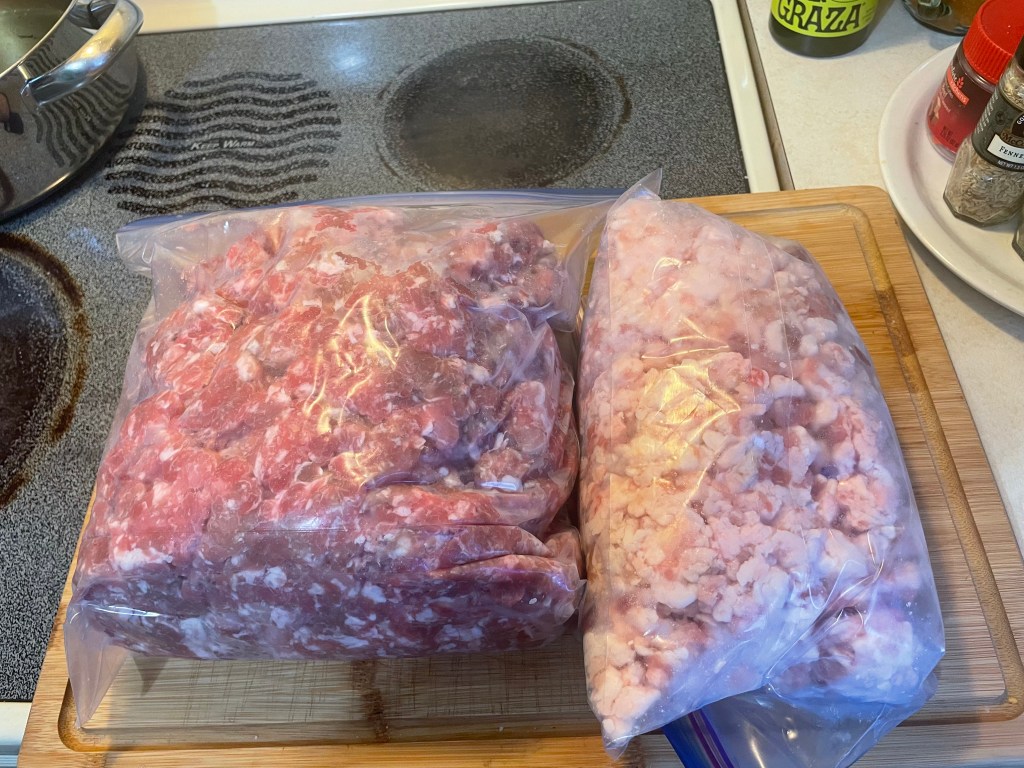
- Add the measured amounts (based on your meat and fat weights, remember?) of salt and curing salt to each separate bowl of roughly ground lean pork and pork fat. Mix the salts thoroughly into the meat and fat. If you have room for both bowls in the fridge, fridge them. I transferred my protein into two squishy bags: better for jamming into my overly-full refrigerator. Keep your (separate) lean pork and fatty pork in the fridge for 24-48 hours to cure.
- When ready to embark on the great grinding and stuffing project, weigh out your spices and evaporated milk, place in (more!) separate bowls. Ensure that you have a source of icy water available. Place your grinder components and two large mixing bowls in the freezer for 30-60 minutes so that everything is Great Glacier-chilly.
- Now is the moment that we have all been eagerly dreading. I mean, anticipating. Casing time. The correct casing for this particular type of emulsified sausage (aka the humble hotdog) is a natural one that you can eat along with the sausage. And the hotdogs turn out the proper diameter when using sheep small intestine/casing. Be warned, sheep casing is much more delicate and tears more easily than sturdy pork guts. Also, and this is a personal preference thing, but I tried ordering casing that came pre-threaded onto a little tube. I do not recommend this. I may have misread the instructions and used the product in the wrong way. The packaging said not to remove the guts from the tube. I could not make this work with my sausage stuffer and absolutely hated all the fuss and fiddliness of working with the pre-tubed casings. I ended up unraveling the guts so that I could pre-treat them with a little oil (my preferred way of lubricating the casing and making it every so much easier to get on and off the stuffer attachment without causing tears). Word of bitterly-earned advice however: if working with intestines in a bowl in the sink, bear in mind how slippery these little buggers are. If, unbeknownst to you, section of bowel happens to slither down into the drain and wind itself around the garbage disposal mechanism it will disable it. And result in a very sad, curse-word-strewn morning of dismantling the plumbing under the sink. I know this because of…reasons. Moving on, my recommendation is:
- Purchase plain, packed-in-salt casing without the fancy tubes.
- When ready to make hotdogs, remove the desired amount of casing from the container (follow the package instructions on the packaging for an estimate here, you may need more length if you have lots of tears). Place in a sieve and then rinse thoroughly in cold running water. Do not let any escape!
- After rinsing, soak the casings for 1-2 hours in clean cool water with a splash of distilled white vinegar mixed in. This will keep the casings a nice light color and, I’ve been reliably informed, increase their elasticity.
- When ready to use, drain in a sieve and then find one open end of the casing length. Spread this out into a gaping little gut hole and pour in several spoonfuls of a neutral oil into the interior of the strip of intestine. Massage through. Repeat as needed with remaining casing segments. This will make everything nice and squishy and lubricated. Much easier to work with.
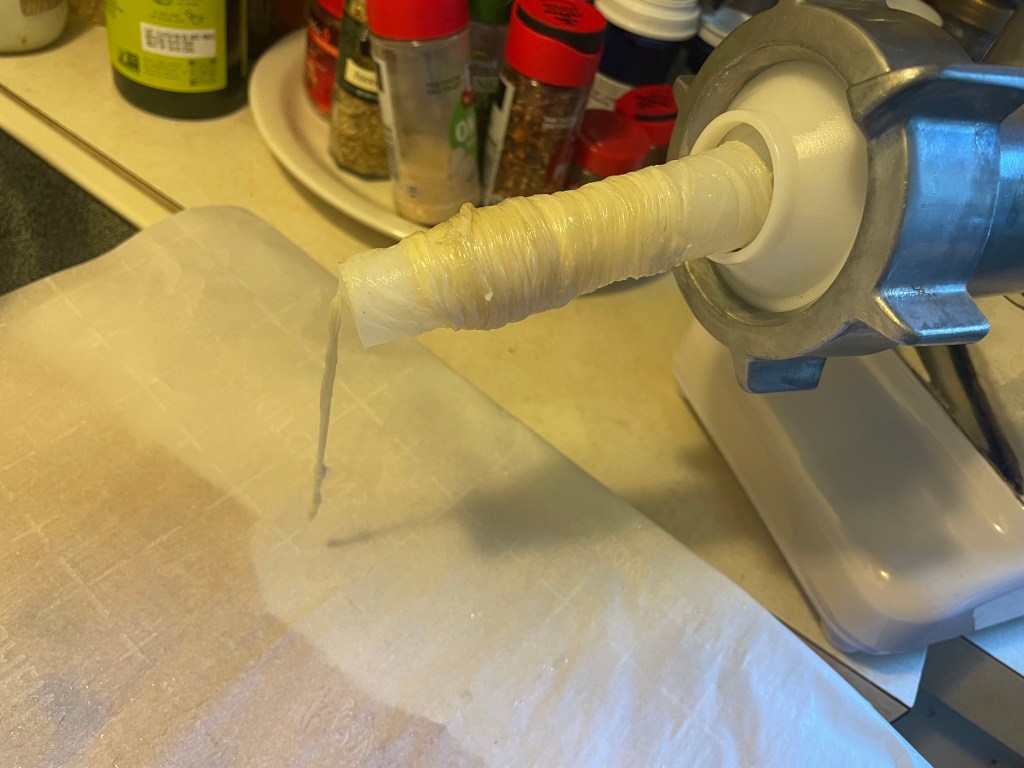
- Also lightly oil the spout of your sausage stuffer before threading the casing onto it. Stuff away!
8. Alright, back to the meat and fat. Using the finest/smallest diameter disk of your pre-chilled meat grinder, grind your lean pork into an icy cold bowl. Mix all of your spices along as you grind. Refrigerate.
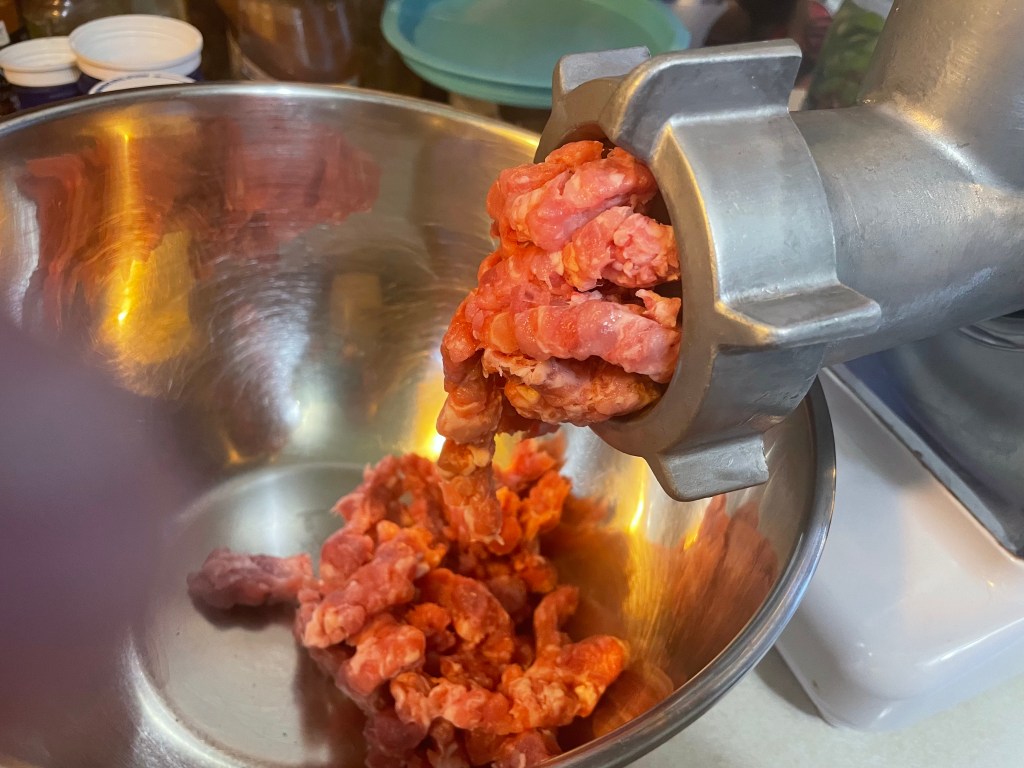
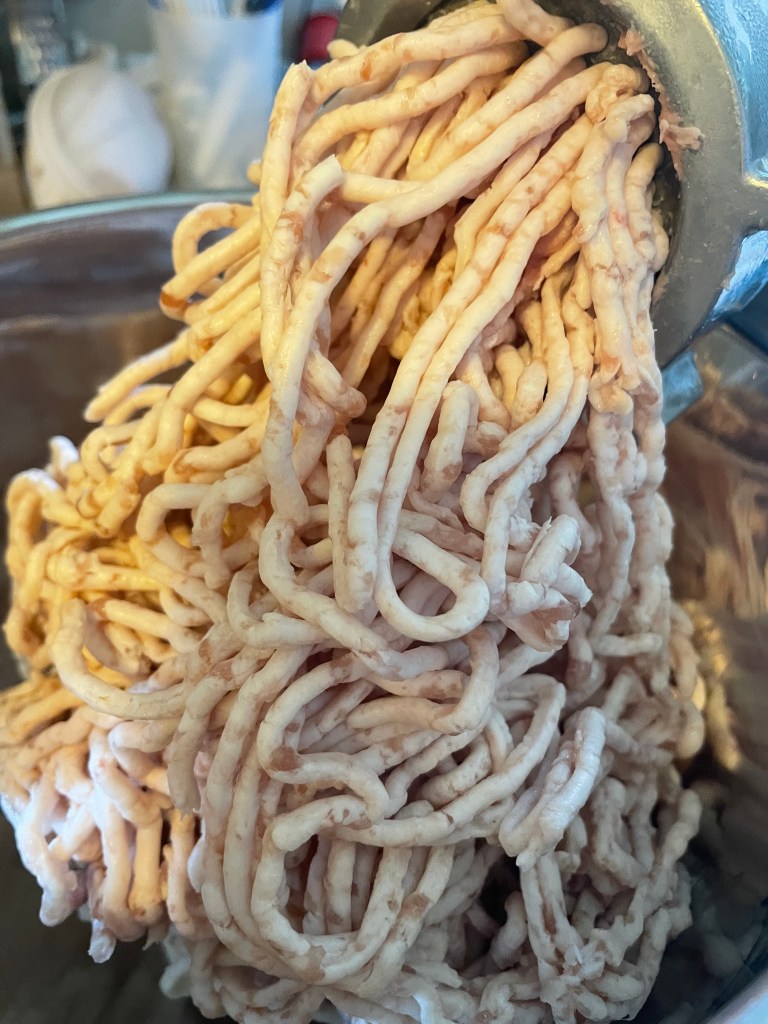
9. Repeat with the fat. Remember, heat is not your friend here. Remove the fat from the fridge only when ready to grind (or, even better, place your bags of meat and fat in the freezer for 30-60 minutes prior to fine grinding, along with your other supplies and only remove when ready to go). Grind it up. Refer to the picture below to see the lovely, un-smeared strands of fatty pork emerging from the machine. This is what you want. Porky fat noodles. Or, if you prefer, worm-like grease strings that could serve as piggy hair for some kind of Cursed Meat Demon. Too weird? Ok.
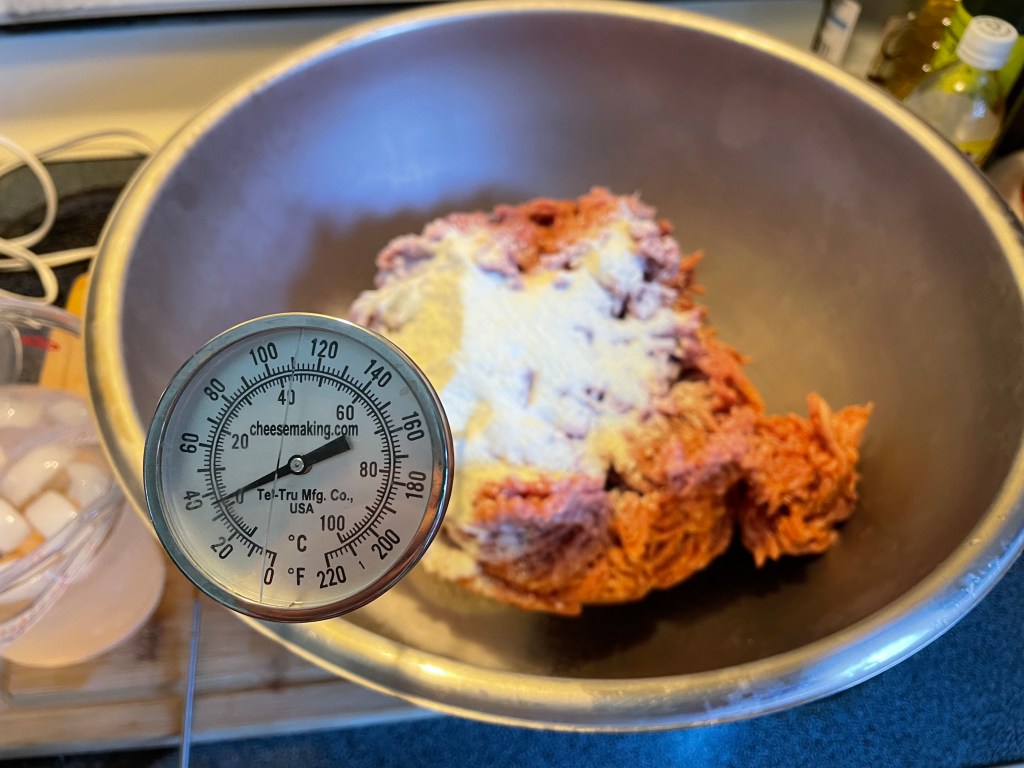
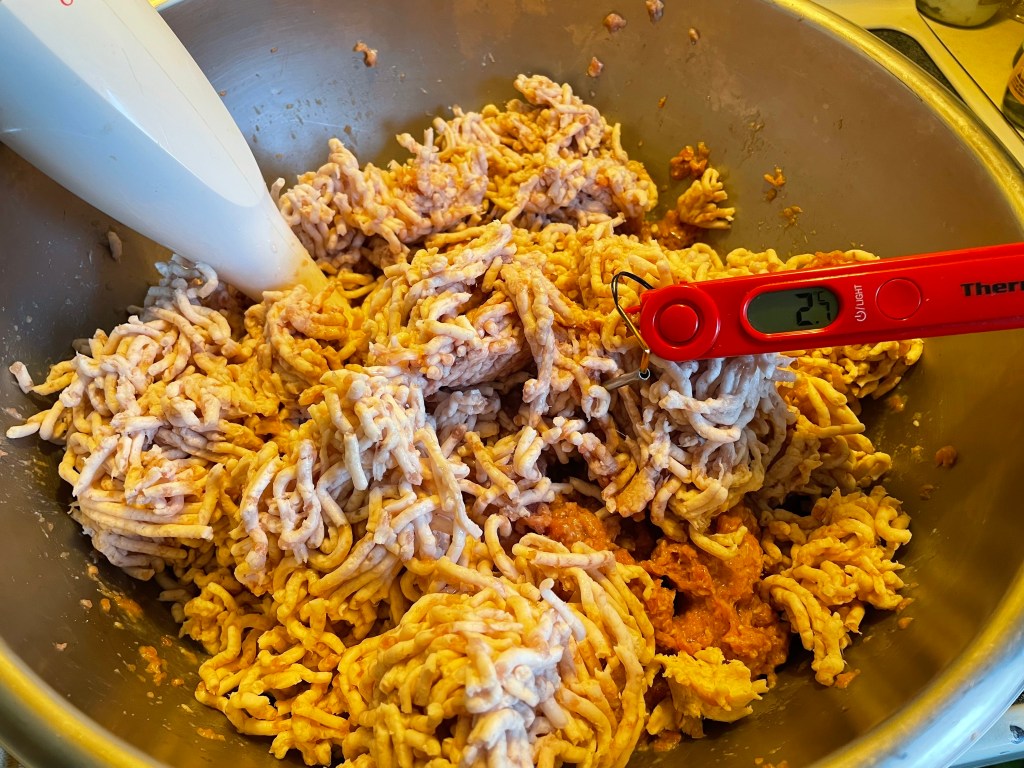
10. Get your (hopefully final) chilled bowl ready. Place your finely ground and spiced lean meat into the bowl. Sprinkle the evaporated milk over the meat and dump in about 250ml/1 cup of iced water to start. Take your sausage-to-be’s temperature. It should be 0-5C or 32-41F. Using a handheld immersion blender, start blending your lean meat, evaporated milk, and ice-water together. The goal here is to turn the contents of your bowl into something that has a fine, mousse-like structure. Adding more ice water as needed to keep things moving. And cold. Very cold. Repeat the temperature checks frequently. Your mixture should not exceed 15C or 59F. If it is getting too warm, add ice, take a break, pop it in the freezer.
11. When the lean meat is well blended, start adding in the finely ground pork fat. Yay! They finally get to come together! Continue to blend, add small volumes of ice water, and check the temperature as you go. Your final product will be a smooth and shiny mix. Not overly smeary (is that a word?). No leaking grease. A cold emulsion that is holding its shape well. Give it another short rest in a cold place if you want to be sure that it will not break as you stuff the casings.
The above method of emulsifying your filling is a bit of a work-out. I did it this way because I have never made this type of sausage before and I felt that it would give me more control over the process. And allow me to track temperature changes more closely. It is easier to simply use a food processor for your emulsification. For a recipe using this weight of meat, you would be doing this in batches, refrigerating every completed portion, moving onto the next batch, and then, finally mixing them all together.
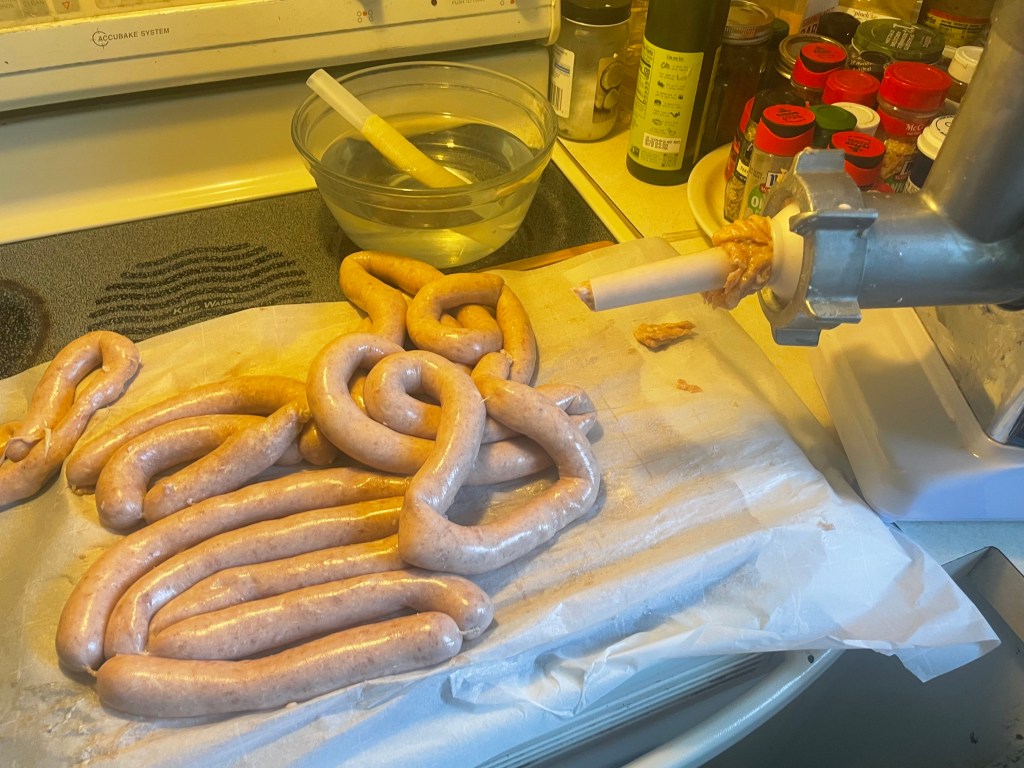
12. Get your casing prepared as described above and feed over the tube portion of your sausage stuffer. Proceed to fill.
13. I do not make sausages often enough to have developed any muscle memory for this. There is always a little bit of a trial and error period where I re-learn how quickly and forcefully to feed the meat through the machine, how quickly to nudge the casing off the tube attachment, and how generously to fill the sausage. This is one of those processes where you need to get your hands in and do the thing. Rather than read a long, intimidating description of how to fill slick intestinal tubes with ground cured meat…
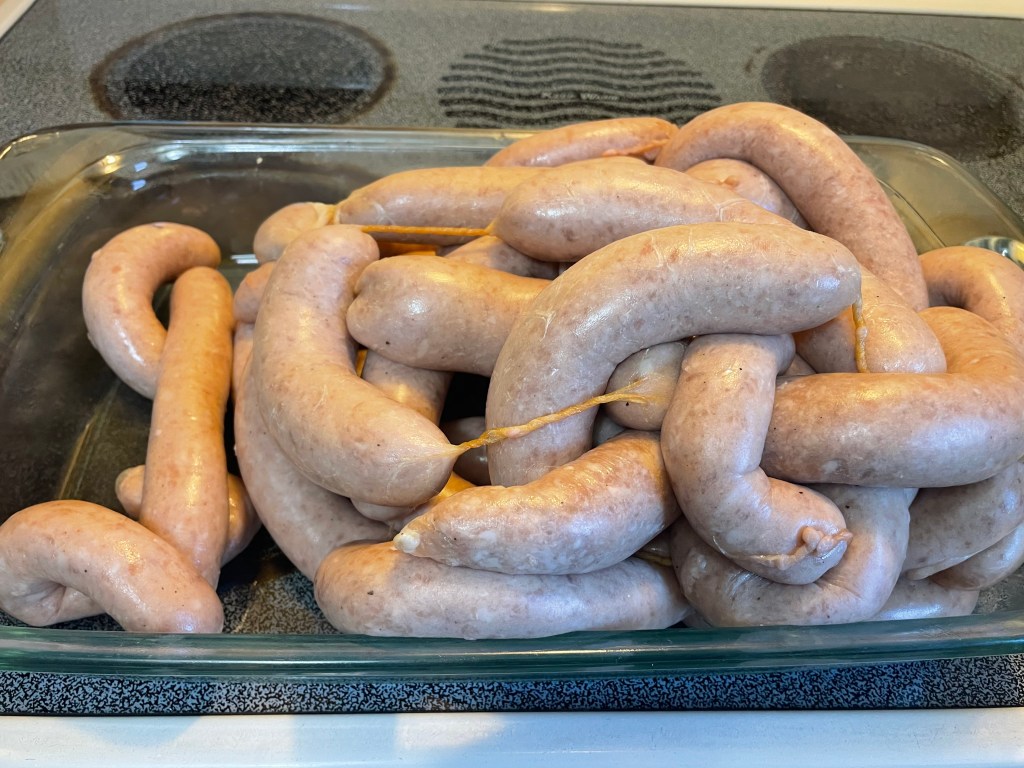
14. Once each casing segment is filled, tie off the end and twist the sausage (Yes! It is now officially a sausage!) to divide it into links. These will ideally be a good length to fit your hotdog rolls – please see below for my total failure to achieve this happy effect!
15. Hang your links to dry in a cool room with good air circulation for 1-2 hours. This allows a slight skin to form on the surface of the sausage. When they are tacky to the touch they are better at picking up smoke flavor. If you have a proper meat cabinet where you can hang the hotdogs, use that. If you are improvising, use baby gates (like me!) or two chairs with a broom handle between them. I also like to add a fan into the mix to get good airflow. Make sure that all pets are safely removed from the sausage-drying vicinity.
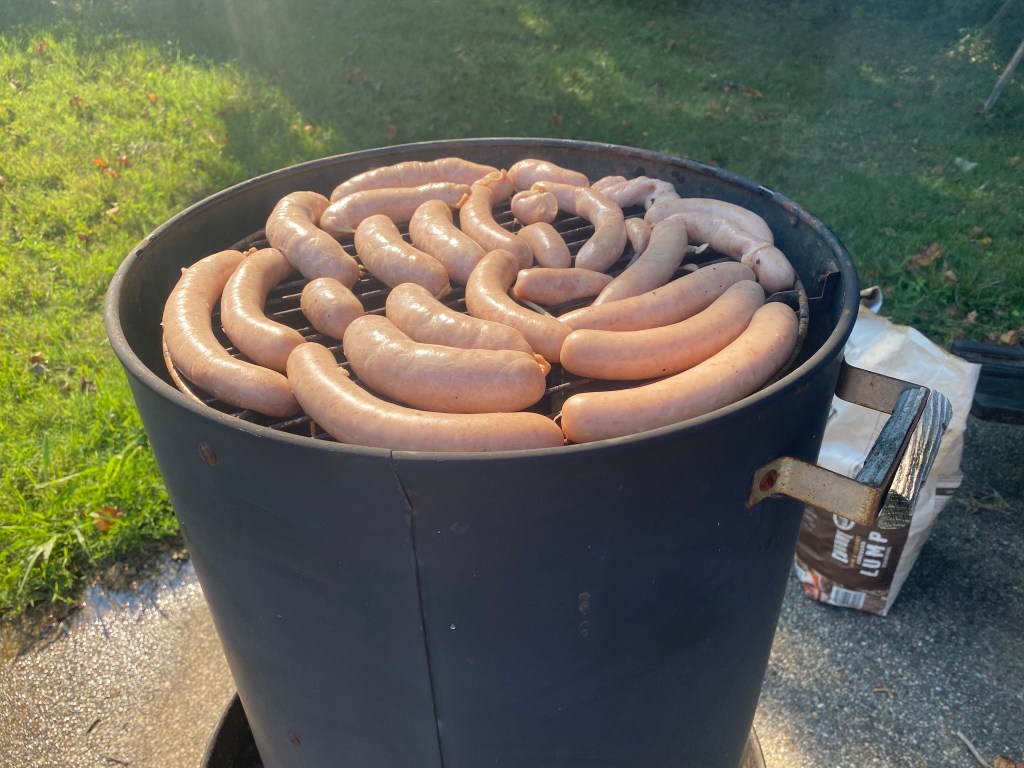
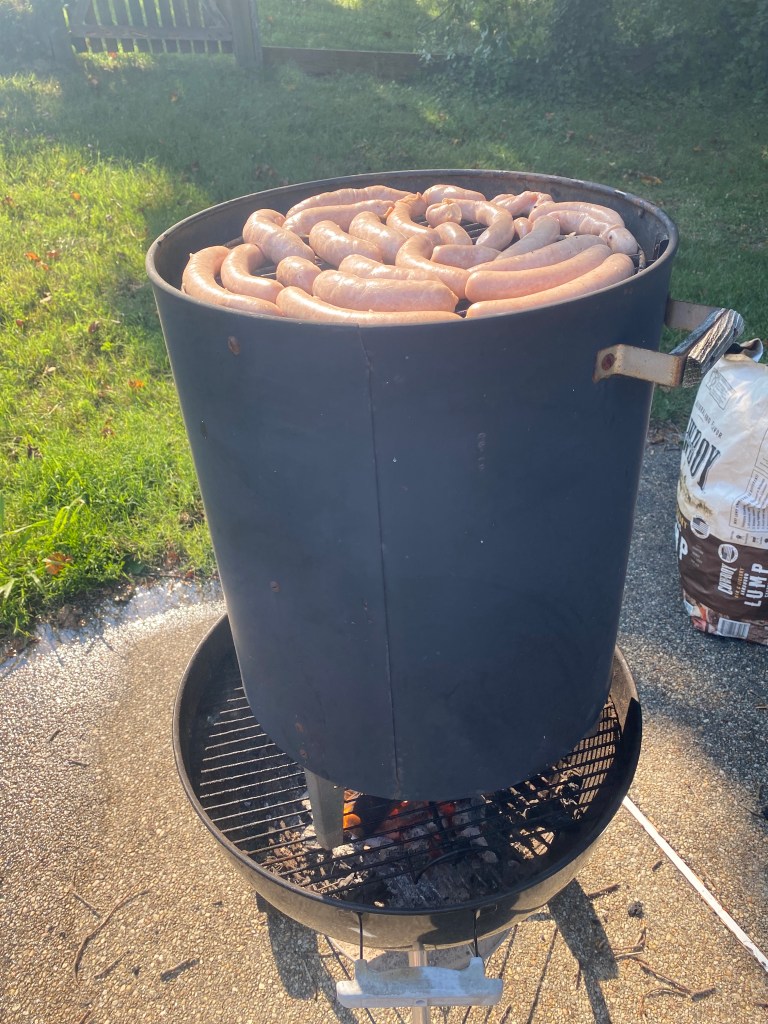
16. Cold-smoke your sausages for approximately 1 hour. This means that the smoke temperature does not exceed 25C/77F. You are not cooking the meat, just imparting a light smoke flavor. And, since you are also not preserving this product for long storage (you will cook it later) and the smoke aroma is intended to be subtle, you do not have to smoke and rest and smoke and rest for days on end like you might do with a more strongly smoked and dry sausage. 1-2 hours is usually enough for a delicate woodsy aroma and slight golden color change.
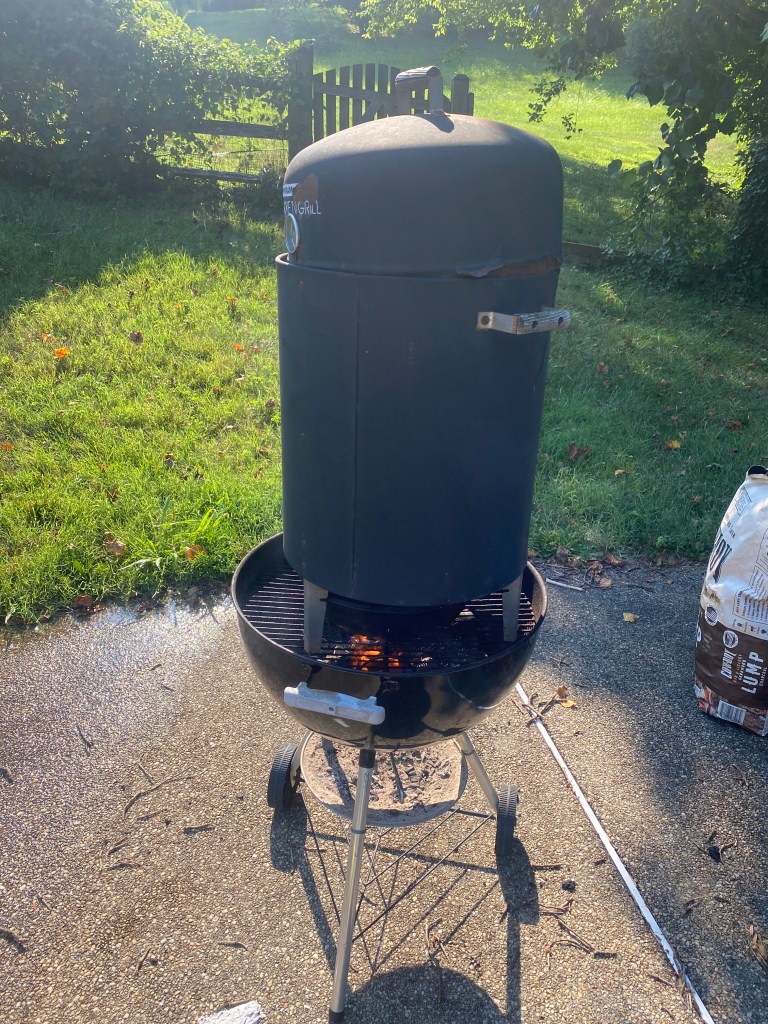
Again, if you have a smoker with proper rungs to hang the links on, and actual temperature regulation, that is wonderful and you should use that and I am very envious. If you do not, you can still embark on this project. See below for how we McGyver a quick-smoke (supervised at all times) set-up. No, we are not grilling R2D2. We are just doubling-up two grills in a stimulatingly precarious manner (again, always supervised) to increase the distance of the sausages from the heat source – our best approximation of cold-smoking.
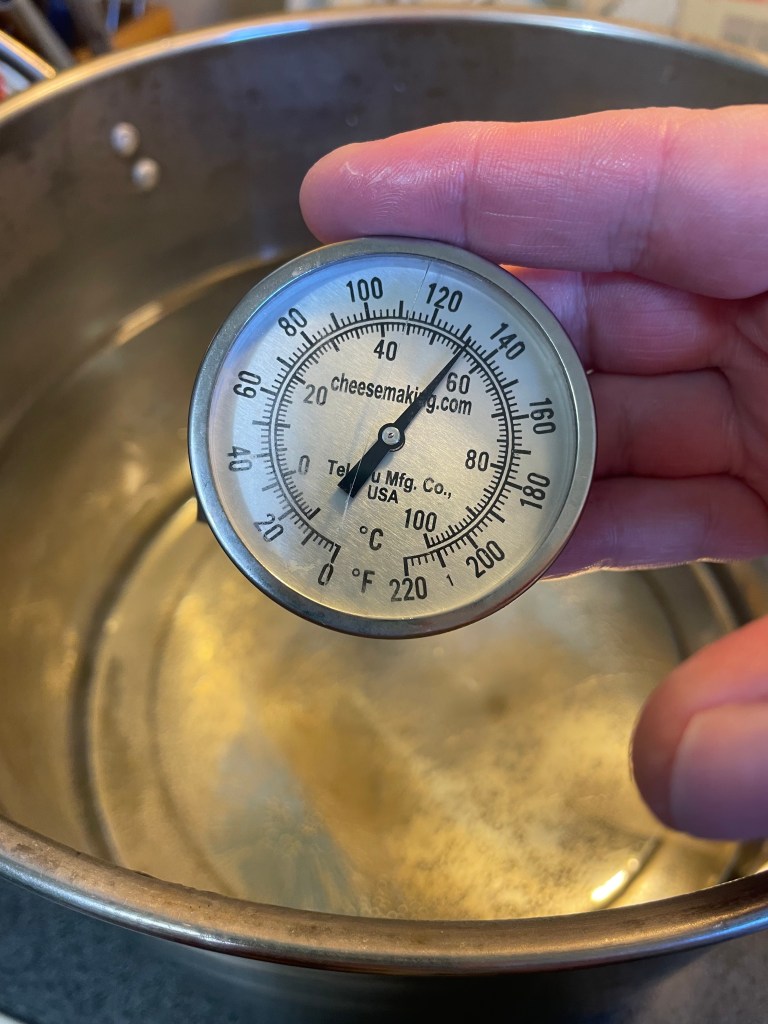
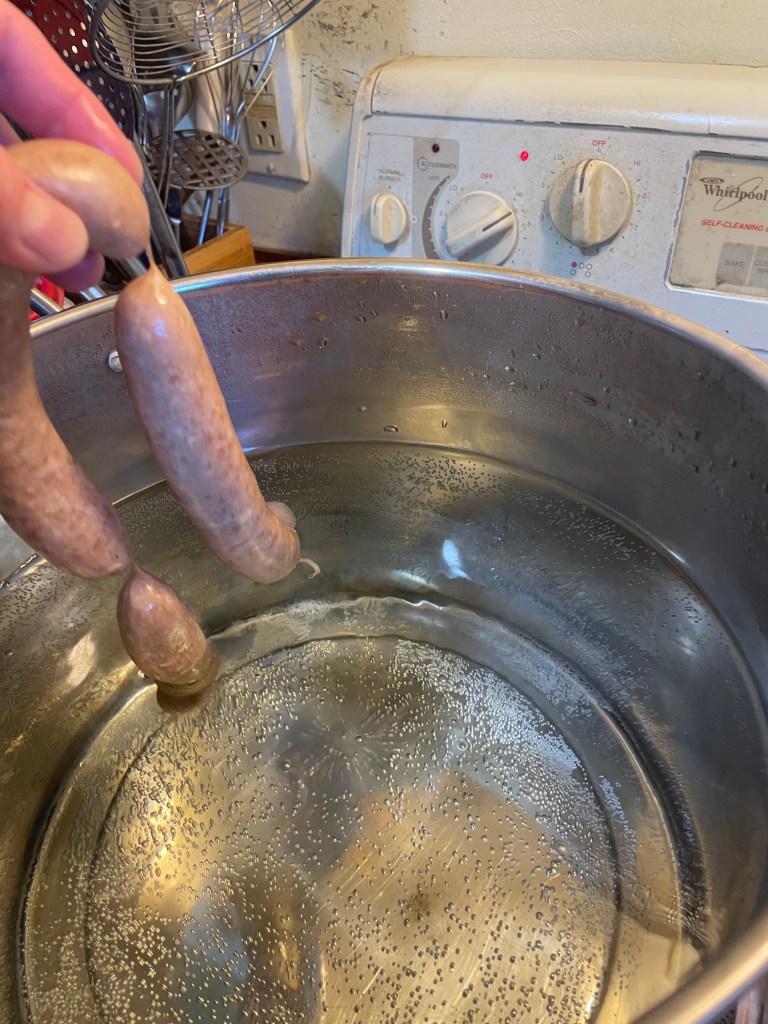
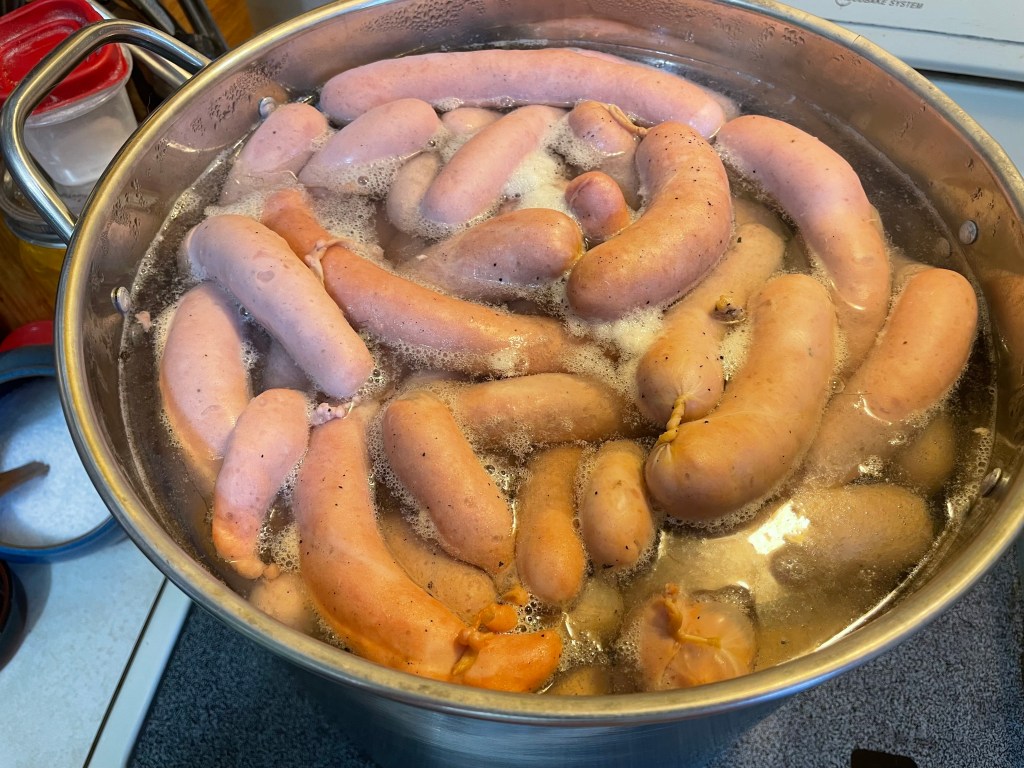
16. Heat up a large pot of water for dunking your smoked dogs. The temperature should be 70-75C/160-170F. Immerse your sausages in this warm bath and allow to steep for 15-20 minutes. Keep the temperature stable. If this comes to an aggressive boil, your emulsified meat filling may break down and fat leak out of the sausages. Resulting in a grainy, saw-dusty interior. Also, the casings might split.
17. After 15-20 minutes, drain the sausages and rinse briefly with ice-cold water. Drain again.
18. That’s it. You are done! Believe it or not, that is all that you need to do. Other than eat and enjoy! The sausages can be consumed directly or stored in the fridge and then sautéed in a pan with some butter just until golden. Or, of course, grilled until nice and roasty-brown with attractive char marks on the outside. You may eat these with whatever fixings you prefer but may I humbly suggest combining them on a fragrant roll with the adds-ons below? For that perfect Warsaw street hotdog…
Notes: So, these are obviously a project. Perhaps I owe CMOT Dibbler an apology. Given all the steps involved, his choice to use a mysterious, shiny, tubular sausage-substitute becomes more comprehensible…
After all that labor, are these hotdogs more delicious than a good quality sausage that you could purchase from a professional butcher? No, probably not. But there is something so satisfying and fascinating about transforming basic ingredients into a completely different version of their original selves. For me, the fun of this metamorphosis justifies the time and work involved. It is perfectly understandable if this is not the case for you. Head to your meat market and enjoy!
It is good to know that this Herculean effort produces a great number of sausages. And that they freeze very well. Thaw in the fridge overnight and cook as desired the following day.
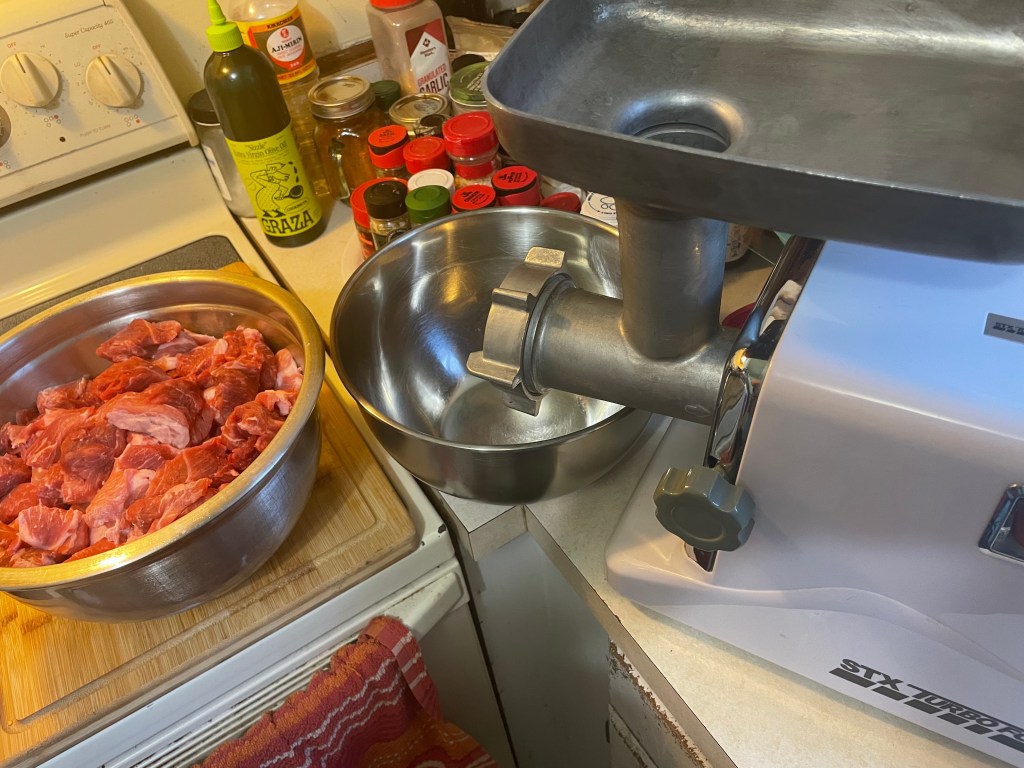
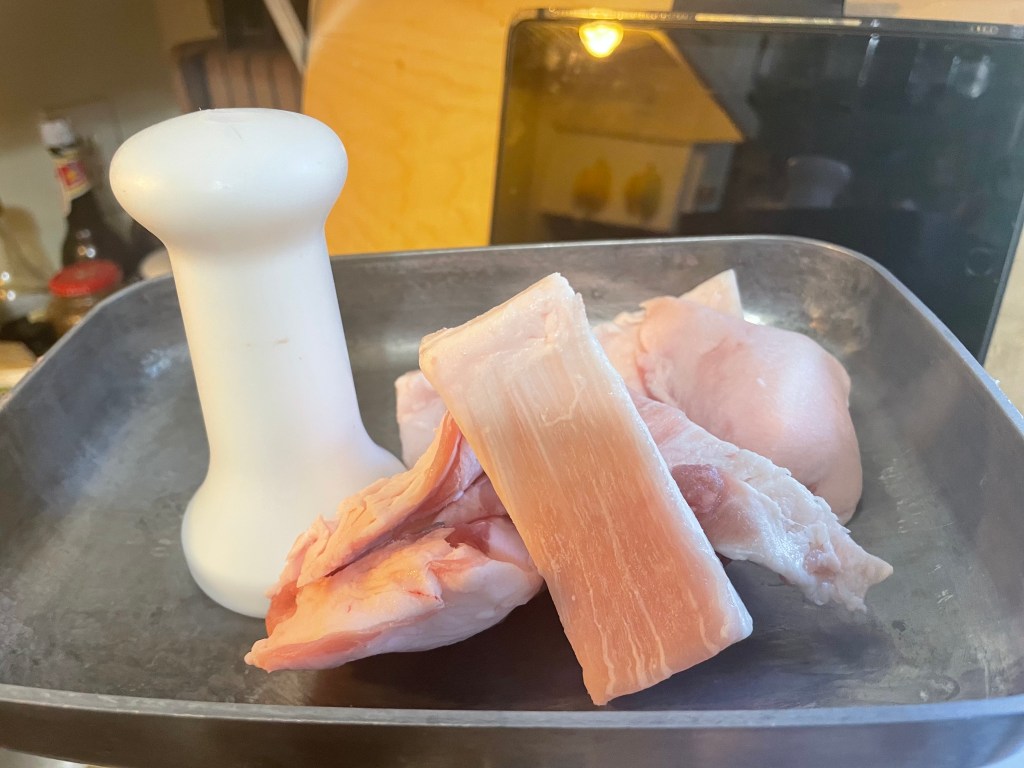
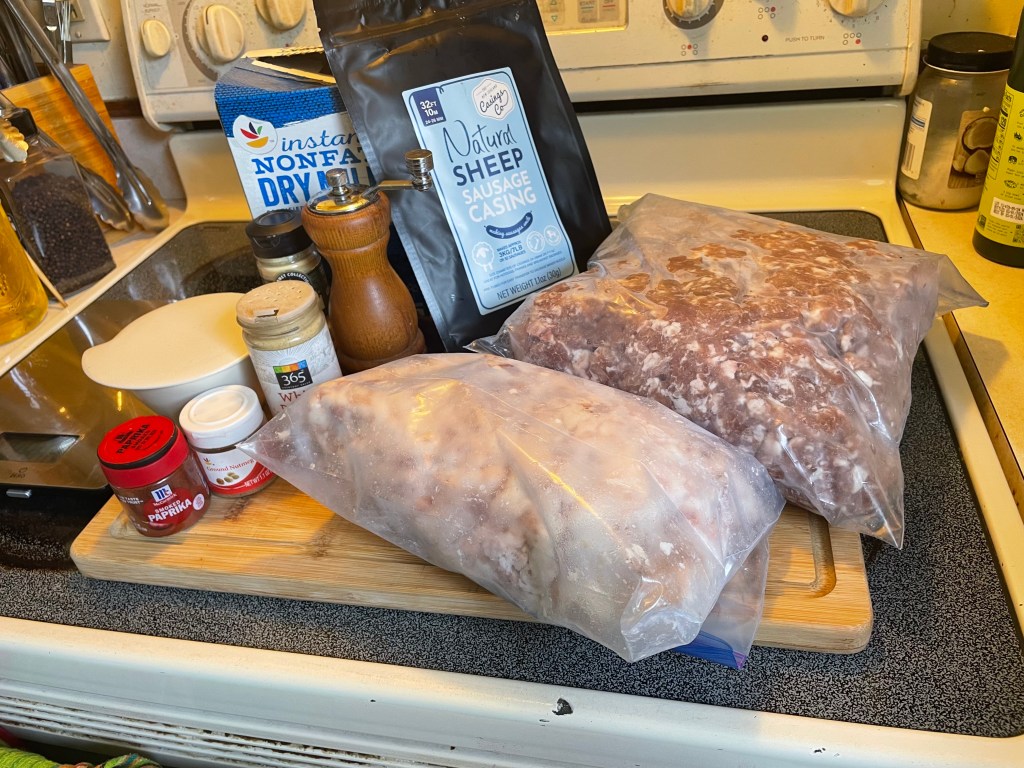
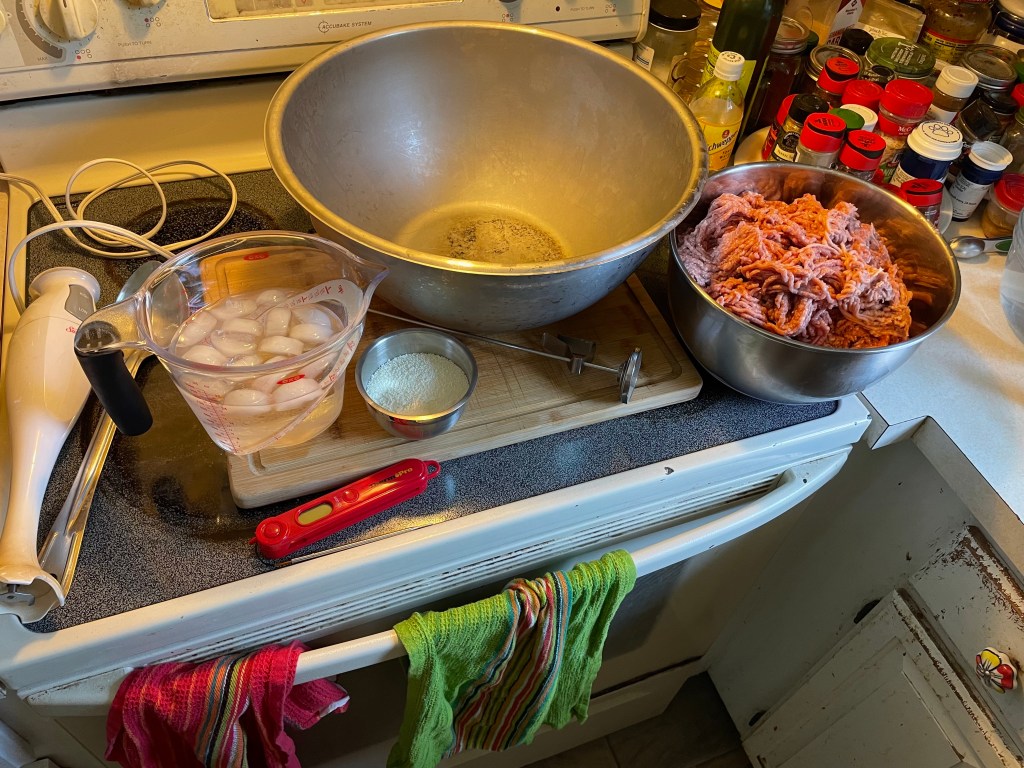
Raw ingredients:

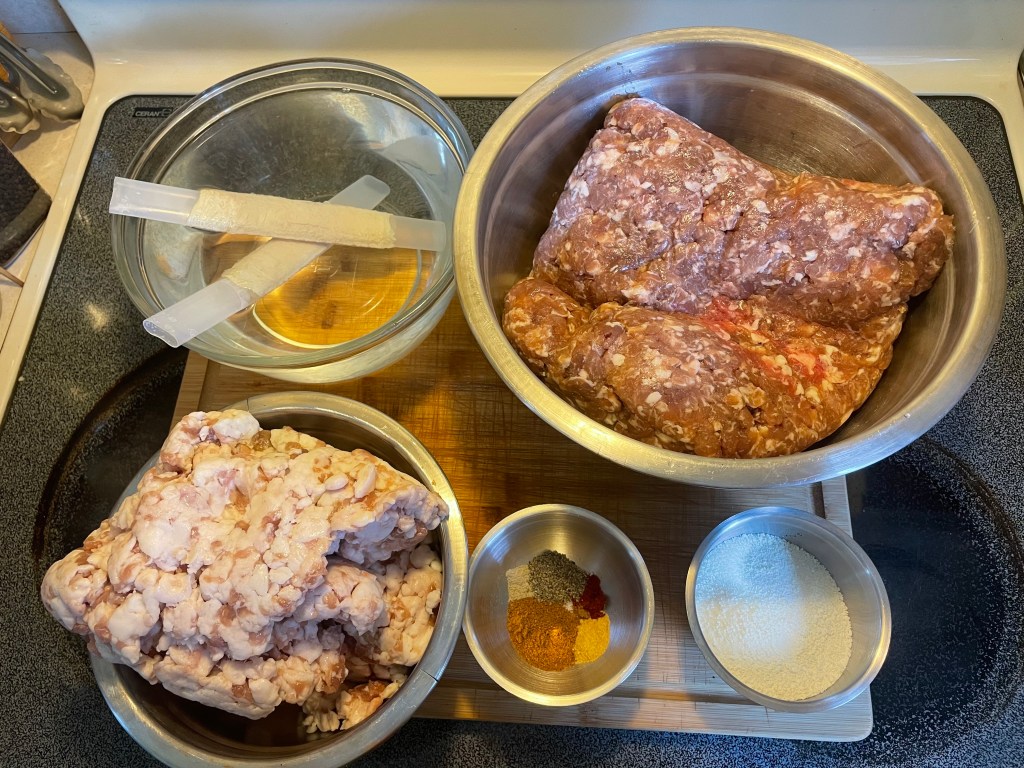
Meat divided into lean and fat, cut up for the first grind:

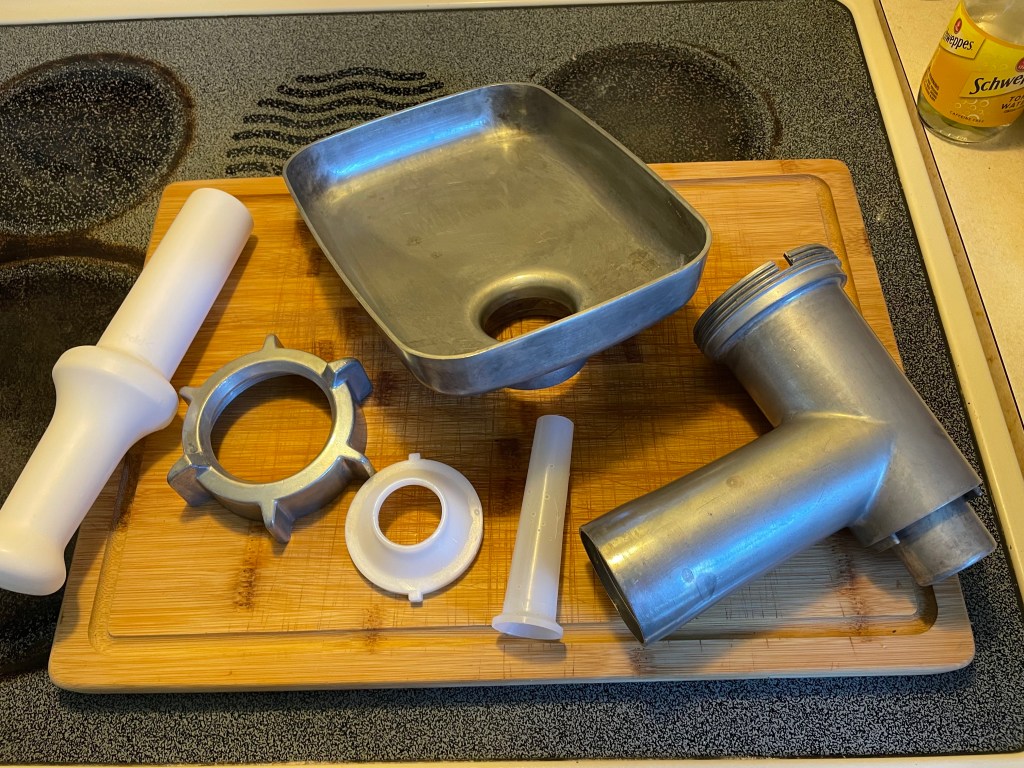
Meat grinder components pre-chilled:

Grinding stations! Grinding stations everybody!
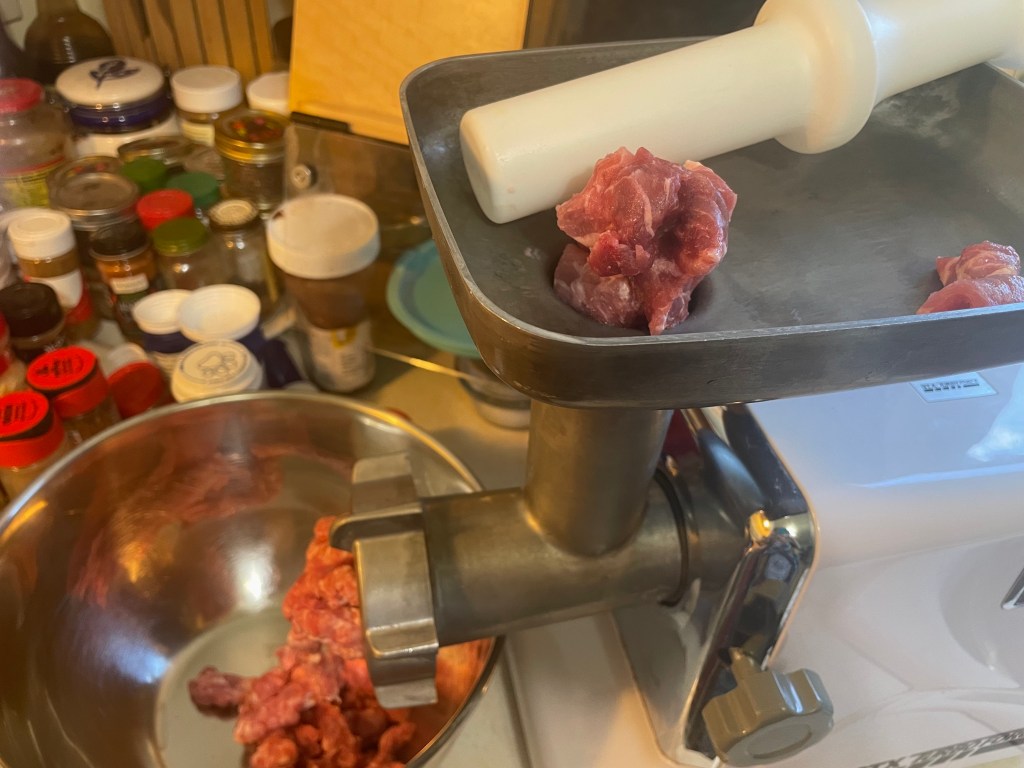
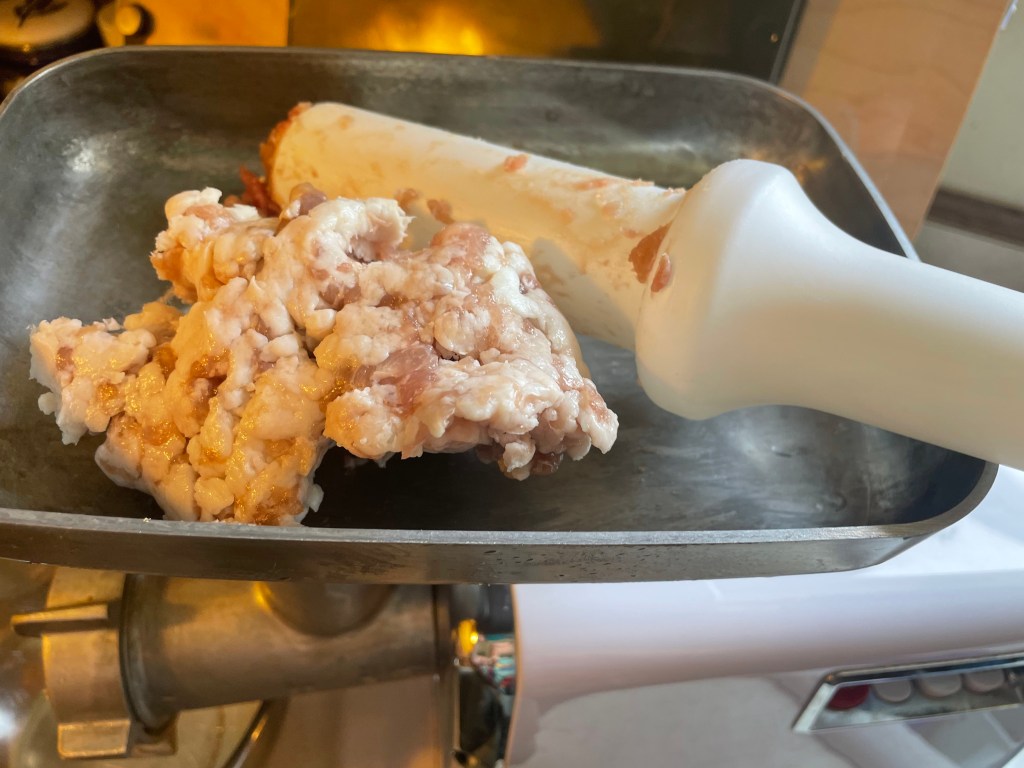
Feed the machine:
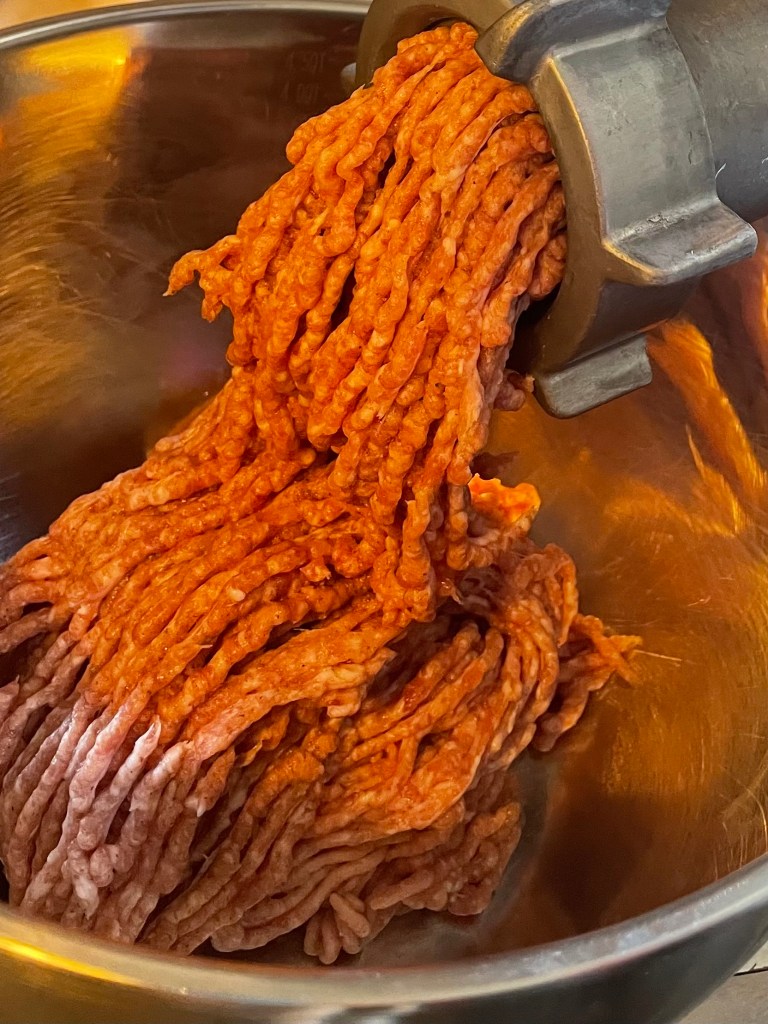
Close-up on some meaty goodness:
Remember, fat is flavor. Also, emulsification power:
First grind on the fatty pork:

Both roughly pre-ground and ready for curing:
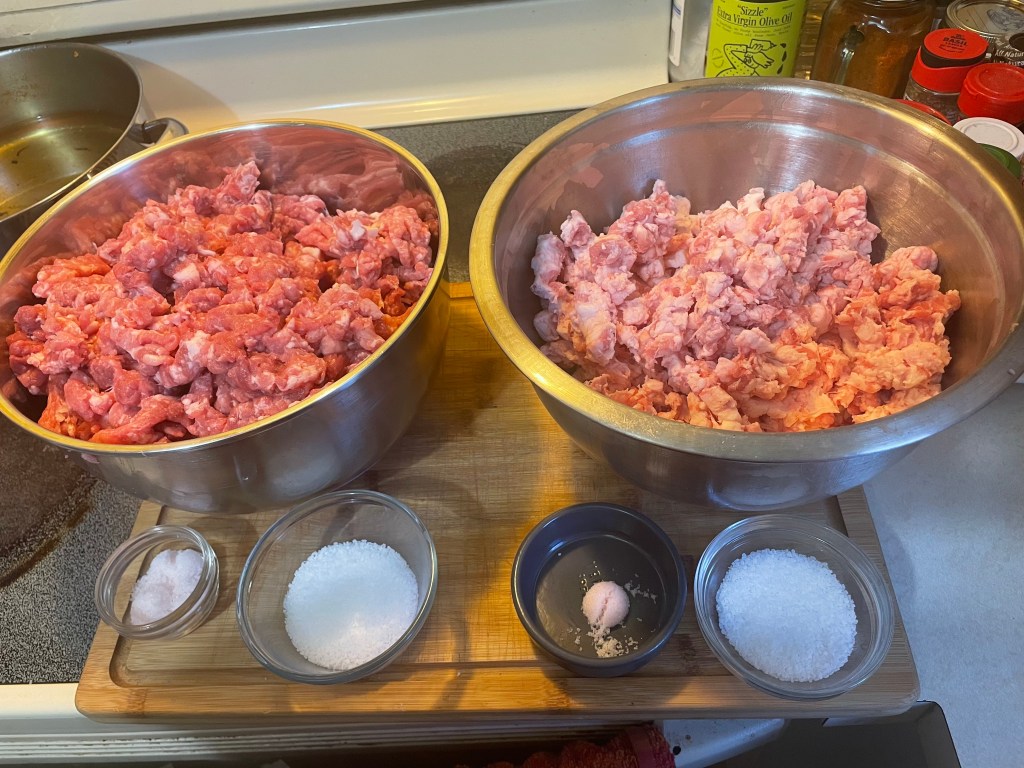
Sprinkled with salt and InstaCure #1:

Fat receives the same salty treatment:

Mixed well:
Sleep well and get cured, meaty babies:
Summon Fodder to wash up. Oh, wait…
All set up for the great grinding and stuffing:
Everything prepped:
Starting the fine meat grind on the lean pork:

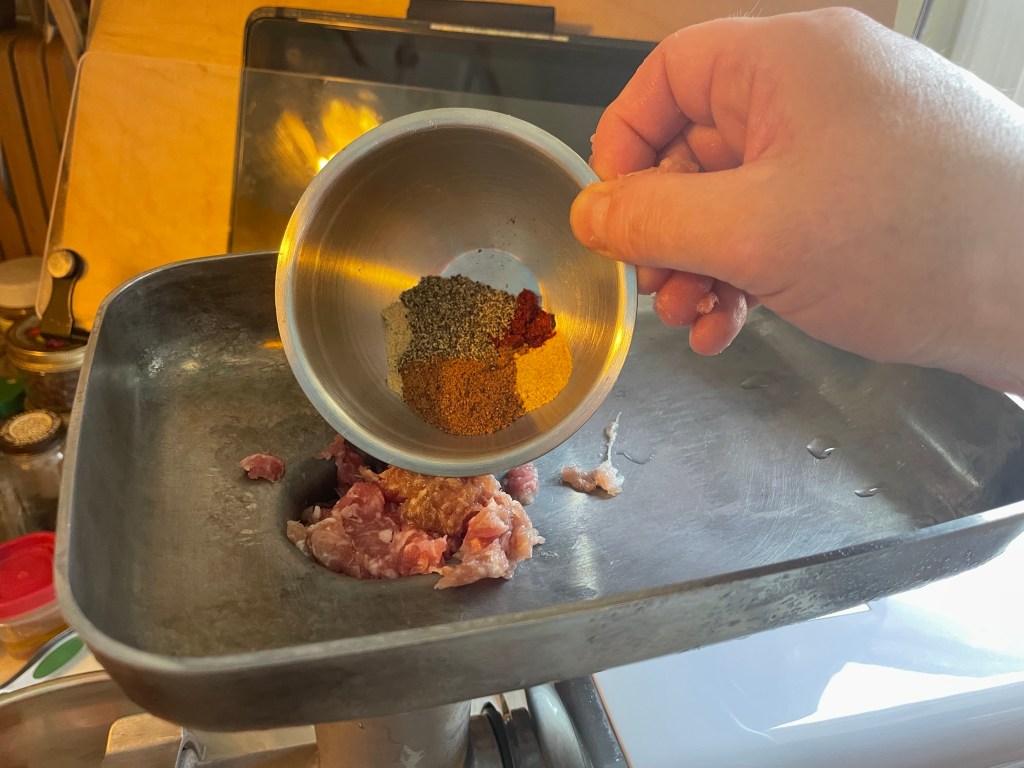
Add the spices:
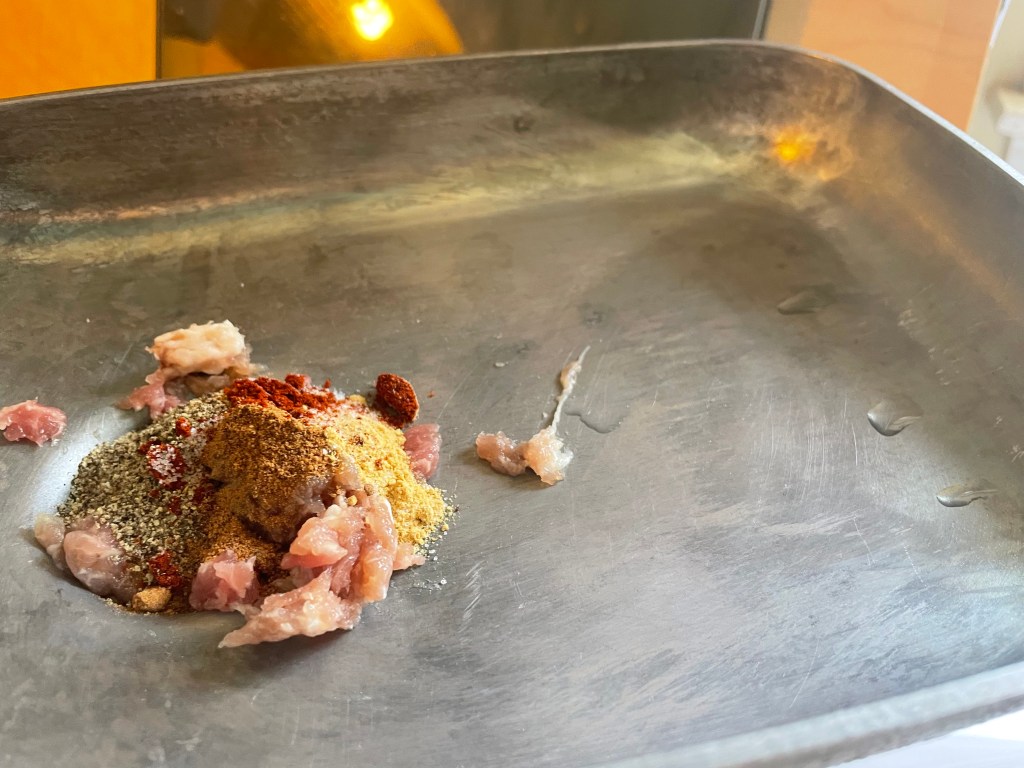
A little mountain of porky spice:
Are meat waterfalls a thing?
Lean pork done, fat pork waiting its turn:
Feed the machine. Again.
Solid fat noodles:

Very happy with these. Cold fat means minimal smearing means good final sausage texture:
Finely ground and ready to emulsify. Also, casings are soaking:

Emulsification station:
Add evaporated milk, check temperature. Check.
Add iced water. Keep an eye on those numbers. It helps when you have a snazzy red thermometer:
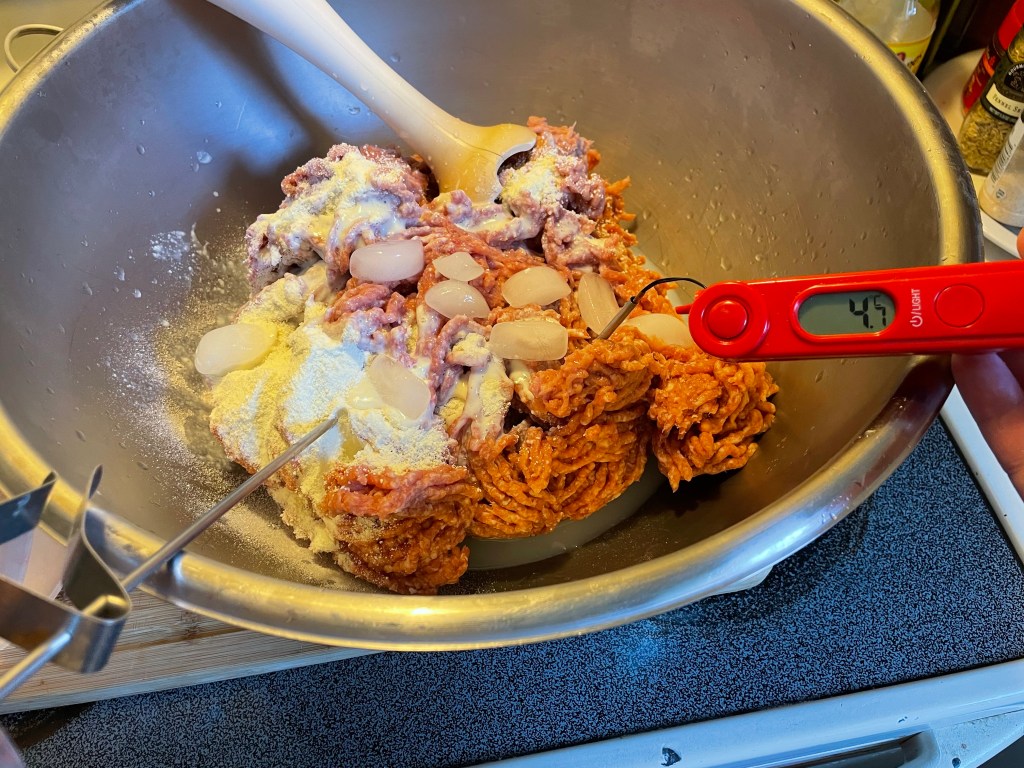
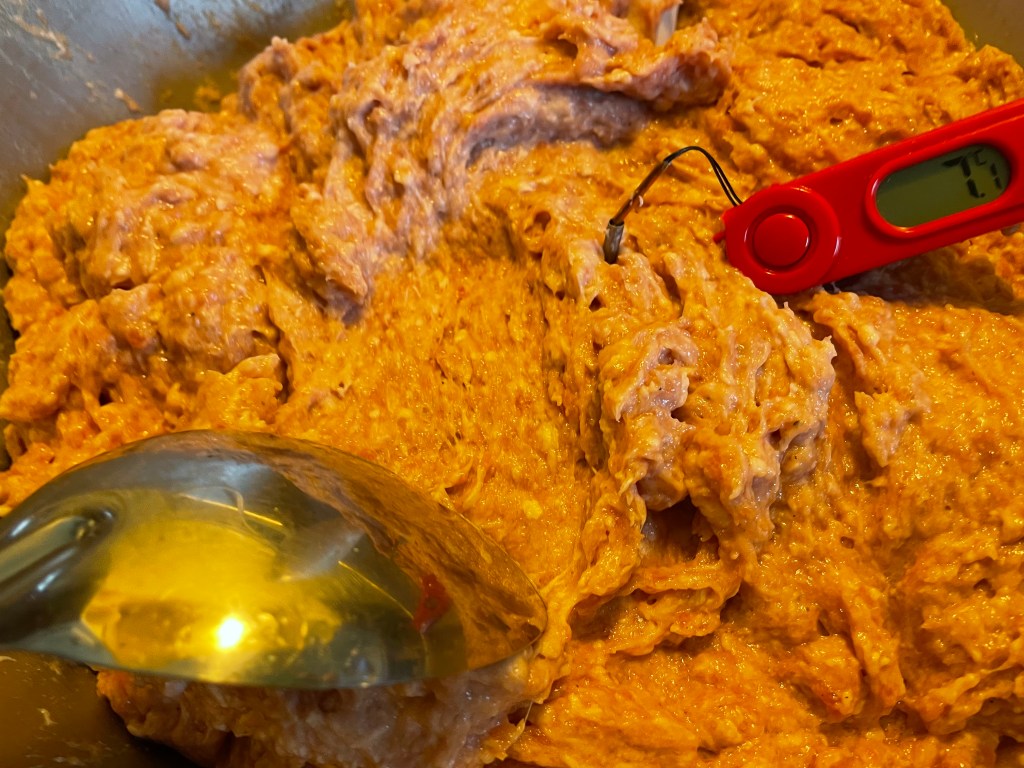
This is about as warm as you want your mixture to get:
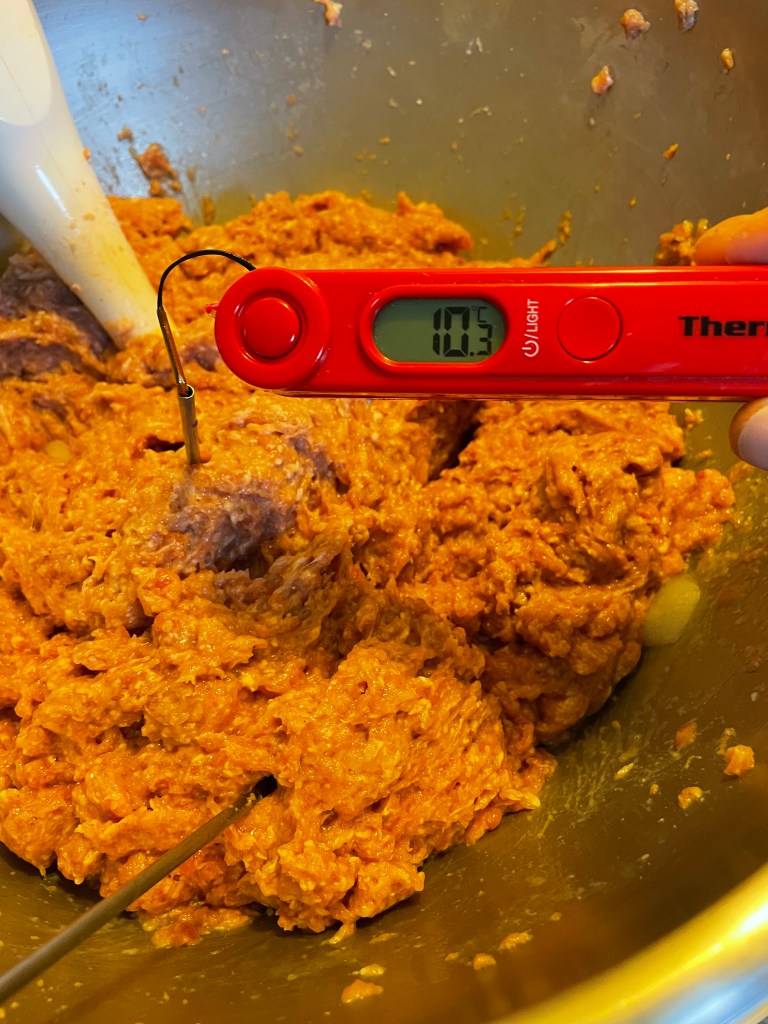
I love it when a meat comes together:

Happy reunion of lean and fat. Happy and so so cold:
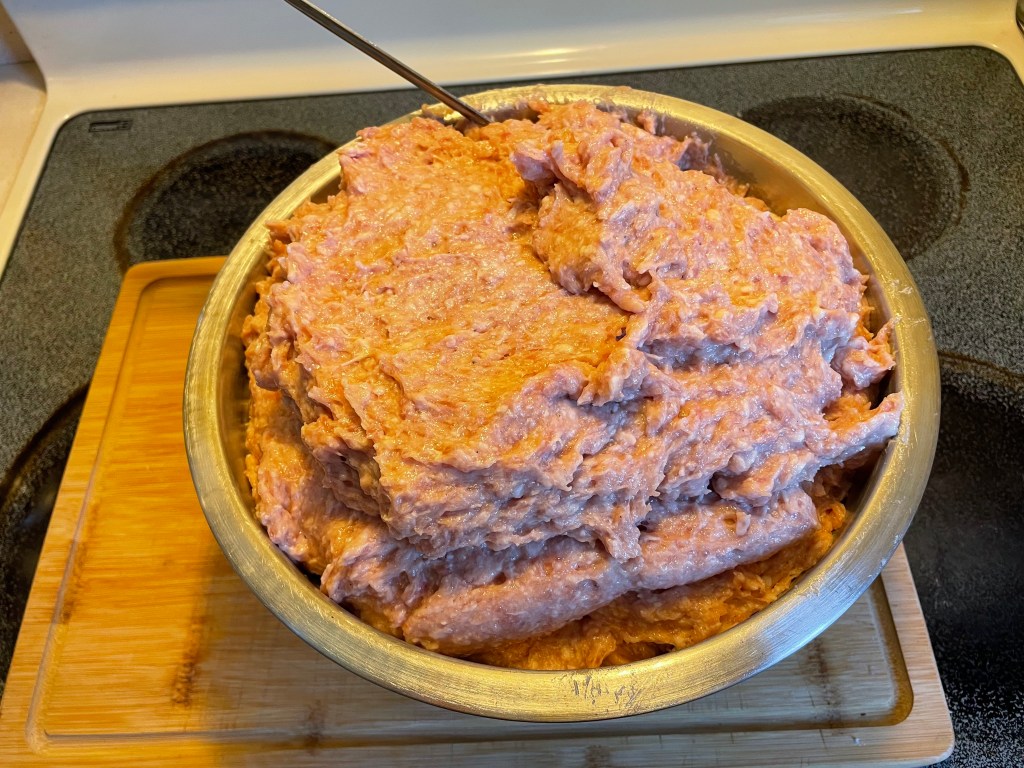
Who doesn’t like whipped pork?

Note the spoonable silky texture:
Ready for stuffing:
Chilled tools:
I’m about to get real weird with it..

Remember to lubricate the stuffing nozzle end bit. I’m sure it has a proper name:
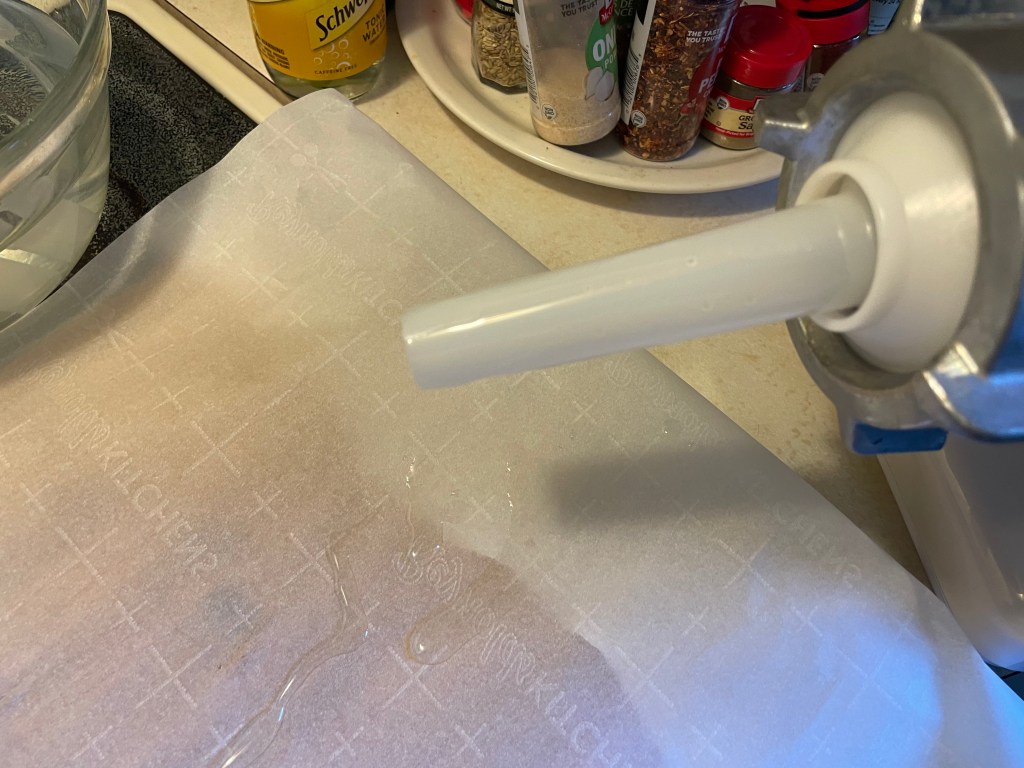
I gave up on the pre-threaded casings because they stuck too much. I redid things with the addition of oil. All slick and easy to handle:
Start the stuff:
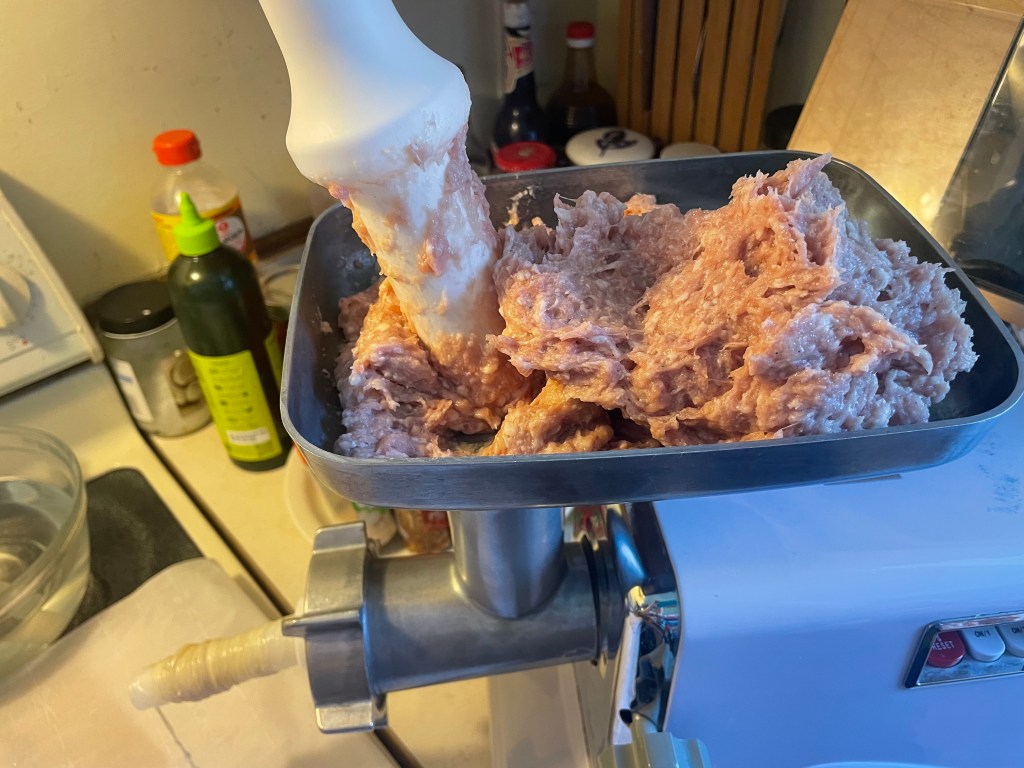
The filling begins. Not perfect but beginnings are always a bit brutal:
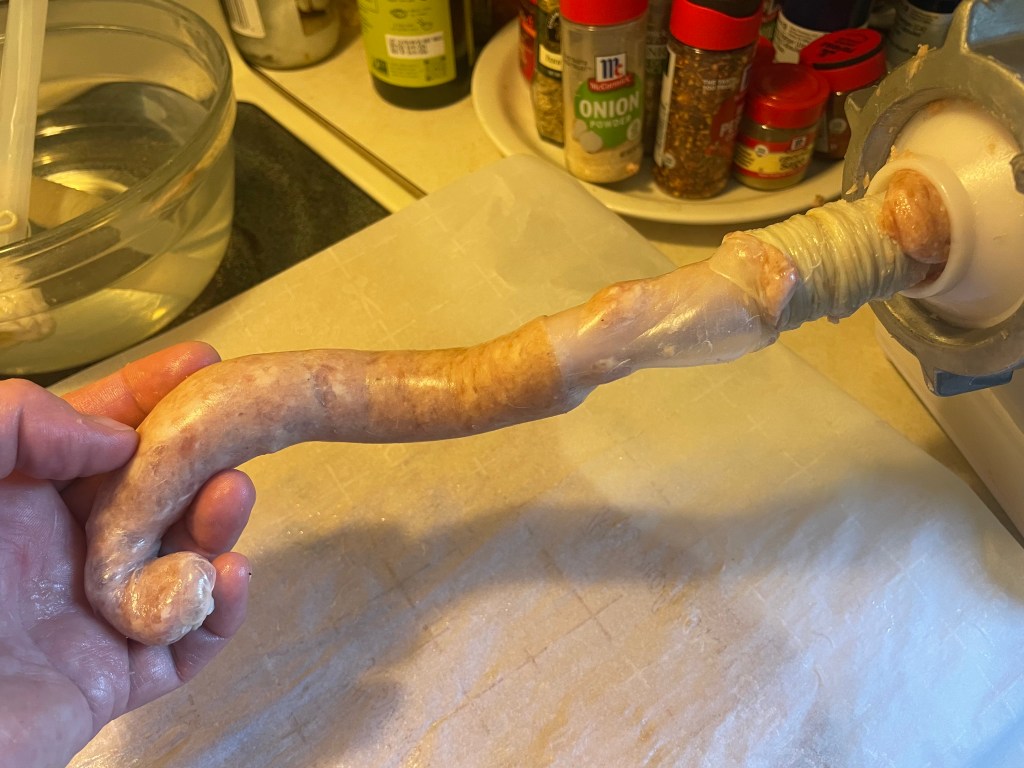
Coiling along…

Things are getting a little out of hand:
Ready for drying:

Slick drying set-up:

Fan-assisted:

Starting to look a little tacky over here:

Going out to the smoker:
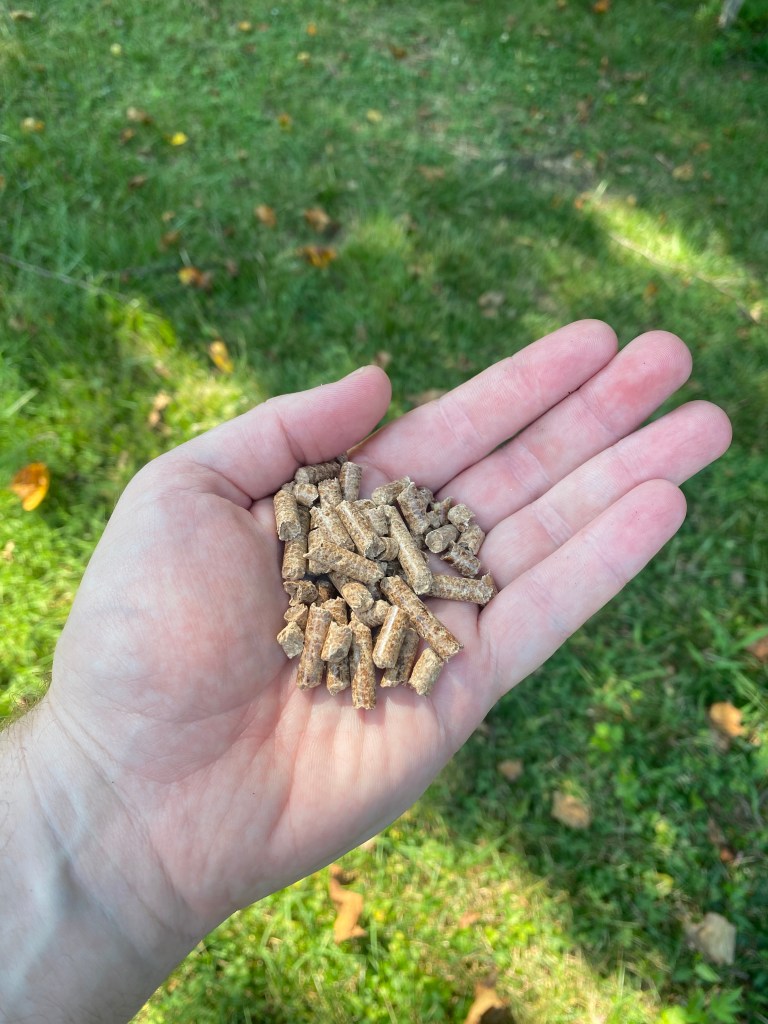
Apple wood pellets:
Smoking cage. Also probably has a proper name:

R2D2 torture:
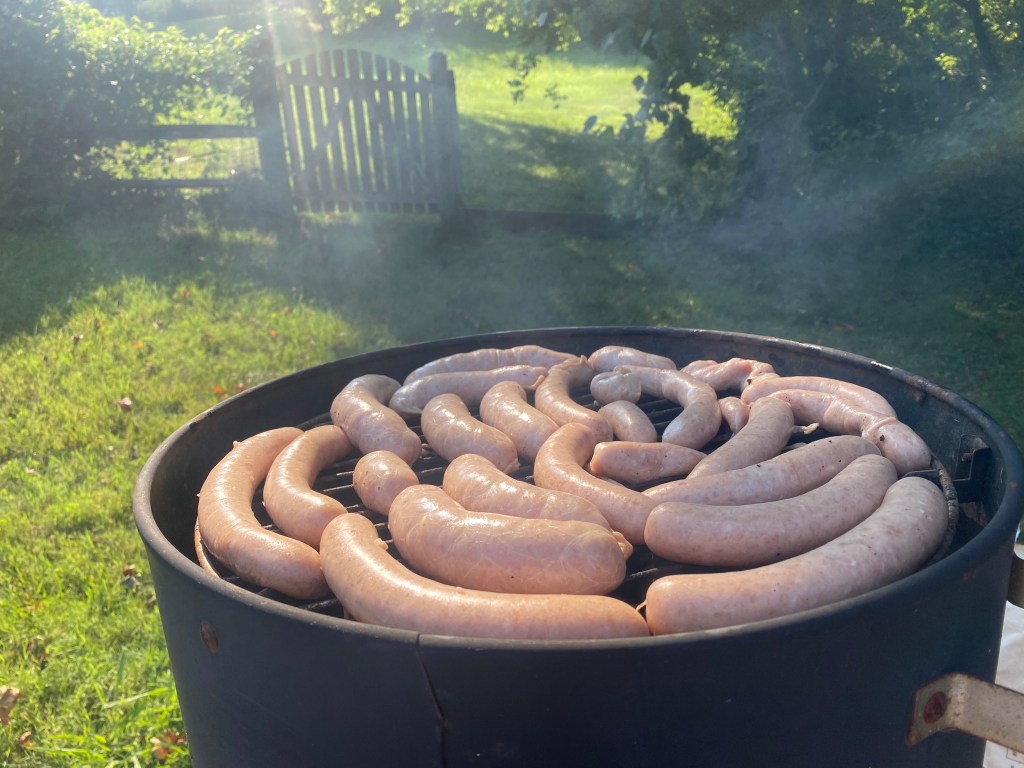
Spiral of smoking sausages:
Getting a little golden:
Heating up the steeping vat:
Dunk the pork:
The temperature will drop a little as the pot is filled: keep an eye on that and adjust accordingly:

I adjusted too much. These are too hot. They are scorching. Scorching hot…
Cool rinse to set the sausages:

Shiny pink little hotdog babies! I am so proud:
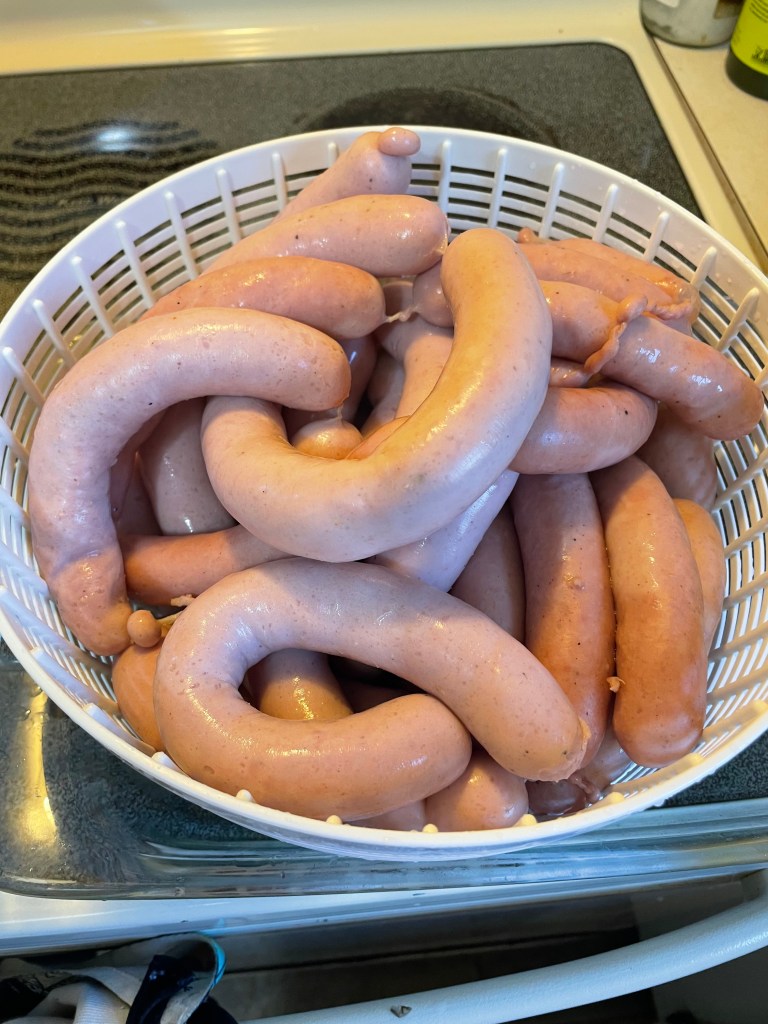
Drained and ready to eat:

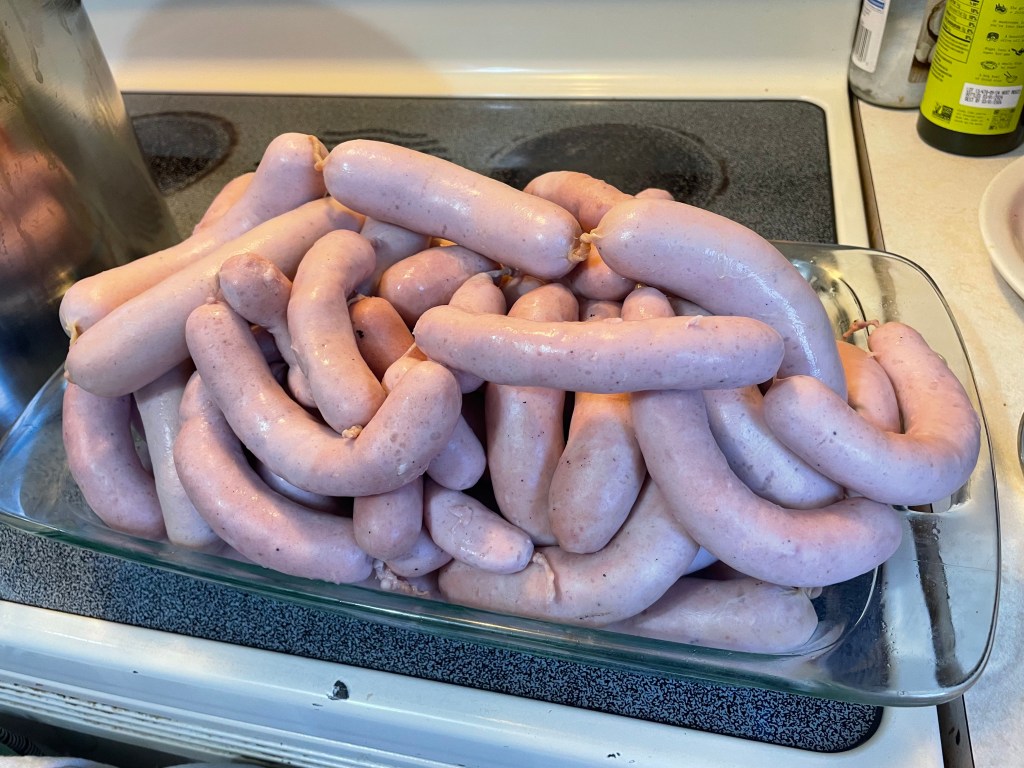
So many hotdogs…
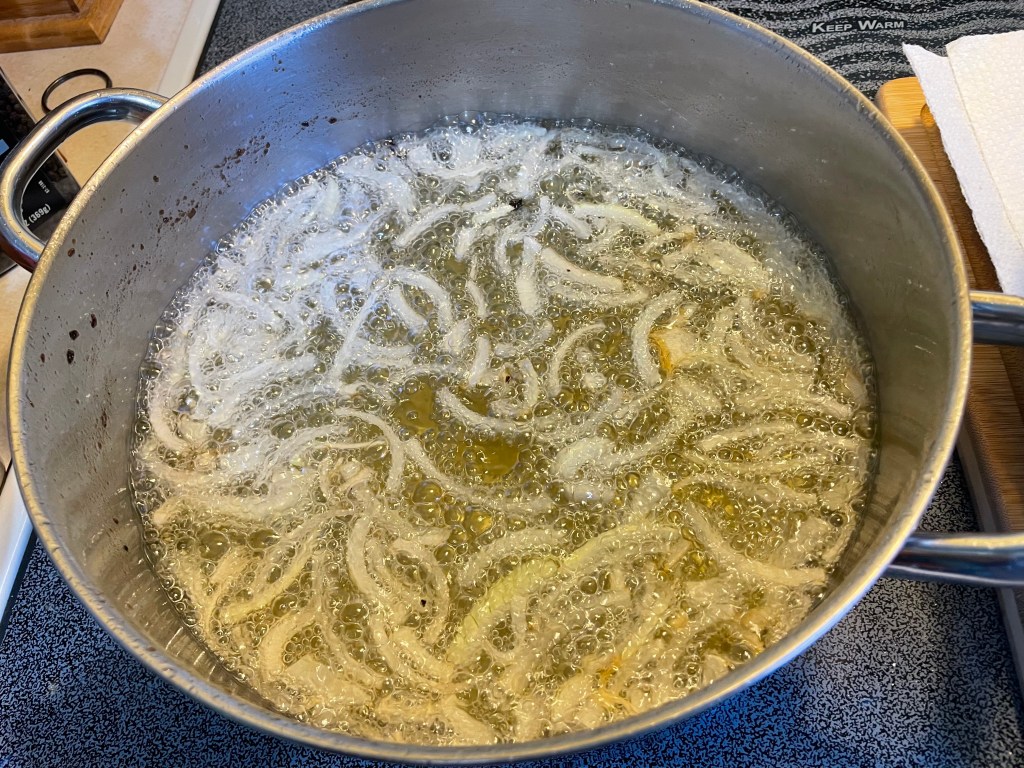
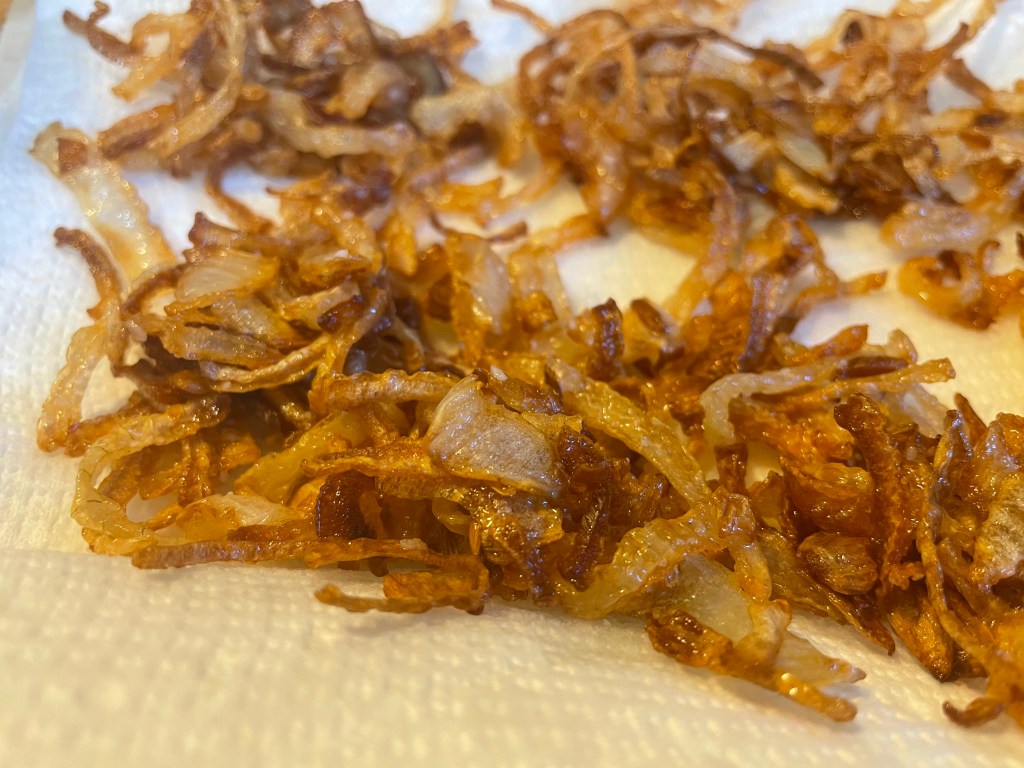
Golden Fried Onions
Makes approximately 1.5 cups
A lovely topping for a juicy hotdog – sweet, oniony, crispy-chewy-crunchy. Also very good on burgers or a rice bowl draped with a fried egg.
Ingredients:
3 large yellow onions, peeled and finely sliced
Neutral oil for deep frying
Kosher salt to taste
Method:
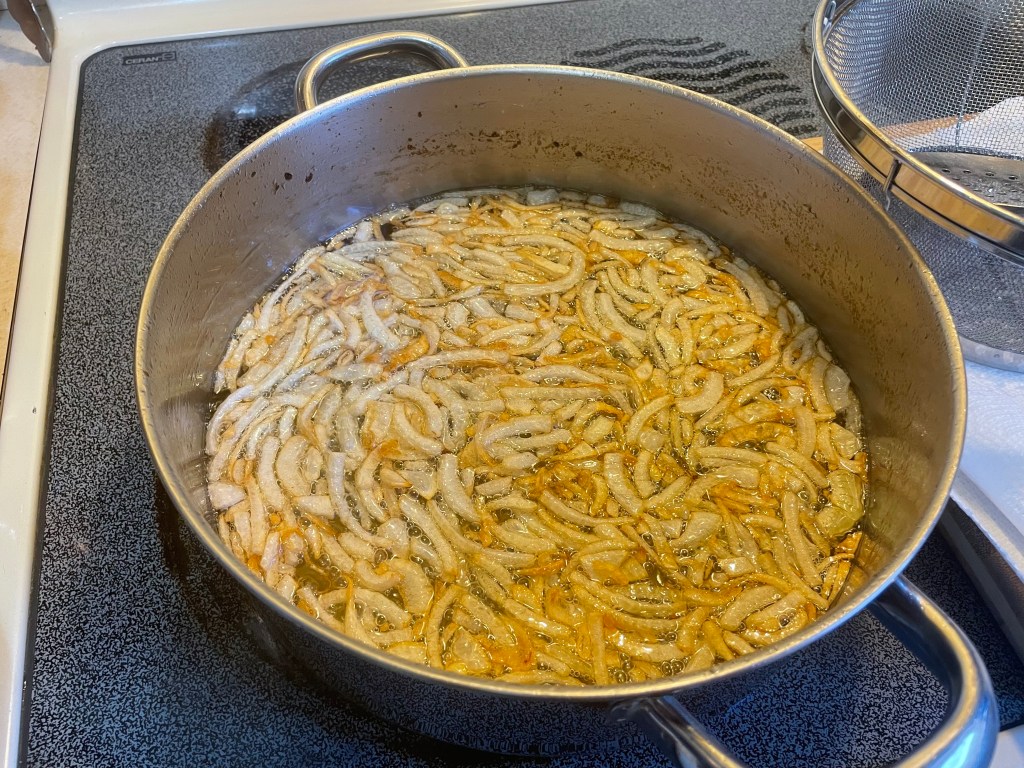
- Fill a large pot approximately 1/3-1/2 with oil. Heat to 170C/350F or until small bubbles form around the tip of a wooden spoon or chopstick when immersed in the grease.
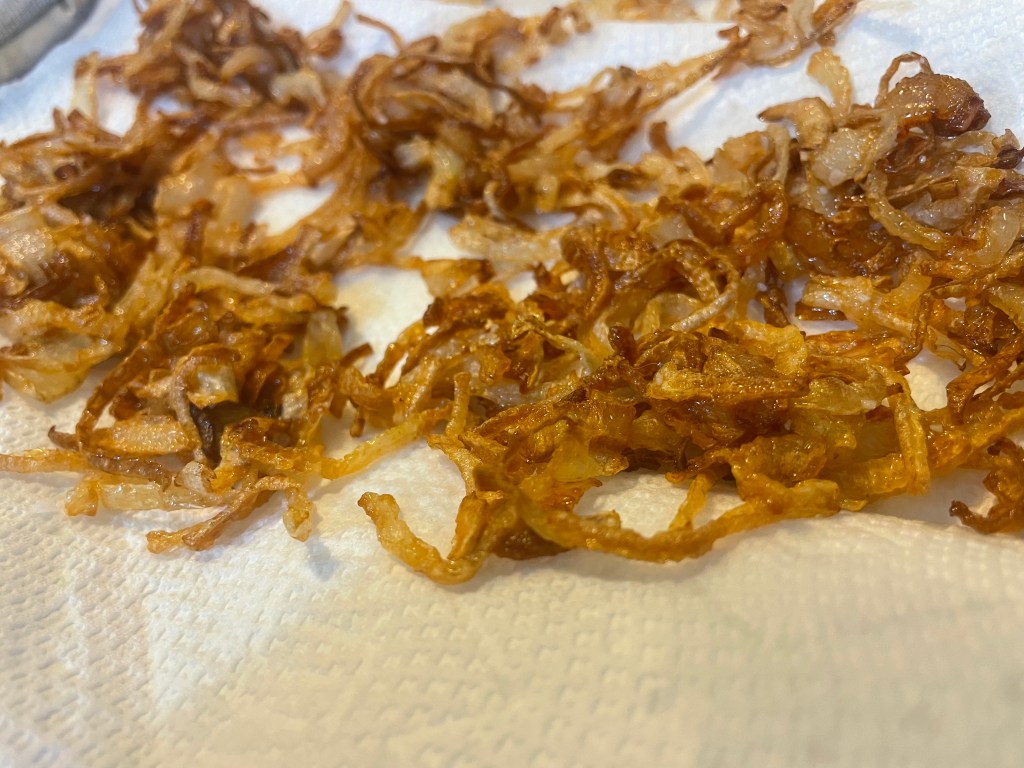
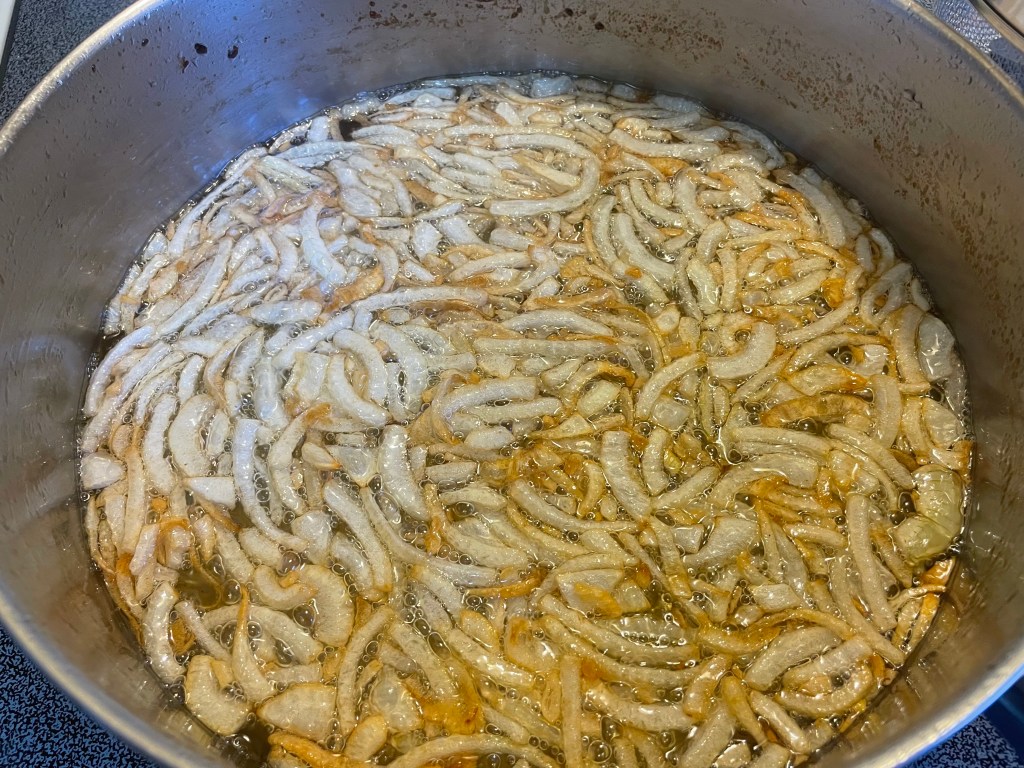
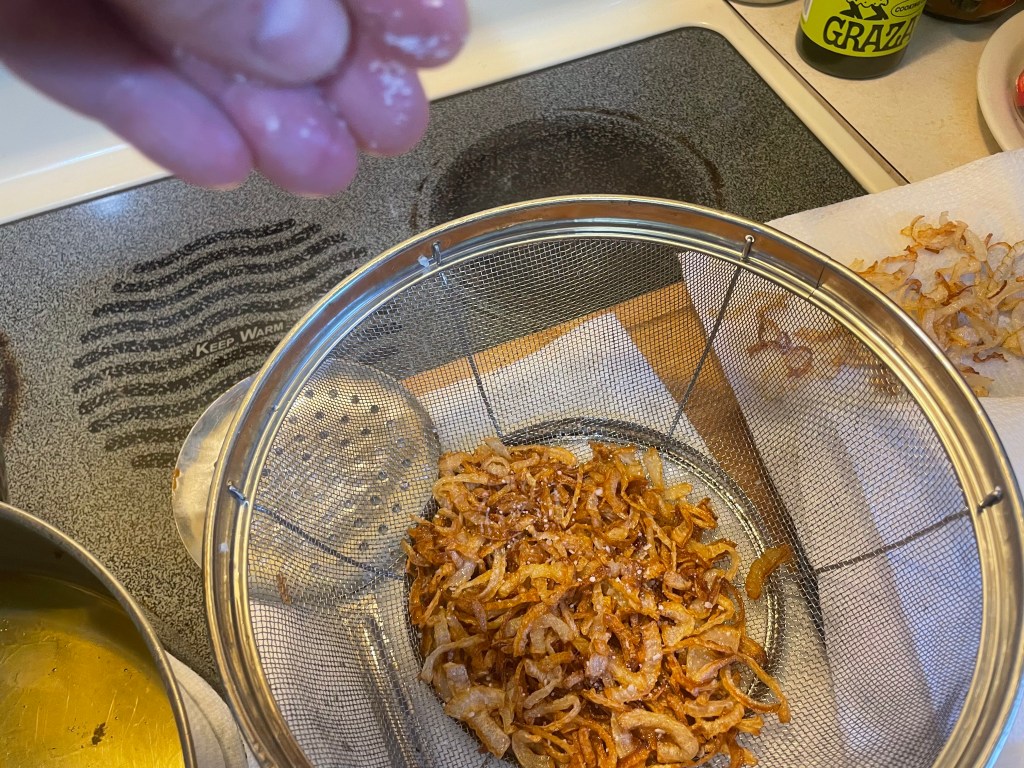
- Fry sliced onion in batches until golden brown and starting to crisp up (5-7 minutes per portion). Drain in a sieve placed over a paper towel. Season generously with salt while the onion is still hot.
- Repeat until you have used up all the onion.
- Once cool, transfer to an air-tight container. I keep this in the fridge for 7-10 days with no issue.
- Decant your gorgeous, golden, allium-scented oil into a container. Use this anytime you want to impart an onion fragrance to your cooking.


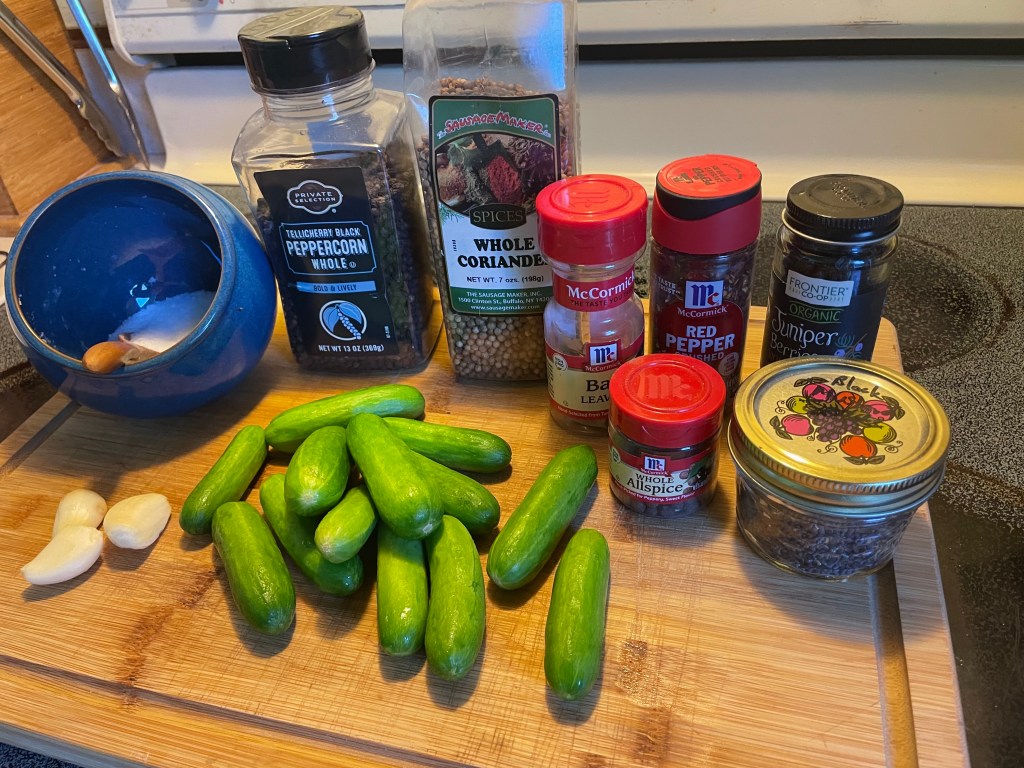
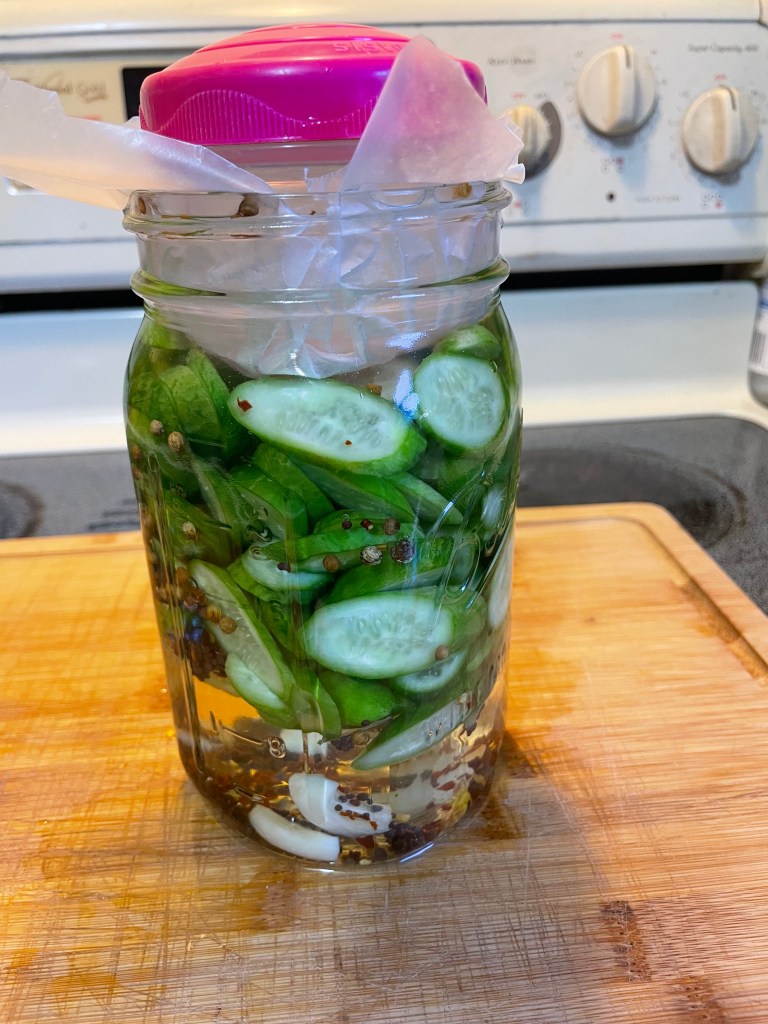
Homemade Brined Pickle Chips

Makes 1-2 cups, depending on how many cucumbers you use
Ingredients:
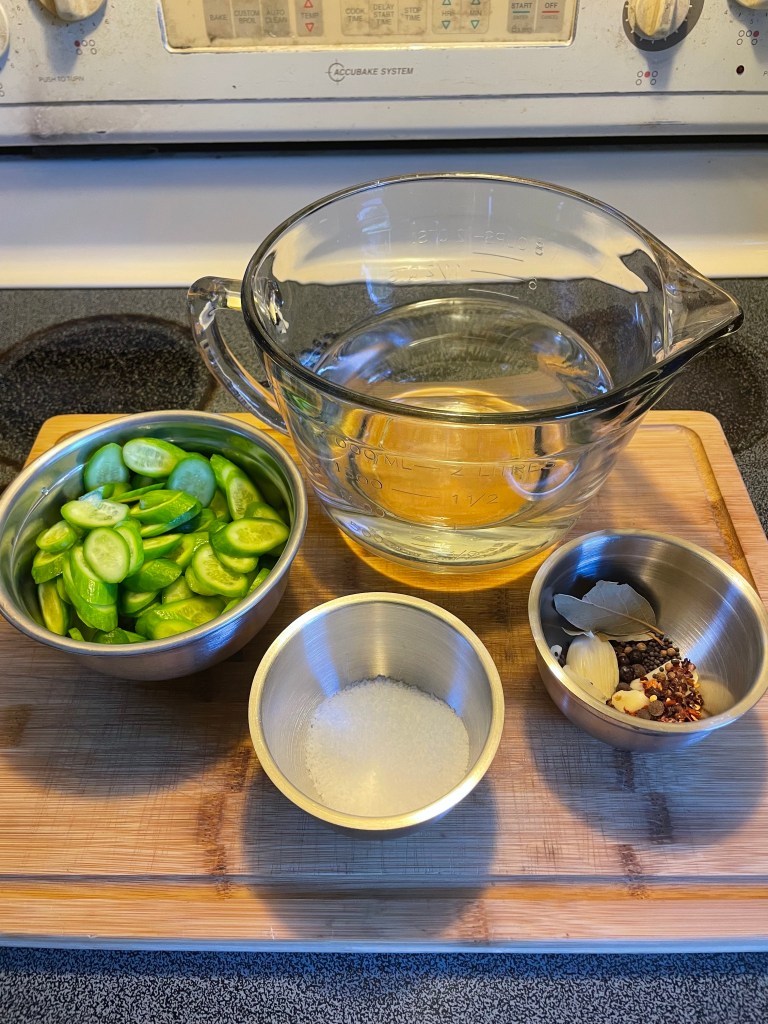
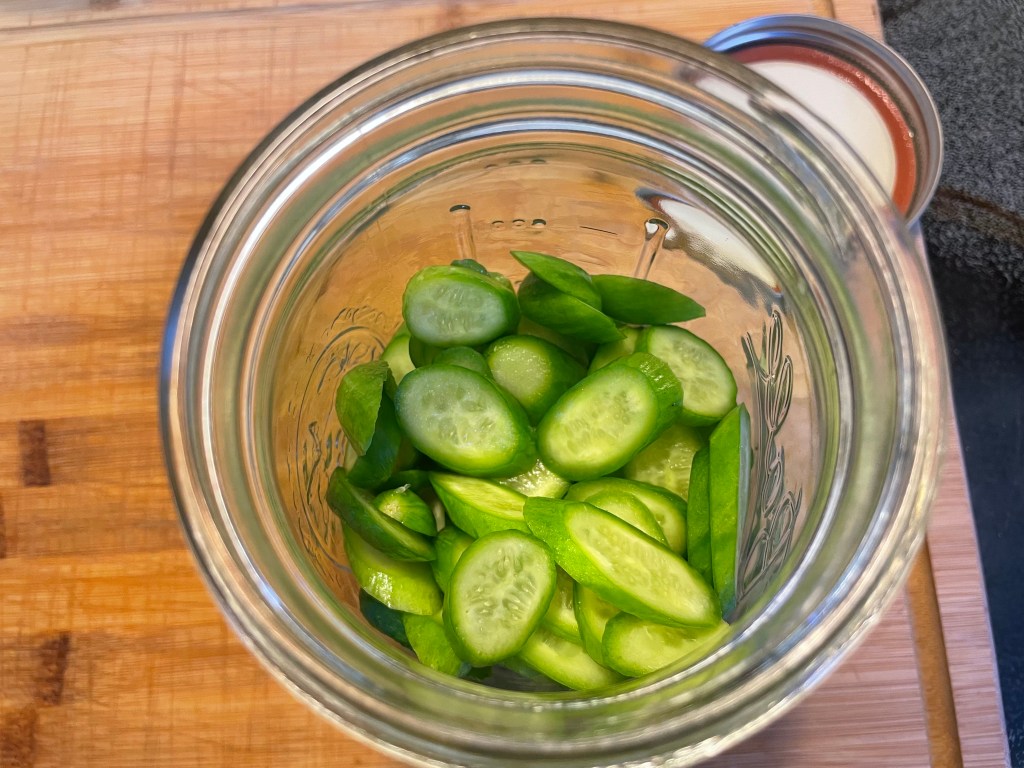
12-15 baby cucumbers, washed, ends trimmed, sliced into rounds
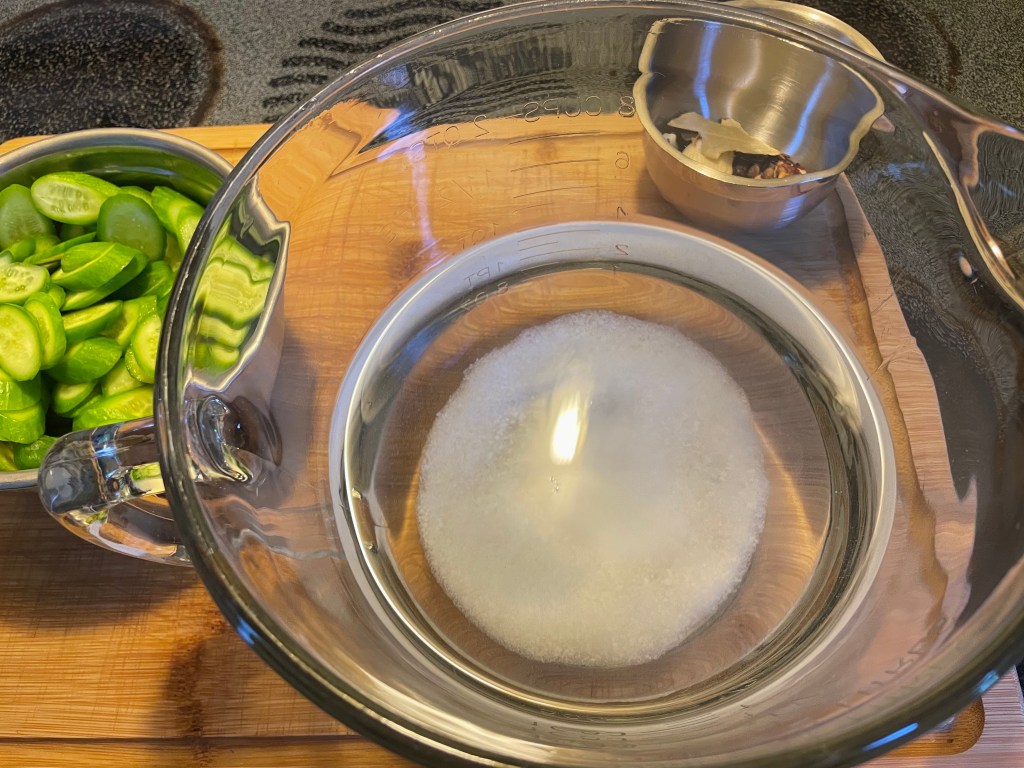
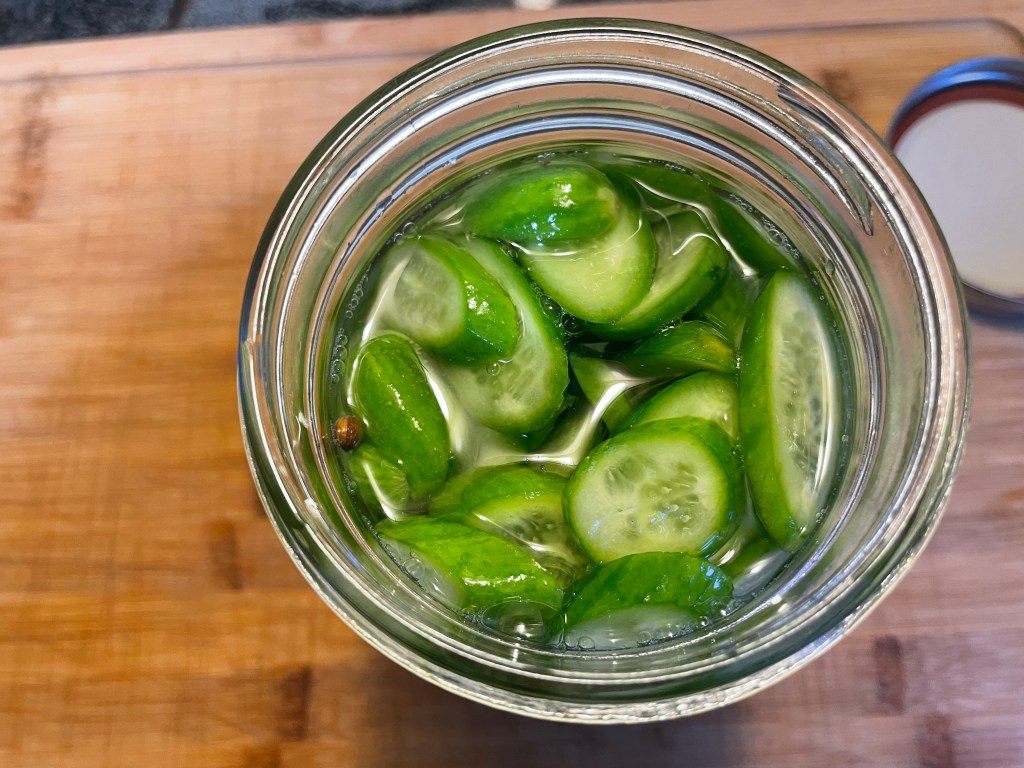
Brine – 5% kosher salt by weight mixed with cool, non-chlorinated water until fully dissolved (I used 1000ml/4 cups water with 50g/3.3 tblsp salt; it was more than sufficient)
3 large garlic cloves
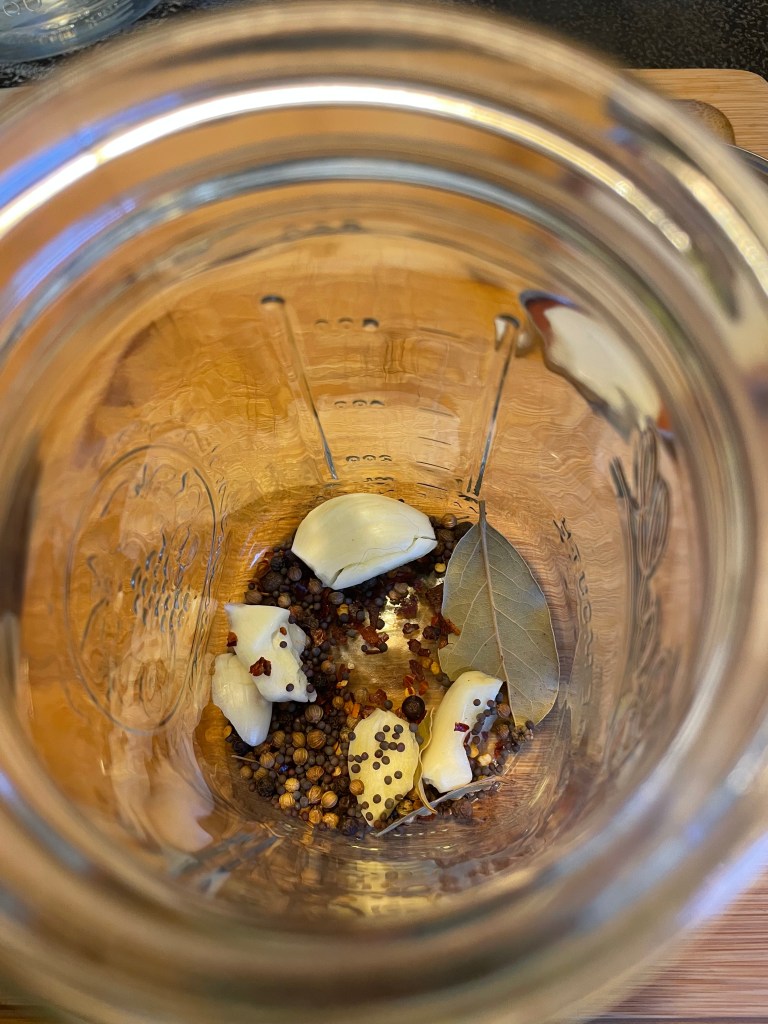
Preferred pickling spices:
10g/2 tsp black peppercorns
5g/1 tsp whole coriander
2 dried bay leaves
2-3 whole allspice berries, lightly bruised or crushed with the side of a chef’s knife
2-3 whole juniper berries, likewise bruised or crushed
2.5g/1/2 tsp red pepper flakes
5g/1 tsp mustard seeds
Method:
- Place garlic cloves and spices into a large, meticulously clean jar.
- Shower the cucumber slices in on top of the spices.
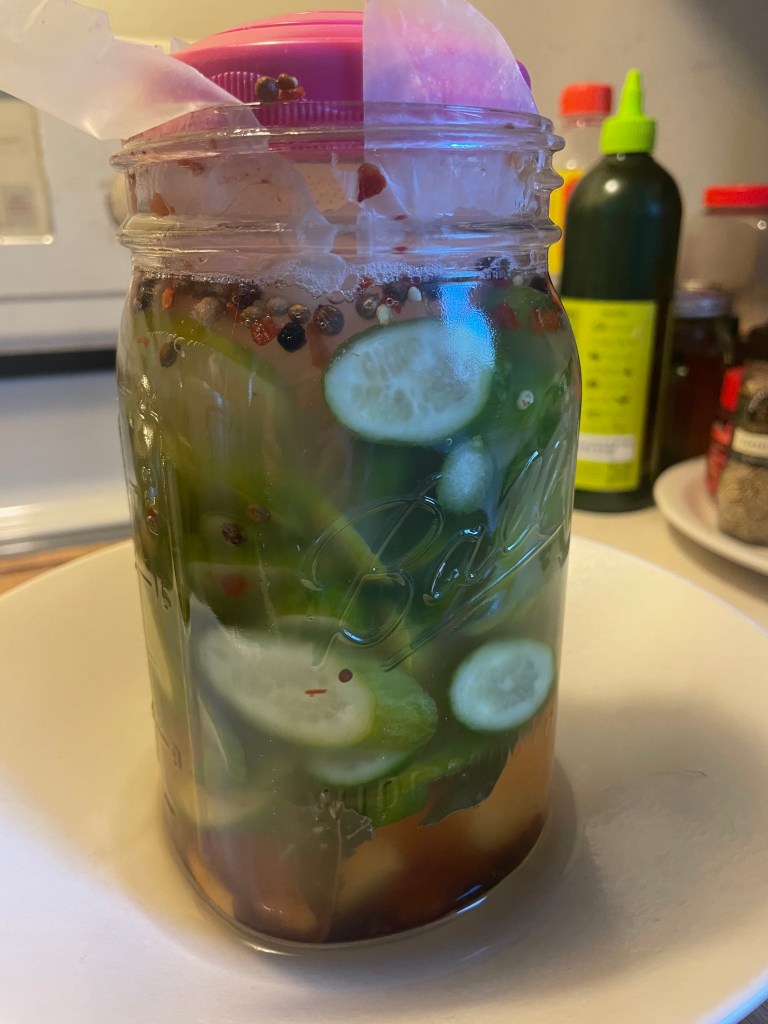
- Top everything off with brine. Place a pickling weight over the surface of the liquid to make sure that the cucumbers remain submerged. For a quick pickle like this, using only one jar, I place a sheet of parchment paper over the brine surface and stand a water-filled container on top of that as a weight. This allows the pickle to release gas bubbles but protects it from dust and little flying beasties.
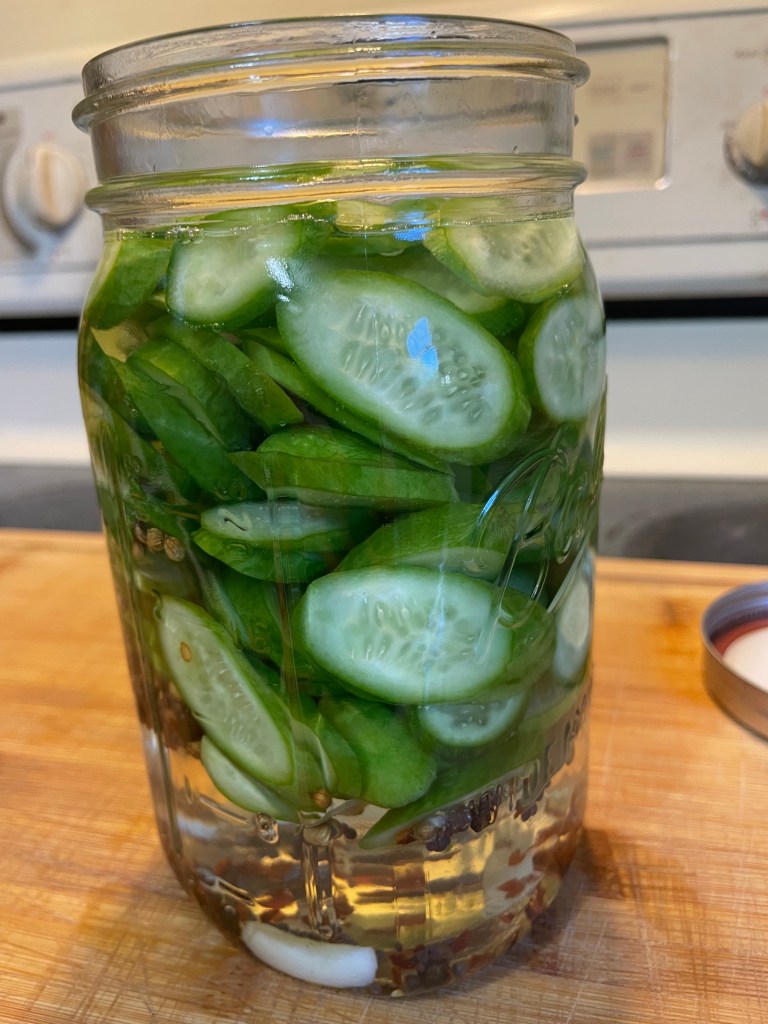
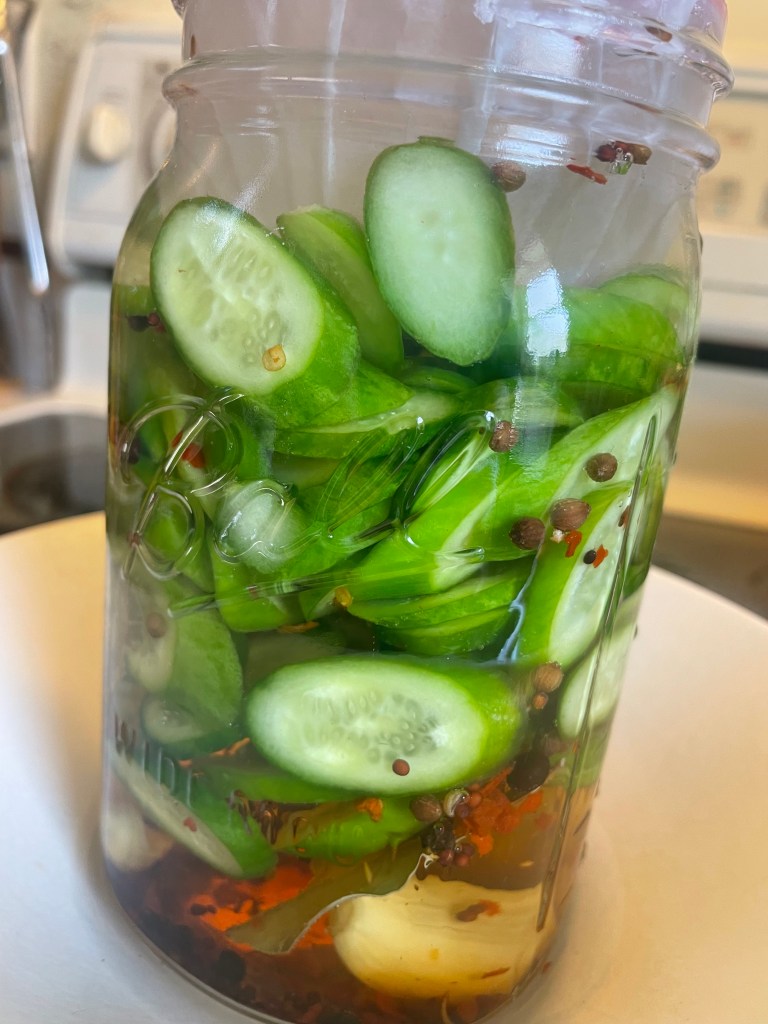
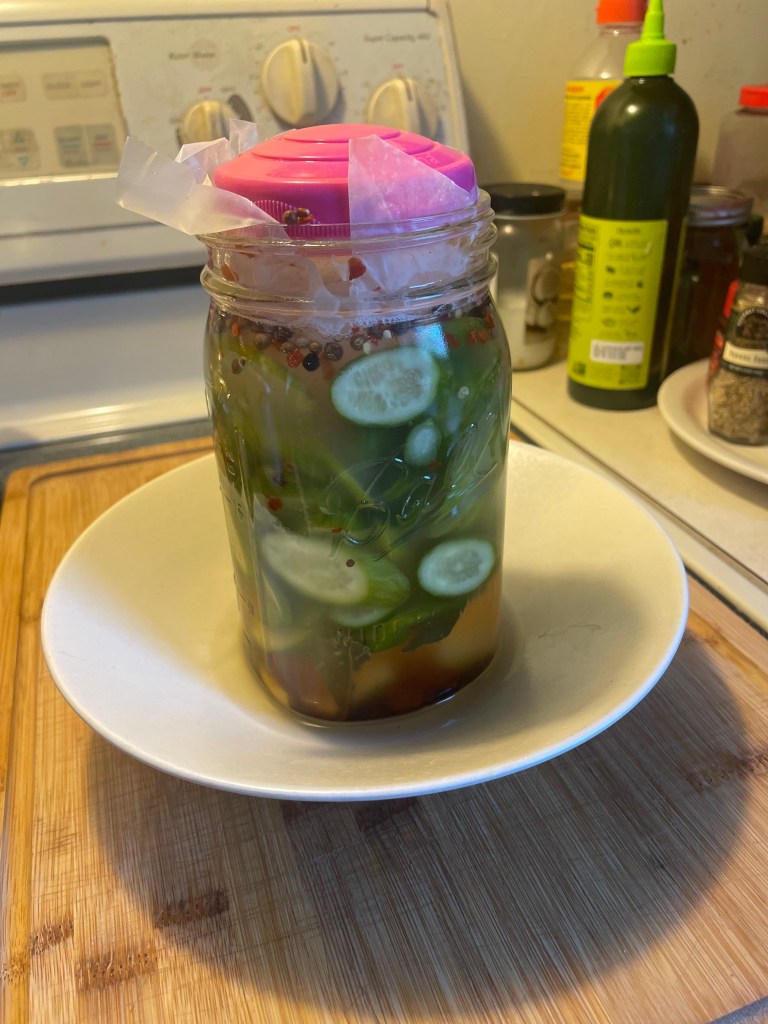
- Place the jar in a drip bowl in case of avid fermentation with resulting brine overflow. Leave at room temperature but out of direct sunlight for 3-7 days, until fermented to your liking. The brine will turn cloudy and the cucumber slices will lose their vibrant green color and turn a more muted grey-green. They will be a little softer than when raw but should retain a pleasant crispness. And they should taste delightfully tangy and salty, with a spicy hot bite from the red pepper flakes. For me this was a warm-weather project and so my pickles were ready on day 3. If the ambient temperatures were cooler, I would have kept them out to ferment for longer.
- Refrigerate. These keep very well for several weeks in the fridge. Or would, if they were not greedily devoured. They will continue to ferment, albeit at a much slower rate, in the cold temperature of the fridge. So be prepared for them to get more sour and less crisp-snappy the longer they sit.


Mustard-Mayonnaise Sauce

Makes approximately 1/2 cup.
You can, of course, simply use your favorite mustard or any preferred relish to slather on your hotdog. But, because I am in search of taste-memory perfection, I tweaked and mixed to get the balance of creamy and easily spreadable, with the sinus-blistering heat that I remember. This comes close.
Ingredients:
125ml/1/2 cup mayonnaise (I had Hellman’s on the day I made this but, I am actually a Kewpie-girl through and through)
5g/1 tsp Colman’s hot mustard
15g/1 tblsp Dijon mustard
1 small garlic clove, finely minced
1 pinch sugar
Salt and pepper to taste.
Method:
- Combine all ingredients in a small bowl. Allow the flavors to come together for at least 1-2 hours in the refrigerator before serving with your sandwich of choice.
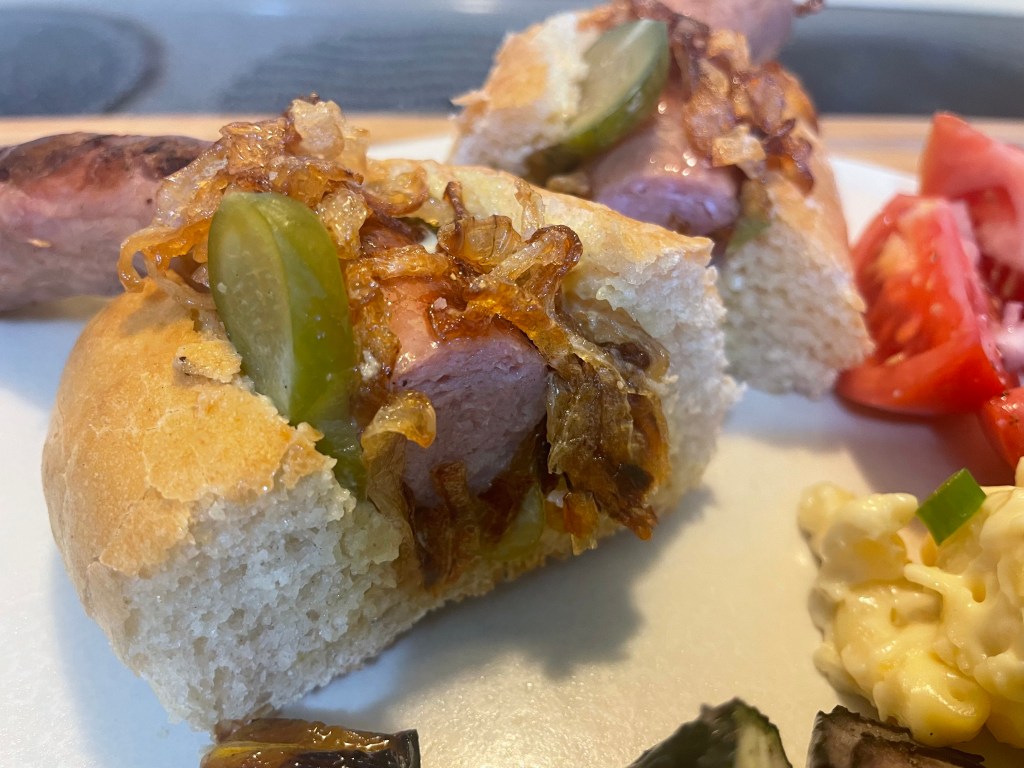
Putting it all together:
Hmm, I do not think instructions are required for this. Just grab a bun, grab a dog, smear with as much or as little mustard-mayo mix as you like, and then pickle and onion it up as you wish. Tell me it is not one of the better hotdog experiences you’ve had! Looking at you, Elie…


Leave a comment