
Our party owes much to Eliana Cooper. Not least of which is maintaining the proper priorities in regards to regular meal times. When possible, Elie eats Hin-style. Meaning several more food-stops each day than Elodie – eager, impatient, and driven – and Vaikner – contemplative, curious, and distracted – are accustomed to. Still, they were surely grateful to their friend’s insistent appetite when they tried these roast lamb-on-flat bread delights.
Serves 6-8, or, as always, about half that if a Hin or an Eliana is present.
Pita Bread
Makes 8 (6-inch) breads
A slightly puffy-pillowy flat bread with a handy pocket inside for filling with all manner of goodies, this is readily available in most grocery stores. But it is also great fun to make. And, depending on how you choose to bake it, can be infused with a wonderful smoky flavor that is difficult to come by in the purchased version. So here is a recipe if you would like to try to make these breads at home. This is based on the NYT pita bread recipe but has the indulgent (and non-canon) addition of sour cream for extra tang and richness.
Ingredients:
10g/2 tsp active dry yeast
2.5g/1/2 tsp granulated sugar
35g/1/4 cup whole wheat flour
310g/2.5 cups all purpose flour
5g/1 tsp kosher salt
30ml/2 tbsp olive oil
30ml/2 tbsp sour cream
Method:
- Start by making a sponge. Mix 250ml/1 cup lukewarm water in a large mixing bowl. Mix the yeast and sugar into the bowl and stir everything together to dissolve the sugar. Add all of the whole wheat flour and 35g/1/4 cup of the all-purpose flour. Mix well: it will look like a thin, sad, Dickensian gruel. Place this mixture, uncovered, in a warm spot. It will bubble up and froth. Leave the sponge to rise for 15-30 minutes.
- Mix in the salt, olive oil, sour cream, and remaining all-purpose flour. Stir until the dough comes together into a shaggy mass. Knead in the bowl for a minute.
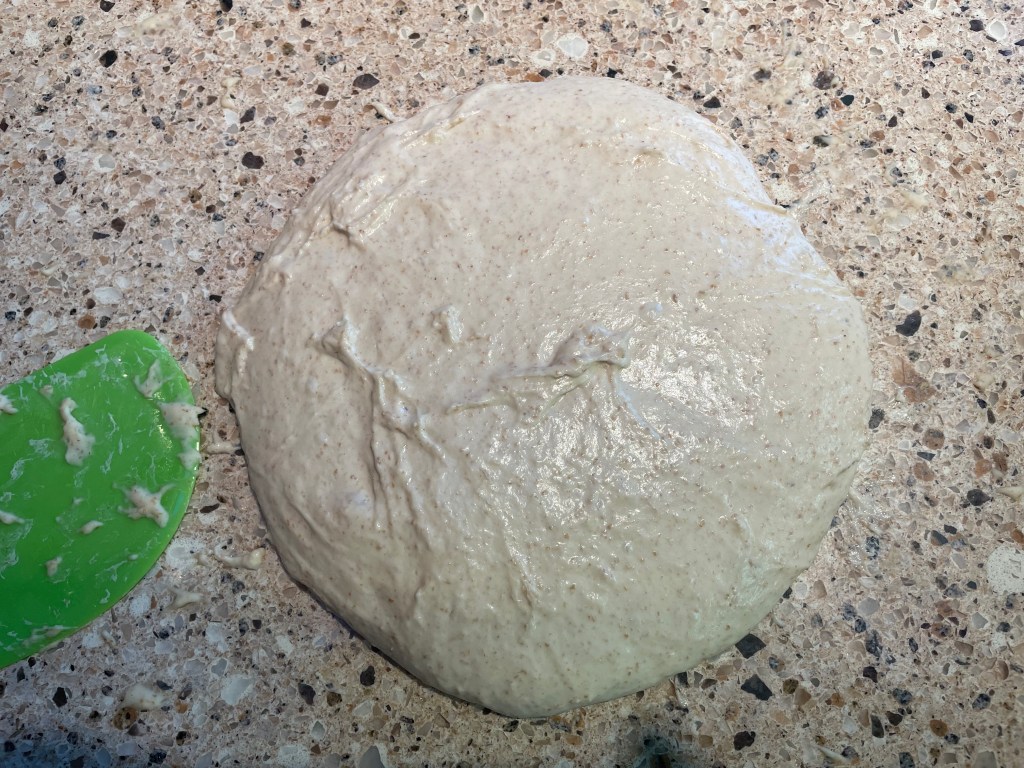
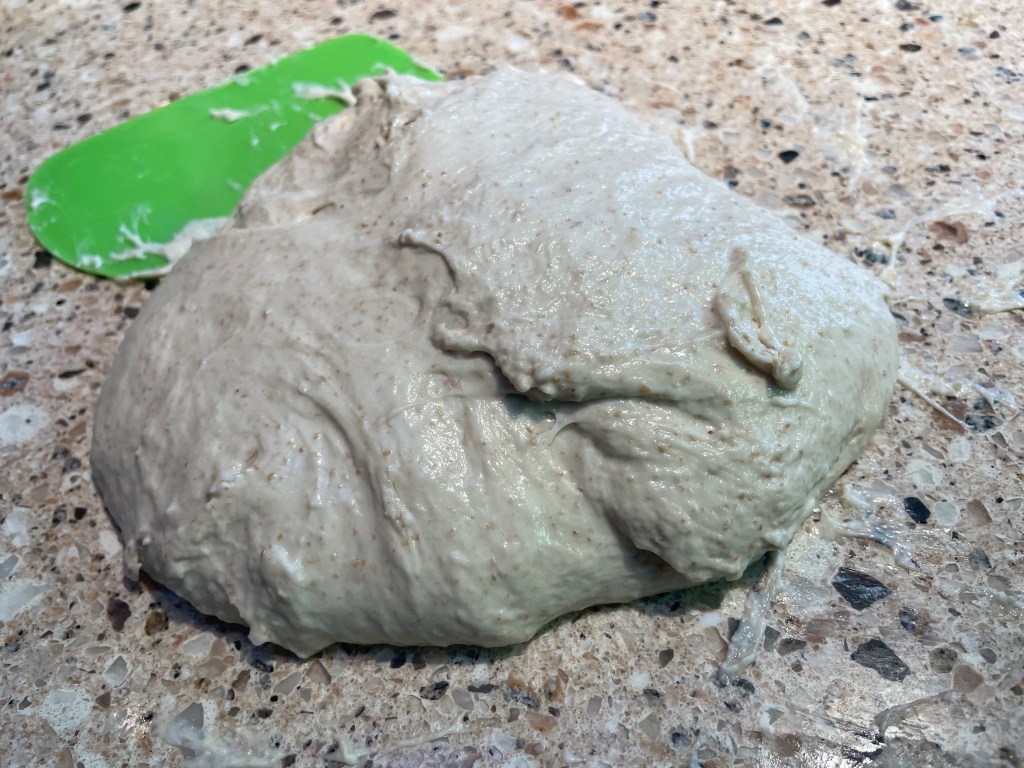
- Place the dough on a lightly floured surface and continue kneading until smooth and pliable, approximately 2 minutes. Cover and allow to rest while the gluten relaxes, for 10 minutes. Knead for another 2 minutes. I followed the recipe on this but, whether through the addition of sour cream or just hydration content in general, this is a very wet, sloppy dough. You can definitely slap it around on your counter top if you are so inclined. I used olive oil to prevent it sticking too much to everything. I avoided adding more flour because I wanted to preserve that soft, high-hydration dough. But you can also just do the entire kneading process in the original bowl to contain the yeast-monster. Or put the recipe together in your stand mixer bowl and then put the machine to work for the messy kneading bit. A total kneading time of 5 minutes by stand mixer should suffice.
- Put the dough in a clean bowl. Cover tightly and leave the bowl in a warm place until doubled in size. This usually takes about 1 hour.
- Once the dough has doubled, deflate it gently and divide into 8 equal pieces. Form the dough pieces into balls and place these on your work surface to rest, covered with a damp towel or piece of oiled plastic wrap, for 10 minutes.
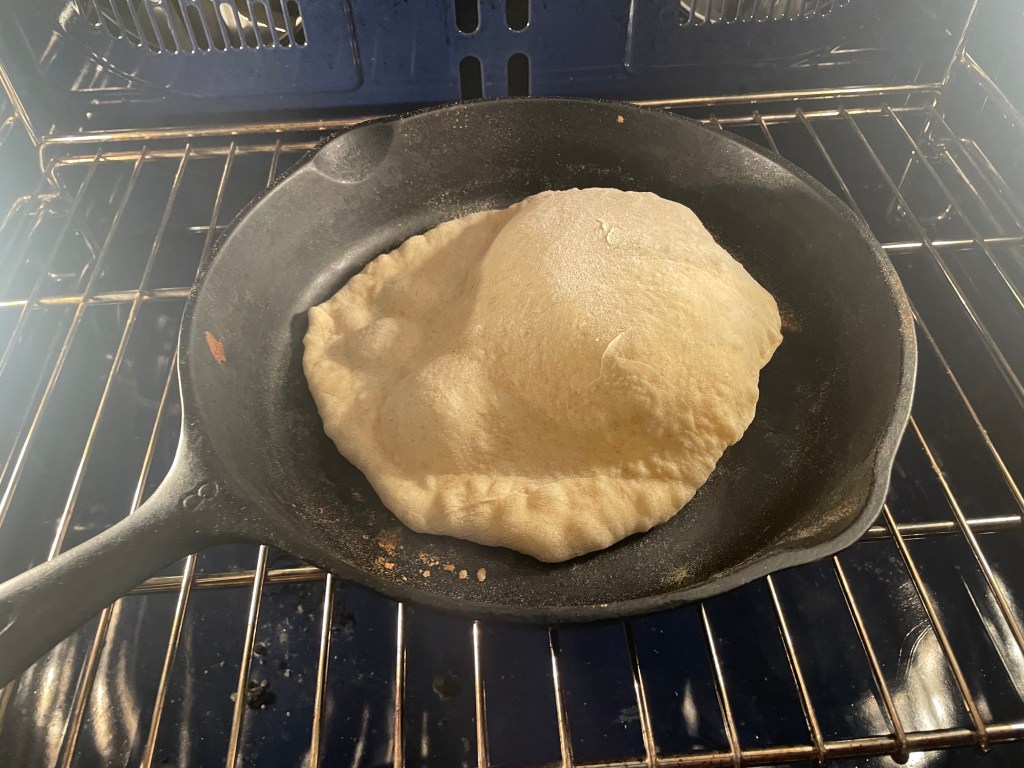
- Meanwhile, preheat your oven to 475F/250C and place a baking sheet, cast iron pan (my favorite option), or baking stone on the bottom shelf of the oven. It needs to get properly, searingly hot: this is how to ensure that your pita puffs into properly airy pockets.
- Working with one dough ball at at time (leaving the others covered), roll the ball into a circle 8 inches in diameter and approximately 1/8 inch thick. This larger diameter will compensate for inevitable shrinkage when the pita cooks resulting in a finished 6 inch flat bread. Dust with flour as you work. Scrimping is no longer necessary. You do not want your circles to stick and tear – air will escape from the little holes and you will not get a nice puffed pocket.
- Take the rolled out dough circle and gently place on the pre-heated baking sheet/pan/stone. Bake for 2 minutes, then flip over, cooking for another 1 minute. The bread should puff up and start to form a few brown speckles. Take it out when it is still mostly pale – if you over-bake the pita it will still be tasty but you will not have a soft, stuff-able bread but a crispy cracker.
- Place the baked pita in a basket or on a plate and cover with a napkin to keep the bread warm and soft. Continue with the remaining dough balls.
You can make this recipe up to the point of rolling out the dough balls into flat breads and finish them either in a very hot cast iron pan on the stove-top, or, for that really smoky flavor and char marks, on an outdoor grill.

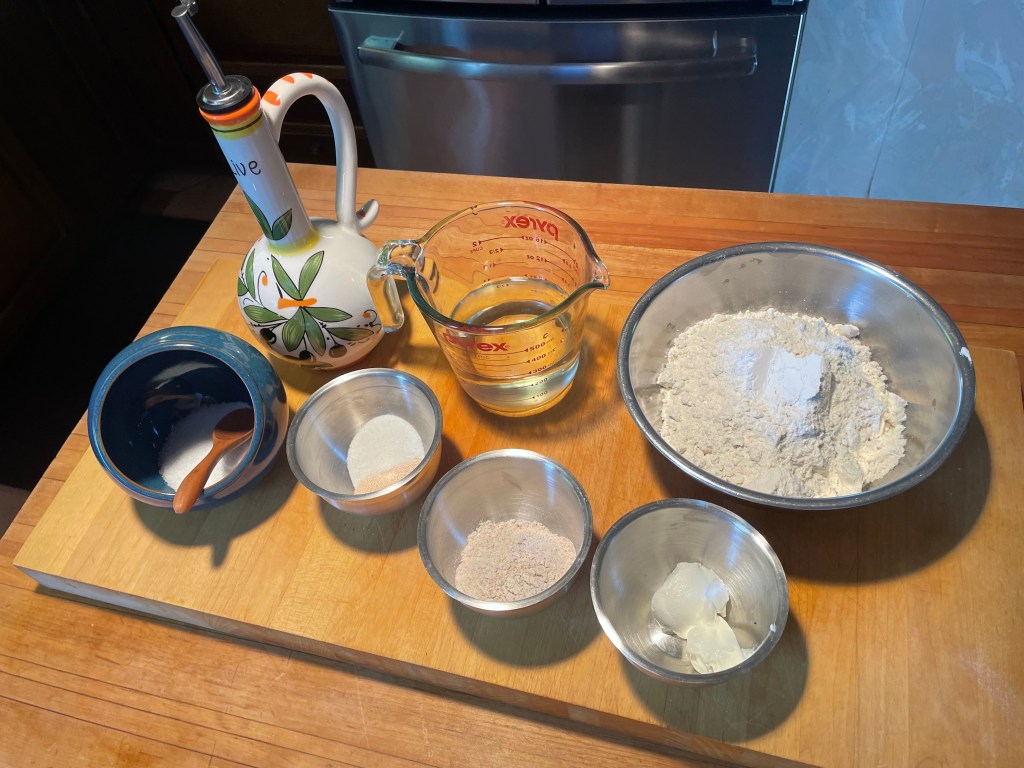
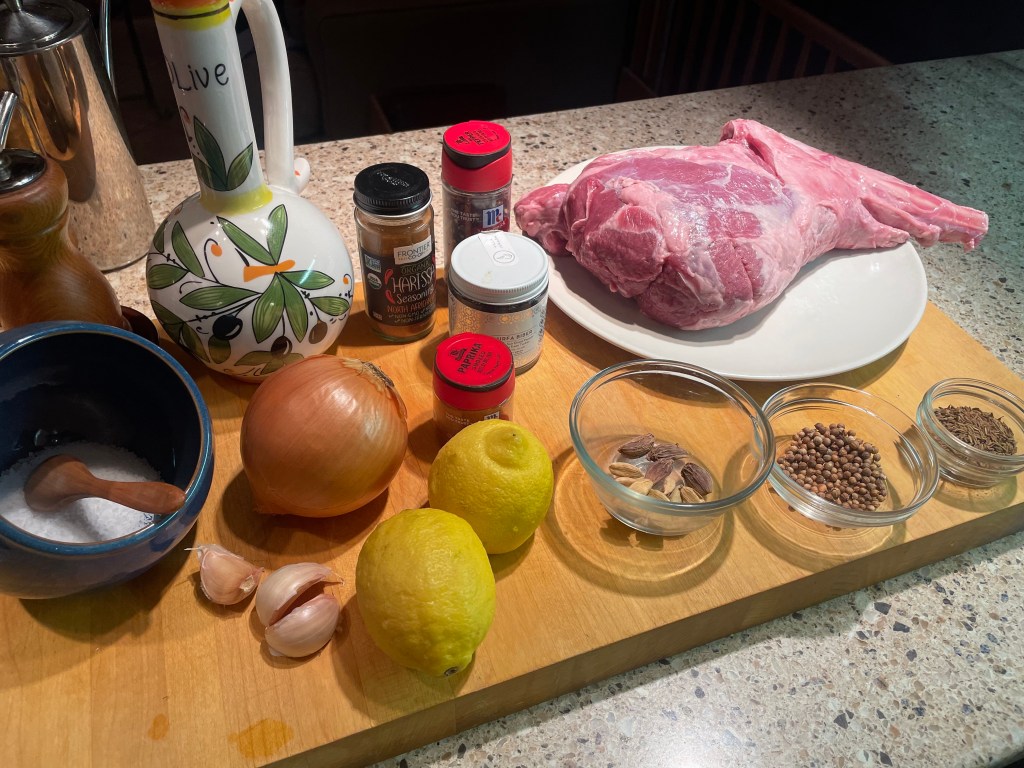
Always helpful to have all your ingredients weighed out and ready to go.

The sponge, aka sad Oliver Twist porridge.
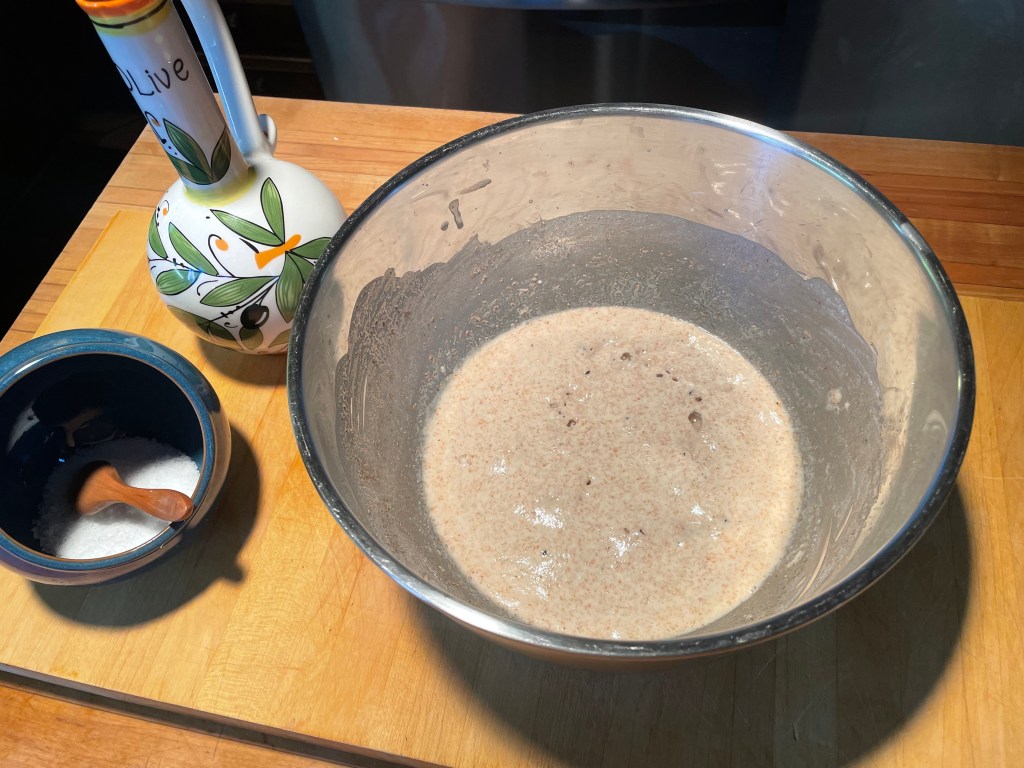
The bubbly sponge

Add the rest of the ingredients.

Does not get much shaggier of a shaggy mess than that.

Very slack dough, oiled and ready to knead.

Not too much difference in the blob following the first brief kneading.
After resting, the dough has oozed sideways.
Following the second short knead, it has a little more strength but is still very soft.
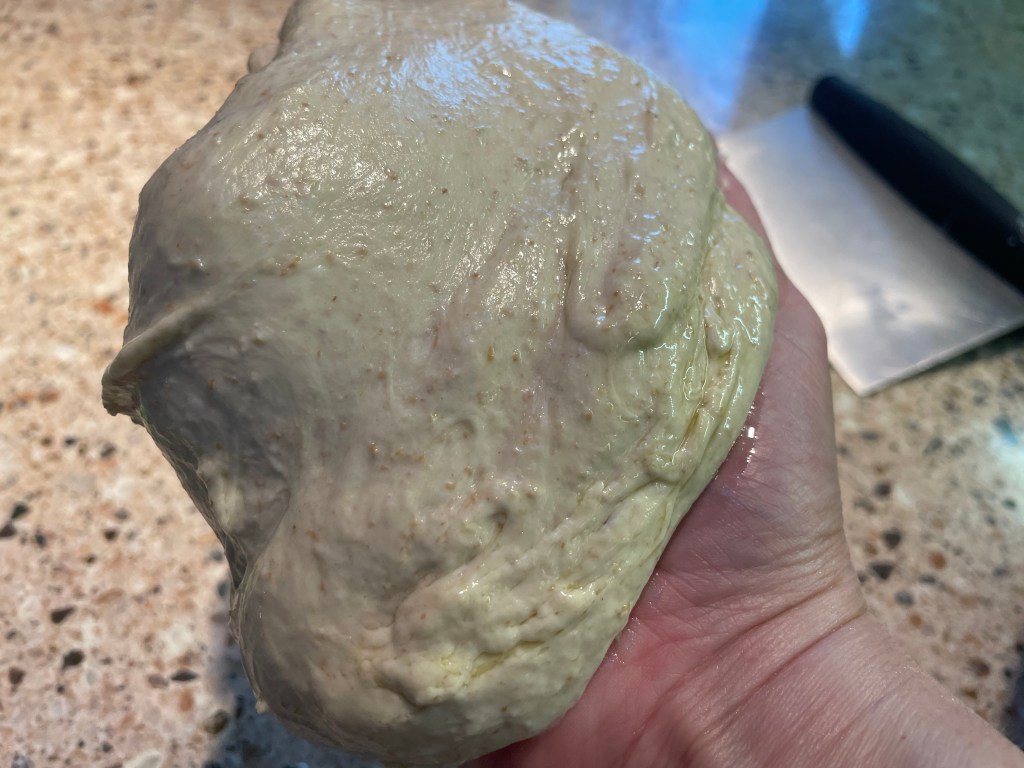
The blob doing its best to engulf my hand, gelatinous cube-style.
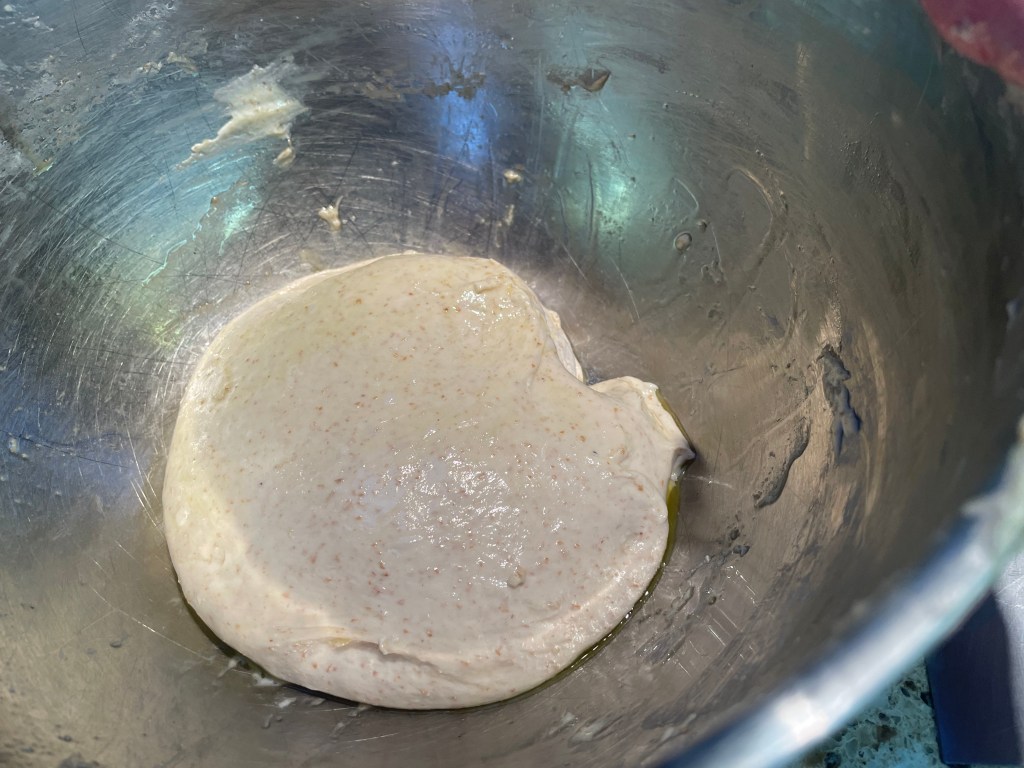
Tucked cosily away for its first rise, you can see it is maintaining some structure. Love the speckles from the whole wheat flour!

Still blobby, spreading out more widthways than up, but definitely has grown a little.
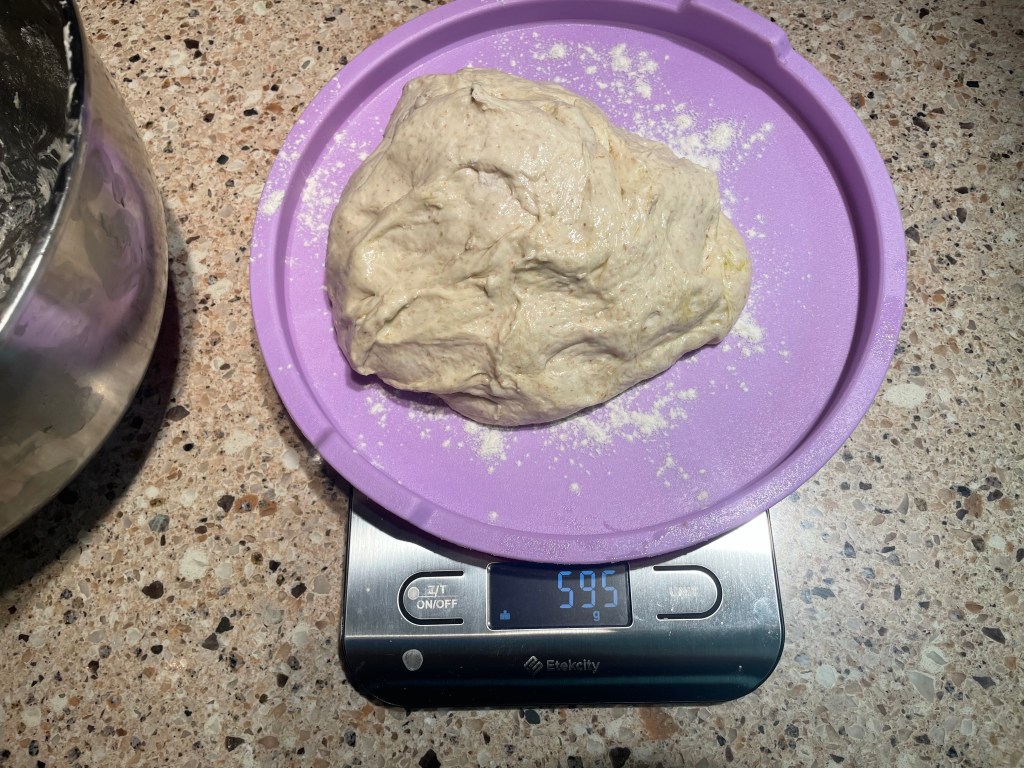
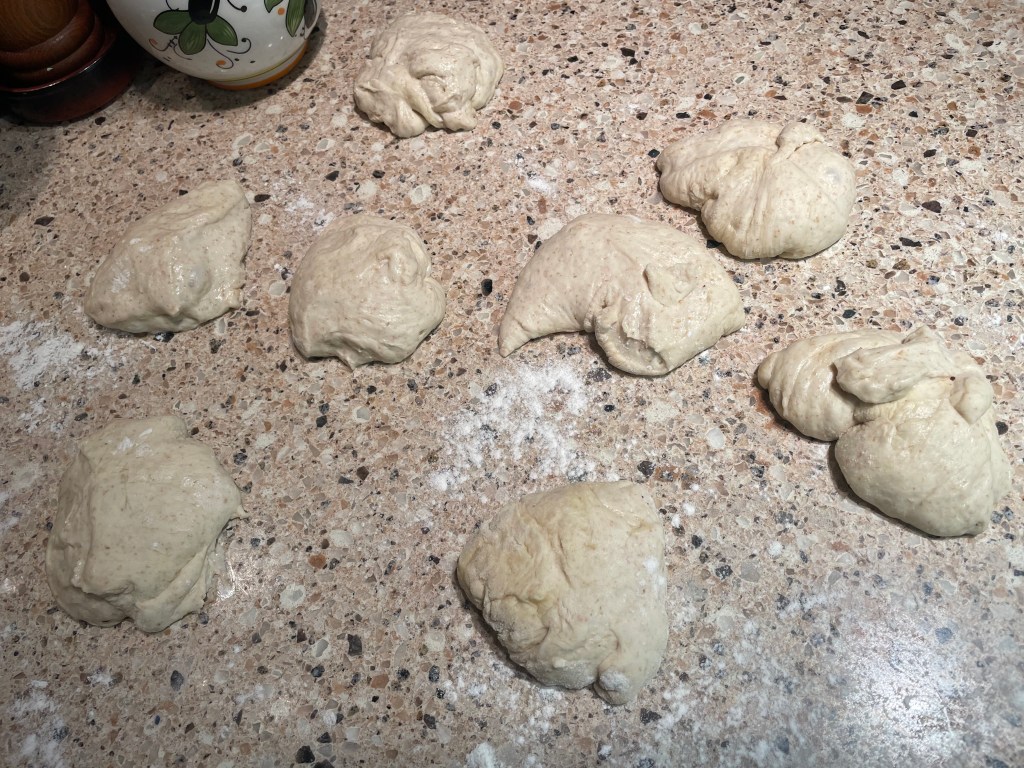
Deflated blob is divided into 8 chunks.
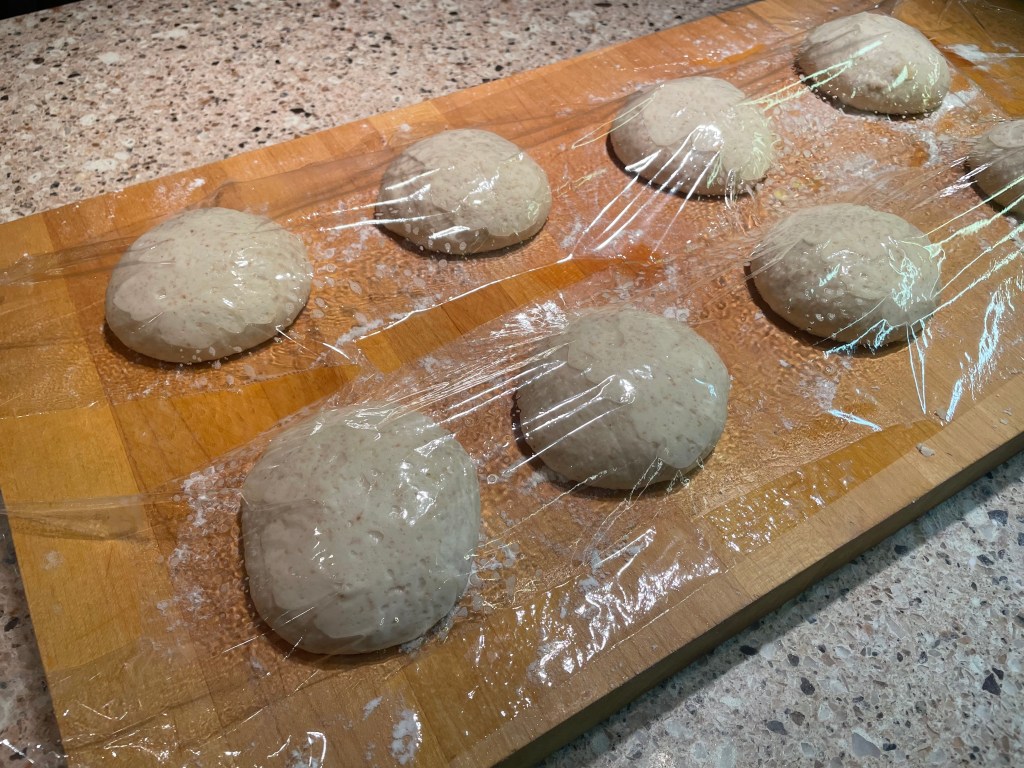
Shaped and resting under greased plastic wrap.
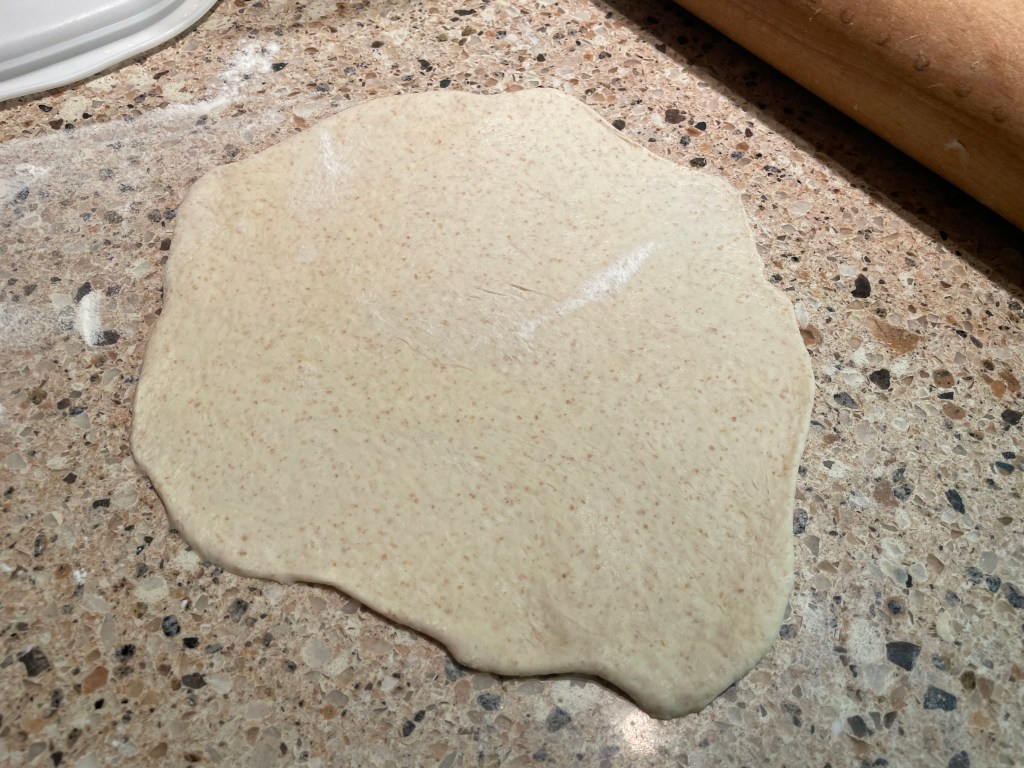
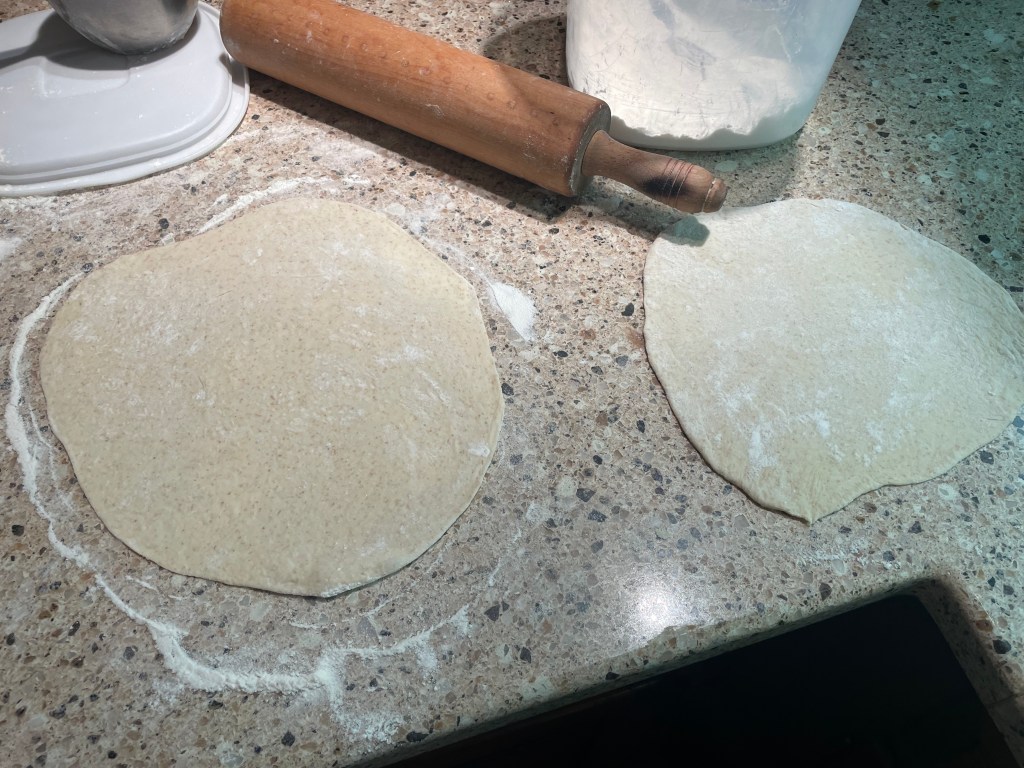
Then ugly-rolled into something that is certainly not circular.

The first flat bread is like the first crepe, right? Always hideous.

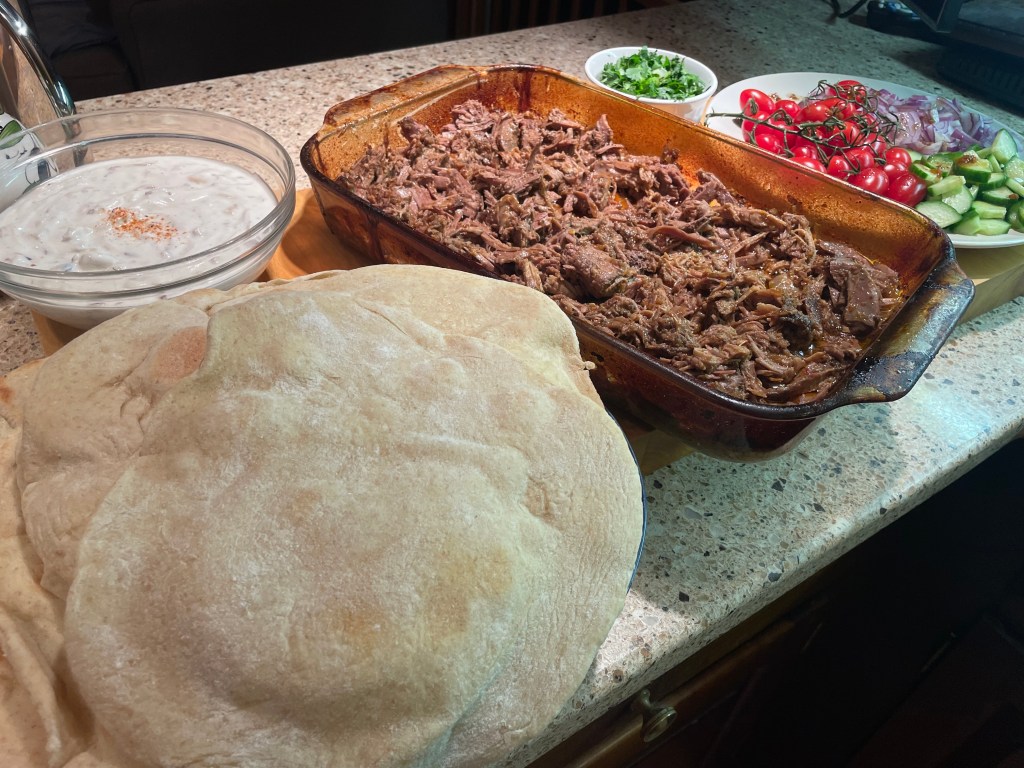
Here is more respectable pita-puffage.
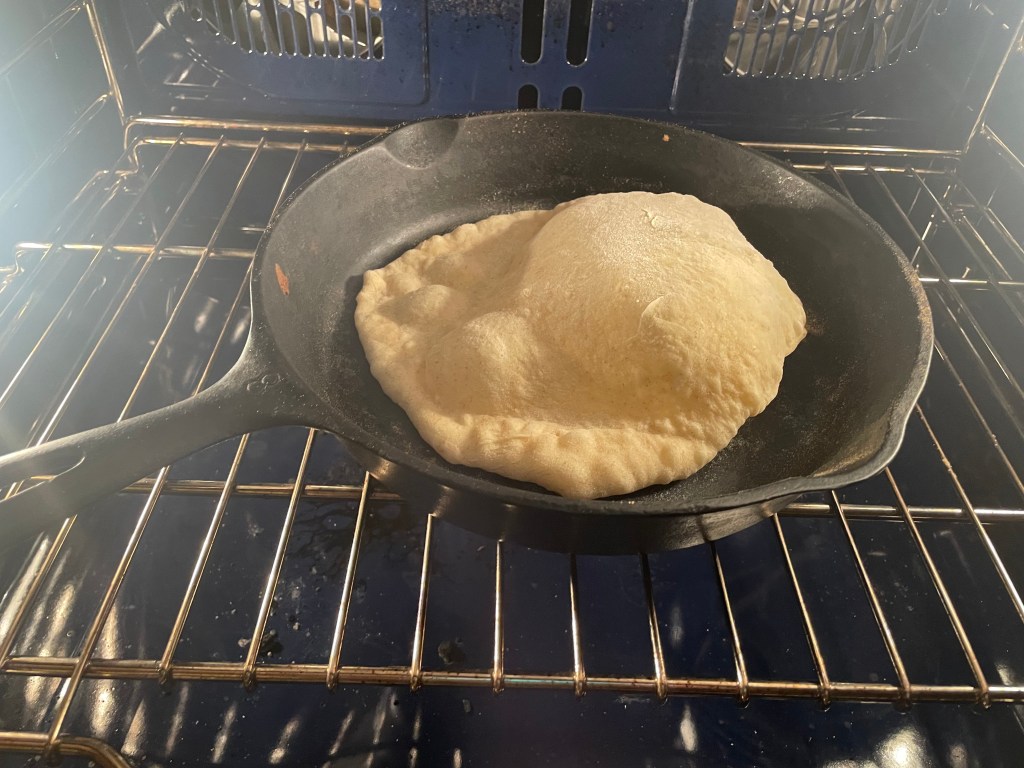
I was so excited I almost dropped my phone in the oven.
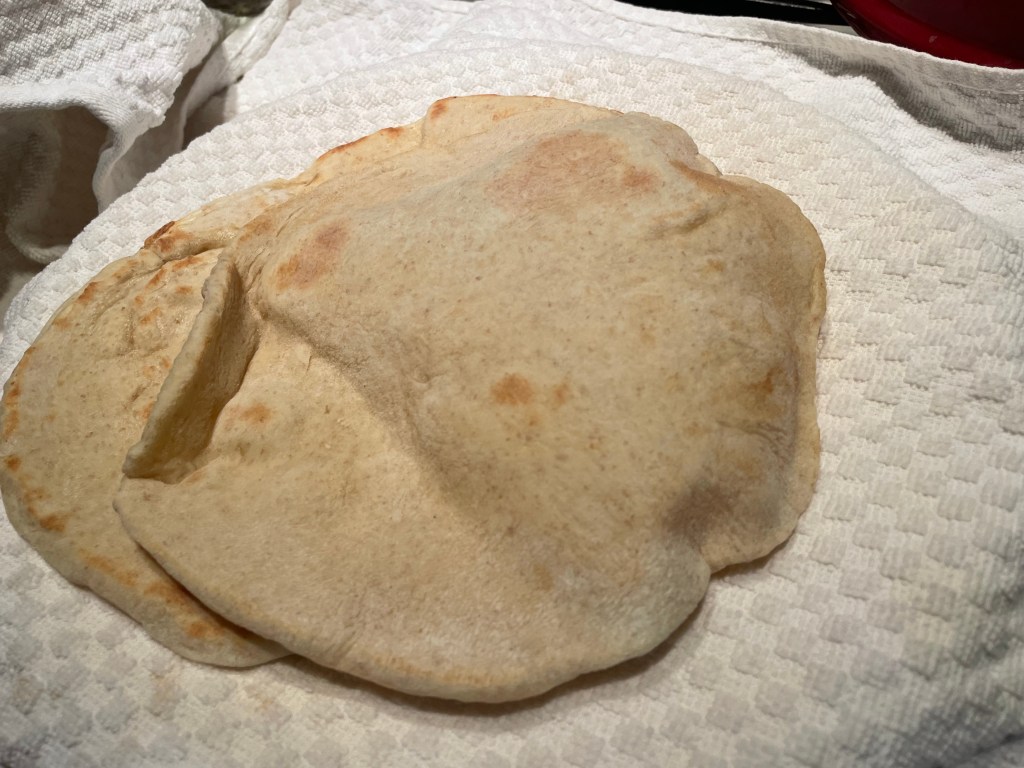
Some of the puff deflates, but fear not! The secret lamb pocket remains.
Keep rolling out more dough as the individual pitas are baking.

Slow-roasted Lamb (Leg or Shoulder)

Makes enough for 6-8 generous servings
This tender-enough-to-effortlessly-shred lamb is the perfect filling for pillowy pitas. It is, without many alterations, the Lamb Shawarma from the lovely blog www.recipetineeats.com by Nagi. Her recipe suggests a shoulder cut but I could only find leg of lamb. I added grated raw onion to the marinade. I like the extra savoriness it adds to the final product. And I doubled (tripled?) down on the smokiness from the paprika in the original recipe by also throwing in black cardamon and Urfa Biber chile flakes for some dark tobacco-ey notes. I did not have any cayenne pepper so I replaced that with red chile pepper flakes and some Harissa seasoning for heat. Wherever I had whole spices on hand, I used those over the pre-ground versions. This allowed me to first briefly toast the spices in a dry pan. Just until their fragrance spread hauntingly through the kitchen. Then I ground them in an old coffee grinder before measuring out enough fresh ground spices for the recipe.
Ingredients:
2kg/4lb lamb shoulder or butterflied lamb leg (bone-in for that extra oomph of flavor)
For the marinate/spice paste:
1 small white/yellow onion, finely minced or grated
3 large garlic cloves, minced
15g/1 tbsp ground coriander
15g/1 tbsp ground cumin
15g/1 tbsp ground green cardamon
15g/1tbsp ground black cardamon
5g/1tsp Urfa Biber chile flakes
5g/1 tsp Harissa seasoning
10g/2 tsp smoked paprika
7.5g/1.5 tsp salt
2.5g/1/2 tsp black pepper
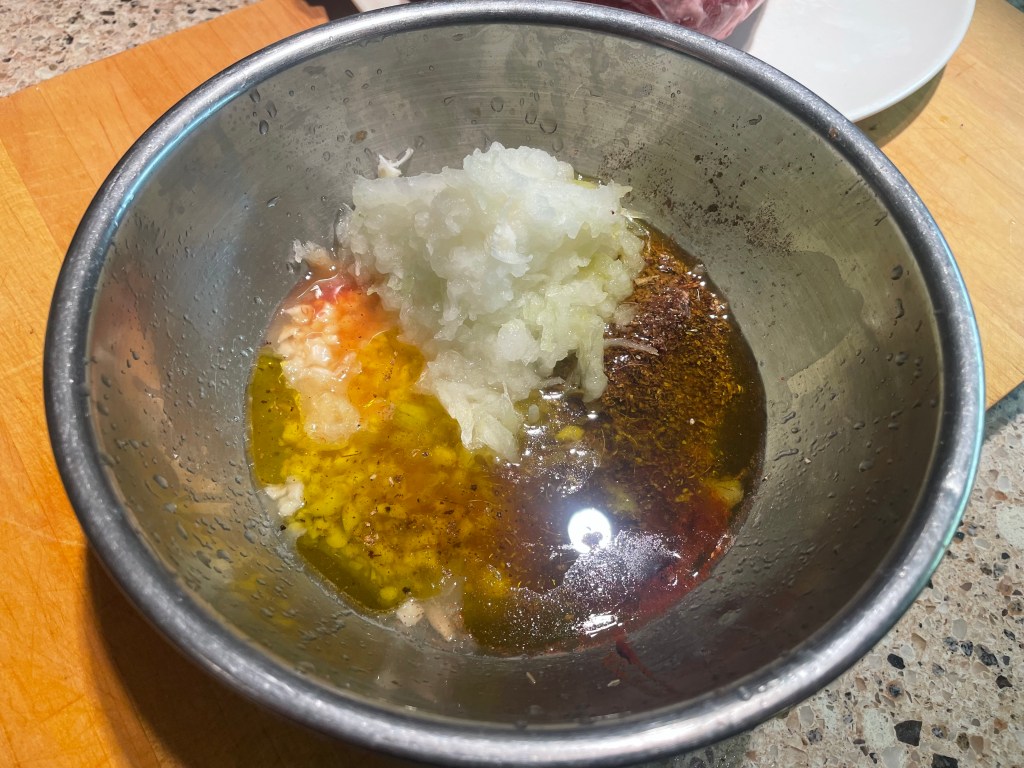
65ml1/4 cup olive oil
45-60ml/2-3 tbsp lemon juice
For cooking:
500ml/2 cups water
Method:
- Place all the spice paste ingredients in a bowl and mix thoroughly. Slather enthusiastically all over the lamb, making sure to rub it into the various meaty nooks and crannies. Marinate the lamb for several hours at cool-ish room temperature, or overnight in the fridge.
- When ready to roast, place a rack in the lower 1/3 of the oven and preheat to 350F/180C.
- Place the lamb, fat side up, in a large roasting pan. Pour the 2 cups of water around it and cover the whole pan tightly with foil.
- Bake for 3 hours. Check if it is sufficiently tender (should be easy to pull the meat apart using two forks), remove the foil, and roast for another 30 minutes to give the meat some color and allow a brown tasty crust to form.
- Allow to cool for at least 20 minutes before either slicing or shredding your roast lamb. If shredding, mix the meat with as much of the pan juices as you desire: a filling for your pita that is lusciously oozing with concentrated lamb-flavored sauce is a good thing. If slicing and serving the lamb over, say, a platter of herbed couscous, drizzle ample pan juices over the top of the entire dish. And consider topping with dollops of yogurt, pomegranate seeds, and a handful of fresh green cilantro.
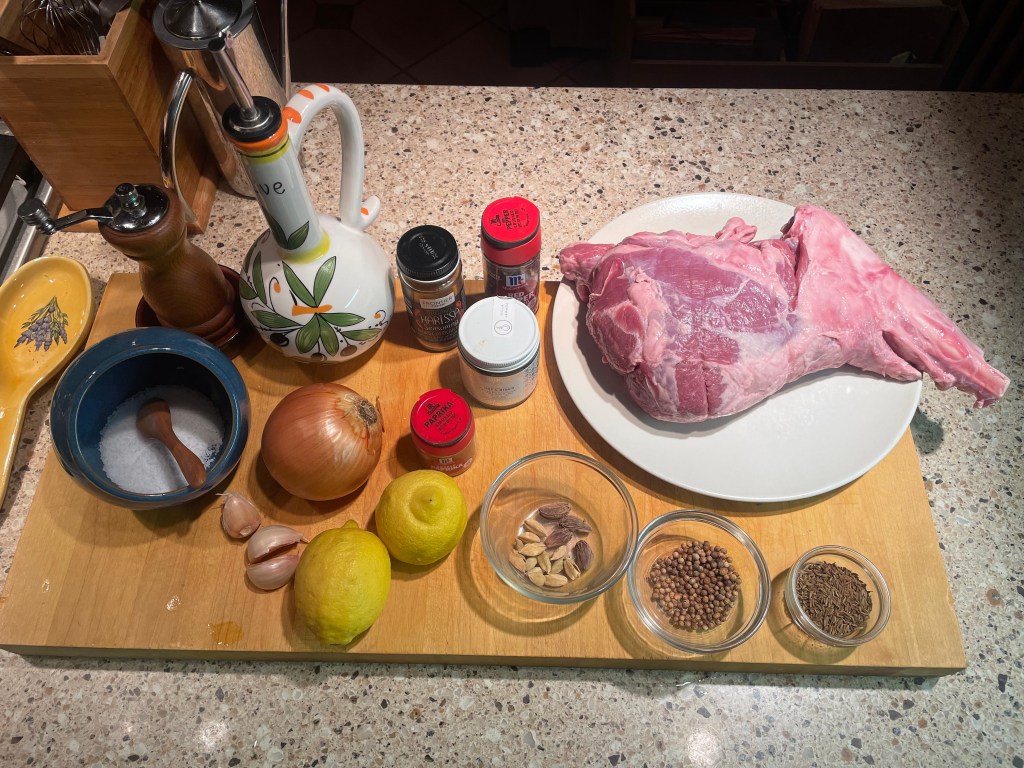
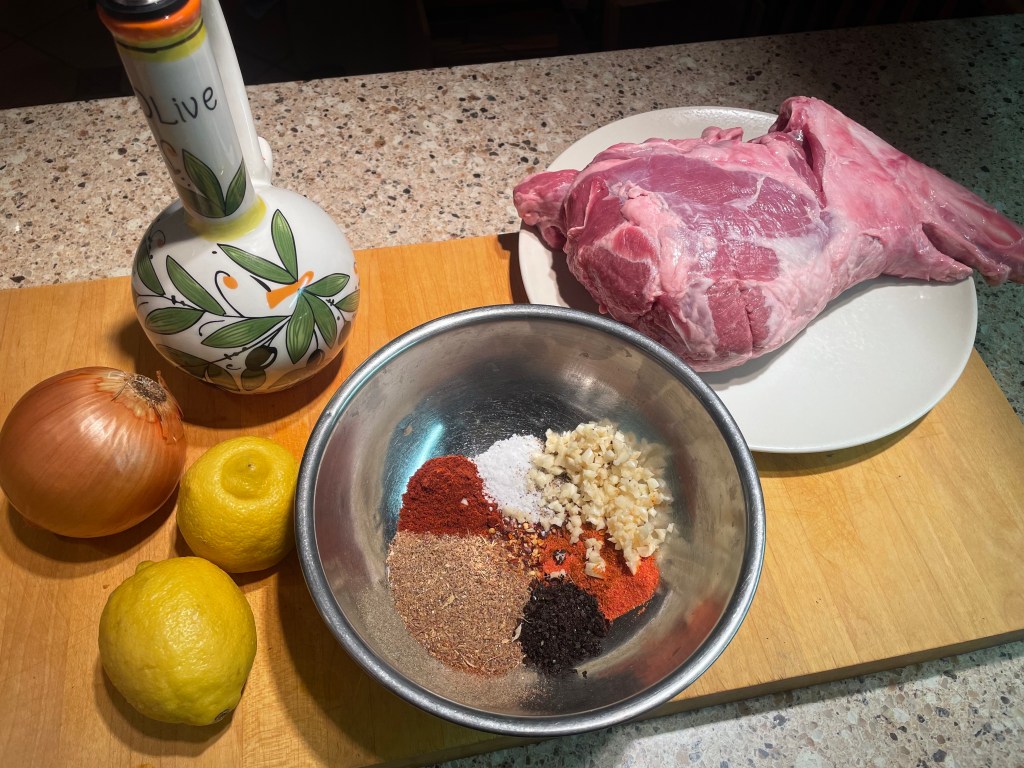
Mis is placed.
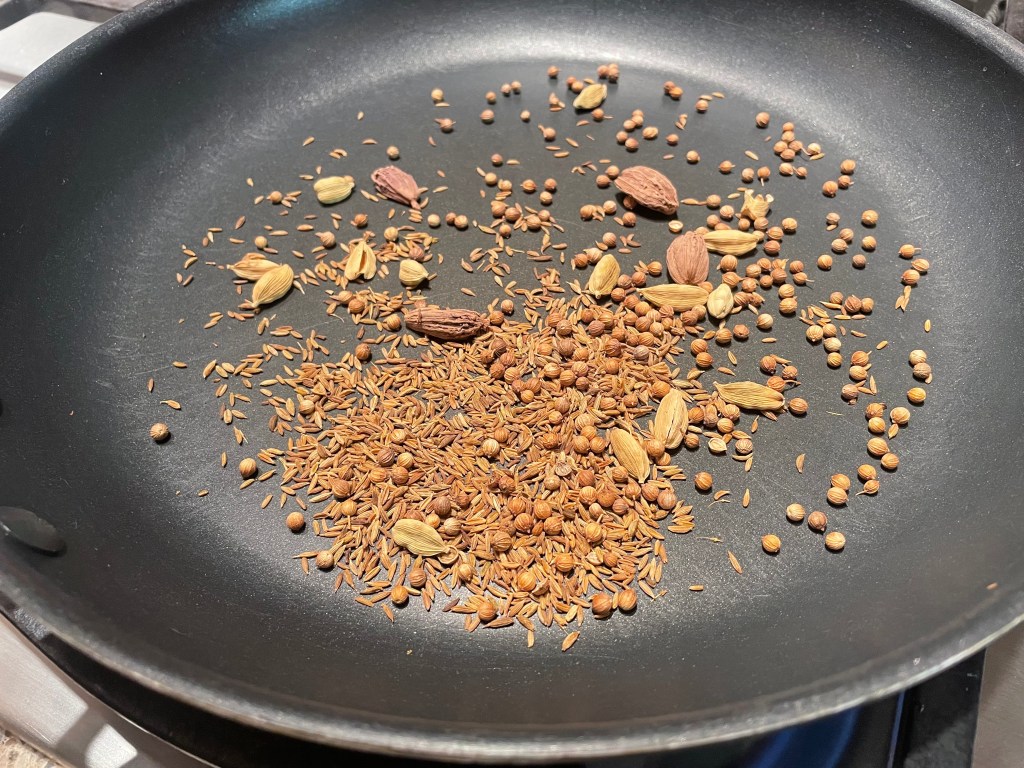
Toasting the whole spices.

Spice mix for the marinade.
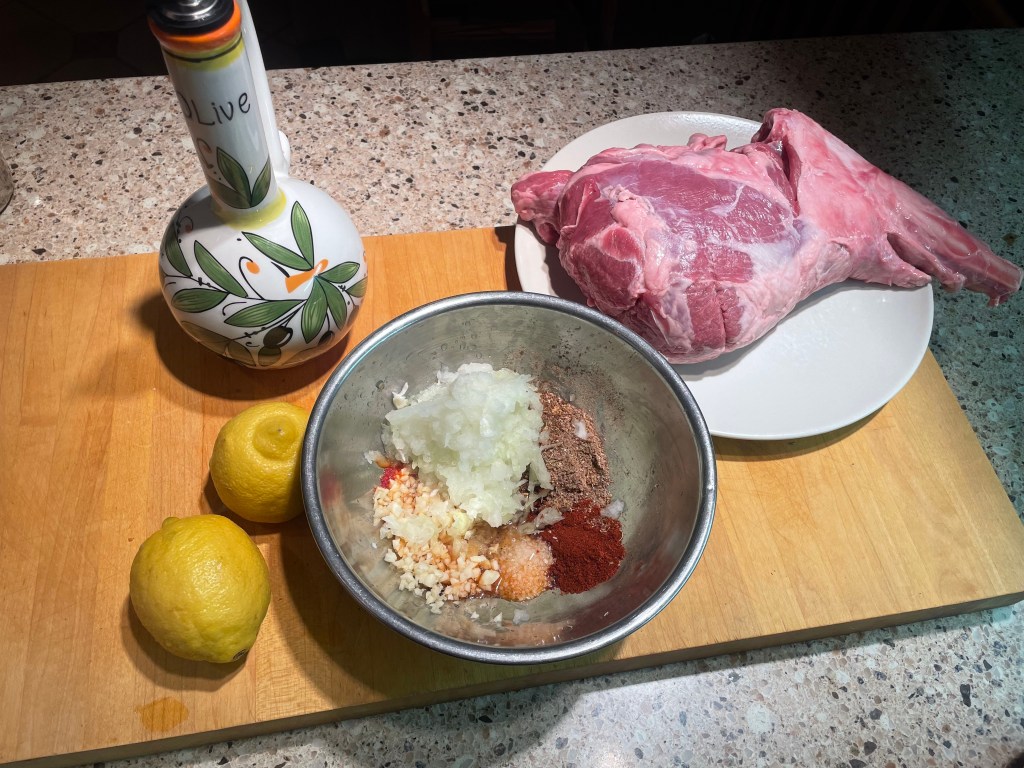
Rest of the marinade ingredients go in.
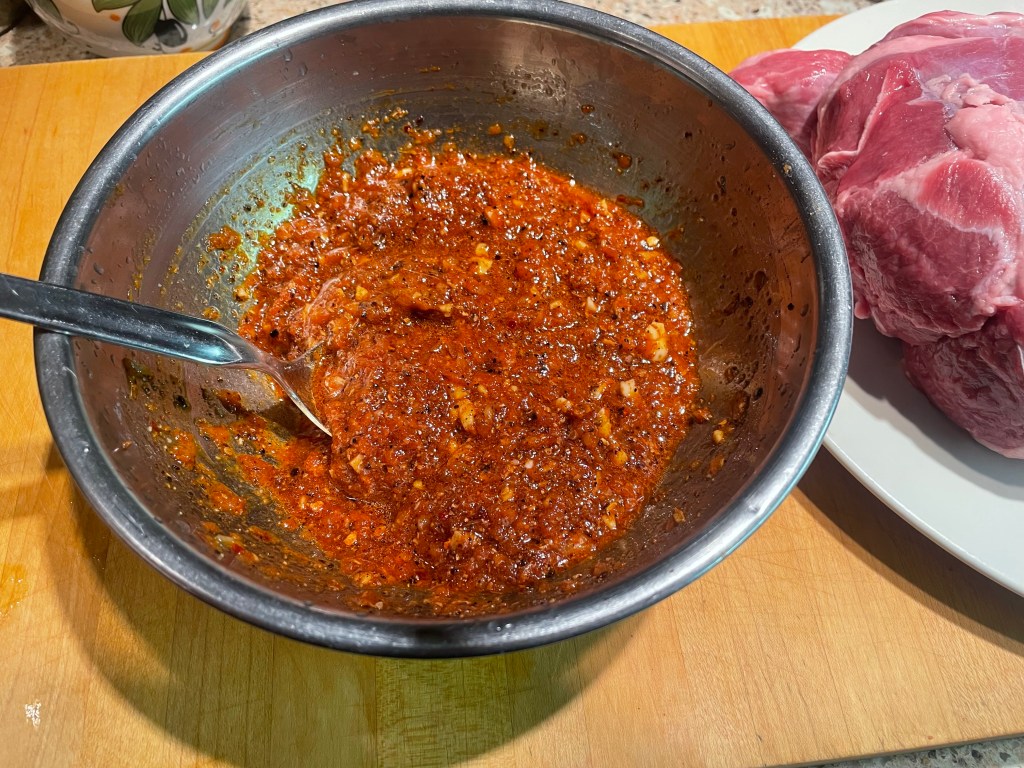
Stir it up into this vivid fiery mix.

Slathering time.

Kind of looks good enough to eat already. Does that make me a total Gnoll?
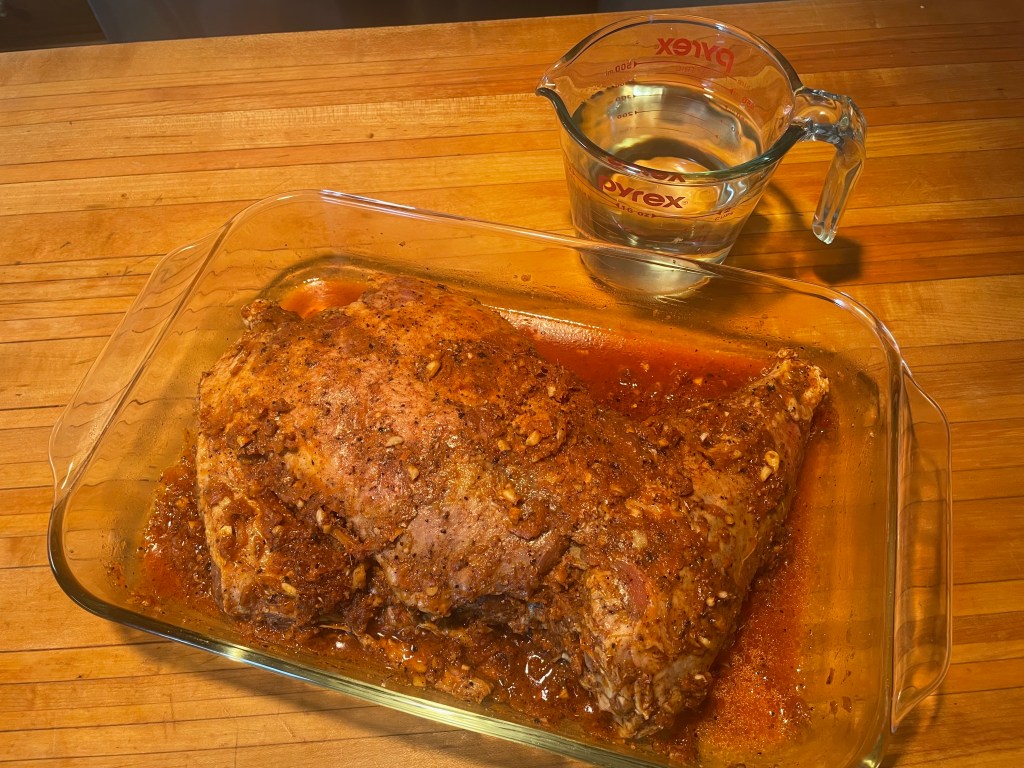
After a night in the fridge, just add water…
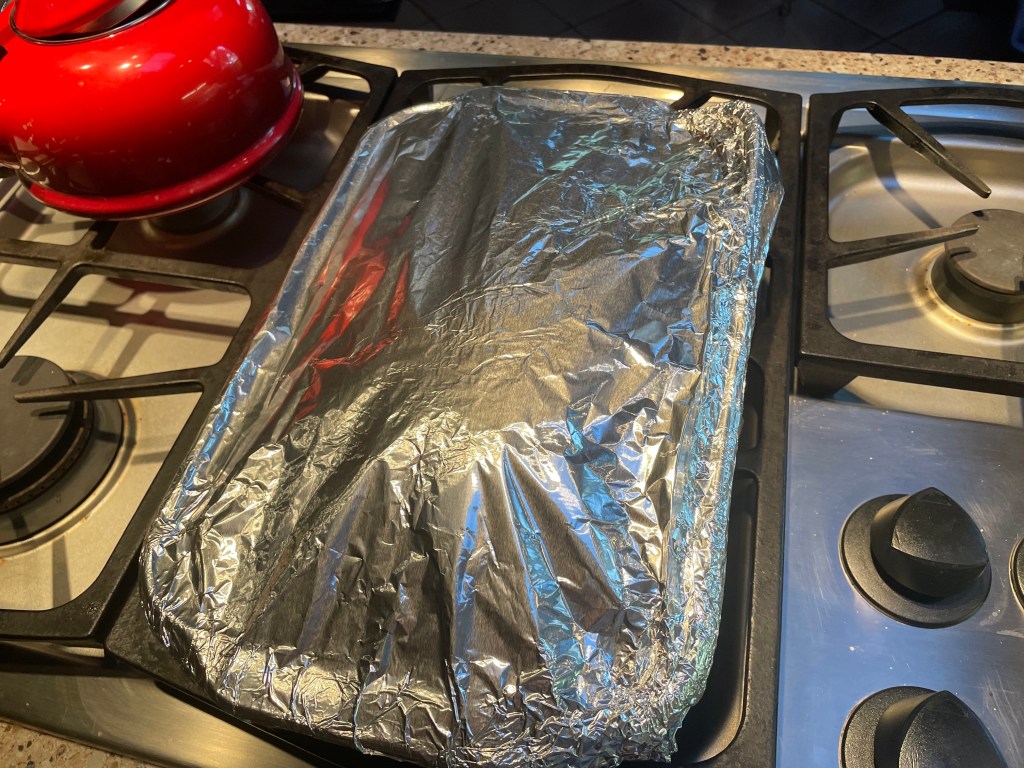
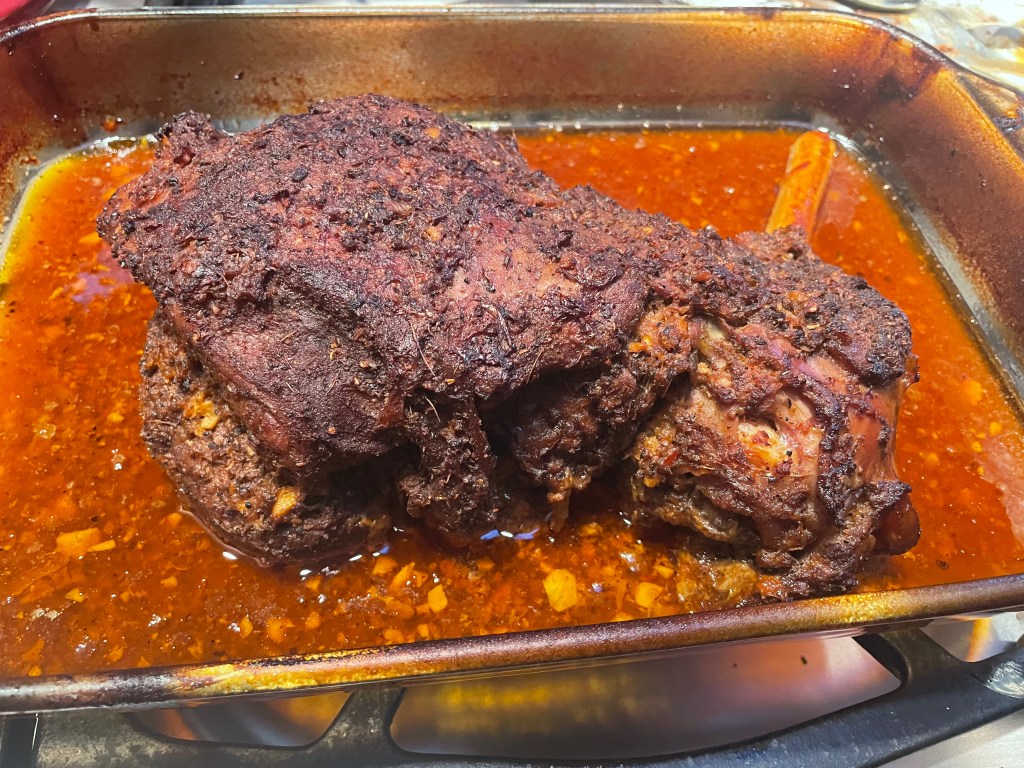
Cover tightly and bake!
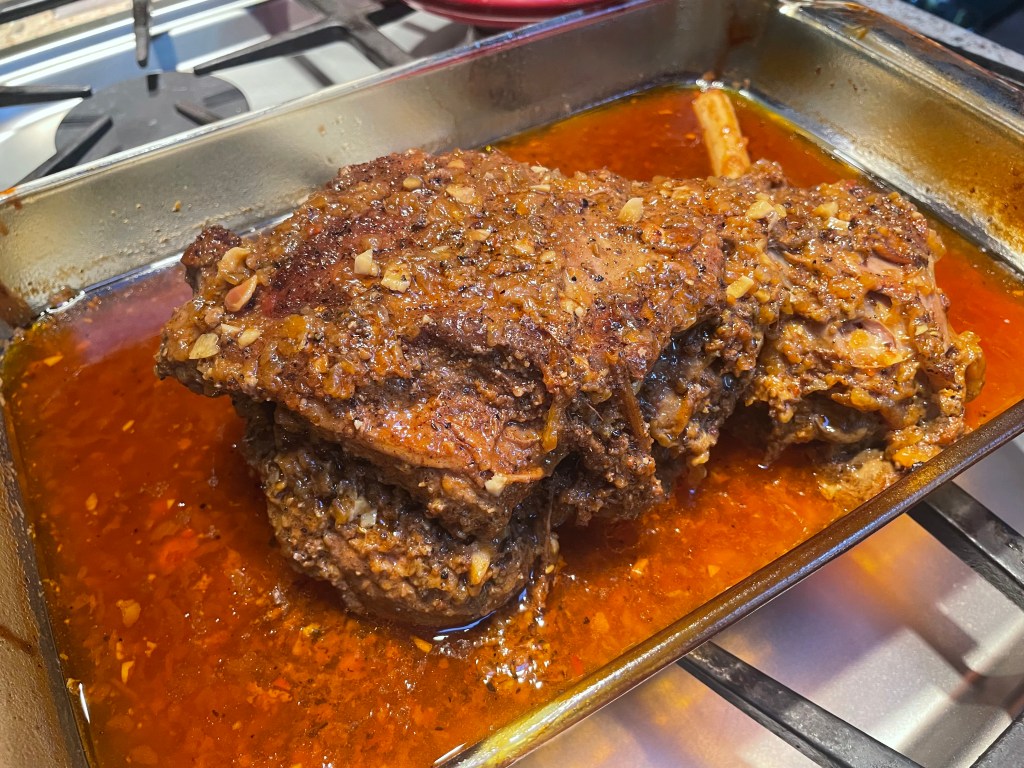
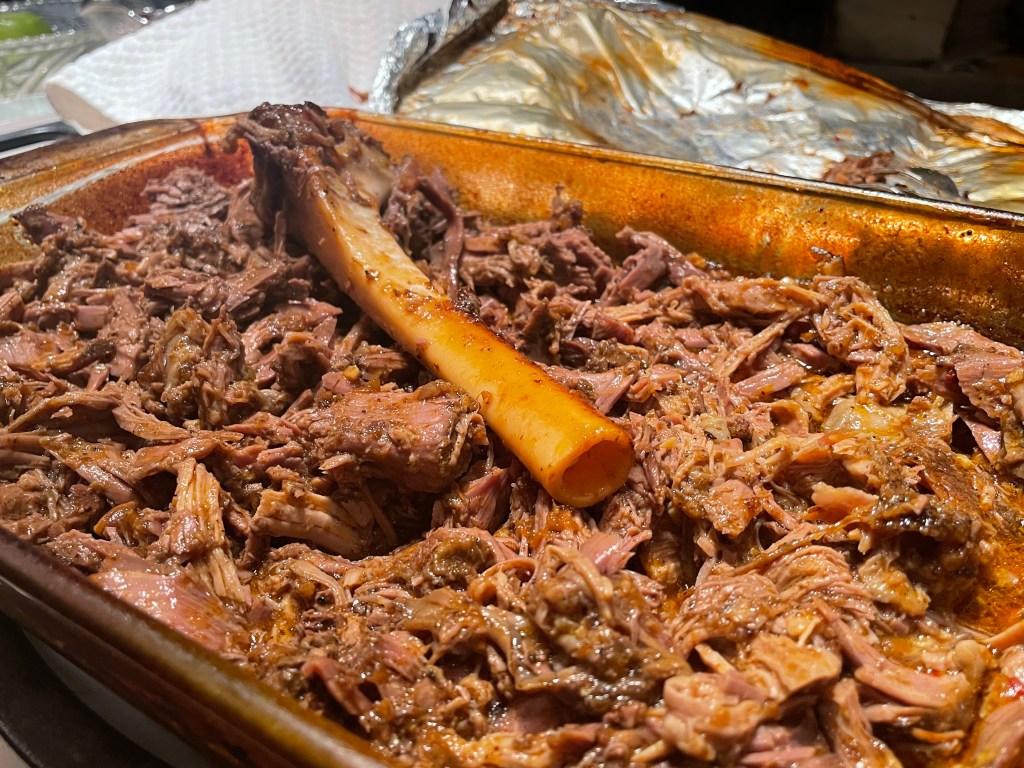
3 hours later and it is falling off the bone. Trying not to devour the whole thing right now!
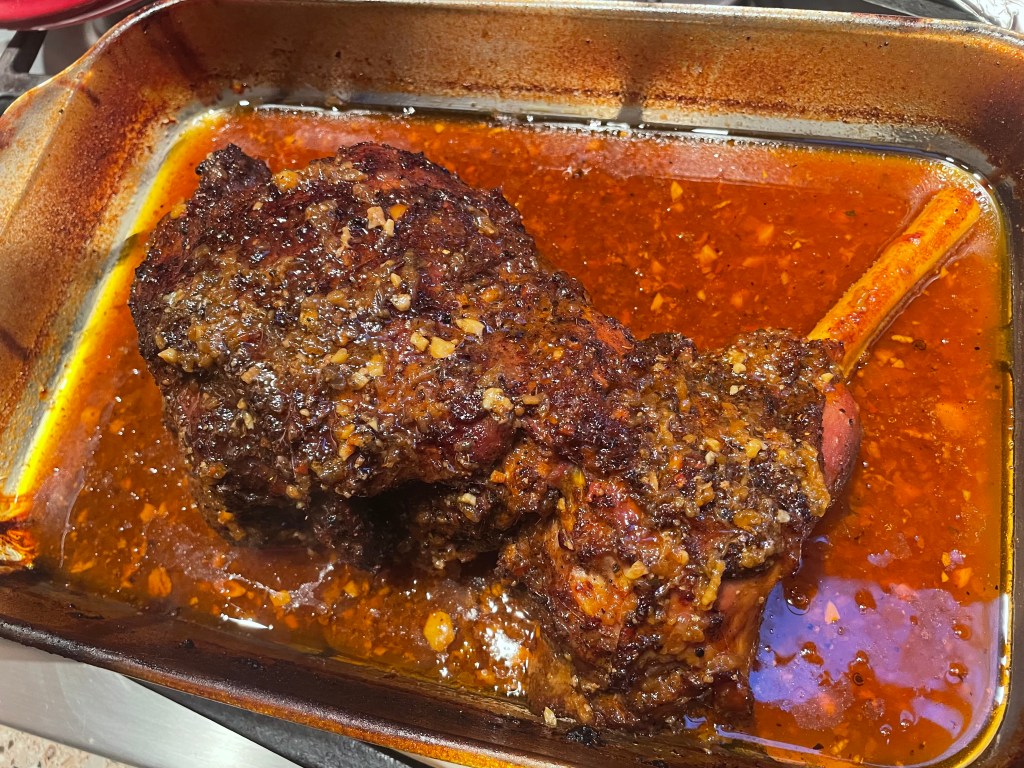
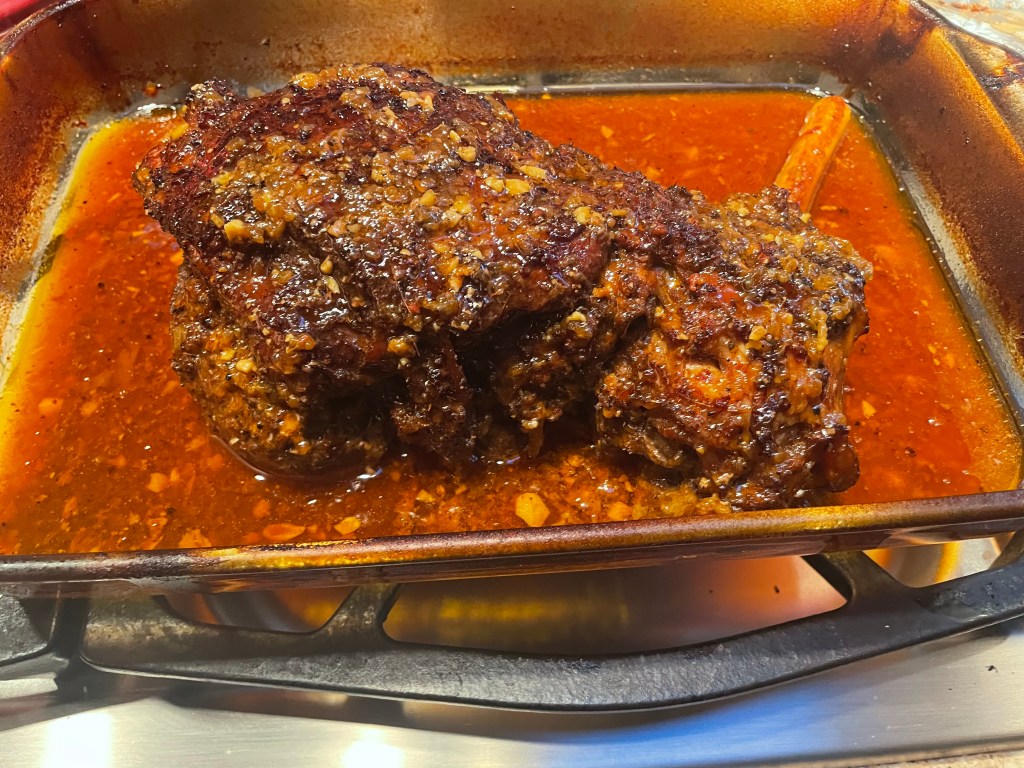
After another 30 minutes, uncovered, it gets a nice crust on the outside.

Basted and resting.

Easy to shred with a fork.
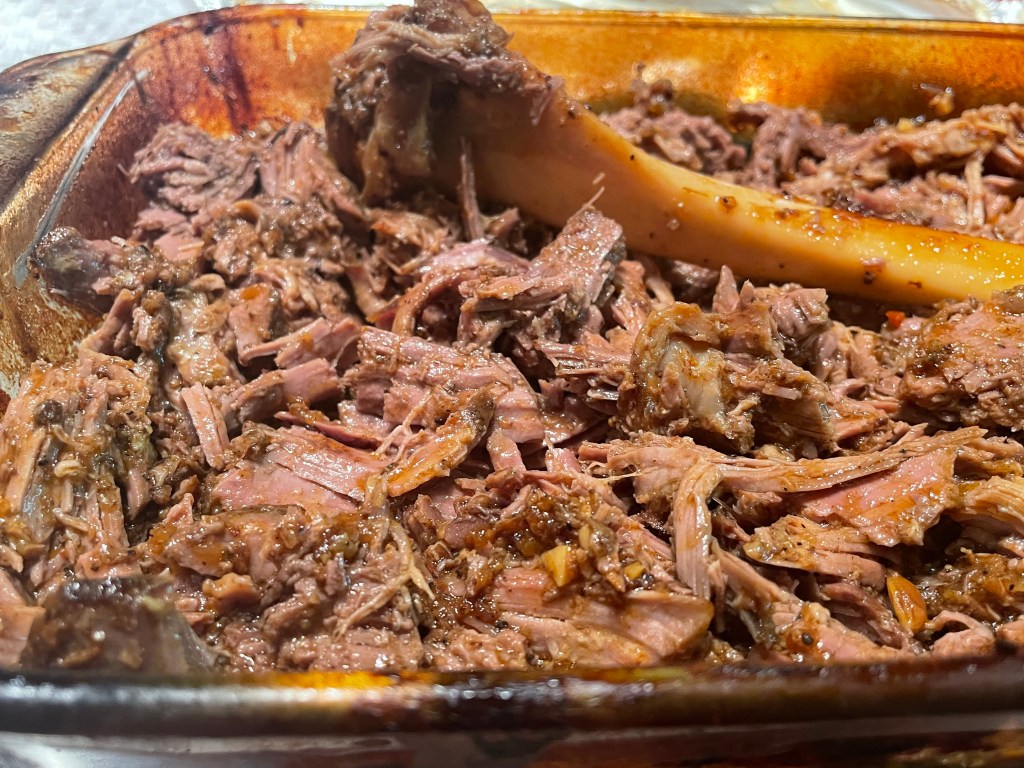
All juicy and ready to fill a pita.
Shades of Gristle Gums, hehe…
Olive and Preserved Lemon Yogurt
Makes approximately 2 cups
This sauce packs a briny and funky punch. The slow-roasted lamb has a rich enough taste that you could just top your flat breads with plain, creamy yogurt. But I like the extra flavor dimension that this garlicky sauce, studded with slivered olives and minced preserved lemon, brings to the party. The more the merrier.
Ingredients:
375ml/1 1/2 cup whole milk yogurt, preferably Greek yogurt
1 clove garlic, minced
1/4 preserved lemon, rind only, finely chopped
Generous handful of your favorite olives, finely chopped : dry cured olives, all shiny black and wrinkled little nuggets of concentrated salt and odd caramel undertones, are my favorite. But, for a more mellow alternative, I used a deli olive mix here.
2.5g/1/2 tsp sugar
Pinch salt
15ml/1 tbsp olive oil
Method:
- Mix all ingredients together.
- Allow the flavors to meld together – this is best served after 1-4 hours in the refrigerator.
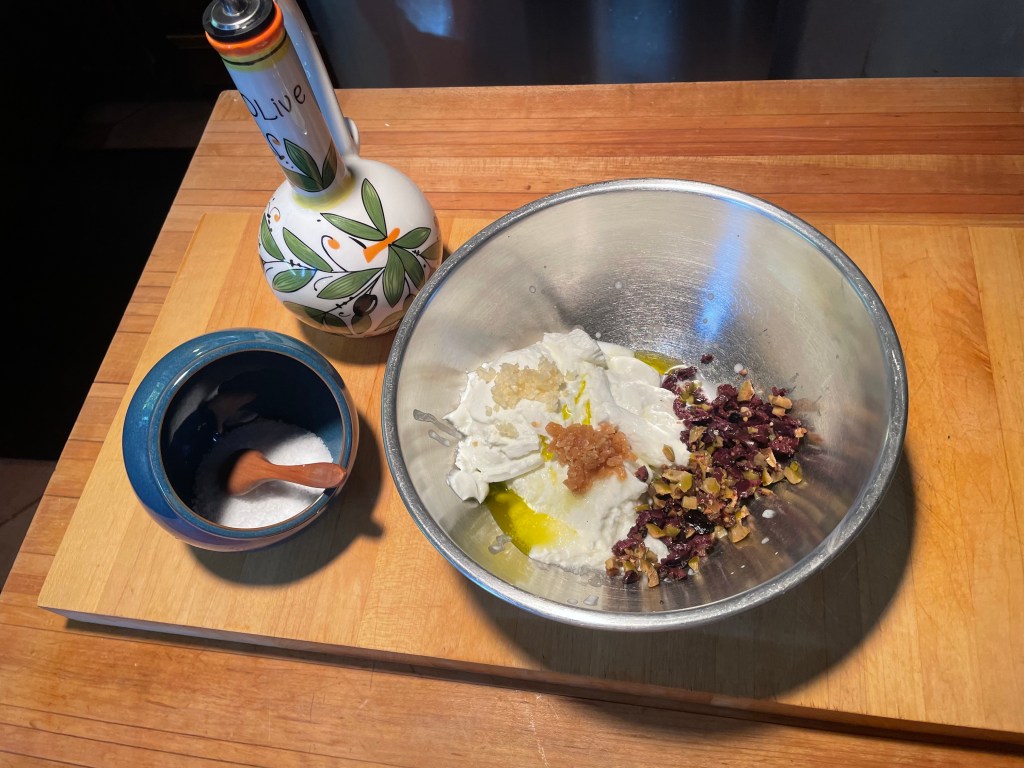
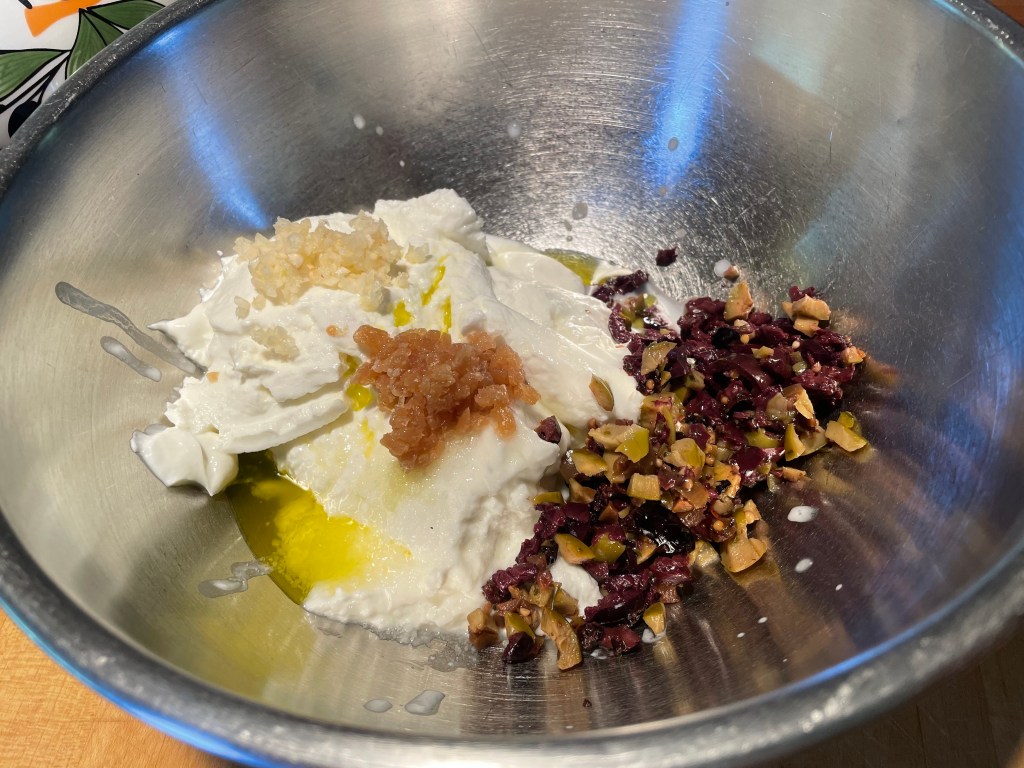
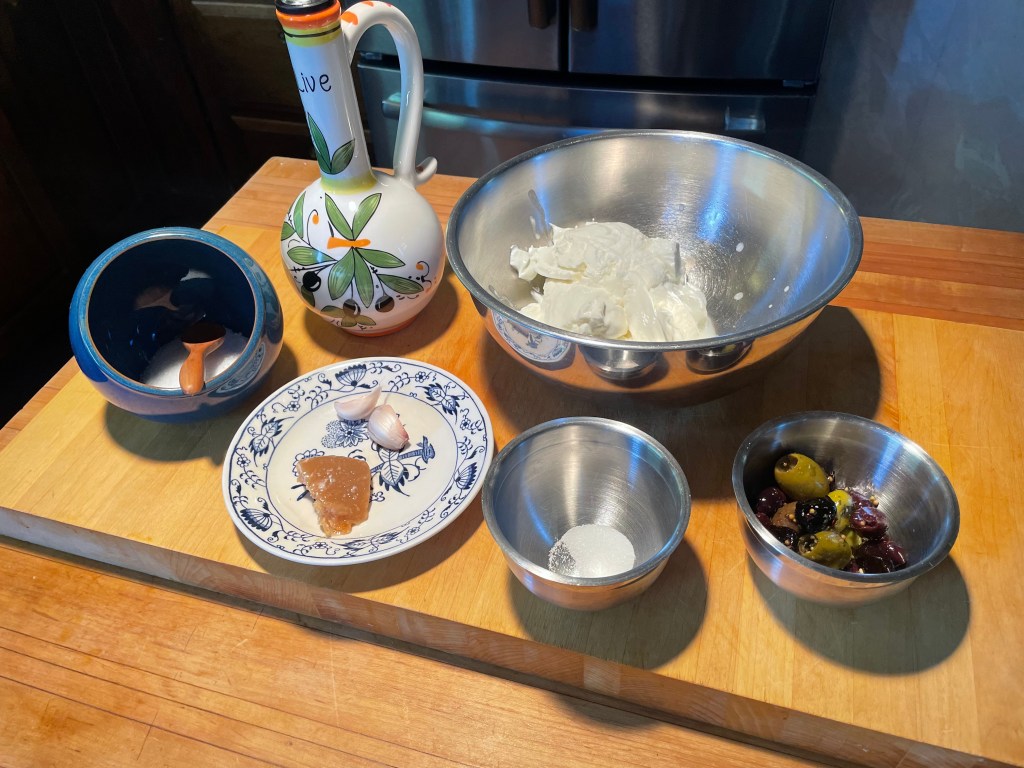
Ready to mix.

Ready for the fridge.
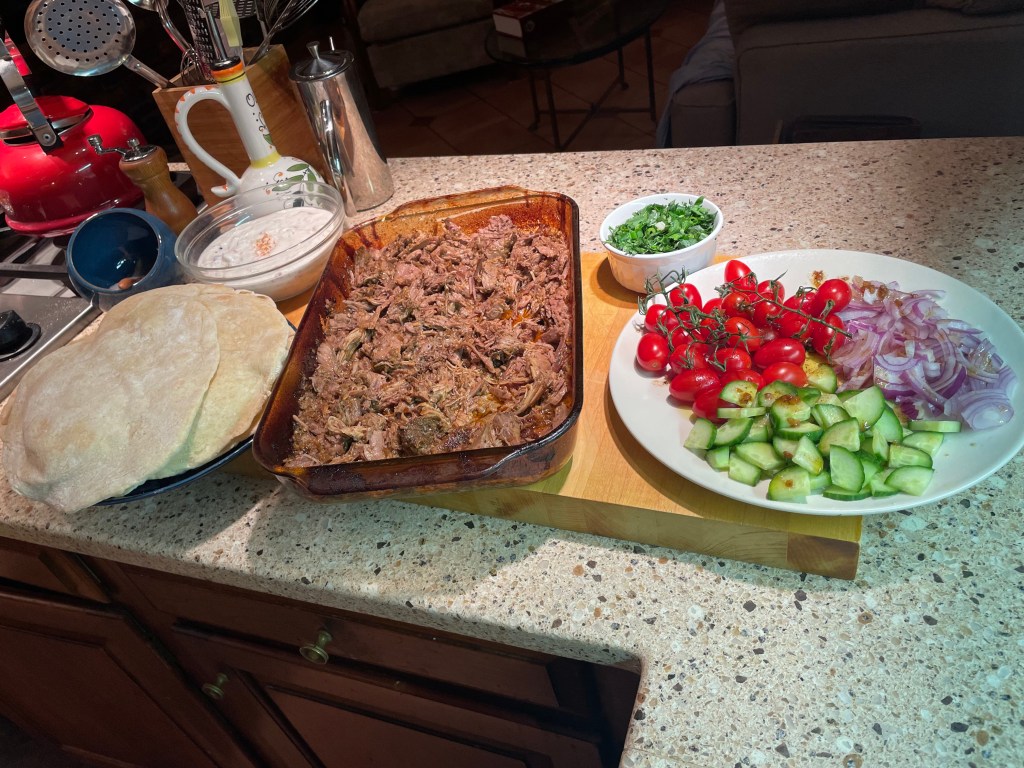
Putting it all together:
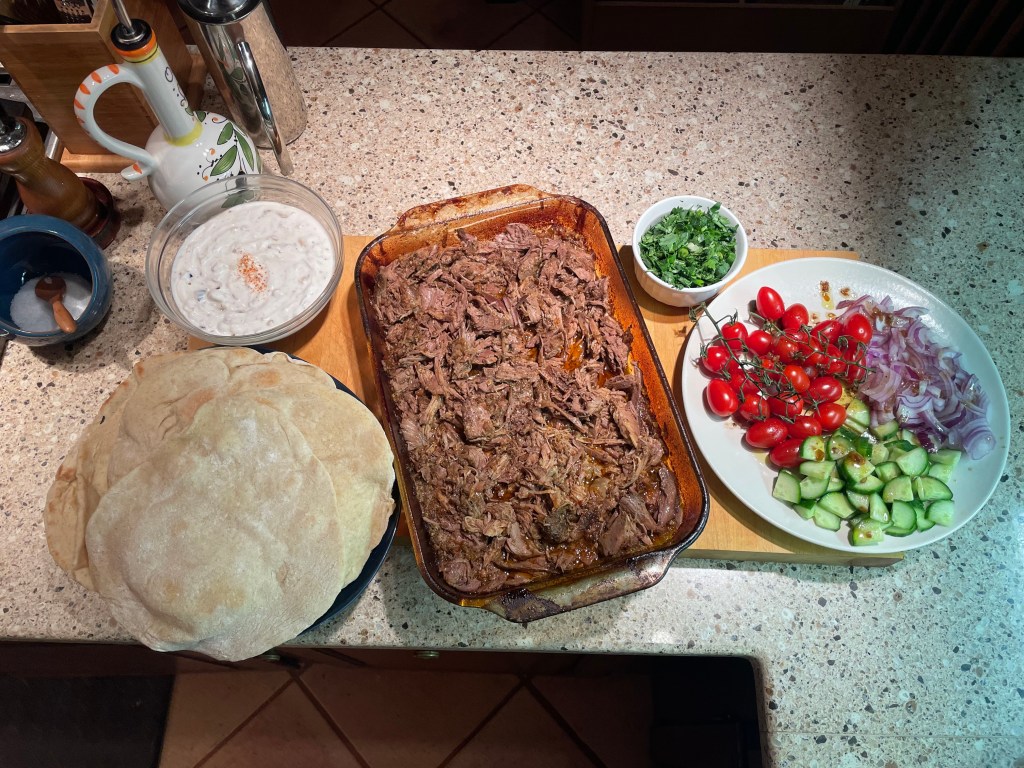
Ingredients:
Roast lamb
Pita breads, split/opened to form generous pockets for the filling
Yogurt sauce
Red onion, thinly sliced
Raw cucumber, slice into small cubes
Tomato, sliced
Mixed herbs: chopped parsley, cilantro, dill, and chives, or a mixture of all of these make a good topping
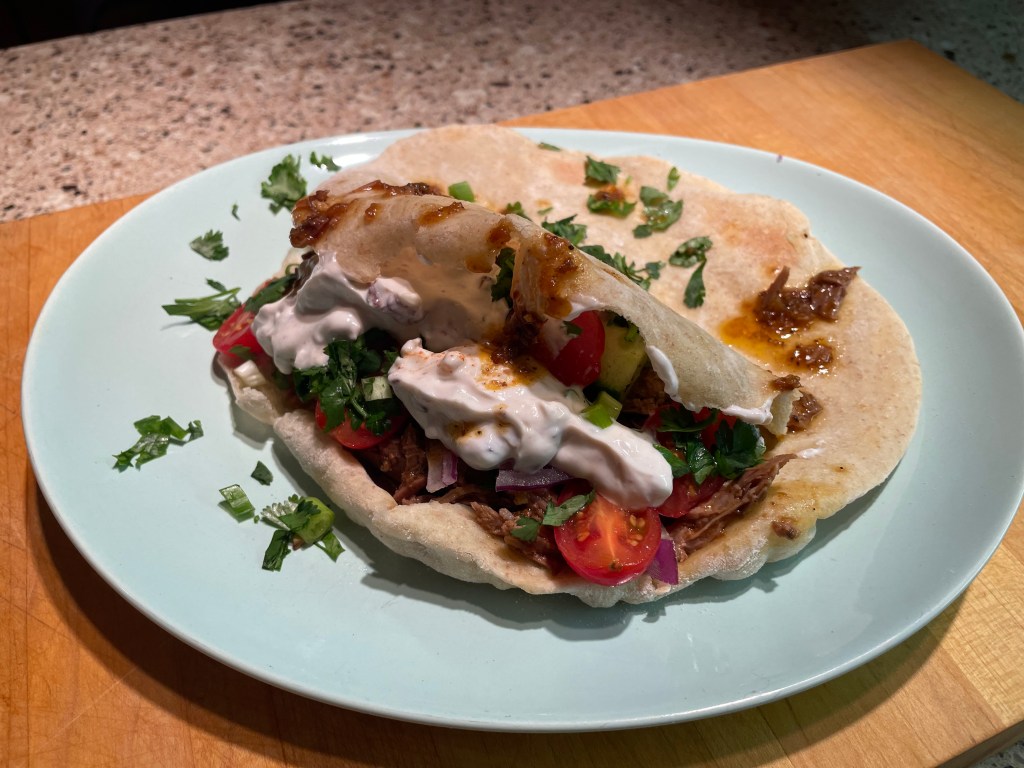
Method:
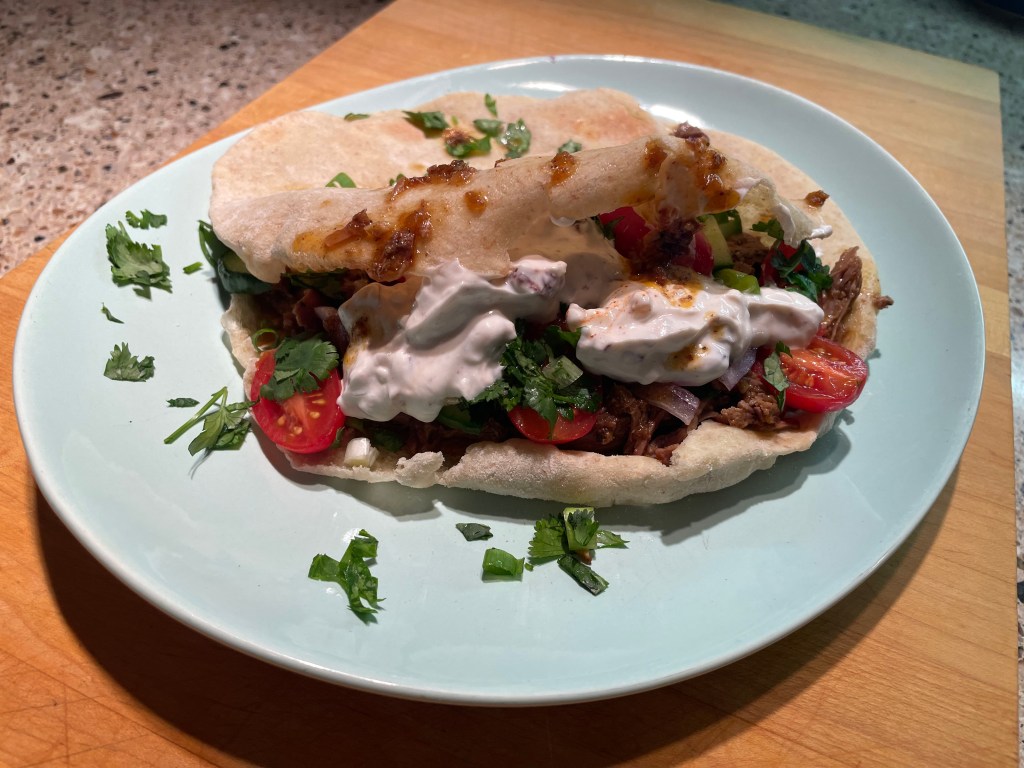
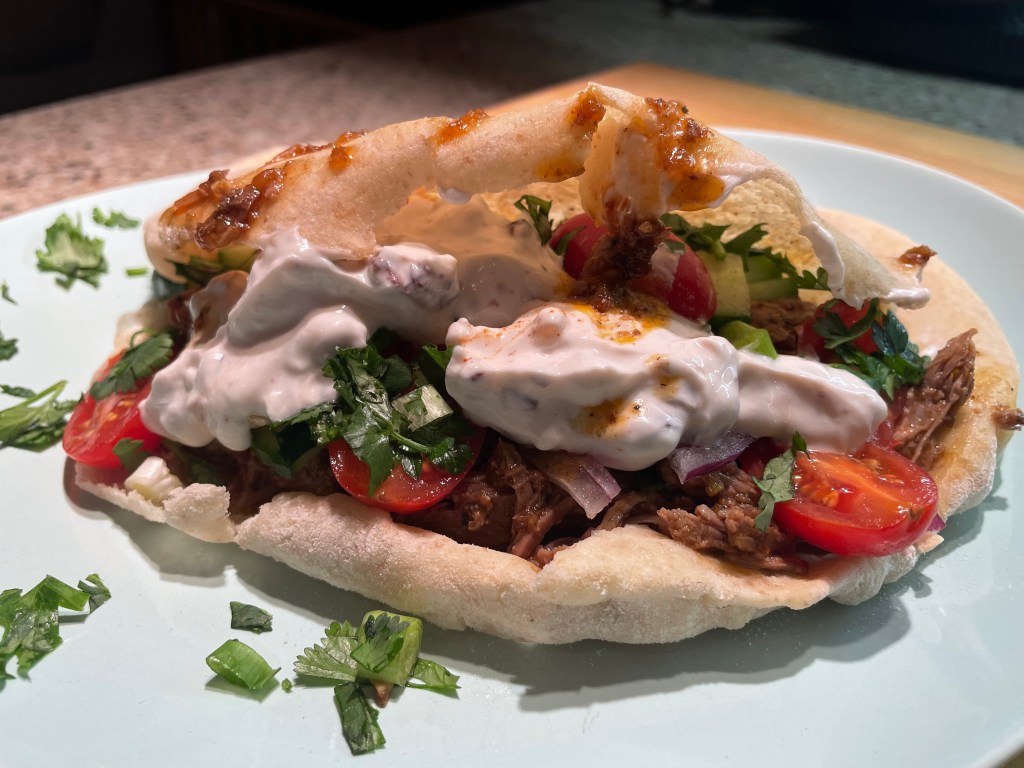
- Load up each pita with roast lamb.
- Dollop on yogurt sauce and top with onion, cucumber, tomatoes, and herbs.
- Dig in.


Leave a comment