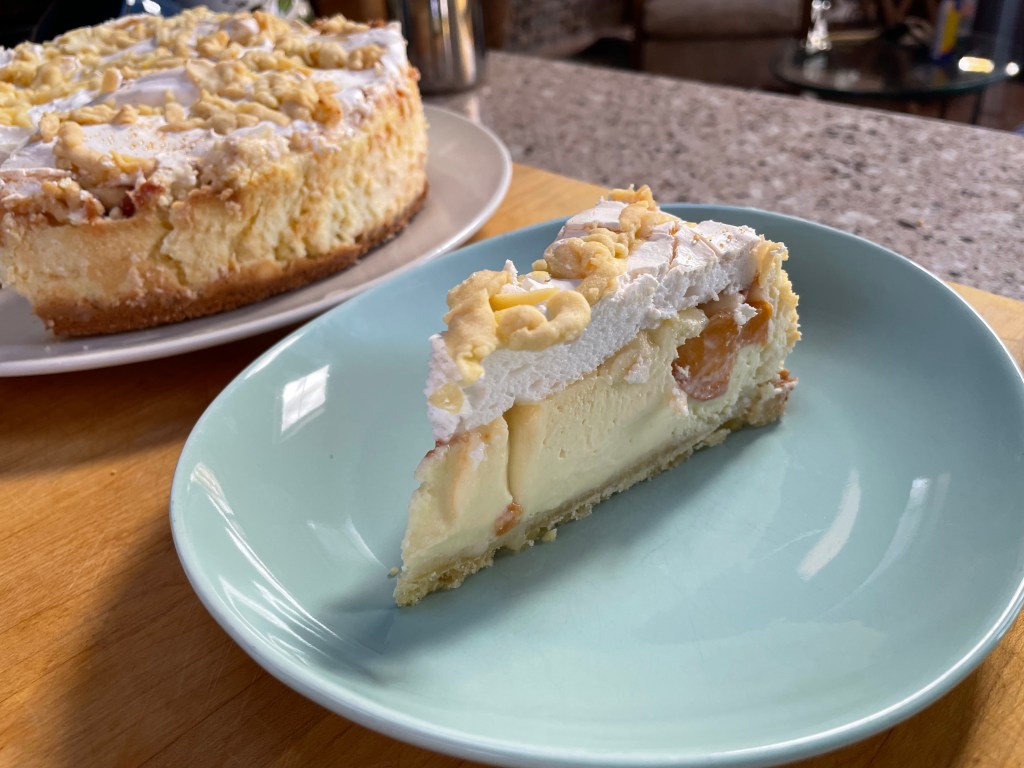
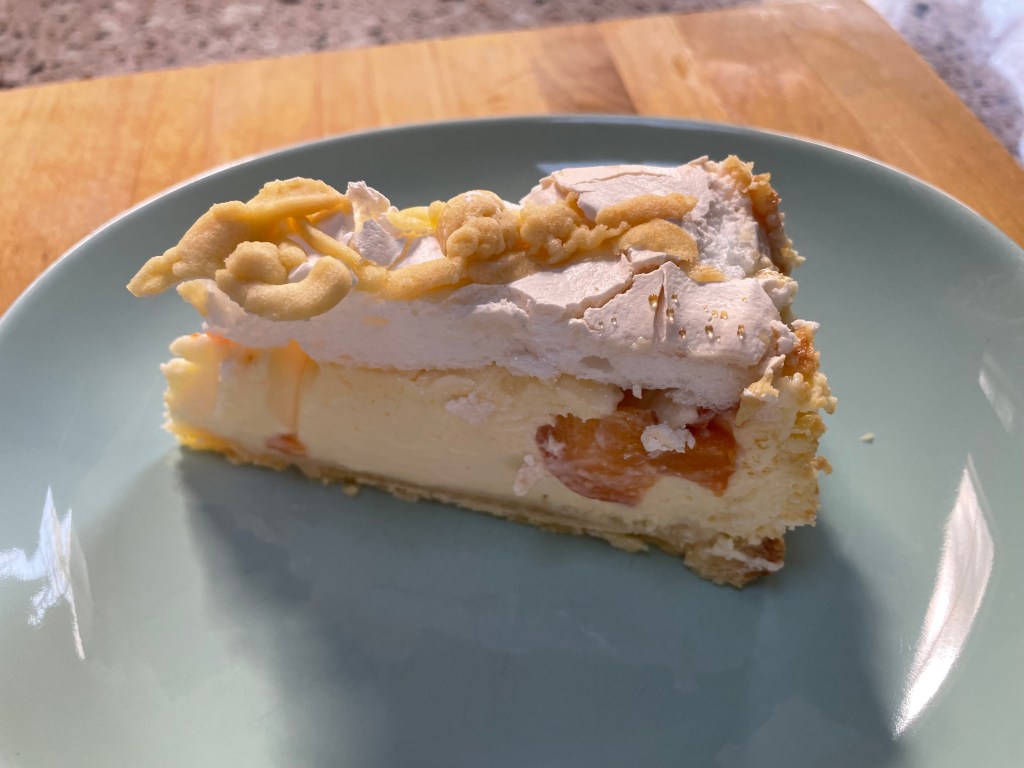
The Creamiest Cheesecake with Peaches and a Meringue Cloud Topping
Serves 8-12, depending on how thickly you slice it.
As are so many of us, I am struggling with the events of the past week. Too disheartened to speak on it any more than that, I am going in search of comfort. Old-school, ie, Golden Girls-style. We are leaving the Realms and heading to wherever the most delicious cheesecake may be found. Thankfully, given my dire need for sweet dairy goodness, this is not far at all.
I had only to turn to @MenuDorotki, the YouTube channel presenting consistently excellent recipes, to find a true stand-out among cheesecakes. And I take the Pokémon approach to this dessert: got to try them all. But, for science! Because otherwise how will I know which one is the best?
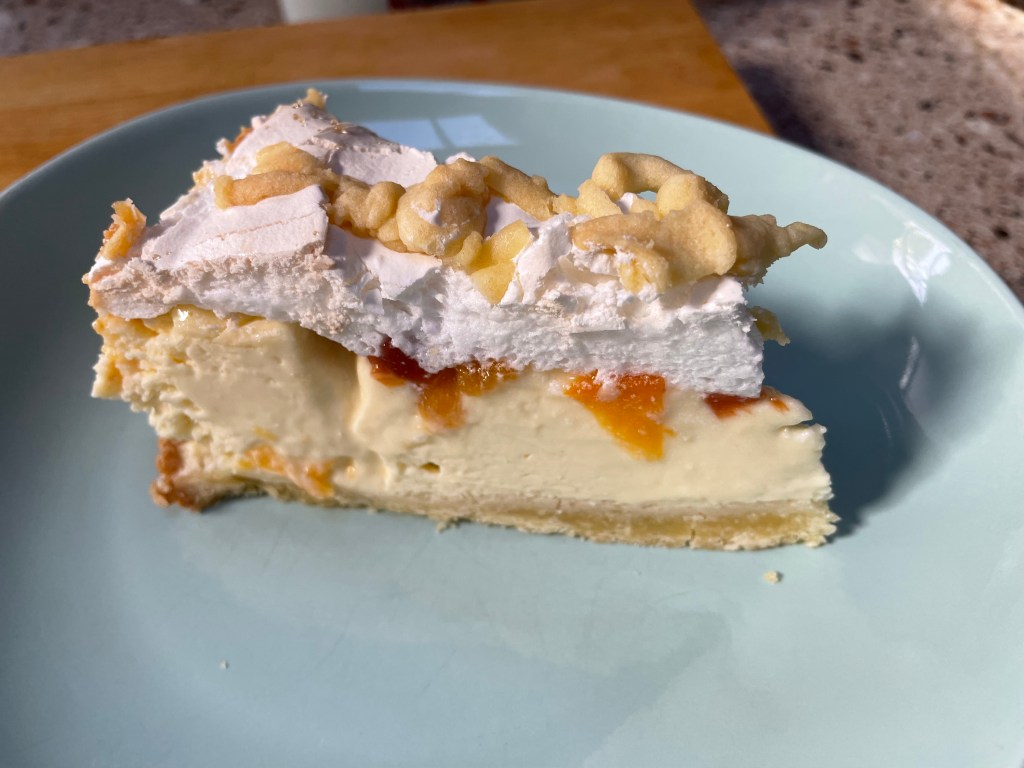
Well, I may have actually found my best cheesecake. Yes, yes, given this horrendous week, standards are admittedly low. The best cheesecake is whichever one that, delectable and creamy, is currently on my fork on its way to my mouth. But still, Dorotka’s inspired addition of slightly tangy freshness in the form of sweet peaches, and the textural delight of meringue topping, take this cheesecake to another level.
If that was not enough to spark your weary interest, the pastry base is made entirely in the food processor and comes together into something that feels satisfyingly like Play-Doh. And then you get to make the cheese filling in the same food processor – no washing needed, just a quick wipe! If that doesn’t win you over, I do not know what will…
Here is the link to the video in case you would like the full tutorial:
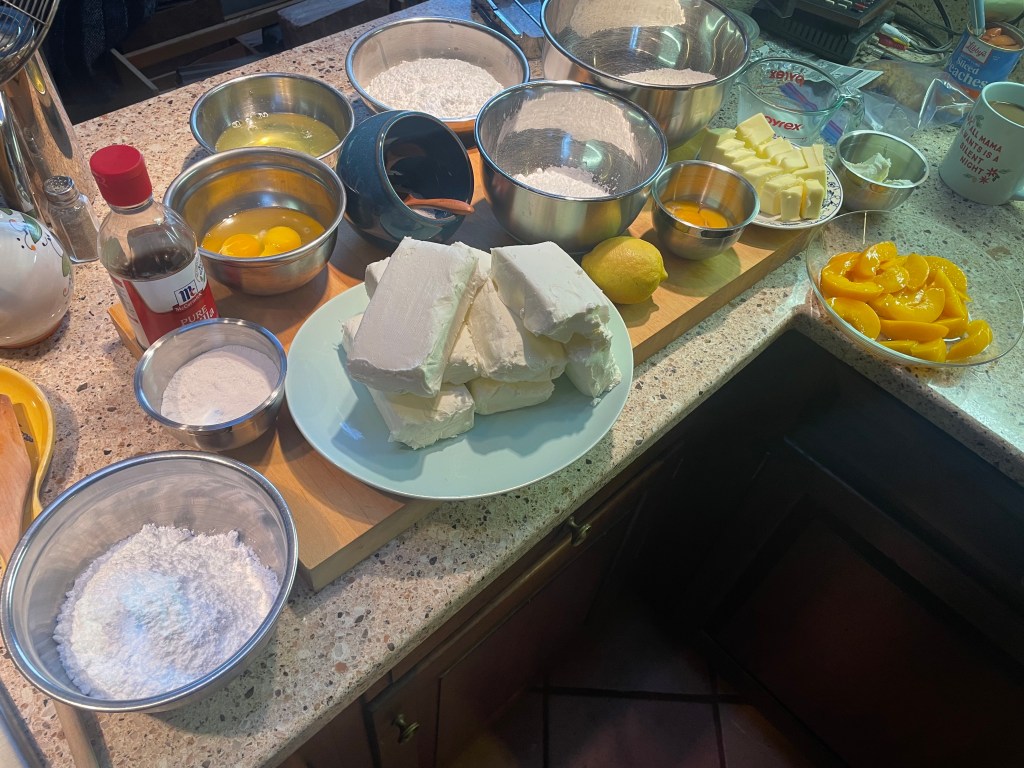
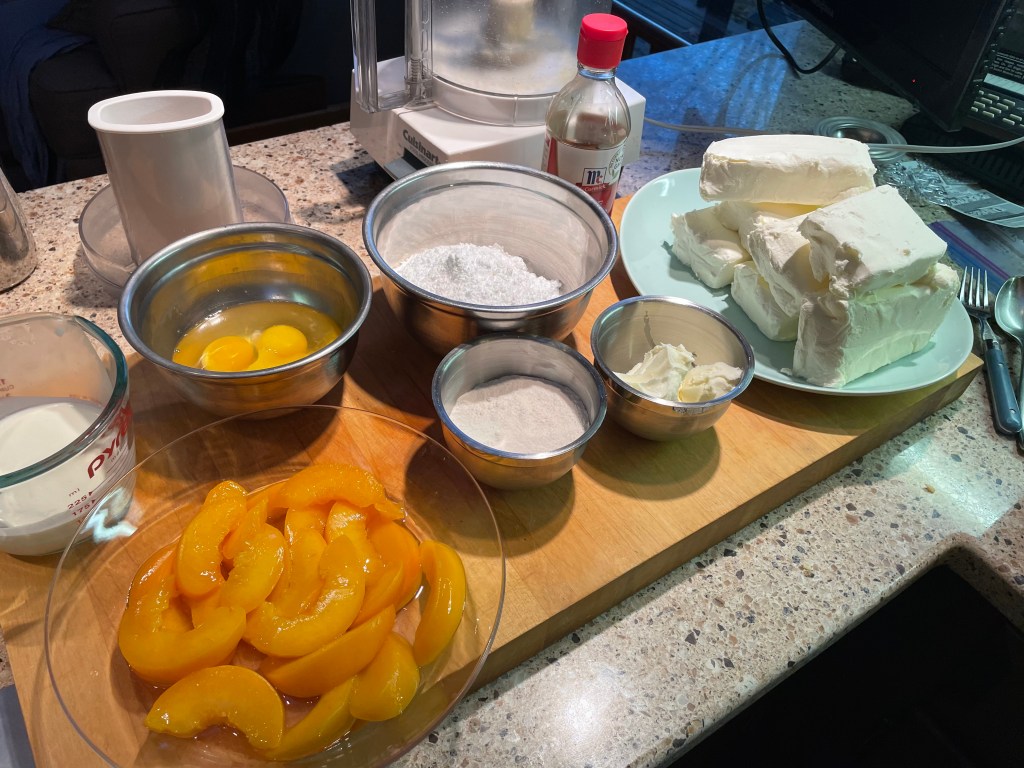
Ingredients:
For the pastry base:
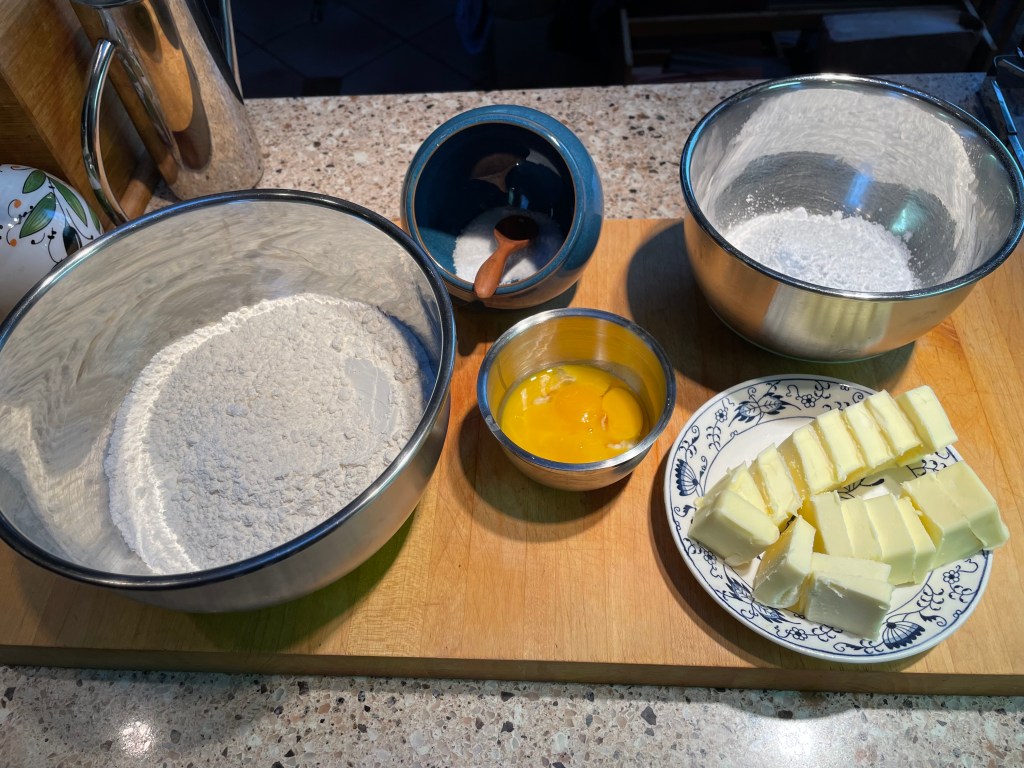
200g/1.5 cup all purpose flour
100g/1/2 cup butter, chilled is fine
50g/1/2 cup icing sugar/confectioner’s sugar
Pinch of salt
2 egg yolks (set egg whites aside for meringue)
For the cheese filling:
750g/3 x 8oz packages cream cheese
50g/2 oz mascarpone cheese
100g/1 cup icing sugar/confectioner’s sugar
5ml/1 tsp vanilla extract
40g/4 tbsp instant vanilla pudding or you can use corn starch or potato flour
I pinch salt
50g/1/4 cup heavy cream
1 egg
1 egg yolk (set egg white aside for meringue)
125g/1 cup canned peaches in heavy syrup, drained and cut into 0.5 inch cubes
For the meringue topping:
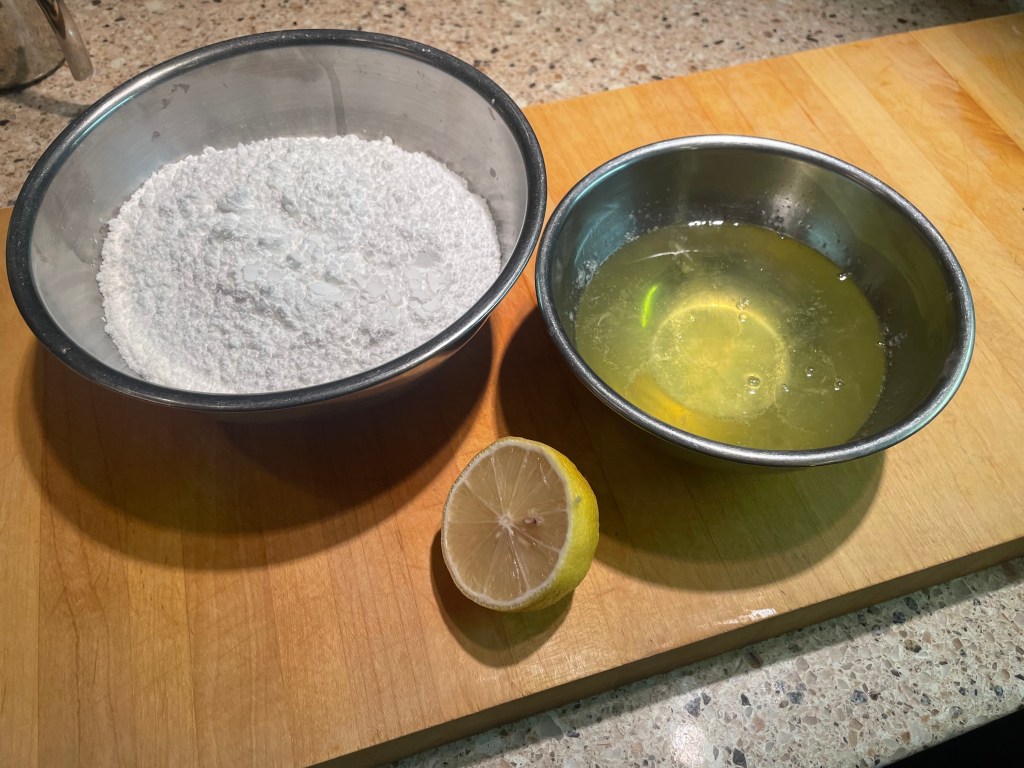
3 egg whites, saved from the egg yolks you used for the pastry and filling
120g/1 1/4 cup icing sugar/confectioner’s sugar
5ml/1 tsp lemon juice
Small lump of the raw pastry base dough (about the size of a chicken egg), chilled in the fridge
Method:
To make the pastry base:
- Line a 9 inch springform pan with parchment paper.
- Place flour, salt, icing sugar, and butter in the food processor and blitz until evenly combined.
- Add the 2 egg yolks to the processor and mix again until a messy lump of dough forms. It will mostly be holding together and coalescing around the processor blade.
- Remove the dough from the processor and give it a couple of kneads just to bring it together neatly. It is a nice soft dough – easy to work, not sticky or greasy, but yet sweetly buttery-smelling.
- Remove a piece of raw dough, about the size of a chicken egg, and place in the fridge to cool.
- Spread the remainder of the dough over the base of the springform pan. If you have an adorably tiny rolling pin, now is the time to break it out. If you are like most of us, slightly ill-prepared, Humans, just mold the dough with your fingers to roughly the right shape. Then use the back of a soup spoon to press it into every corner and smooth it out. Then use a fork to make many small holes in the entire base of the dough (so it does not puff up and rise unevenly when baking). Place the springform pan in the fridge for at least 20 minutes to rest.
- Center a rack in the oven and heat to 180C/350F.
- Bake the cake base for approximately 20 minutes, until the edges are beginning to brown and pull away from the sides of the pan.
- Place on a rack to cool but leave the oven because you will be baking the filled cheesecake next.

Preparing to blitz.

Butter and sugar fully incorporated.
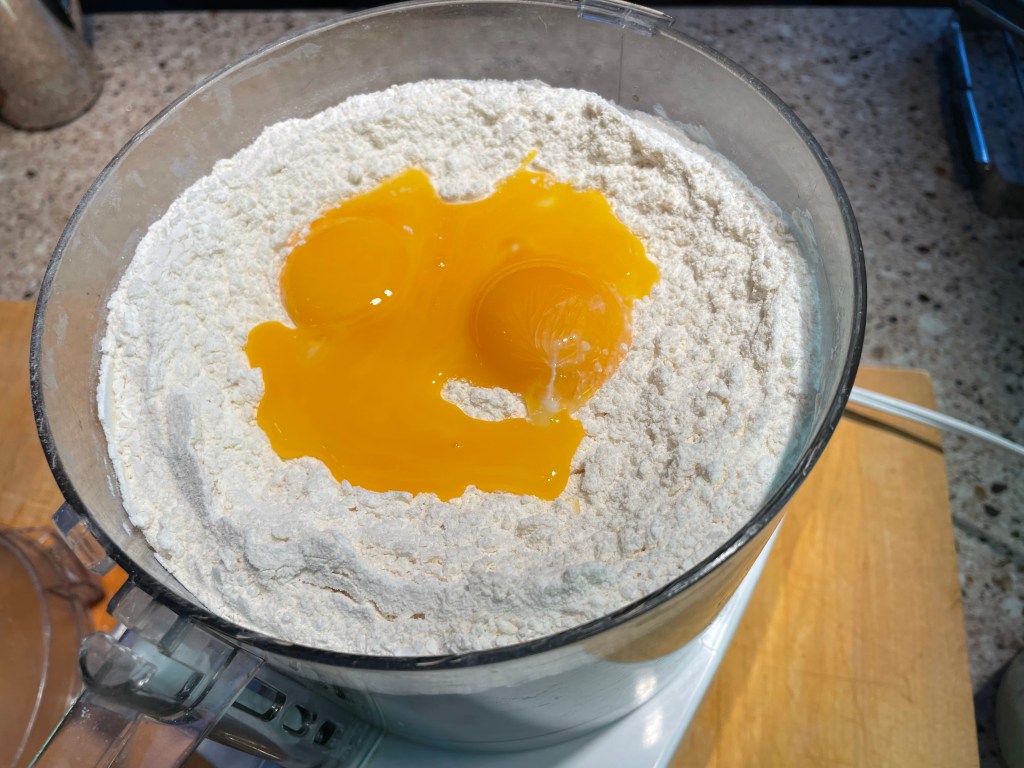
Grotesquely cheerful egg-smile, check.
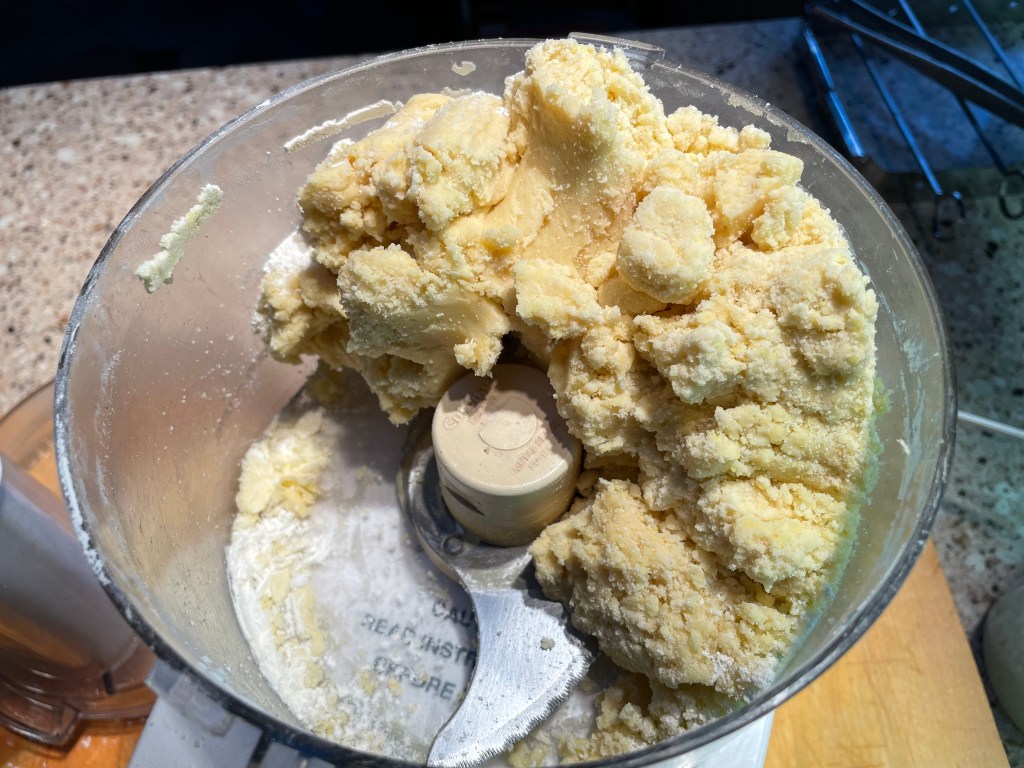
Dough is lumping up around the processor blade.
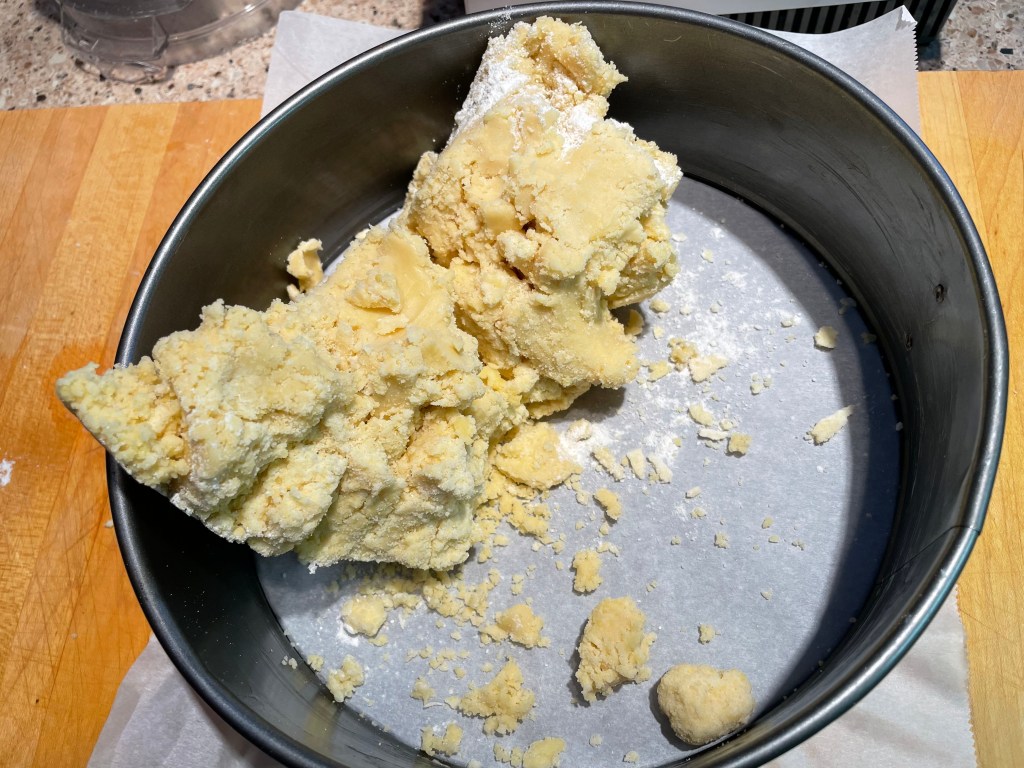
Still a bit crumbly and sad-looking when dumped into the pan.
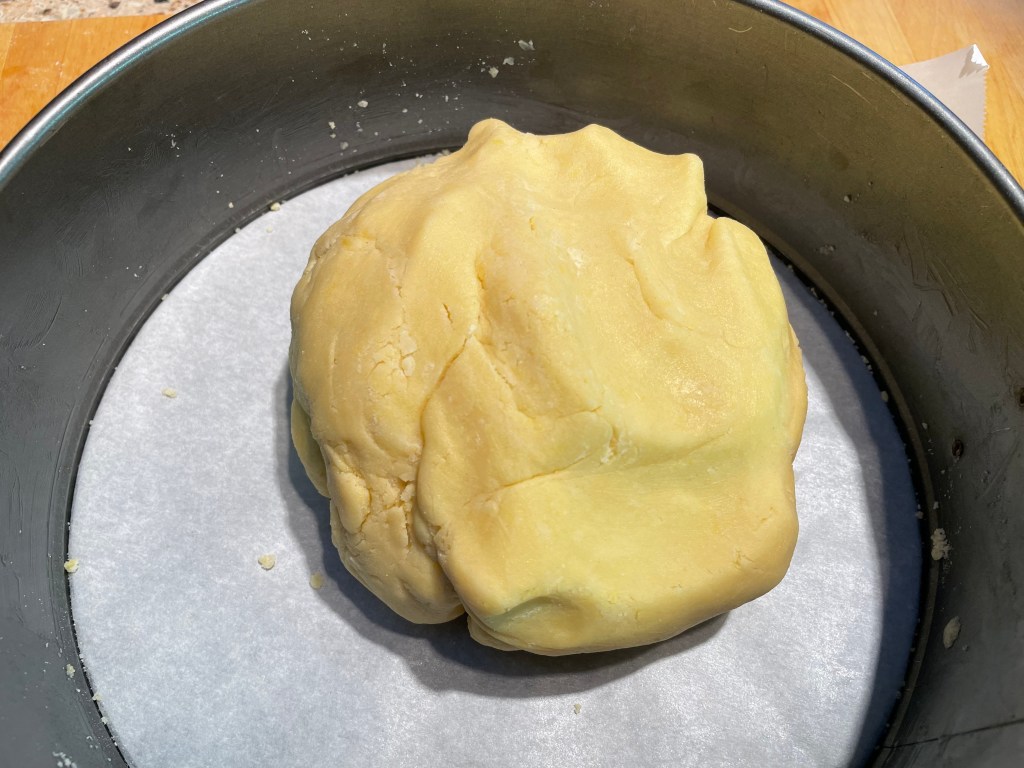
But less than a minute of gentle squeezing and squishing and you get this placid buttery lump of pastry.

Do not forget to set some of the raw pastry aside to make your textural creepy-crawlies later…
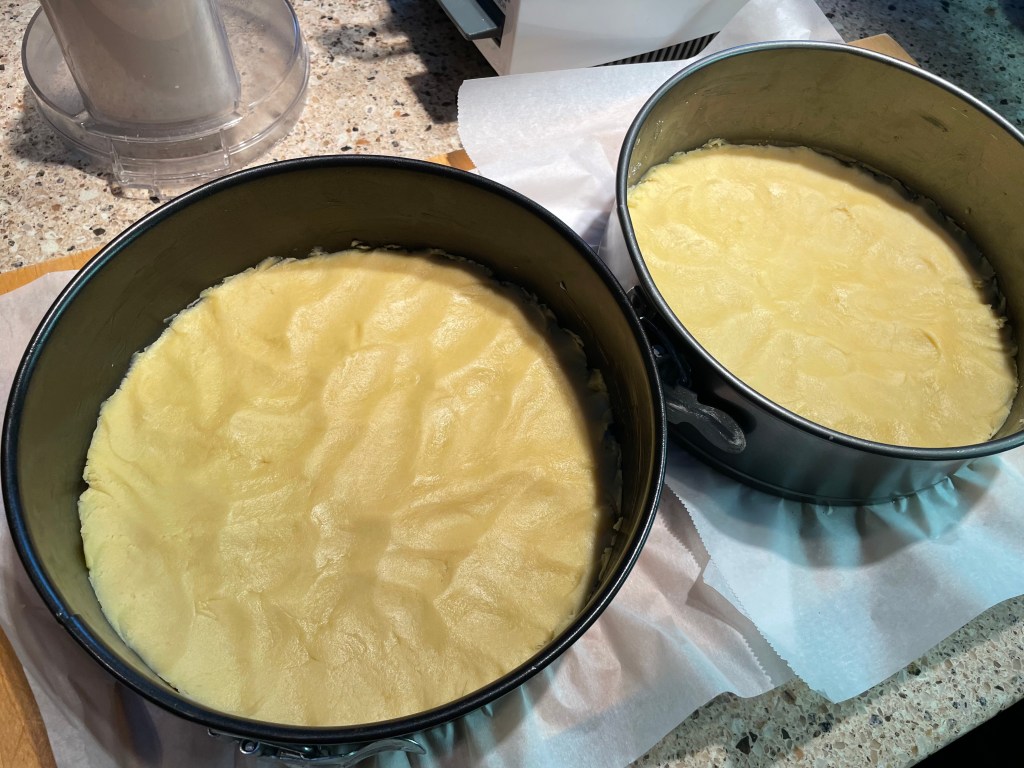
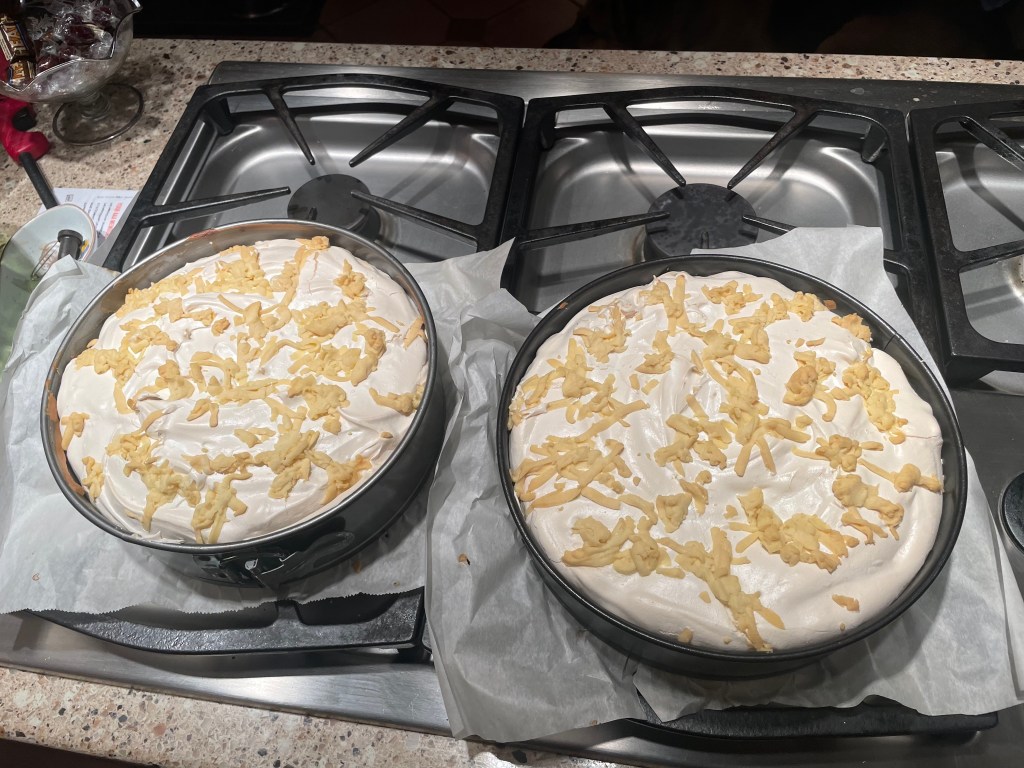
Pastry base all smoothed out and sleek (I doubled the recipe because I was making one cheesecake to take to a party and another, greedily, to keep at home).
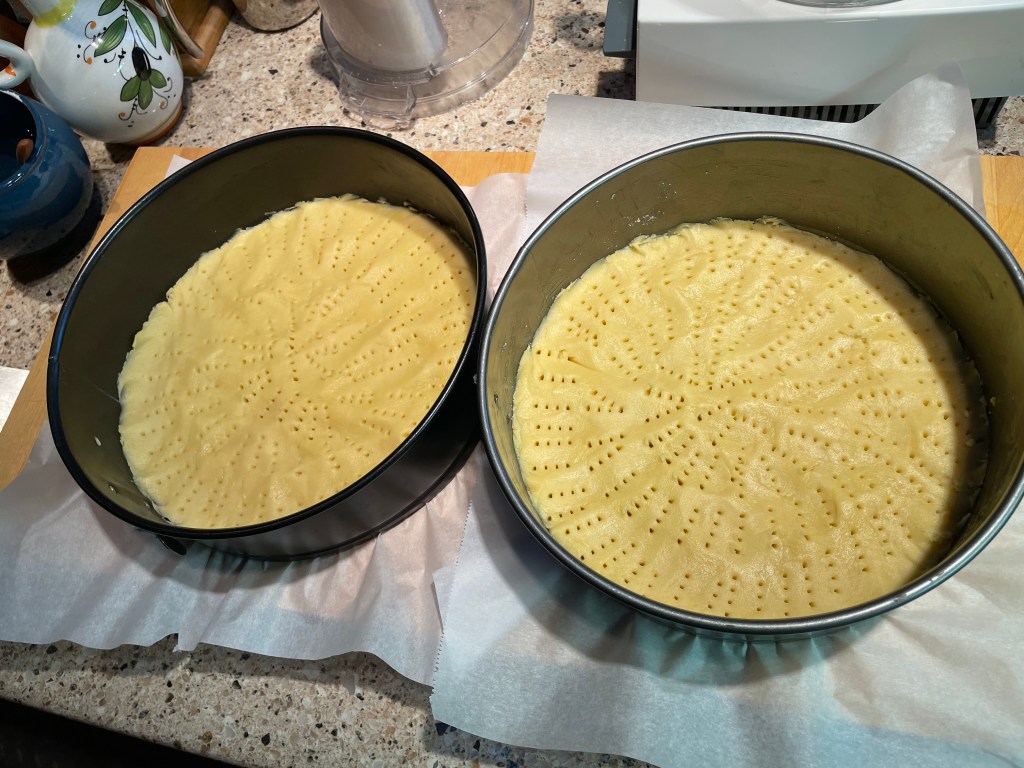
Do not forget to dock your pastry. Stabbing something over and over and over with a fork is quite cathartic at present.
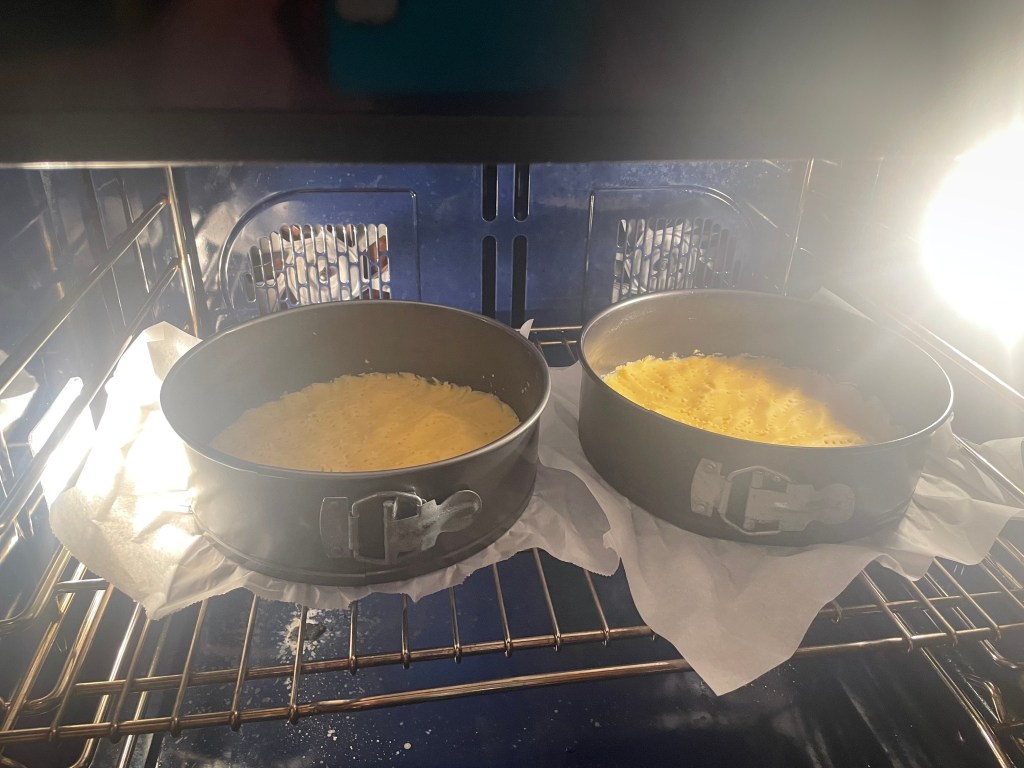
Into the oven with you my well-forked pretties! Mwahahaha!
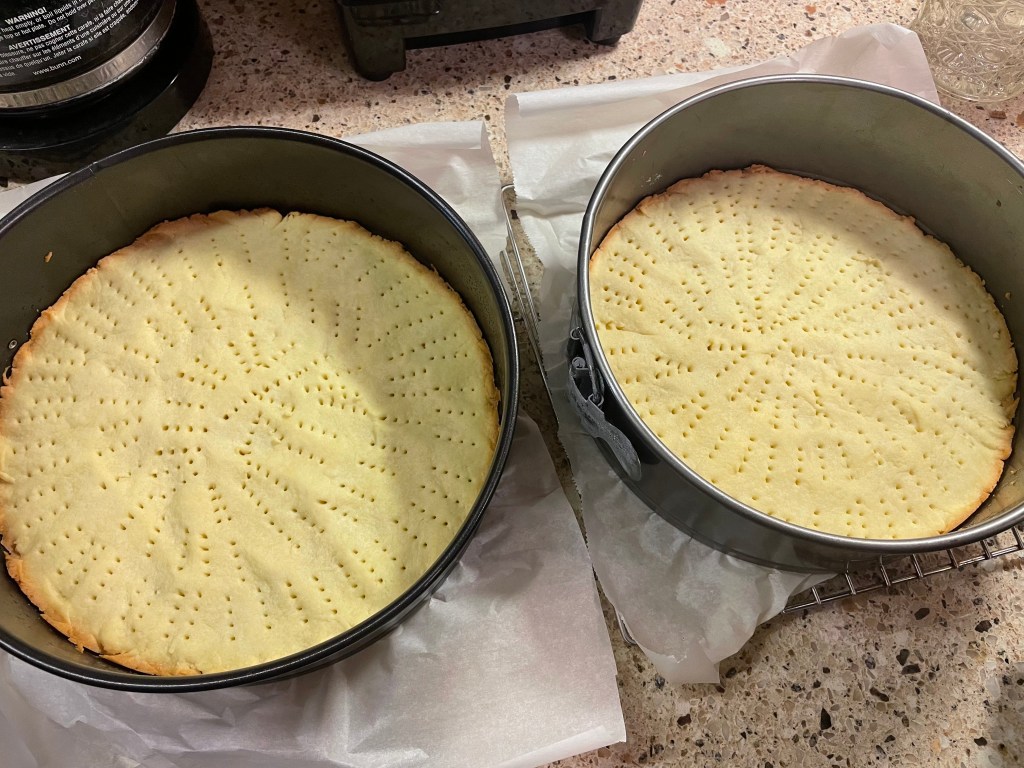
Baked and ready to fill.
To make the cheese filling:
- In the same food processor (no need to wash it), combine the cream and mascarpone cheeses, the icing sugar, vanilla extract, instant pudding powder, and salt. Blitz together. It will look thick at this stage (but already very tempting)
- Add heavy cream, 1 egg, and 1 egg yolk. Mix again – it is a little miraculous how, with the addition of such a relatively small volume of liquid, the thick, slightly pasty, cheesy mass transforms into a velvety smooth filling. Try not to eat it now (remember – raw eggs!).
- Once the cake base has cooled a little, pour the cheese filling into the springform pan to cover the cake base.
- Sprinkle the diced peaches over the top of the cheese filling.
- Place the pan in the pre-heated oven and bake for 20 minutes. There will still be quite a bit of wobble in the center of the cake at this stage. Do not fear. It will all work out in the end. At least, this cake will.
- Cool on a rack.
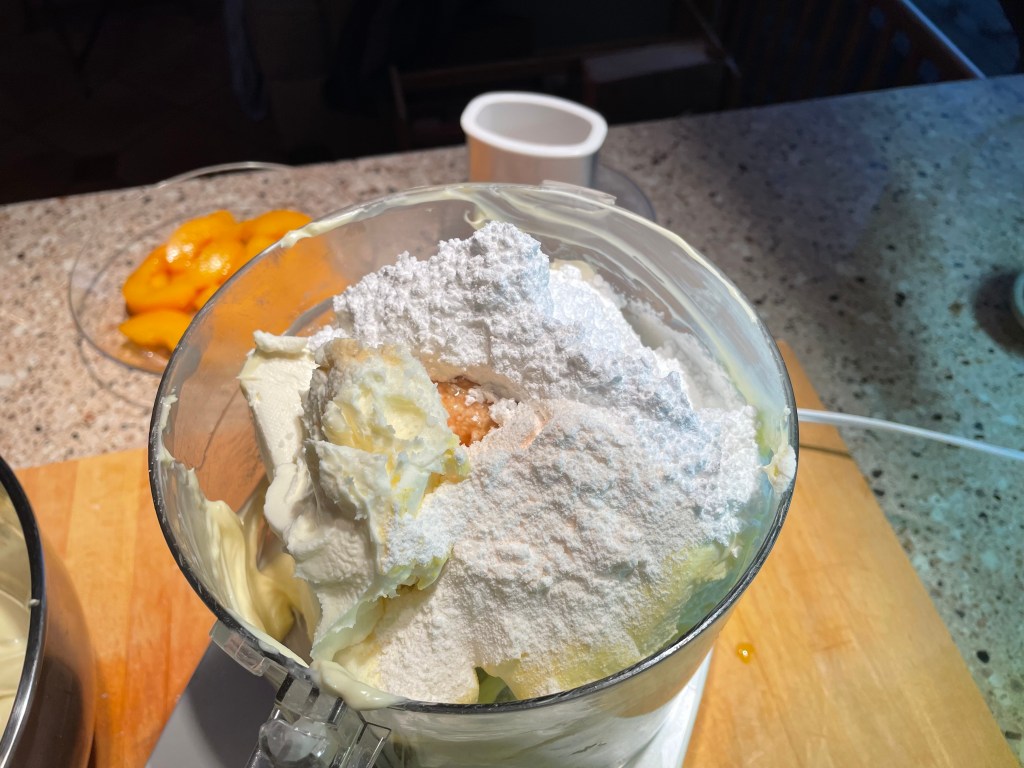
Cheese and sugar and starch all set to become one…

The filling is very creamy and rich at this stage.
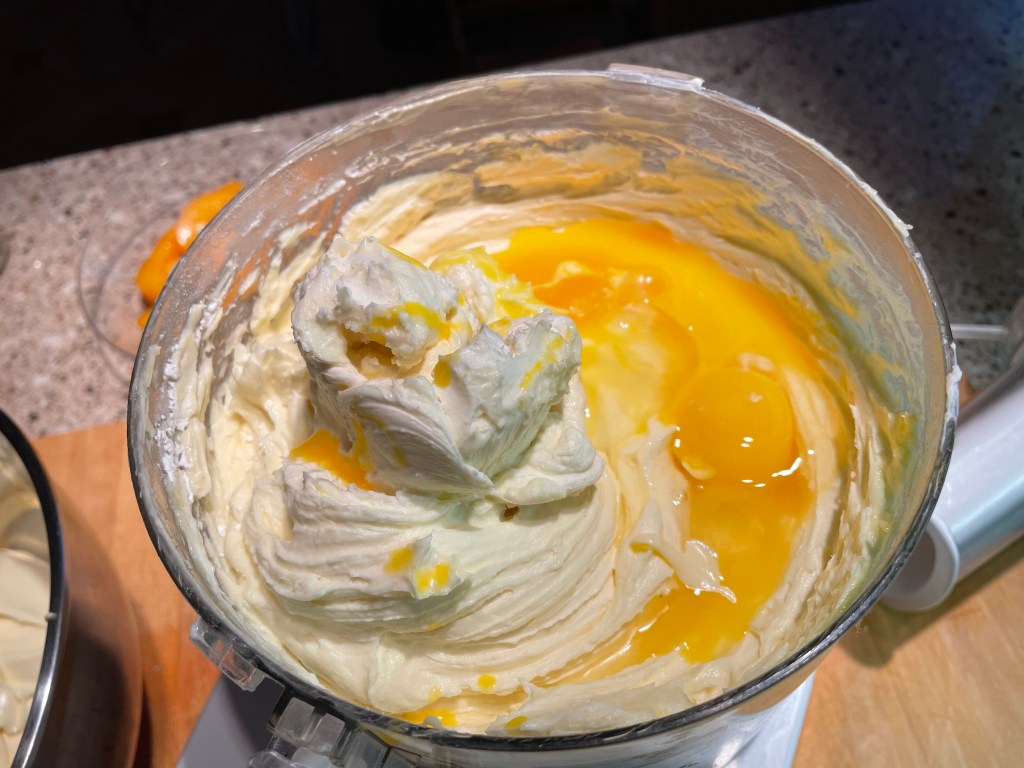
Eggs in.

Cream added.
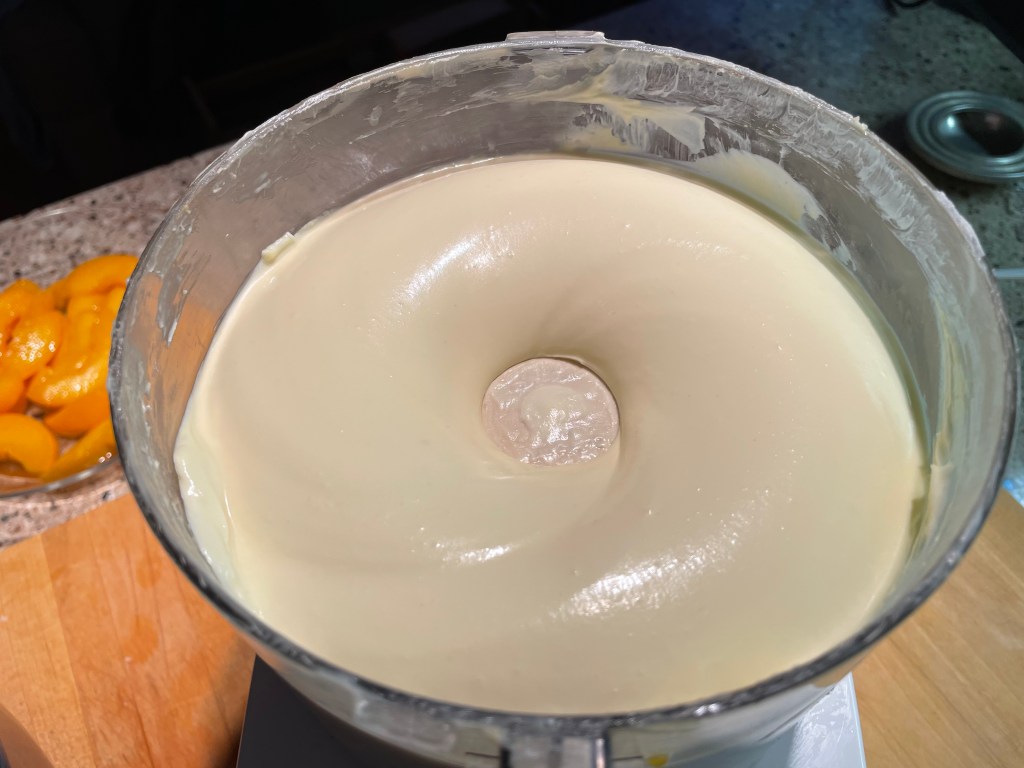
And the magic happens!

It was so hard not to just dive face-first into this bowl! 🙂
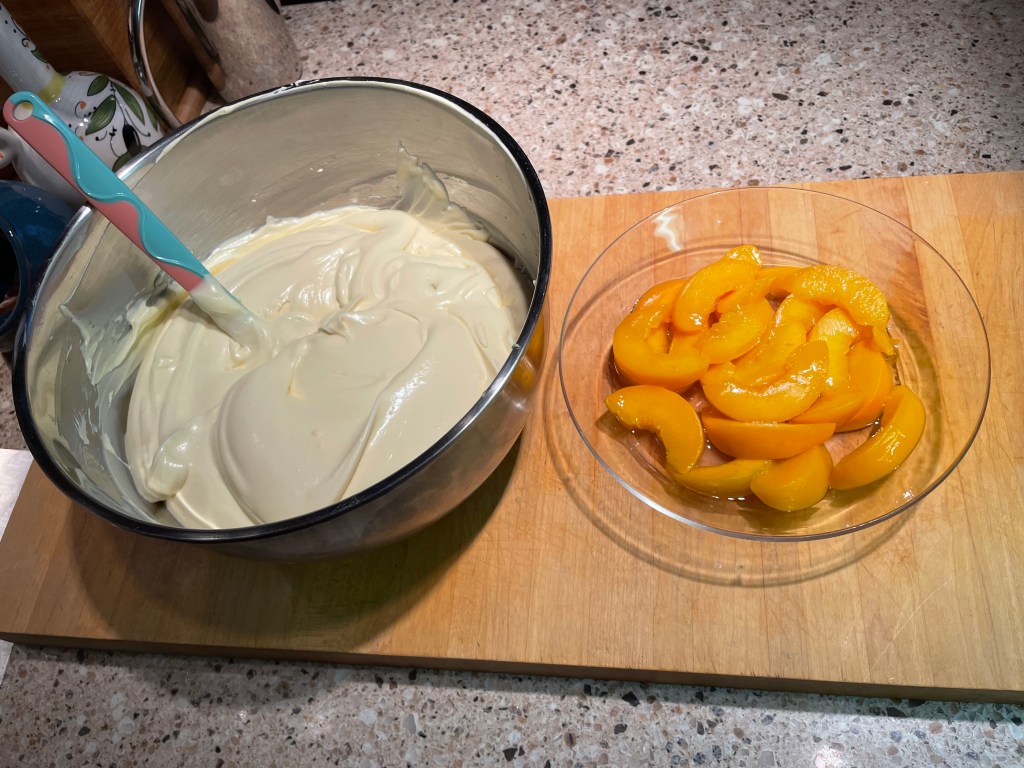
Filling and peaches, ready to go.

Cheese filling gently laid into its pastry bed.
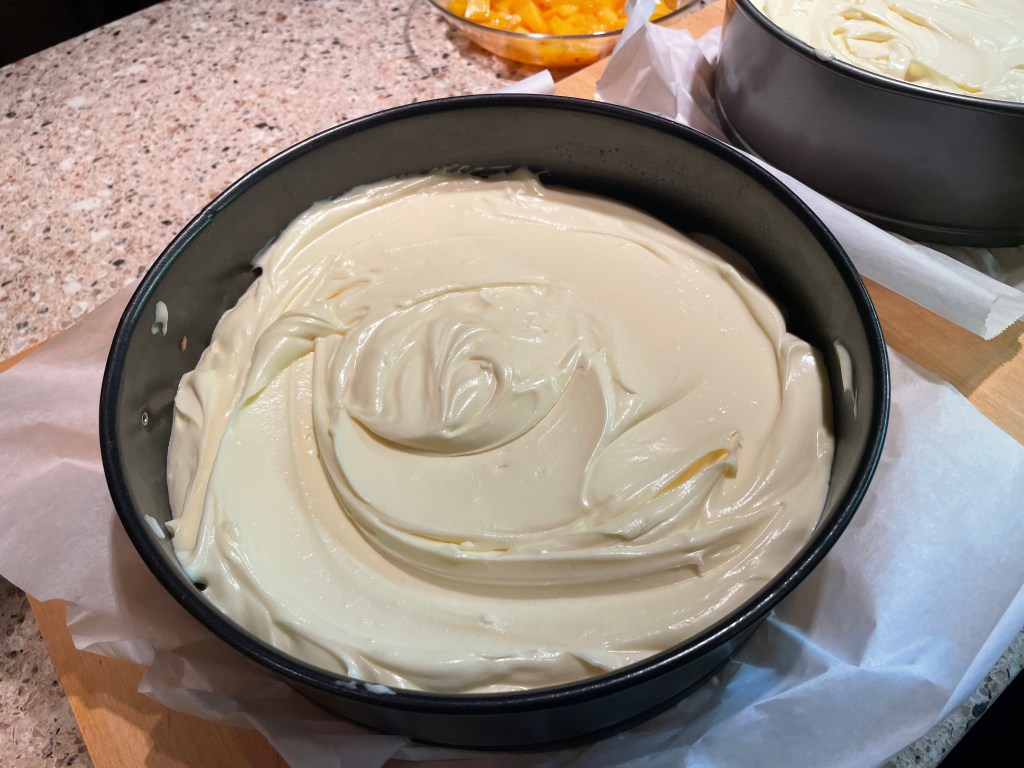
And then briskly spread all about to even out the top.
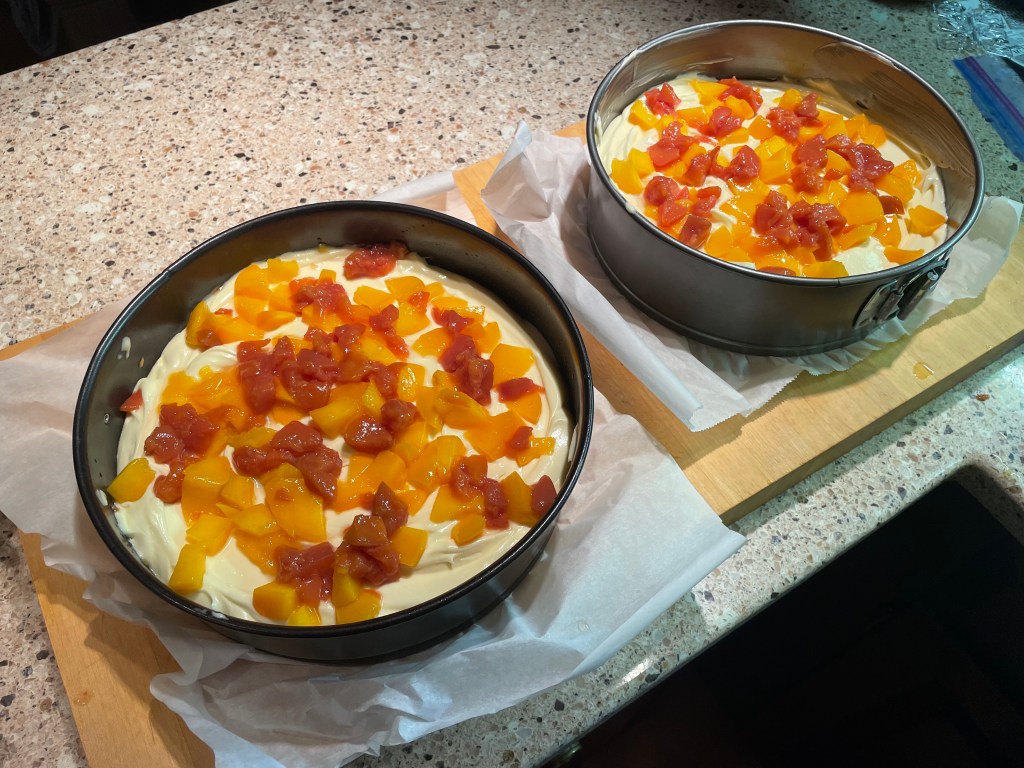
Sprinkle the peaches attractively over the top of the cheese filling. It may look like I have two different fruit here but it was only because I had two different brands of peaches. One of which had a much softer consistency and a strangely ruby color. But the effect was pretty and we suffered no ill effects.

Baked and cooling. It will look slightly undercooked at this stage but it does return to the oven for one more go-round.
To make the meringue topping:
- Place 1/2 of the egg whites in the bowl of a stand mixer or just a large clean bowl if using a hand-held mixer (it may be difficult to be exact with this. And you do not have to be – I just allowed roughly half of the egg white to plop glutinously into the mixer, while holding back the remainder with a spoon. It was fine). Add all of the icing sugar and the lemon juice to the bowl.
- Whisk on high speed for 3 minutes. After this time, the mixture will be shiny, thick, and white. It will look like runny frosting.
- Add the other half of the egg whites and continue whisking on high speed for 5-10 minutes, long enough to make sure the the egg whites are very fluffy, shiny, and form stiff peaks. You are going for the shaving cream look.
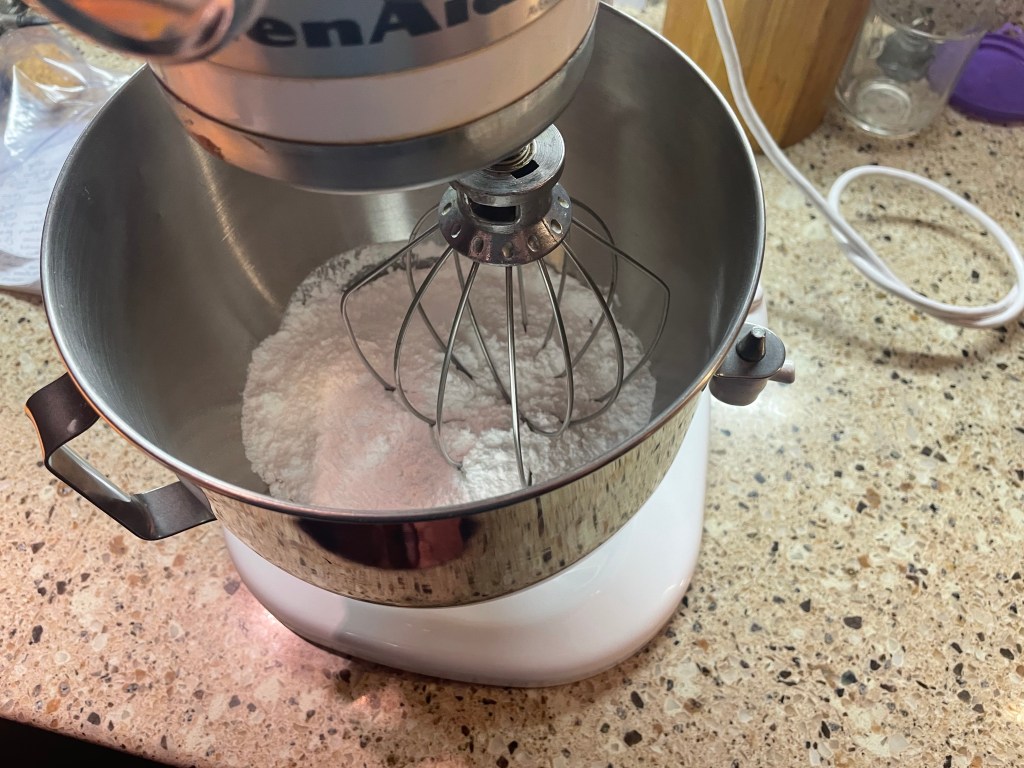
A stand mixer takes the effort out of this meringue.
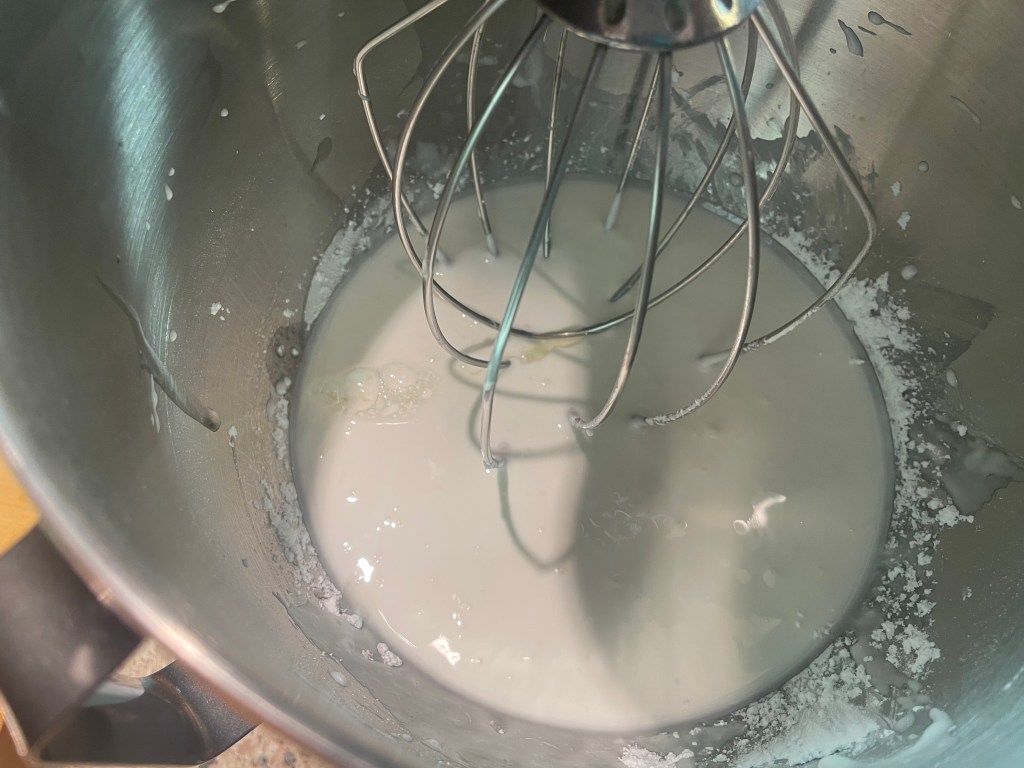
Half the egg whites and all the sugar look rather unprepossessing after three minutes…
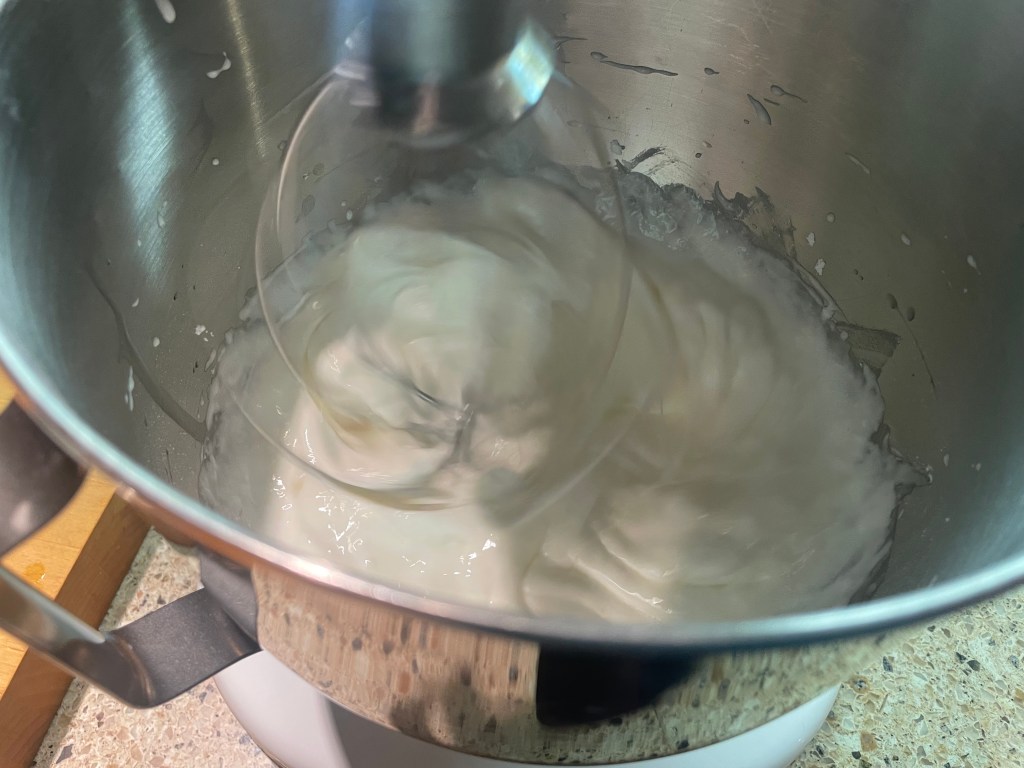
When the rest of the egg whites are added, it does not take long for things to start fluffing up.

And here we are: glossy, stiff peaks. The promised meringue-land.
To finish the cake:
- Place a rack in the lower 1/3 of the oven and set the oven temperature to 140C/280F.
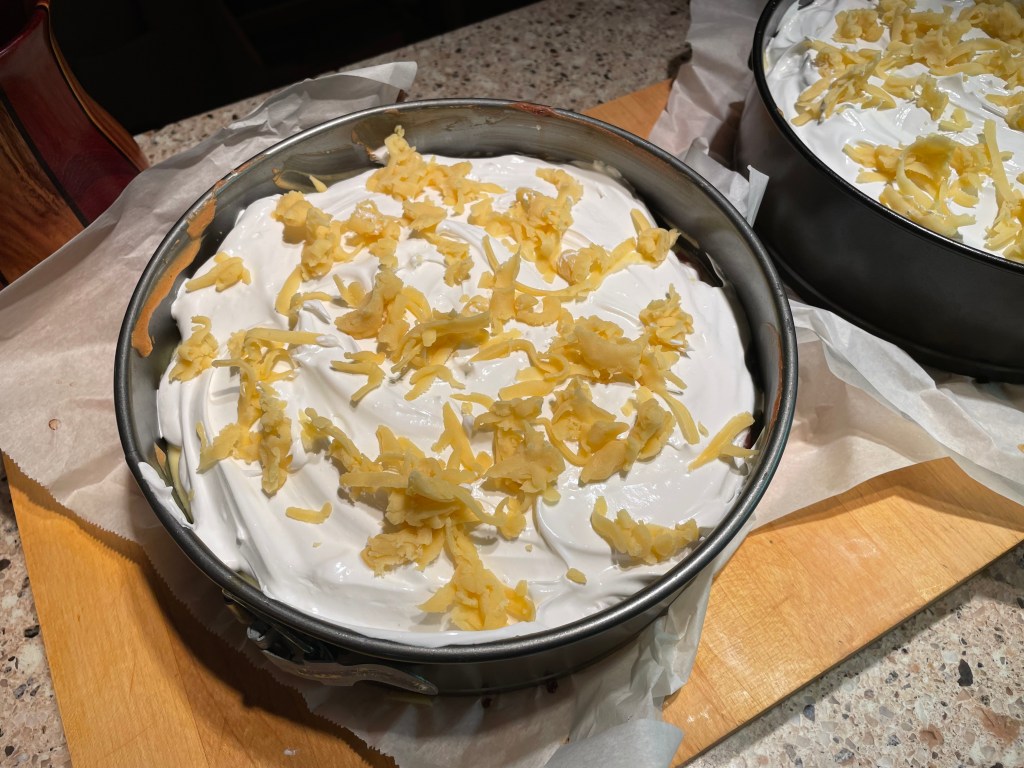
- Spread the meringue over the cooled cheesecakes, swirling it about to make an attractive topping. Try not to let the meringue touch the sides of the pan – spread it out to cover most of the cheesecake top but keep it away from the sides of the pan or it will crack terribly when you go to remove the baked cake from the springform.
- Remove the piece of raw pastry dough from the fridge and either grate or crumble it over the meringue for additional texture and decoration. I was not certain about this step: my stunning meringue went from gloriously swirling pristine snow bank to looking like little worms had mummified atop it. But I did enjoy the little bit of extra crunch and buttery flavor that the grated pastry provided once baked.
- Bake the cheesecake for 30-35 minutes more, until the pastry bits on top are golden brown. You can go longer if you like a crisper meringue top.
- Allow the cake to cool completely before attempting to remove it from the springform pan and slicing. I wrapped mine in plastic and put it in the fridge for the night.
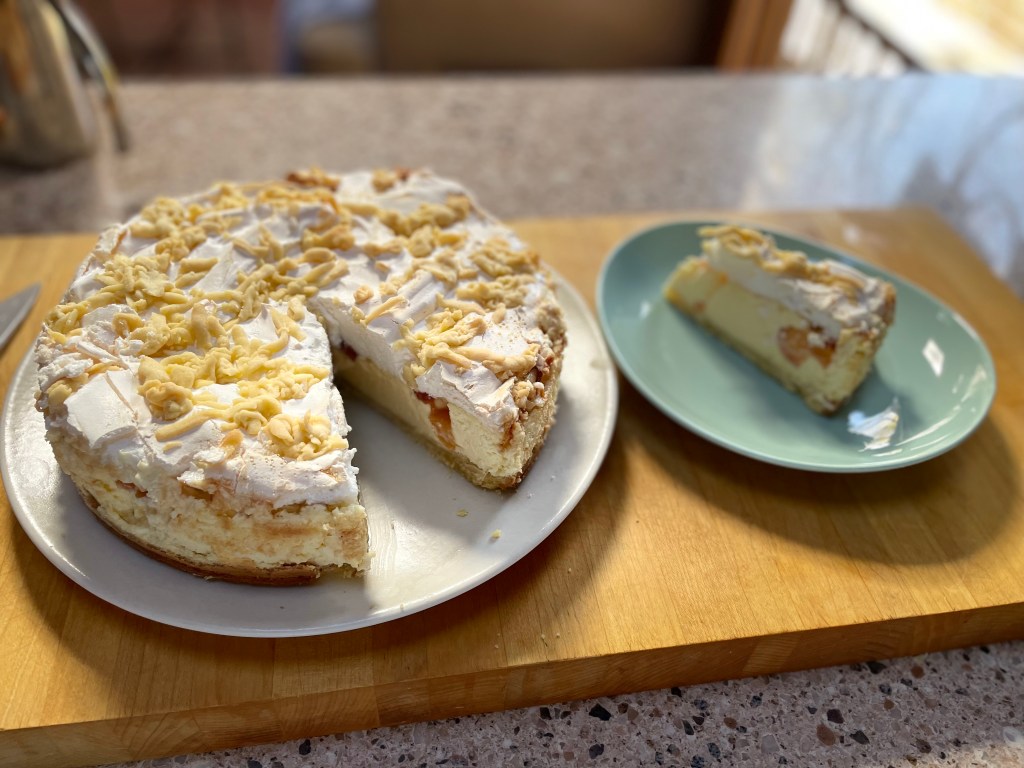
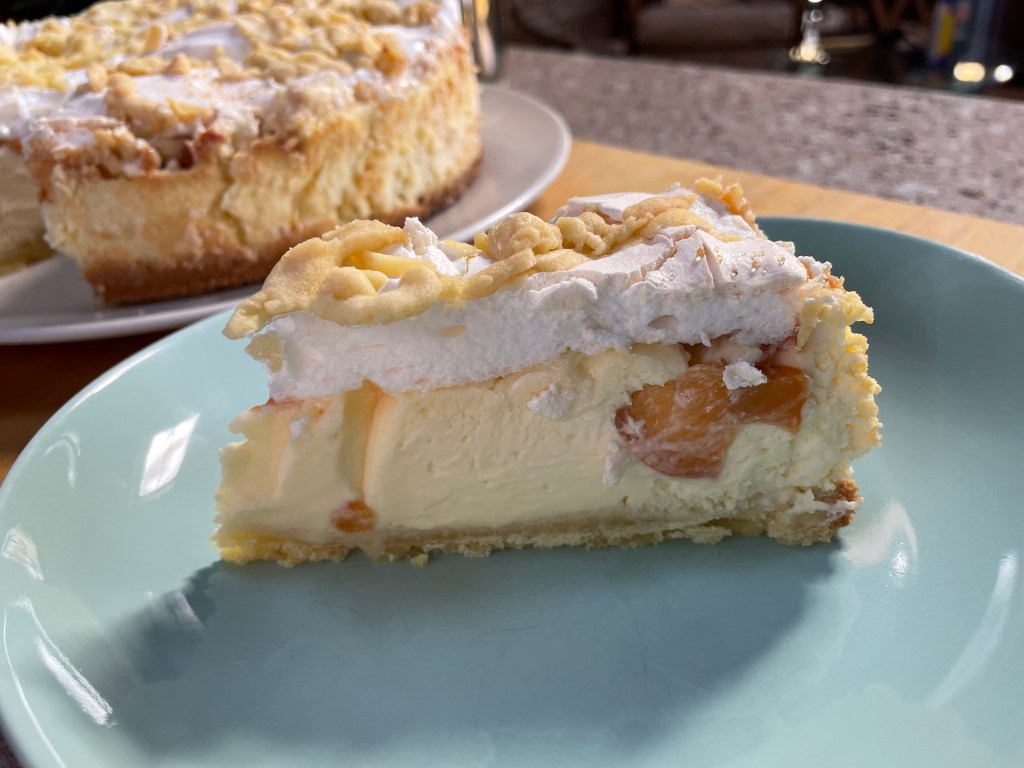
- When ready to serve, carefully run a knife between the edge of the cake and the pan to loosen the cheesecake. Remove the springform side and slice the cheesecake.
- Enjoy! Preferably late at night, over coffee, seated around the table with a bunch of smart, acerbic, hilarious, and just plain cool ladies. This too shall pass…
This keeps well, covered in the fridge, for up to 1 week.

Ready to create a delectable meringue cloud cover.

Start with a little snowy cap.

Spread out carefully to avoid the meringue touching (and thus sticking to) the pan edges. I failed.

Time to retrieve the pastry egg.
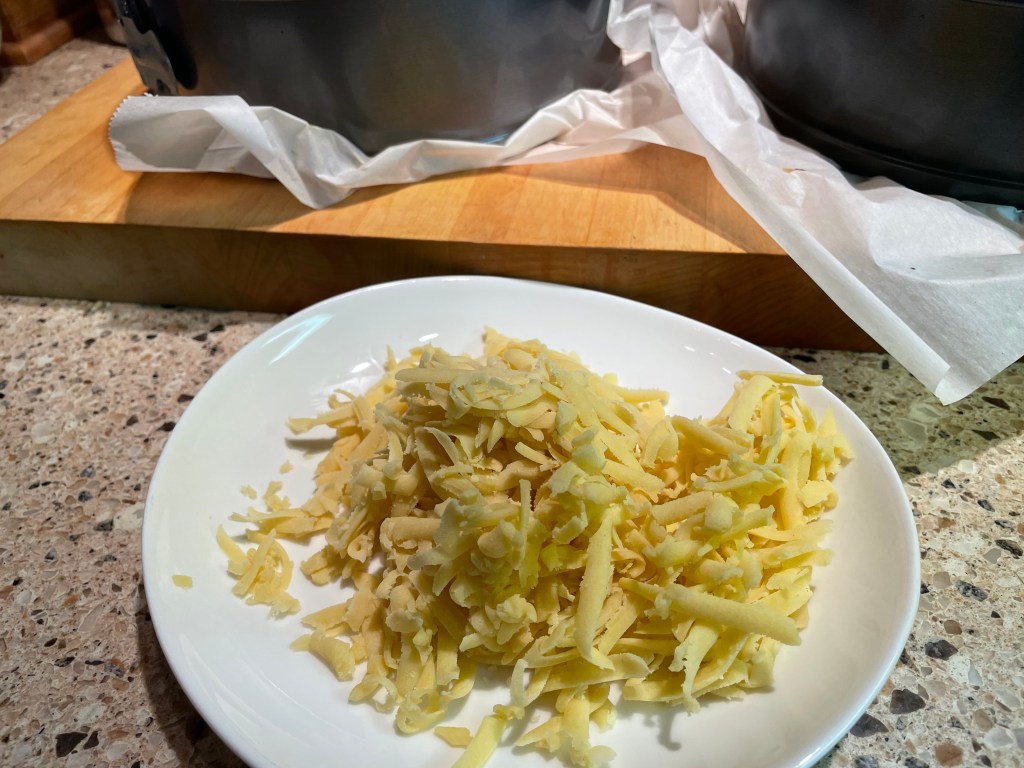
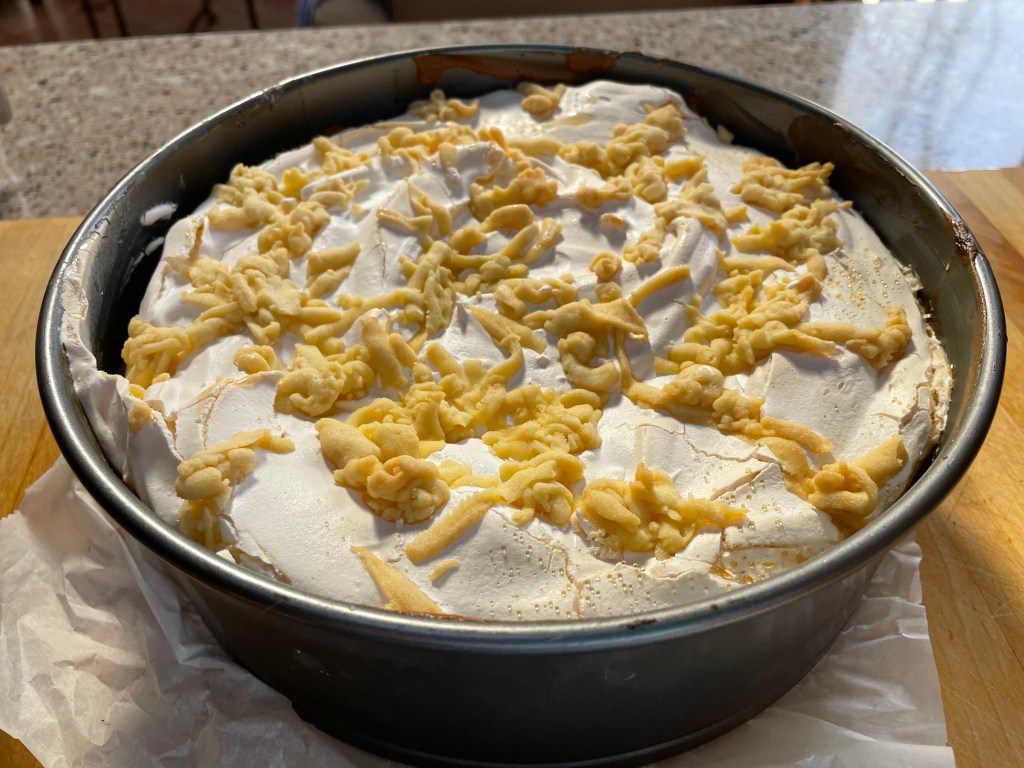
Here is our lovely grated cheese. I mean pastry.
Ready to go in for its third and final bake. I don’t know why I am feeling squirmy all of a sudden…
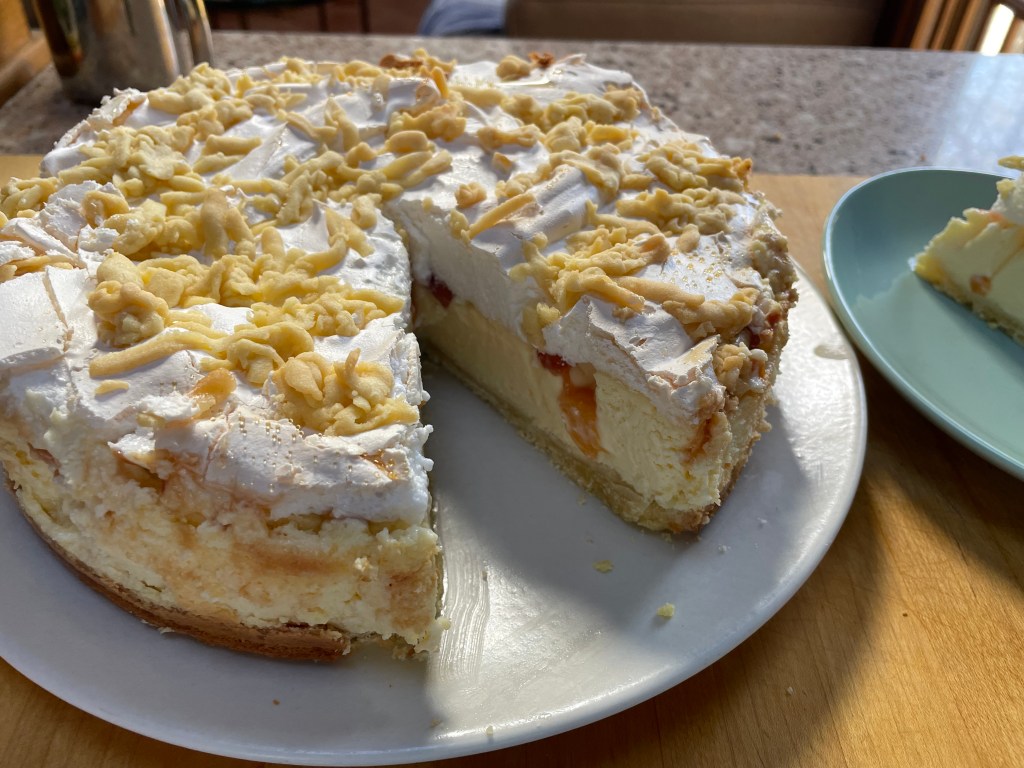
Baked and ready to comfort those in need. I think that Dorothy would approve:

Hmm, maybe not 🙂

Here it is after chilling overnight: ready for unveiling.
A few cracks when the springform is sprung.

But not too bad, overall.


Leave a comment