
This is not as much of a mad heresy as it sounds. First of all, pierogi, the delightful Polish stuffed dumplings, are both comforting and, due to the loving labor required to make them at home, celebratory. Secondly, they are very adaptable. They sidle in unobtrusively but deliciously, fitting in easily at almost any feast-table. The secret of their multi-cultural success depends entirely on their filling.
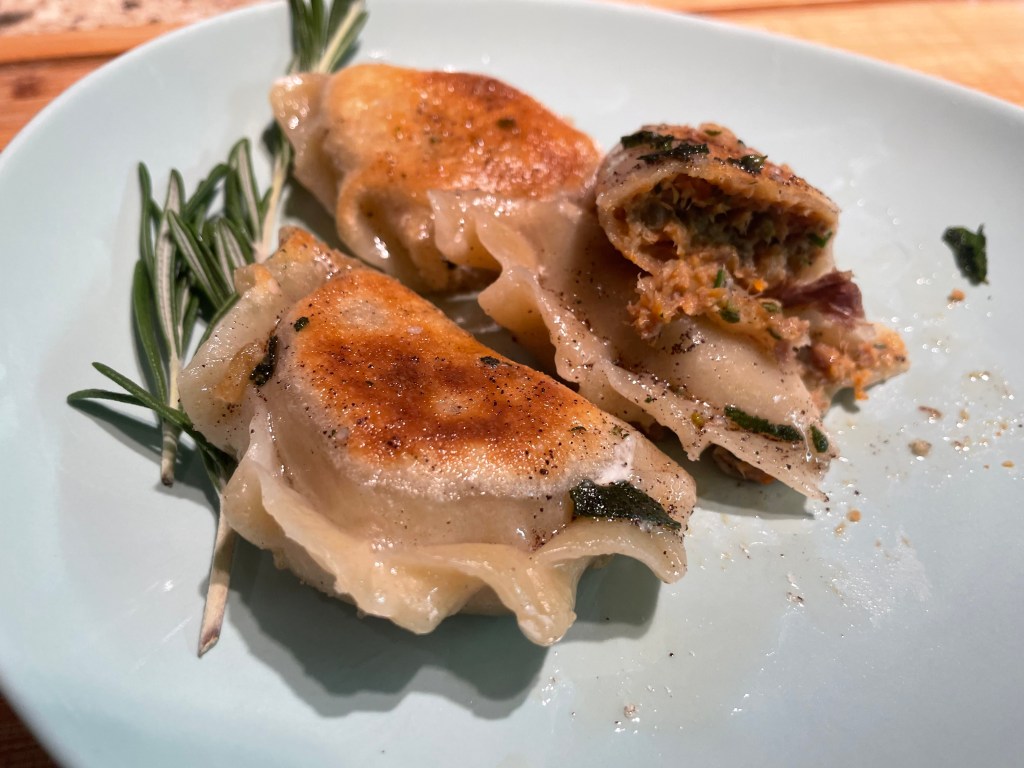
And this brings me to the fun fusion experiment that I decided to embark on for this holiday. Polish pierogi that would deliver American Thanksgiving in one bite! I have two versions: a savory dumpling stuffed with turkey and classic dressing ingredients, drizzled with browned herb butter and sprinkled with crisply golden fried onions. And a sweet variant filled with maple-orange roasted and mashed sweet potatoes, baked in a brown sugar, pecan, cream sauce, and topped with orange zest.
Ultimately, I still prefer the more traditional pierogi (potato/cheese with marjoram and fried onions, ground meat with vegetables, wild mushroom and sauerkraut, strawberry). But these were a real joy to create. And turned out rather tasty!
Of course, the first dumpling step, whether for stalwart childhood favorites or for entirely new creations, is a good dough:
The “make your pierogi-life simple” pierogi dough
This recipe, no exaggeration, changed my pierogi game for good. I was raised making a mess on my work surface with pyramids of flour frantically tapped into place in order to contain the inevitable spill-over of water and eggs. Then there was the tedious rolling out. A hand-cranked pasta machine was an improvement on a rolling pin but ours was, well, cranky. Puffing clouds of flour everywhere and always losing its grip on the counter edge at the most inconvenient moment (usually when you had a delicate swathe of thinly rolled dough halfway through its grinding little gears). After the rolling was the cutting out of circles. Which always involved an argument about which of our various drinking glasses we had found to be the best shape and size to do this with the last time the family made pierogi. Finally, as the little rounds piled up for filling, there was the re-rolling and re-cutting of dough scraps. Each repetition of this resulting in dryer and less easily worked pastry.
Ah, memories…
Of course this was all ultimately worth the scrumptiousness that resulted. And time-honored family cooking rituals have ample charm to set against any little frustrations and inconveniences that they bring with them. But still, when I found the @MenuDorotki presentation on pierogi, I was immediately and shamelessly ready to throw tradition to the curb. This was the very first of Dorotka’s recipes that I came across. And, as is evident from my previous references to her YouTube channel, I have become a huge fan. I was, and remain, very impressed by her thoroughness, quiet humor, and ability to present even the most complicated recipe in a logical and accessible way. The link to Dorotka’s pierogi tutorial is below. Not all of her channel is translated from Polish but this clip has English subtitles. So I do encourage anyone who harbors any apprehension about making pierogi to check it out:
And here is the written recipe:
Makes 20-24 pierogi, depending on your dumpling size preference.
This may be easily scaled up but I would still only make one batch at a time so as not to overwhelm your food processor. It is so easy to throw together that you can just set up a factory line of your processor, a scale, flour, salt, butter, and hot water. And keep making little balls of dough to come up to the number of pierogi that you plan to fill.
I am a go big or go home pierogi maker. I like to make an evening of it, at least quadrupling the base dough recipe, spending an hour meditatively filling dumplings, and stashing a satisfying supply in the freezer for later…
Ingredients:
250g/2 cups AP flour
5g/1tsp salt
40g/3tbsp unsalted butter, fridge cold is fine
100ml/0.4 cups water, steaming hot
Method:
- Place 250g flour and 1tsp salt in the food processor bowl. Pulse several times to aerate.
- Add butter and process again. The butter should be completely pulverized and fully distributed amongst the dry ingredients.
- With the processor running, pour the 100ml of very hot water through the spout. The dough will start to come together fairly quickly. Process either until it forms a clump around the blade, or for 2 minutes. Whichever comes first.
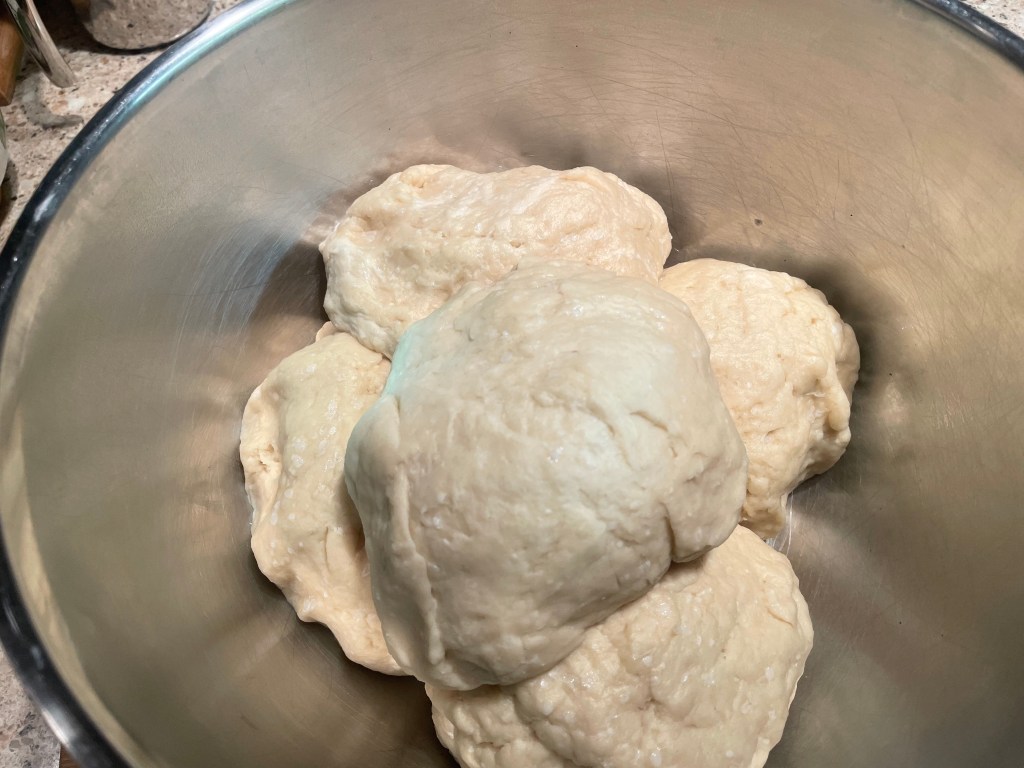
- Take the dough out of the processor and give it a few kneads to bring it into a neat ball. It will be pleasantly warm and smell like butter and flour and good things to come. The joy of this recipe is how pliant and well-behaved this dough is. No need to flour or grease the work surface. But, miraculously, also no need to use water or flour paste or anything else to secure the edges of the pierogi together. It sticks to itself beautifully!
- Place the dough in a bowl or cover it with a towel on your work surface until ready to cut and fill the pierogi.
- When ready to fill, divide the dough ball into quarters for convenient shaping. Place the pieces that you are not using back in the bowl/re-cover.
- Roll your one quarter ball into a sausage shape with your hands, about 15cm/6 inches long. Try to make the dough log as even in diameter as possible: this ensures that the pieces you cut out for individual pierogi are similar in size.
- Divide the log into 5 or 6 pieces. If you prefer fewer but larger pierogi, you can even just go with 4 pieces. Squish each piece down into a rough circle and then use a rolling pin to flatten it further into a slightly elongated circle. Roll the dough to a thinness of approximately 3-4mm/1/8 inch. This will result in a round that is roughly the size of your palm. It is thin enough to be delicate and pliable, but not so thin as to tear or be impractical to fill.
- Place 1-2 tsp of your chosen filling in the center of the dough round and fold the dough into a half-moon around the filling. Press the edges of the half-moon tightly to seal, making sure not to trap any filling between the pastry. That will interfere with you seal and the pierogi will leak in unseemly fashion while cooking.
- Crimp the dough edges decoratively if desired.
- Place each finished dumpling on a floured board and cover with a towel while you cut, fill, and shape the remaining pierogi.
- At this stage you may place the entire board into the freezer, freeze until solid, and then transfer the pierogi to a labelled, dated, freezer bag. They will keep well for 3+ months and can be easily cooked from frozen.
- If cooking the pierogi right away, bring a large pot of salted water to a boil. I always add a glug of vegetable oil to the pot: it is pasta-habit that I cannot break myself of.
- When the water reaches a violent boil, lower the heat and add enough pierogi so that they can swirl freely around and not stick to each other. Depending on the size of your pot, this is usually 10-14 dumplings.
- Have you lowered the heat? If the water is bubbling too energetically, the pierogi may come unstuck. Let the dumplings cook until you see them floating to the surface. Give it another minute after that happens, and then remove each dumpling with a slotted spoon, allowing as much hot water as possible to drain away into the pot.
- At this point, you have options. Based on the filling that you used, you may wish to eat these pierogi directly. Perhaps drizzled with some butter, sour cream, or topped with caramelized onions. Alternatively, you can pop each dumpling out of its hot water bath into a hot frying pan and sauté them until golden brown in a little oil or butter. Those are also good with sour cream, or showered with chopped green herbs. Finally, if you want to save these to sauté later, to layer in a casserole and bake with a cheesy sauce, or even to freeze already cooked, you will want to take steps to avoid them sticking to each other. The best way to do this is to prepare a large bowl full of ice and water and pop the pierogi out of the hot water into a freezing dip for a moment. Then remove each cooled dumpling and place on either a greased sheet pan or into a greased casserole dish for later use.

Ingredients and tools, ready to go.
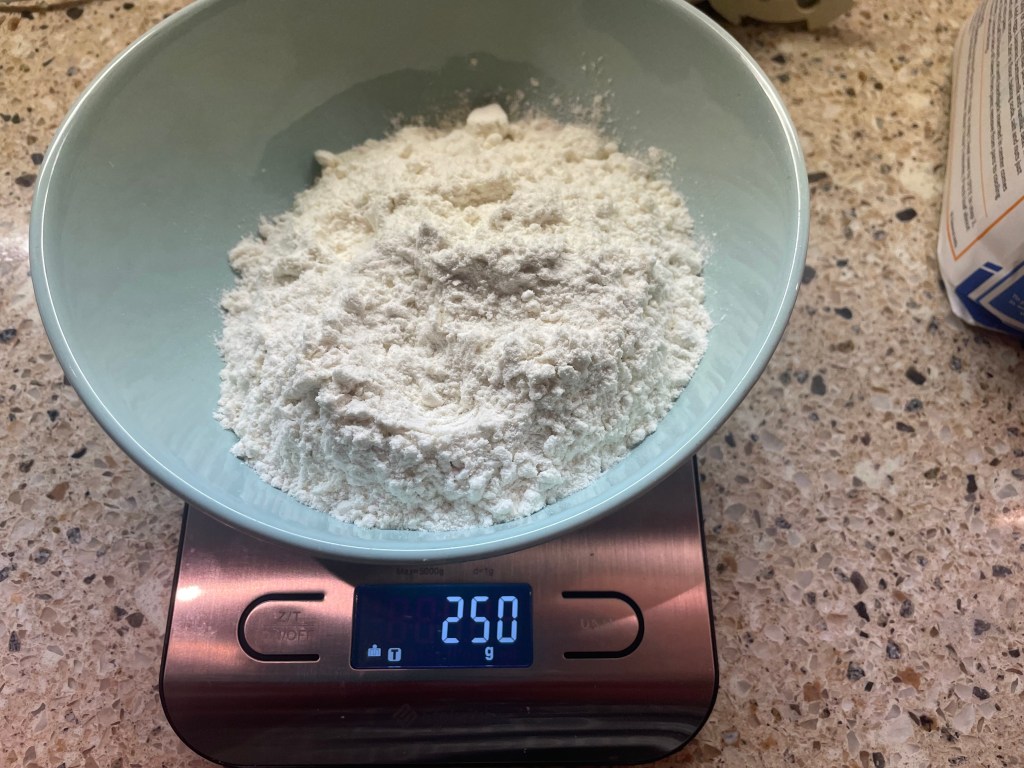
A digital scale makes this a very quick and easy recipe.
Flour and salt, ready to aerate.
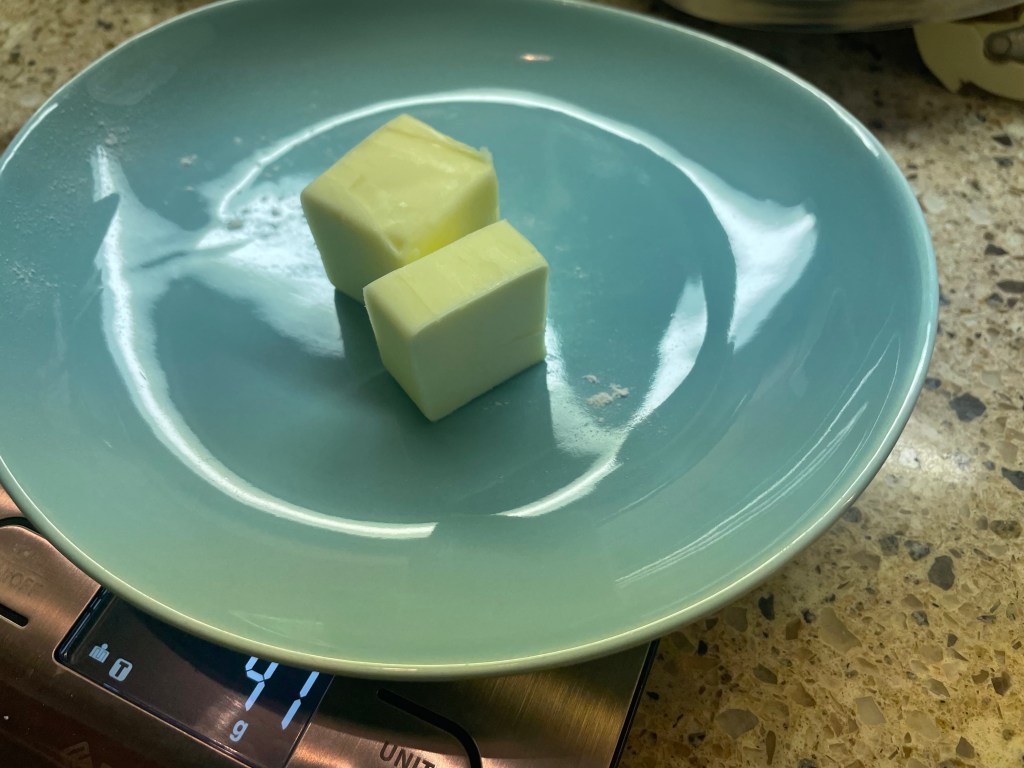
Butter weighed…
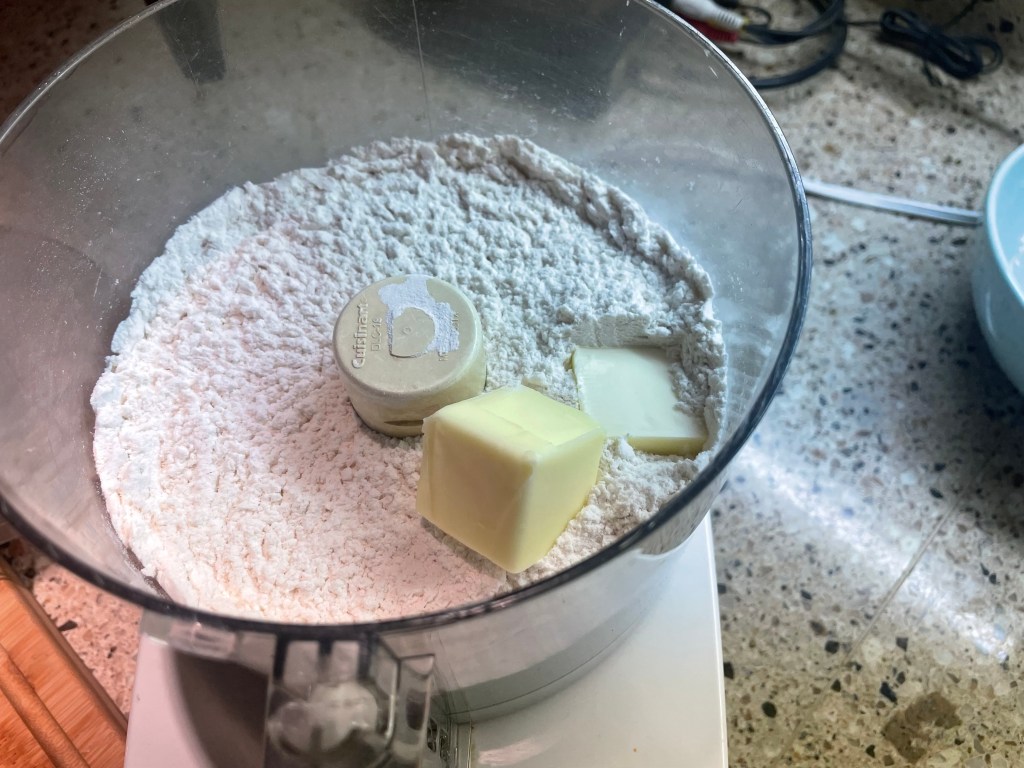
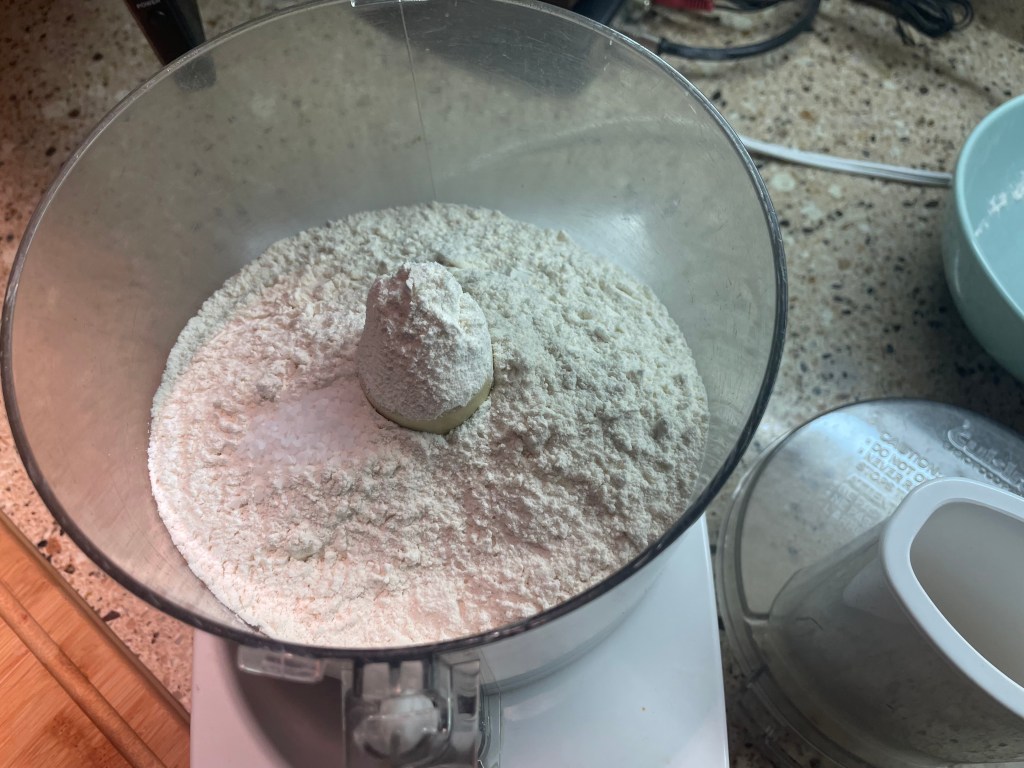
I forgot to cut the butter into smaller pieces but it’s ok. Processor Pal can handle it.

Butter has been pulverized.

The dough is beginning to form when water is added.
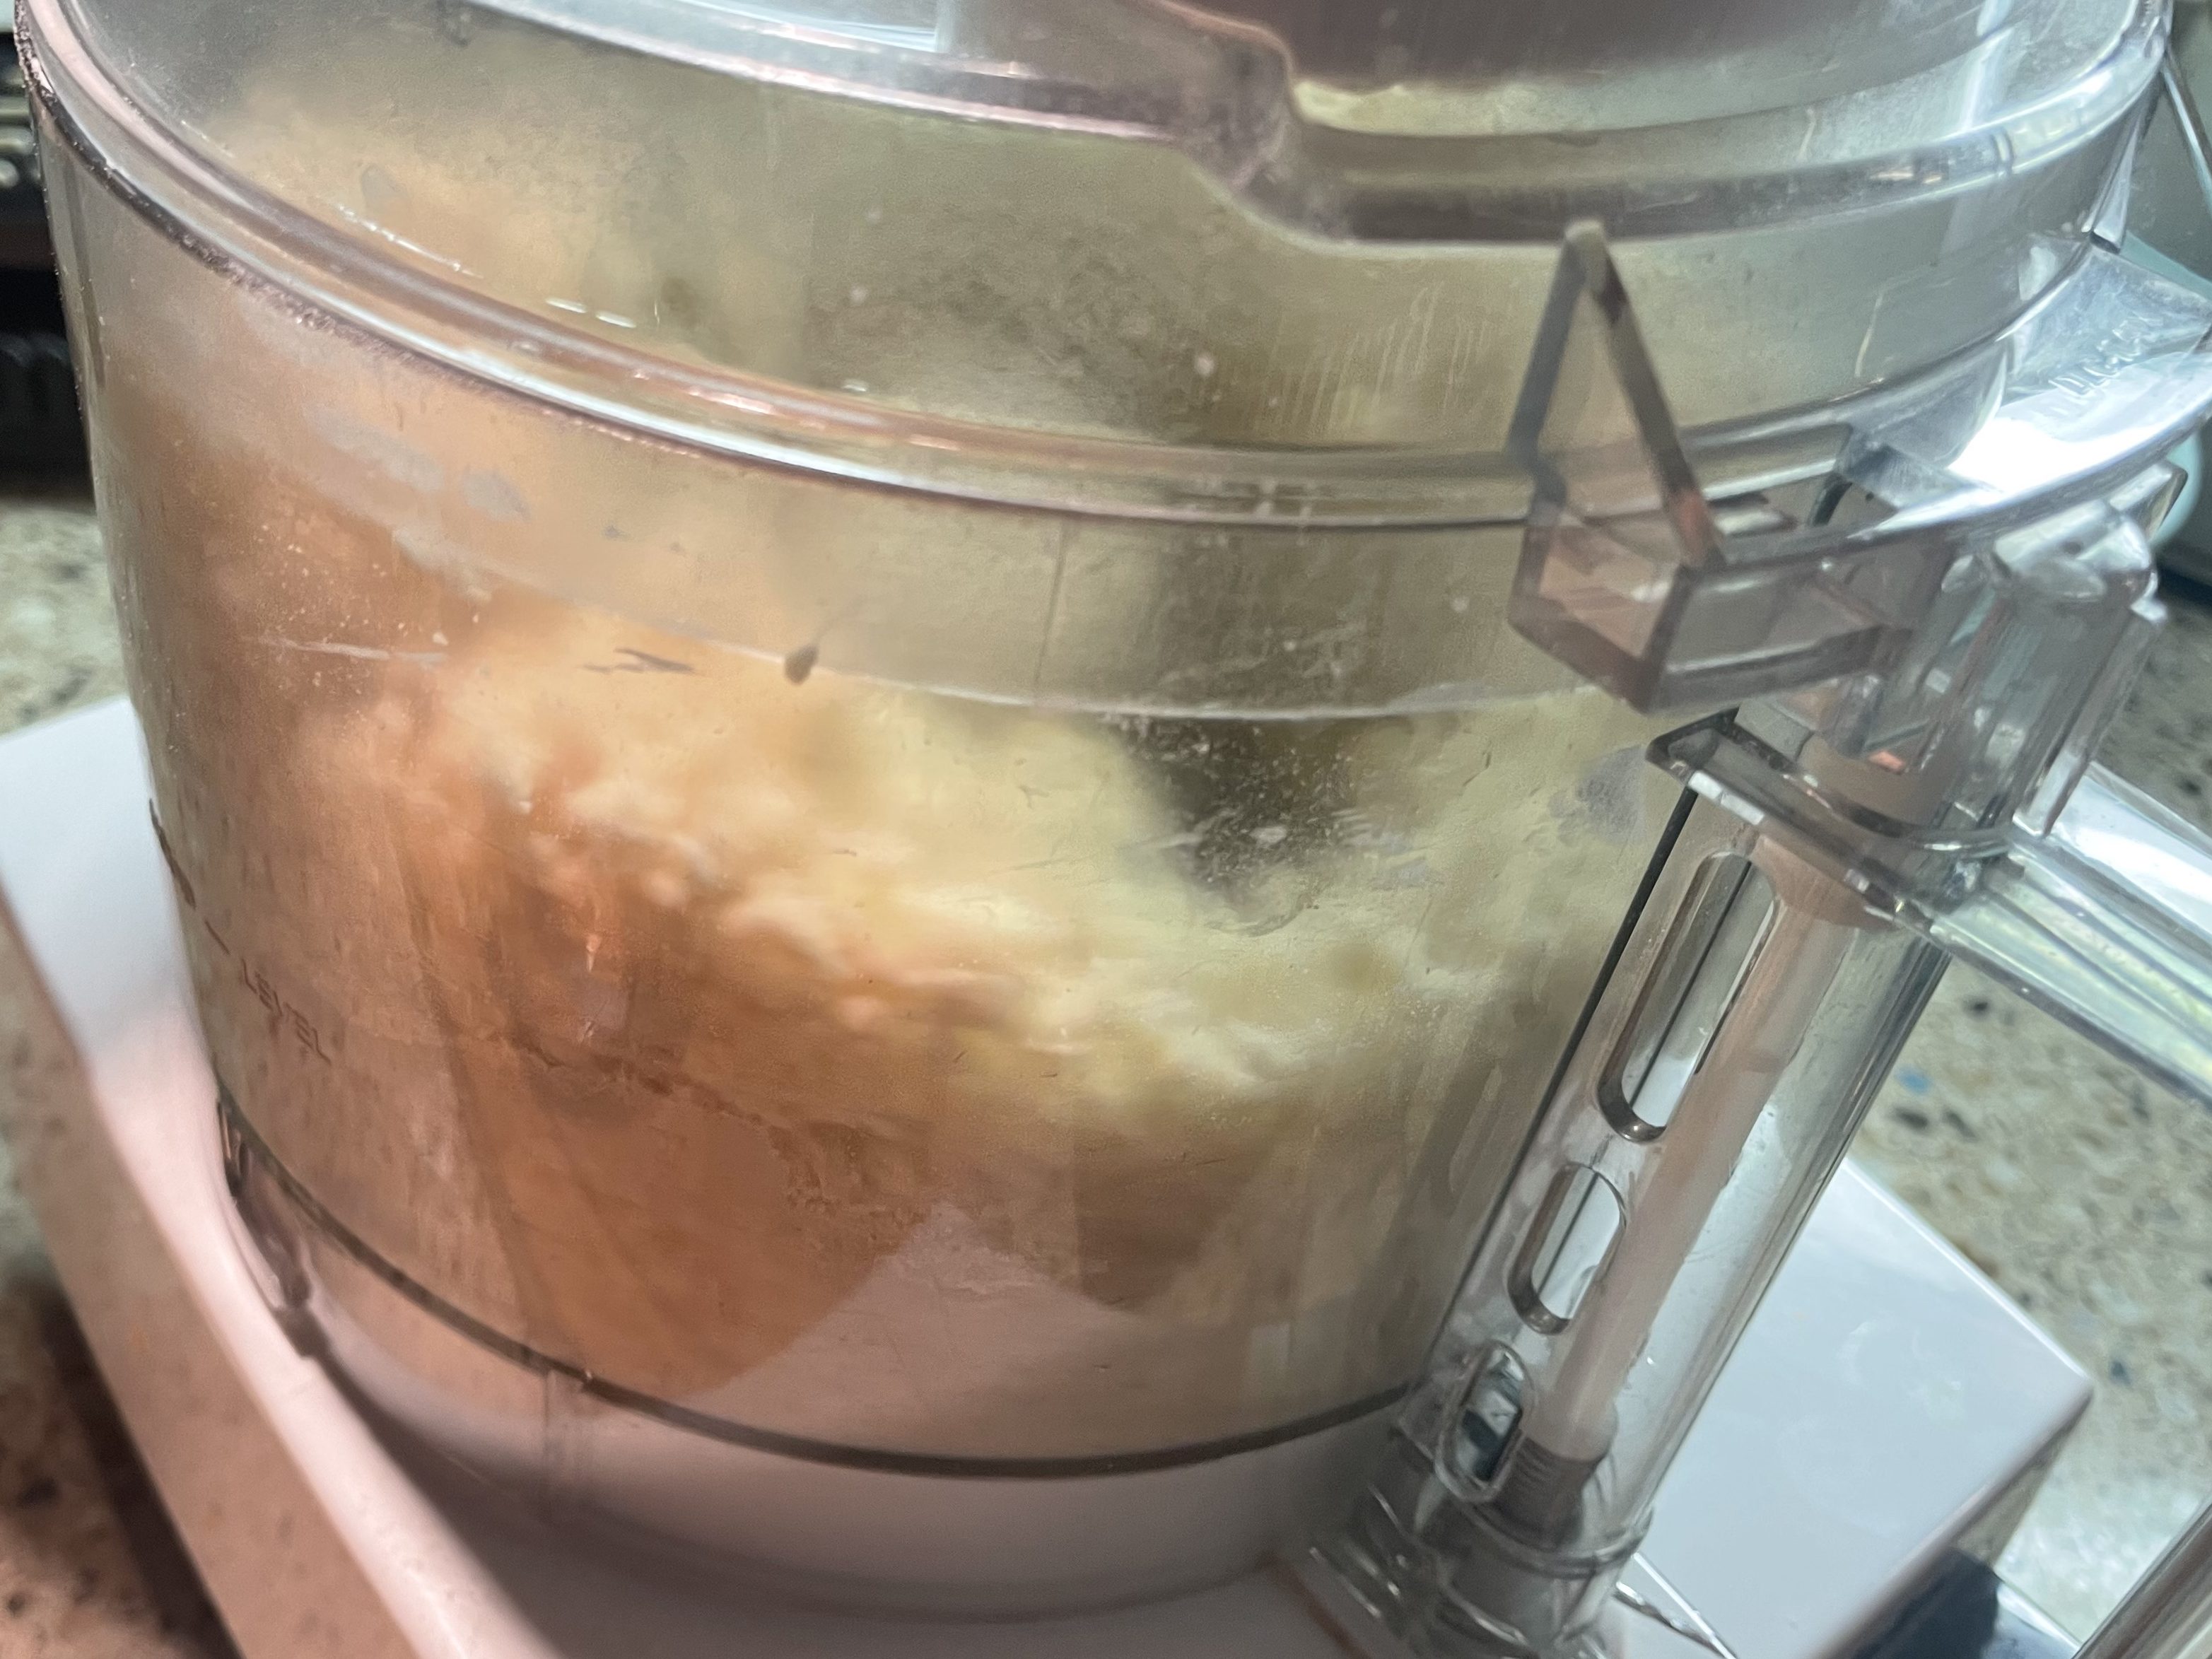
Just a few…more…hundred…thousand…seconds. No, I’m kidding, it blitzes the dough together in under a minute.
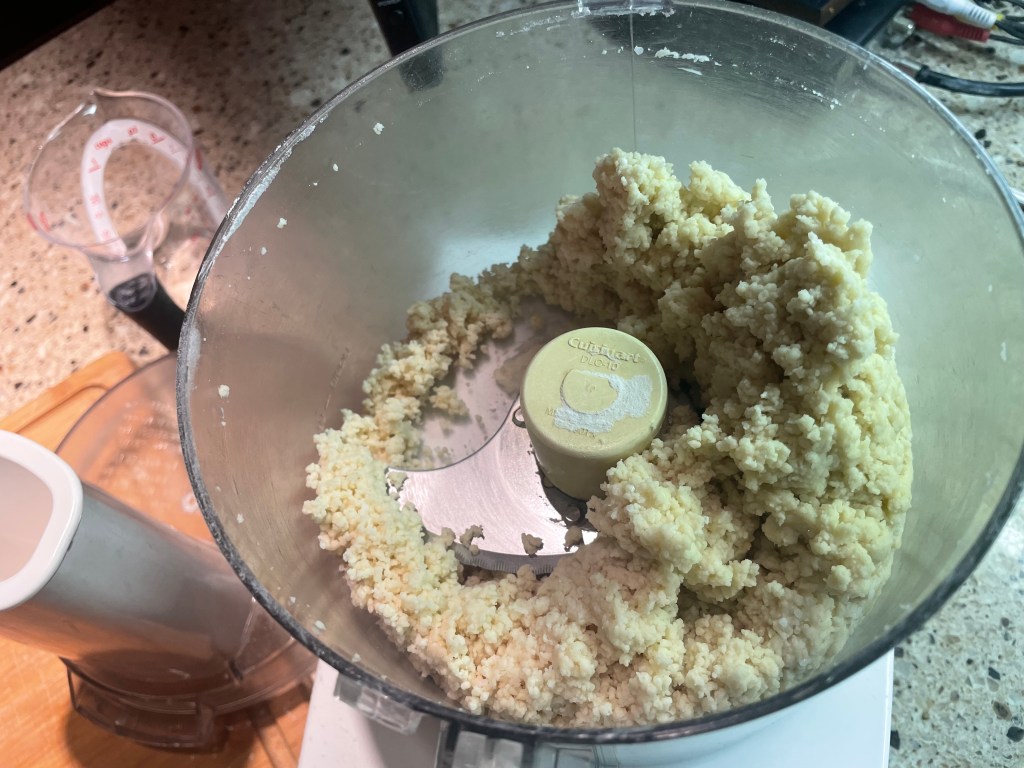
It may look like freeze-dried ice-cream but it is pleasant and fragrant and softly pliable.
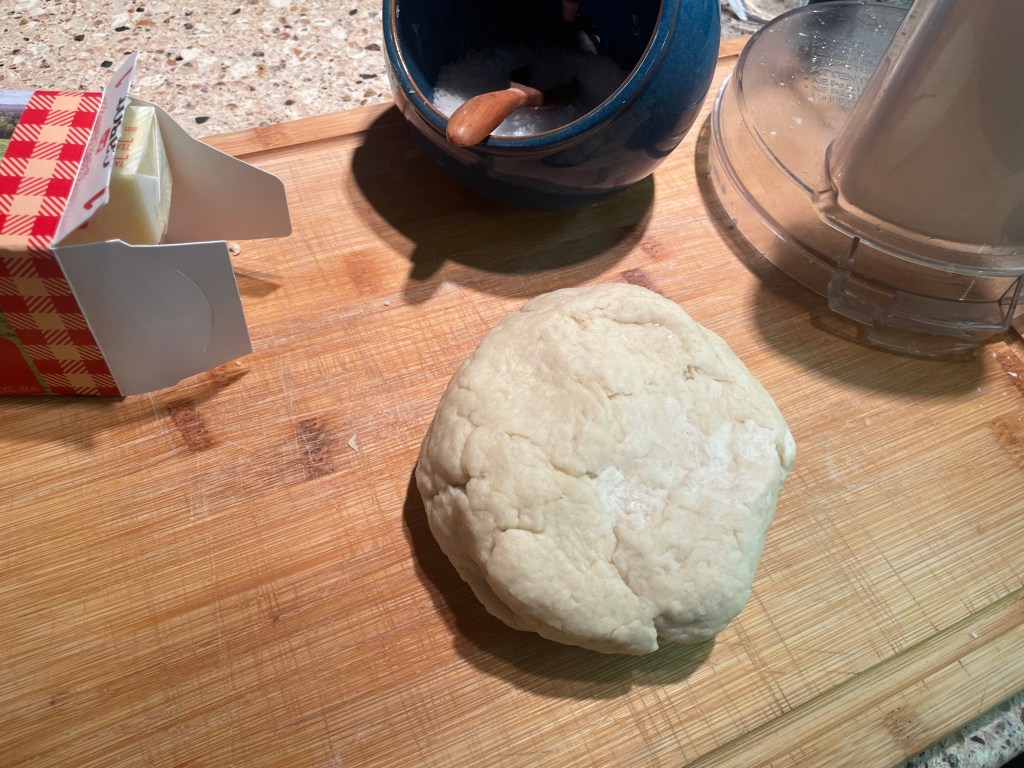
It is easily shaped into a ball with a couple of kneads.
And here is the recipe x 5, ready to make dozens of delightful dumplings…
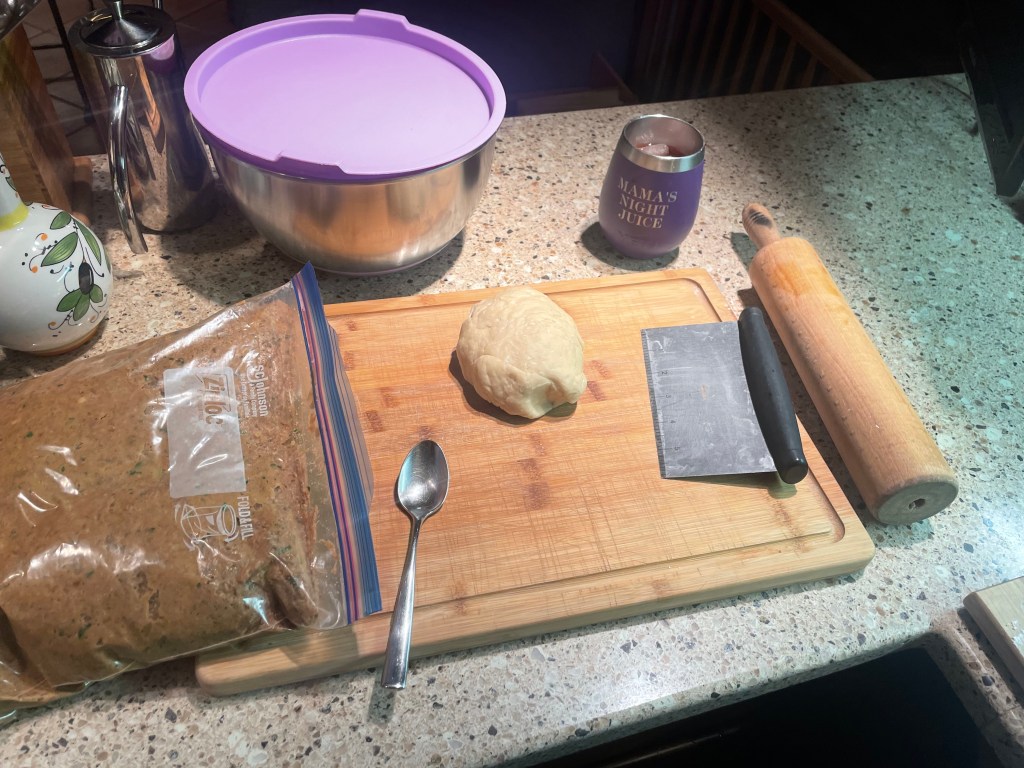
Loins (boozily) girded and all the necessary supplies in place: Let the forming of pierogi begin!
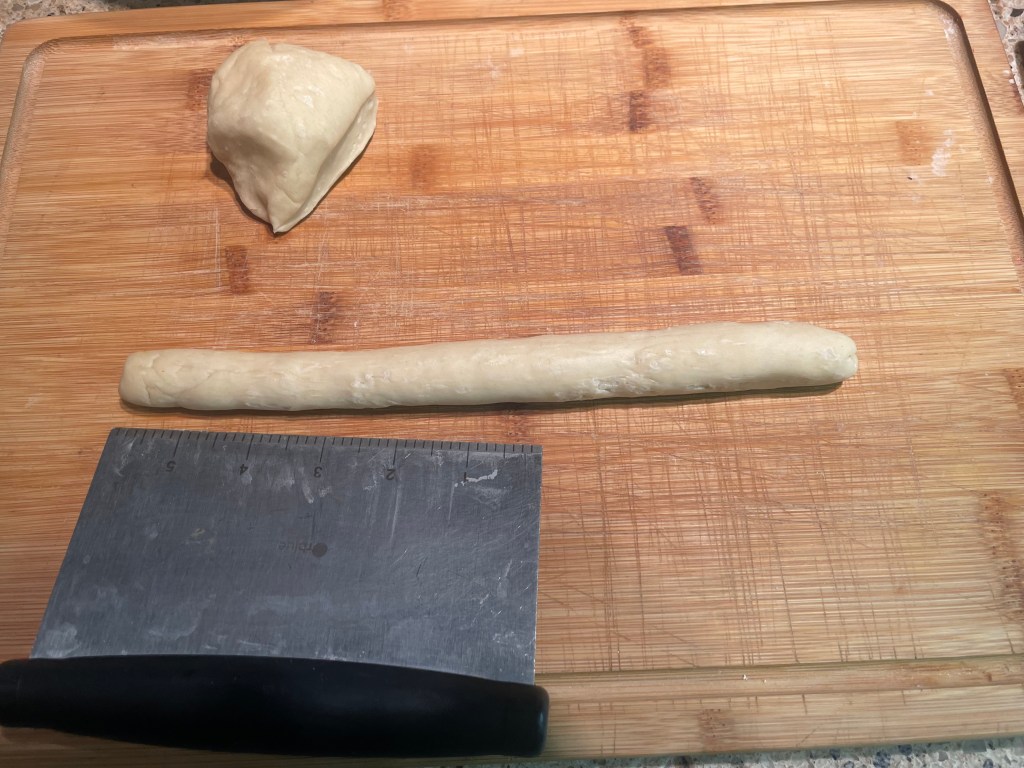
1/4 of the dough ball, rolled into an even log.
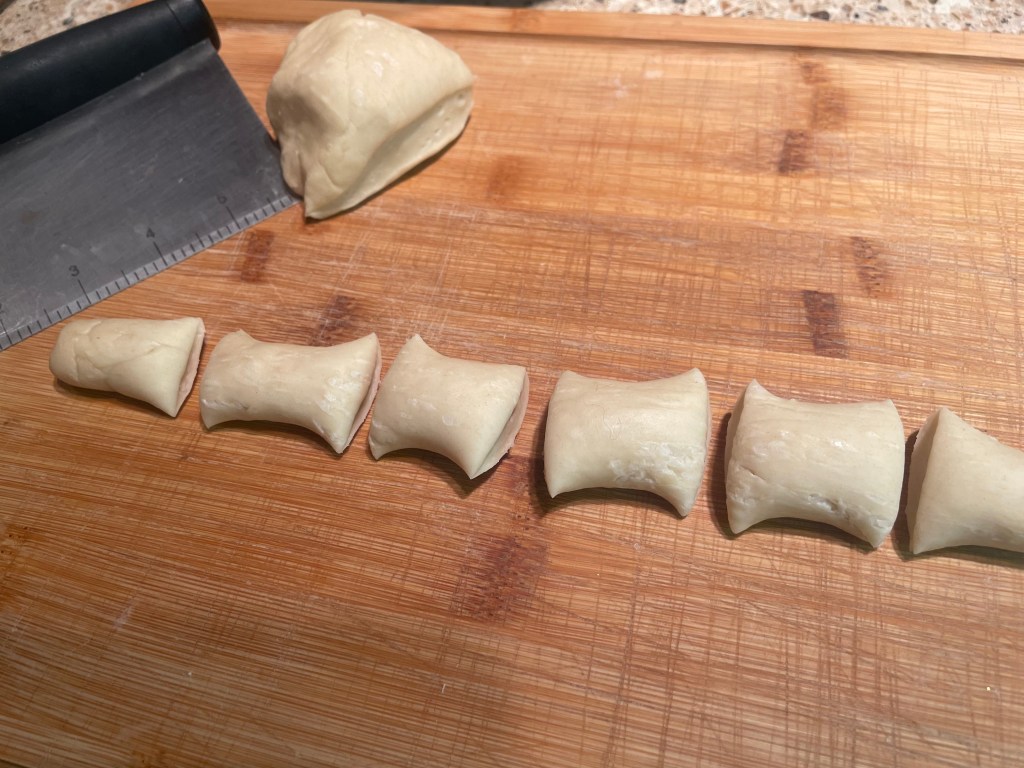
Divided into sections for individual pierogi.

Rolled into an oval.
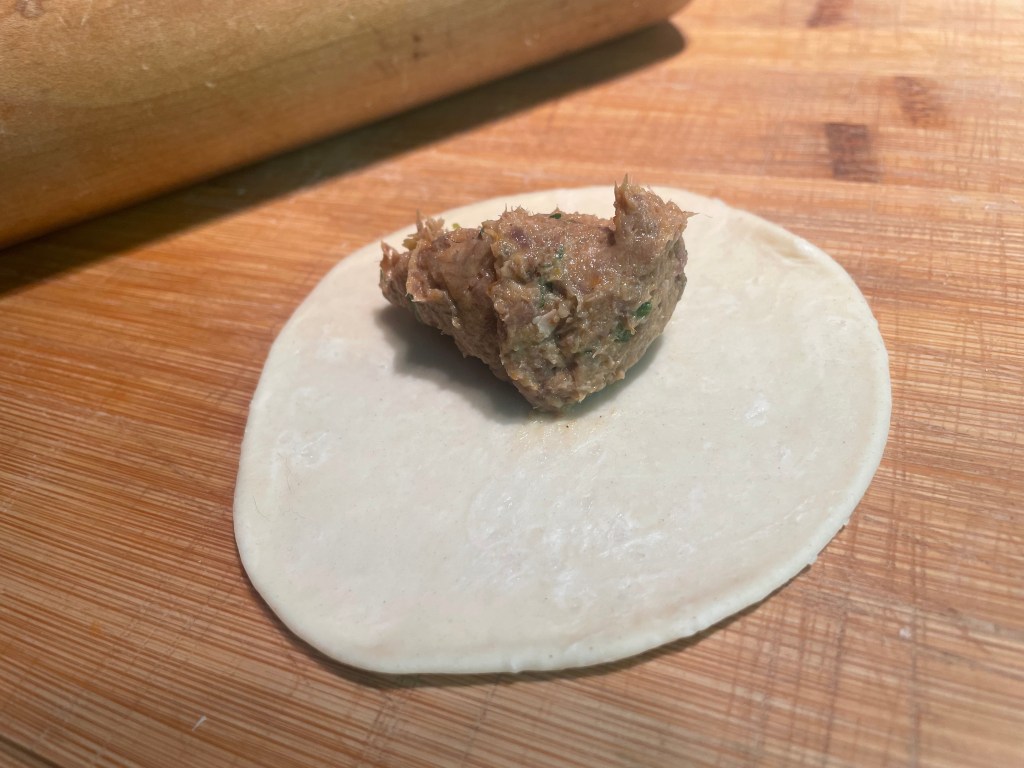
Filling is added.
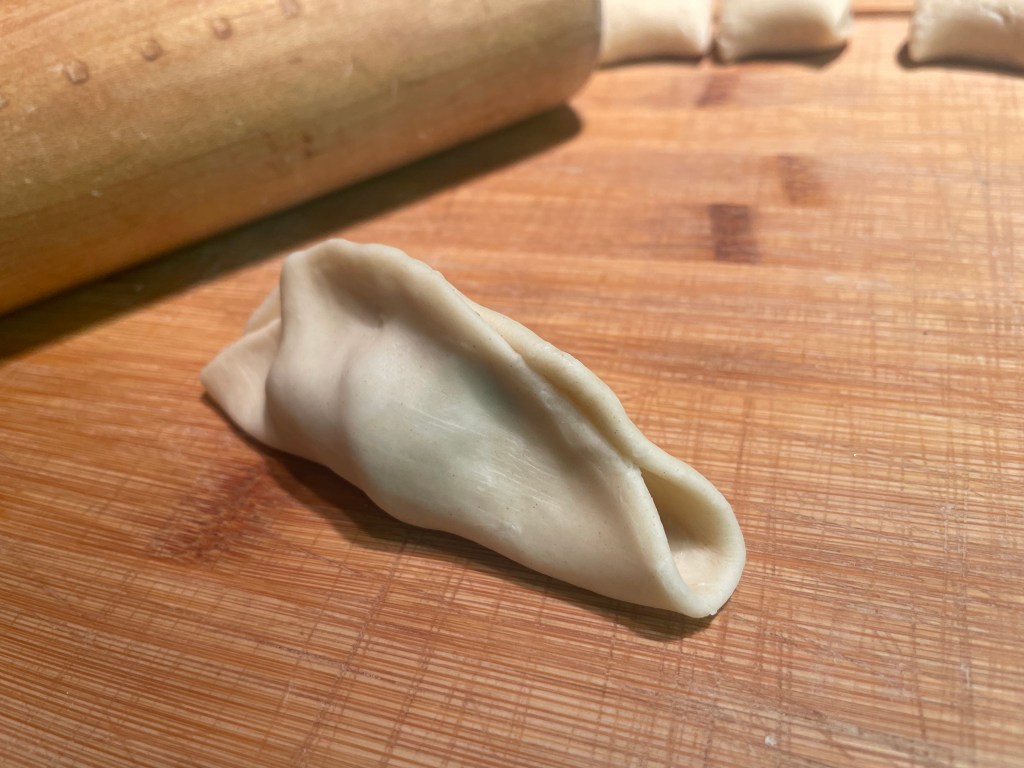
Dough is folded over the filling.
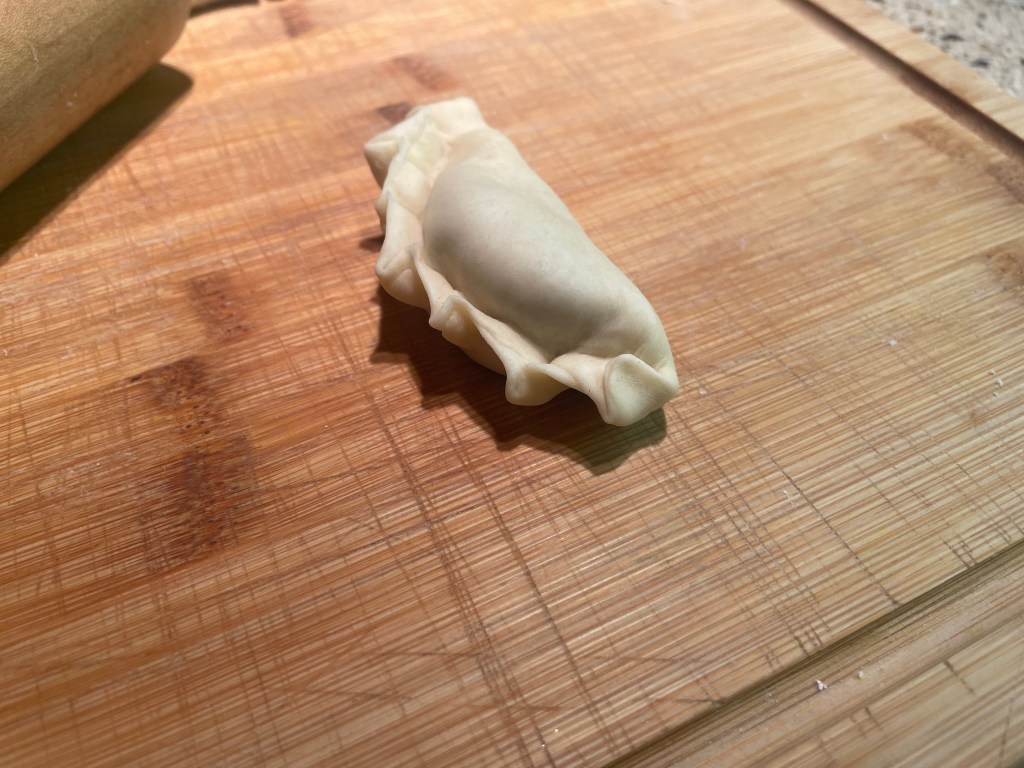
Pastry edges sealed and crimped.
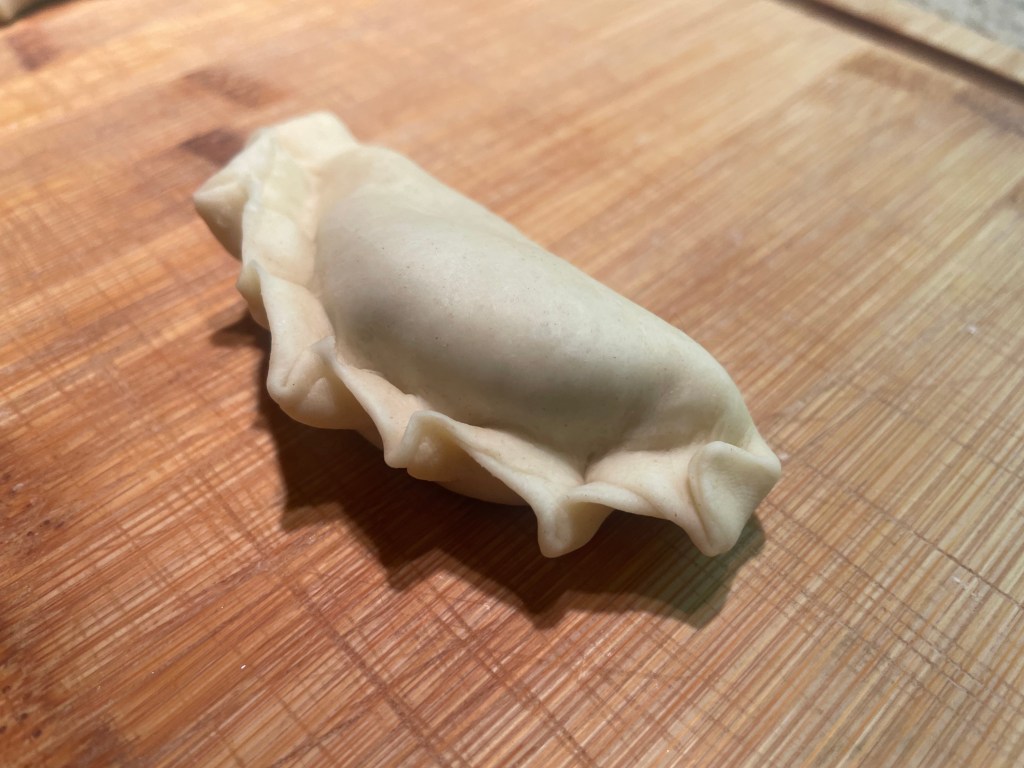
Pinch hard so that the edges do not come unstuck.
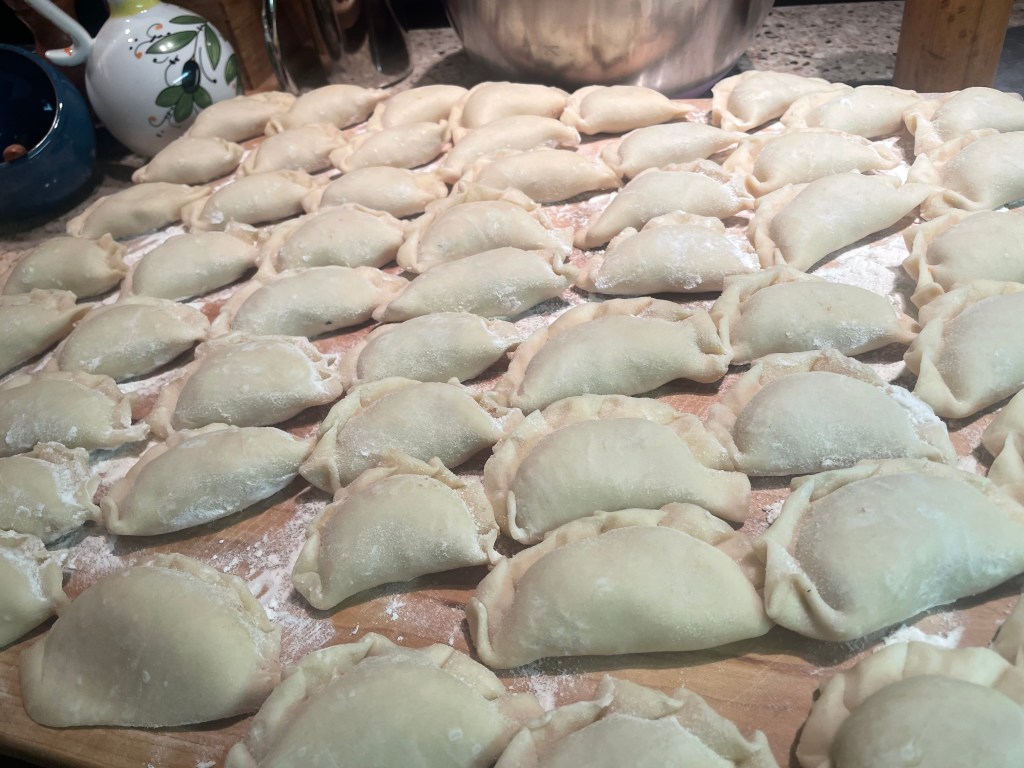
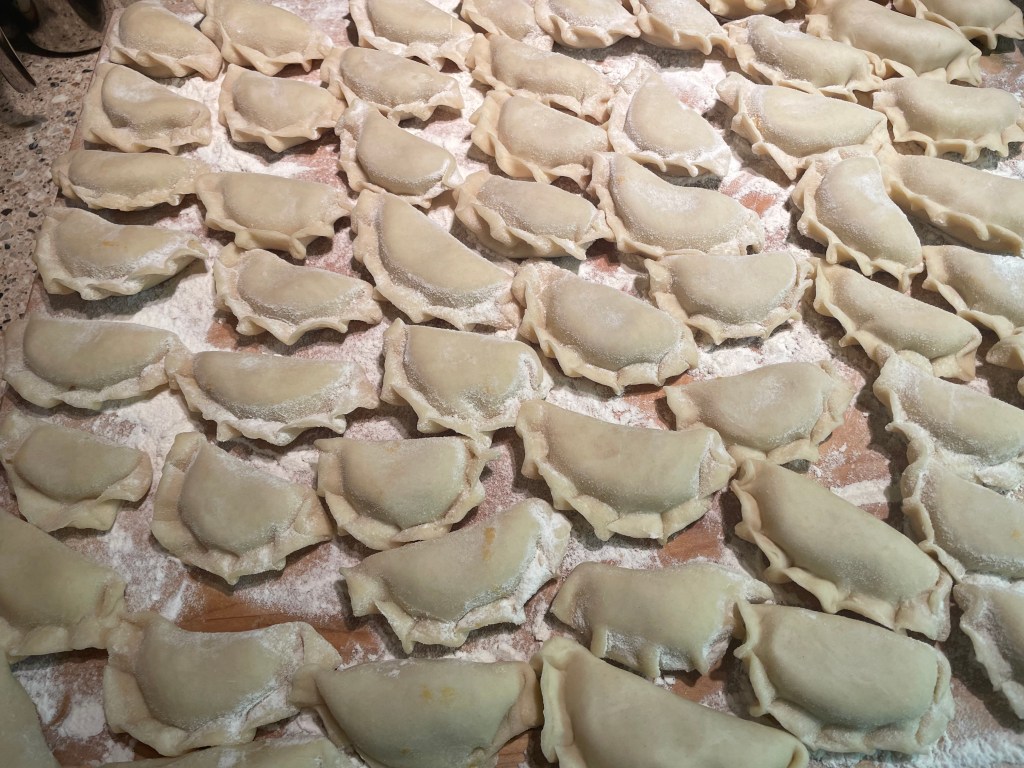
All the little pierogi, ready for cooking.

You will need a generous volume of salted water – use your biggest pot.
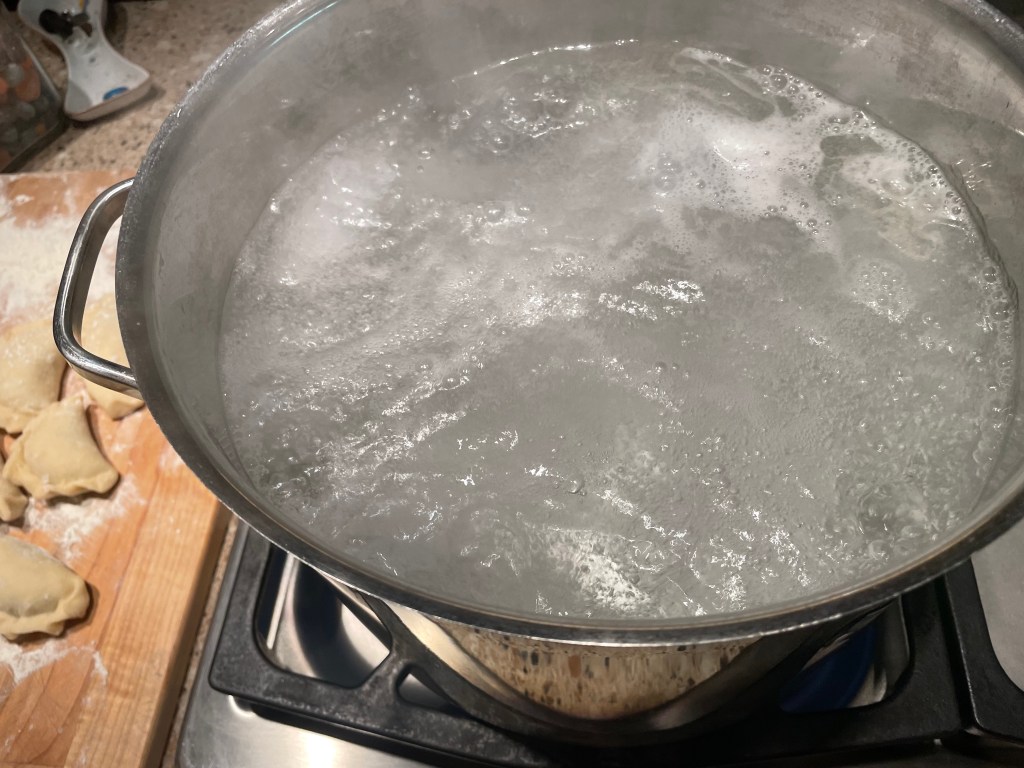
Bring the water to an active boil before adding the pierogi.
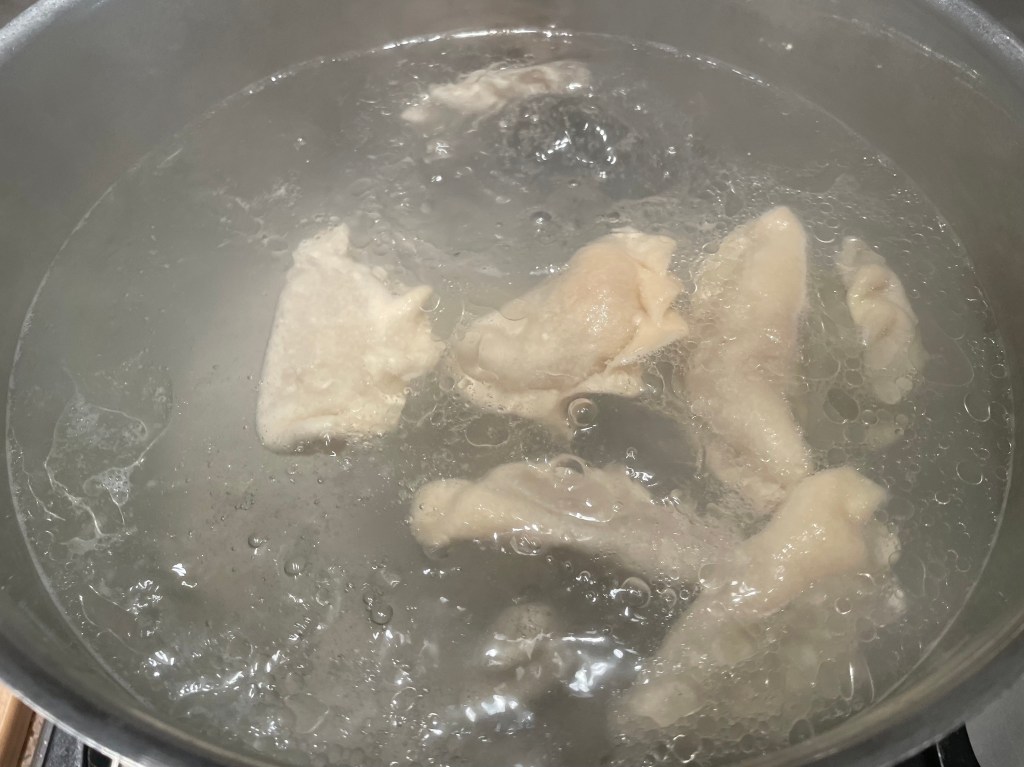
Then lower the heat so the dumplings can bob around peacefully like plump pallid little fish.
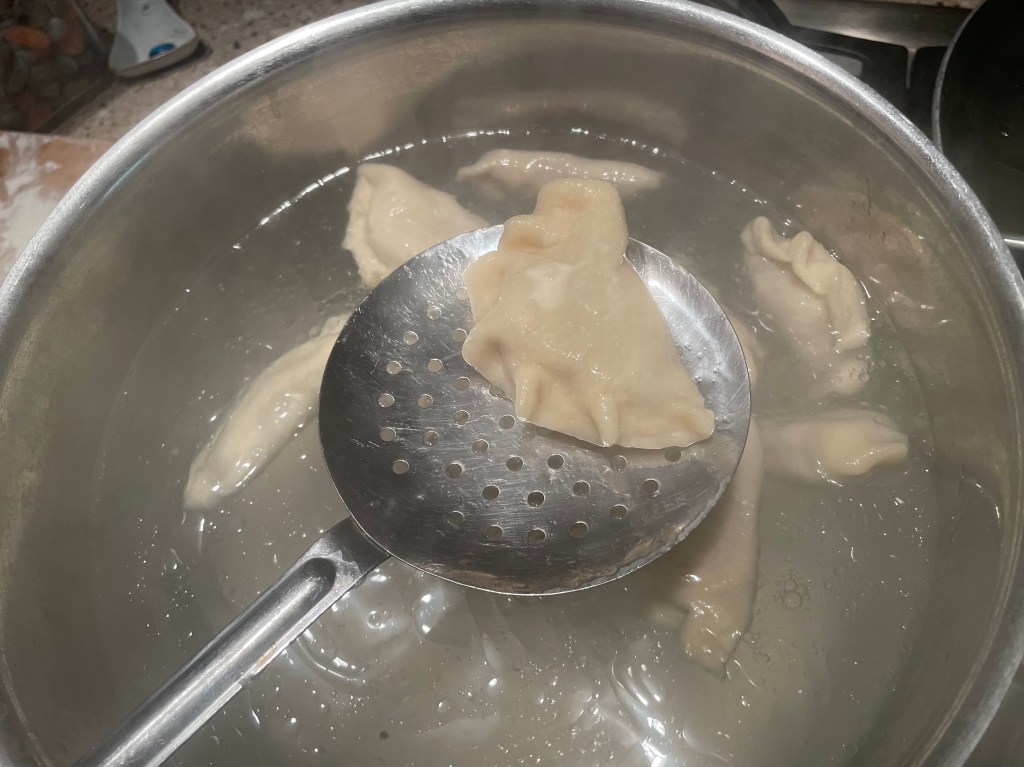
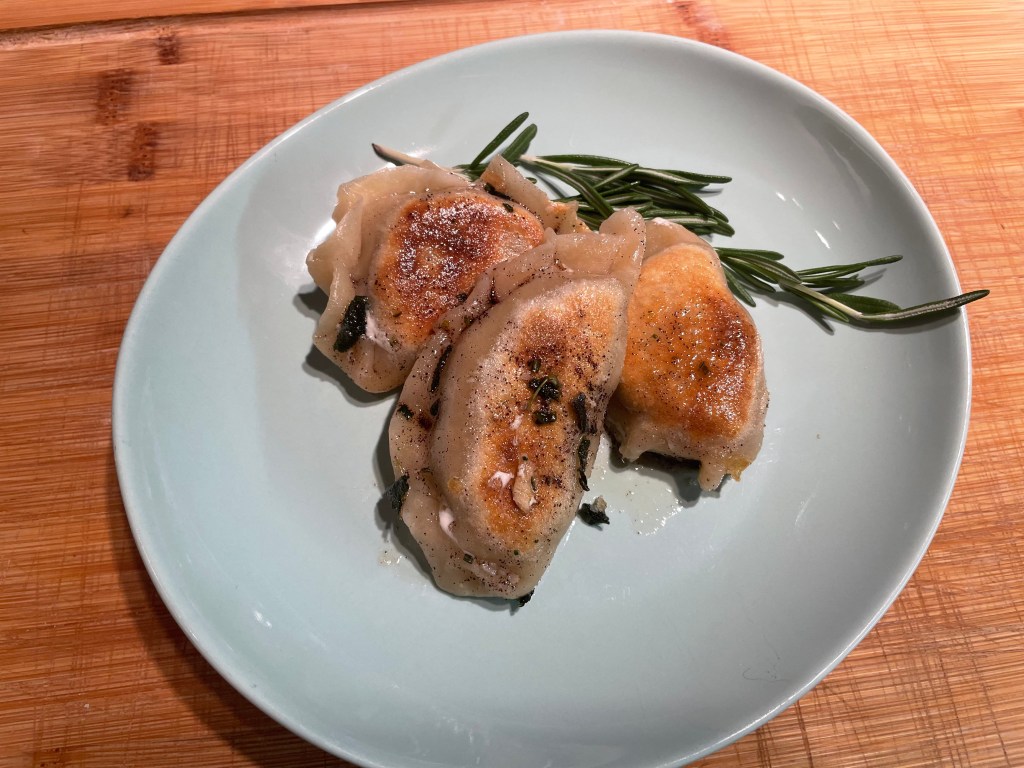
Cooked and ready to eat. Or sauté. Or bake. Or freeze. Either way: enjoy!
Thanksgiving Turkey Pierogi
Makes enough filling for 80-100 dumplings, any excess can be frozen for future pierogi projects or repurposed into savory pie or crepe filling.
I based this recipe on the traditional Polish meat pierogi. Which are, at their heart, a tasty way to avoid wasting even a morsel of food when cooking for your family. Polish people live on soups. In most households, there is a big stock pot of either chicken, or beef, or mixed-meat broth brewed regularly. The stock is used as a base for different soups throughout the week. And the meaty bones and vegetables that are cooked in the broth? Those are ground up and used for other recipes. Most commonly, to make the base of a pierogi filling. The meat/vegetable stuffing is commonly bulked up with some stale bread and egg is added to bind things together. Vast amounts of sweetly caramelized onions are mixed in for flavor and texture.
With this in mind, I tweaked these base ingredients to better reflect the Thanksgiving holiday. I also had a vat of stock going – turkey stock in this case. An assortment of turkey necks, thighs, and gizzards, simmering away with vegetables and herbs to ensure a good supply of flavorful broth for gravy and stuffing on the big day. So I used the turkey meat, carrots, and onions from the broth as the ground meat/vegetable mix.
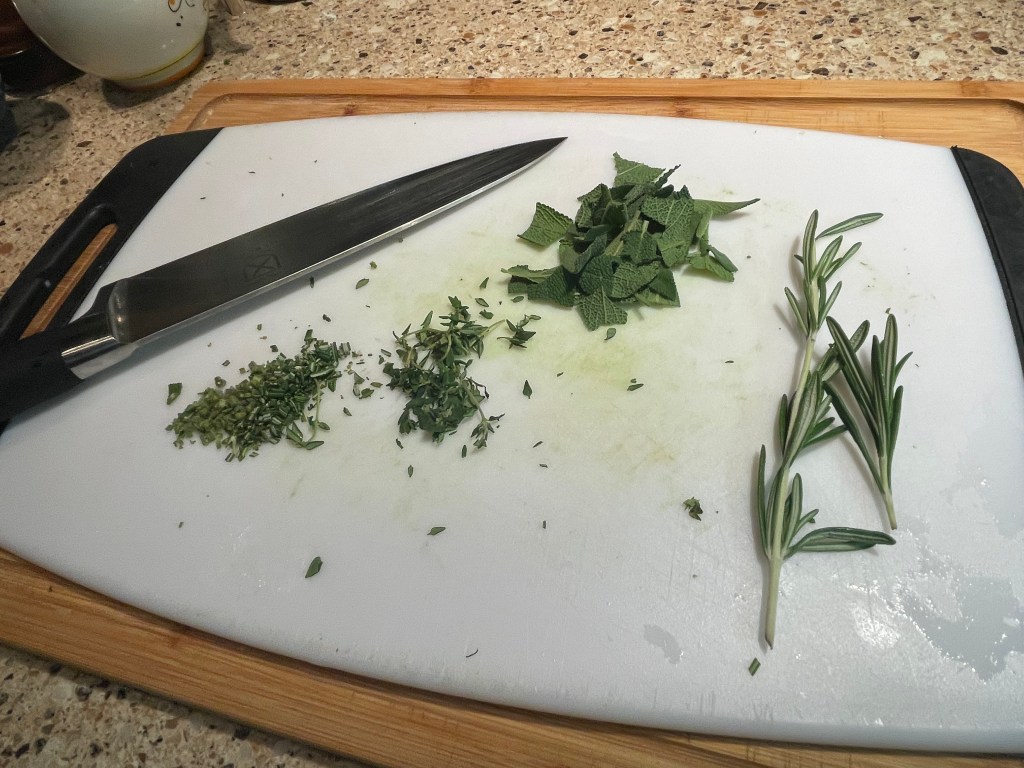
Then, instead of just sautéed onions, I added the typical foundation for our dressing recipe: celery, sausage garlic, and fresh mixed herbs (rosemary, thyme, and parsley all bullied into submission by unfairly large quantities of sage).
Finally, I reduced some of the turkey stock into a rich soaking liquid, in which I softened some torn-up white bread. I also added some of the pre-dried and seasoned stuffing mix because my mother-in-law always adds a little of that to her sausage dressing and I wanted to stay true to her delicious recipe.
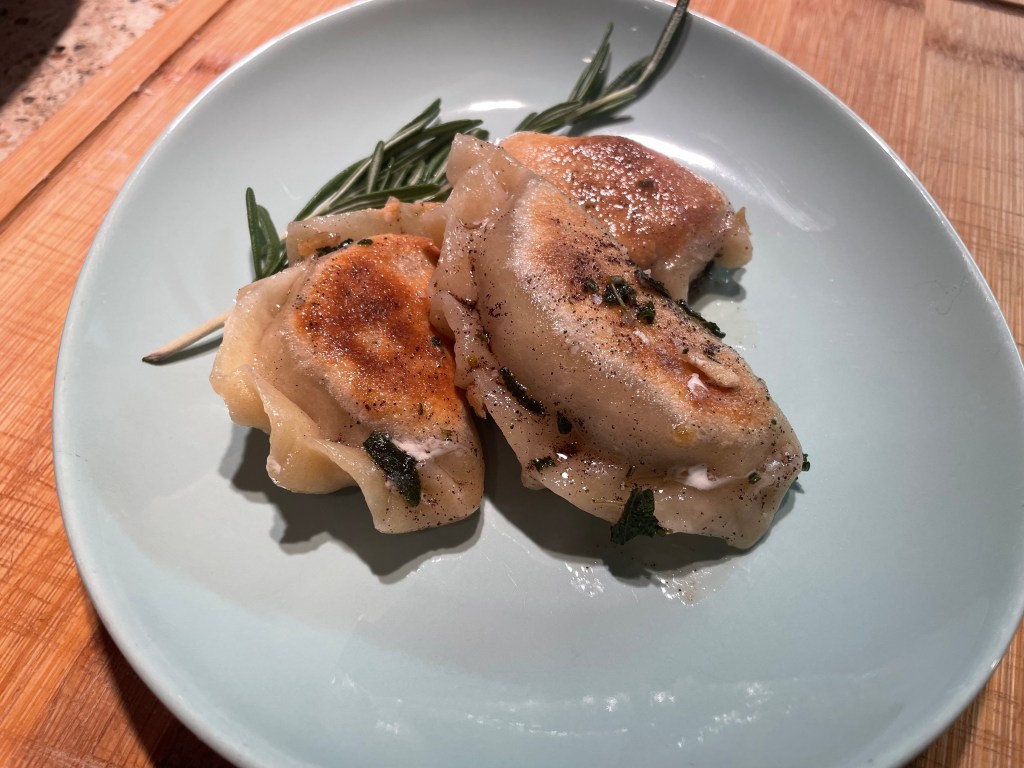
Then, for the last Thanksgiving-y touch, I browned butter with still more herbs (sage). This was to drizzle over the finished pierogi. Or, in the case of the dumplings that I was taking to a Thanksgiving potluck at work, to layer in between pierogi along with dollops of sour cream and sprinklings of fried onions. The ones out of a bag. Again, tradition is a demanding mistress…
Ingredients:
225g/8oz raw pork sausage
1 bay leaf
2 medium yellow onions, peeled and finely chopped
3 celery stalks, cleaned and finely chopped
3-4 small garlic cloves, peeled and minced
Bunch of fresh herbs to taste, finely chopped. Should include mostly sage, some parsley, rosemary, and thyme
Stale bread, enough to make about 1 cup’s worth when torn into small pieces
120g/1/2 cup seasoned prepared stuffing mix
300ml/2.5 cups reduced turkey stock
1kg/2lb picked cooked turkey meat and gizzards, carrots, onions from stock. This is an approximate amount; it will vary based on how much stock you have made and the goodies that you put into it.
2 raw eggs
Salt and pepper to taste
Additional seasoning ingredients (optional but often required to give your filling mix a little kick of acid, funk, and umami):
30ml/2 tbsp fish sauce
30ml/2 tbsp lemon juice
5g/1 tsp chicken bouillon power or MSG
5g/1 tsp onion powder
10g/2 tsp dried sage
Method:
- In a large pan, fry the sausage over low-medium heat. This is a gentle sauté intended to render out its fat and allow the little meaty bits to crisp up. Throw your bay leaf in along with the sausage to start perfuming the pan.
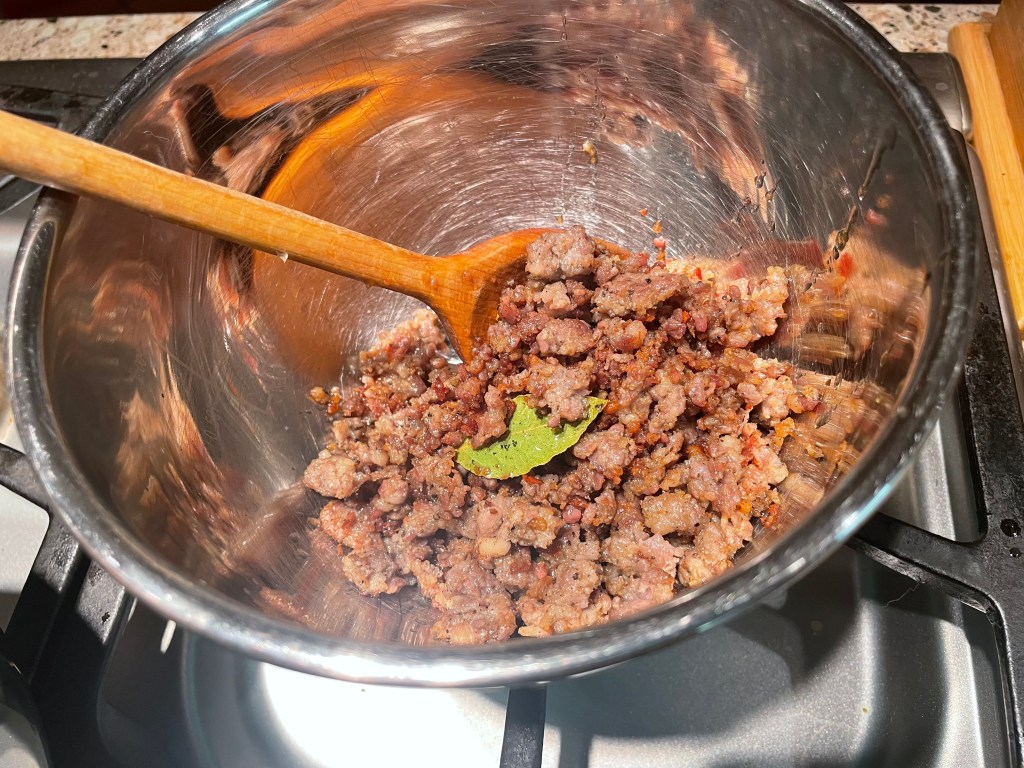
- When the sausage has browned, use a slotted spoon to remove it and the bay leaf to a bowl. Discard the bay leaf.
- Still on low-medium heat, fry the chopped onion in the sausage fat until it is translucent and starting to turn golden brown. At this point, add in the chopped celery and garlic. Fry, stirring occasionally, for another 2 minutes.
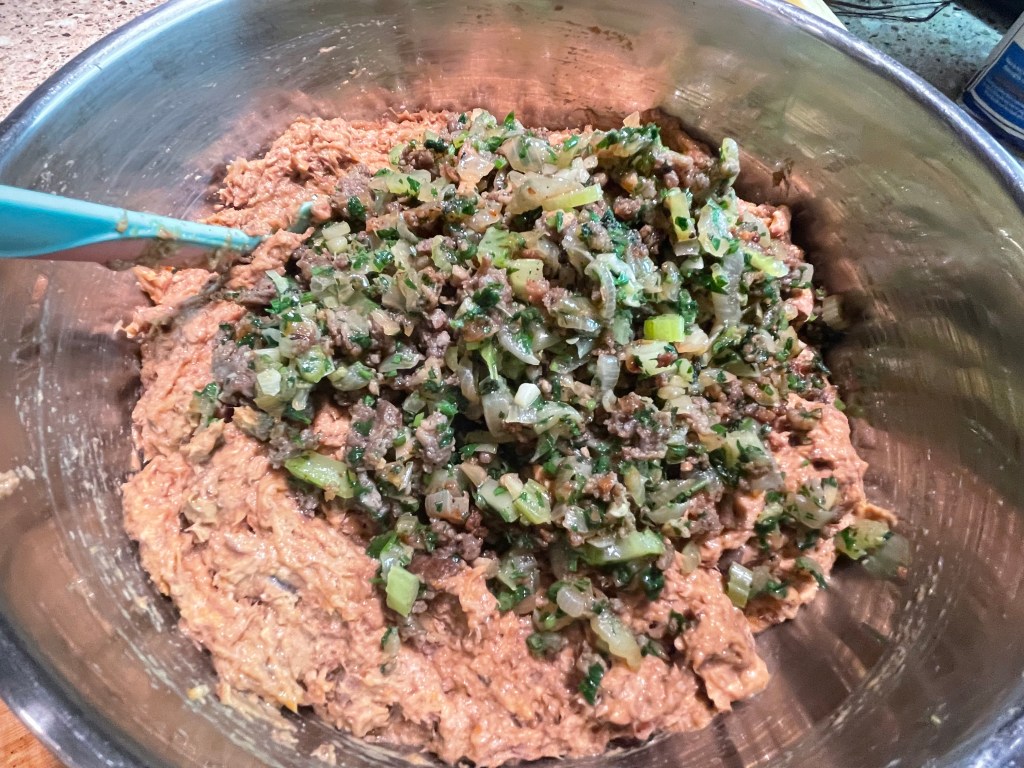
- Add the chopped fresh herbs to the pan, followed by the cooked sausage. Turn off the heat and stir everything together to combine. Put this fragrant mix back into the bowl you used for your cooked sausage.
- There will probably be some tasty brown bits adhering to the base of your pan. Do not waste these – use a little water or nab some of your stock to deglaze the pan with and swirl the precious rinsings into the bowl. Leave he whole concoction to cool.
- While the sausage and vegetables are frying, combine your torn bread and prepackaged stuffing mix in another small bowl, pour over the reduced turkey stock, and leave to soak and soften.
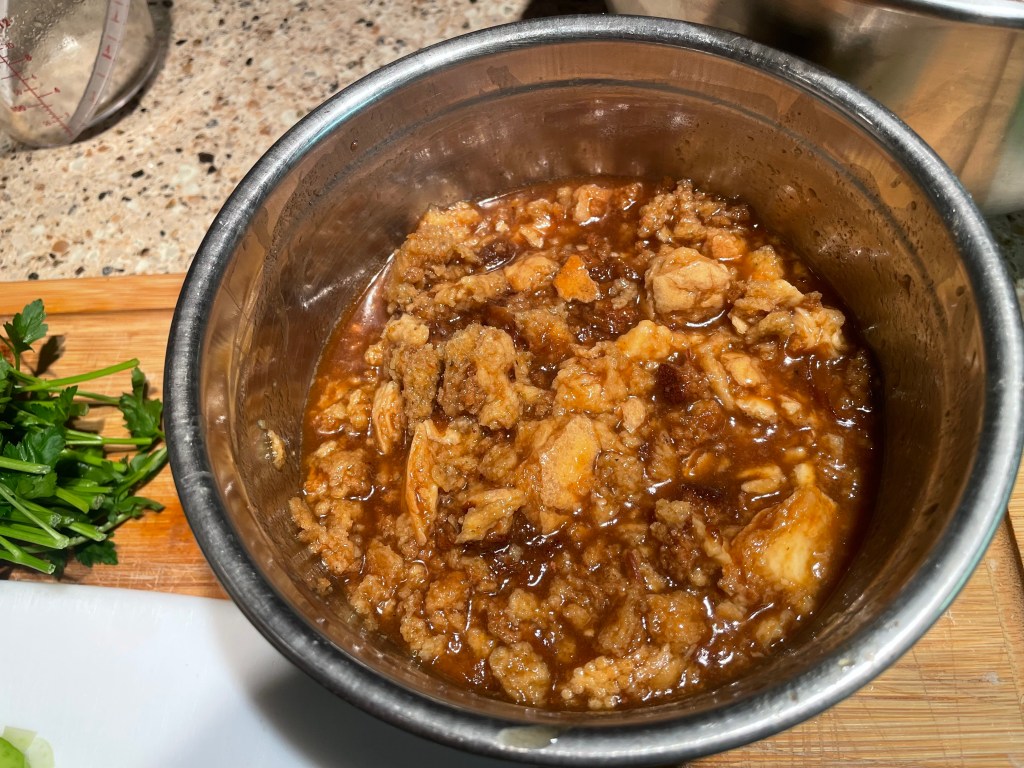
- Place the cooked turkey, carrots, and onions that you have saved from making turkey broth in the bowl of a food processor. You will probably need to do this in batches. Process until you obtain a fairly smooth paste. More traditionally, you can use a meat grinder for this. But I did not feel like digging my giant machine out and setting it up. My sturdy little processor, 20 years old and still going strong, worked very well. I did also add 1/3 of the broth-soaked bread mix to each batch of meat that I was processing. The additional moisture helped the blades along. And ensured that all of the bread was broken down uniformly within the finished filling.
- Combine the meat and bread mixture with two raw eggs, stirring until smooth. Add the fried sausage, vegetable, and herb mix, stirring again. Taste for seasoning and add the optional flavor boosters listed above. Or, if you prefer not to ingest raw eggs, mix everything else together, taste for seasoning and adjust as desired, and then add the eggs in at the end.
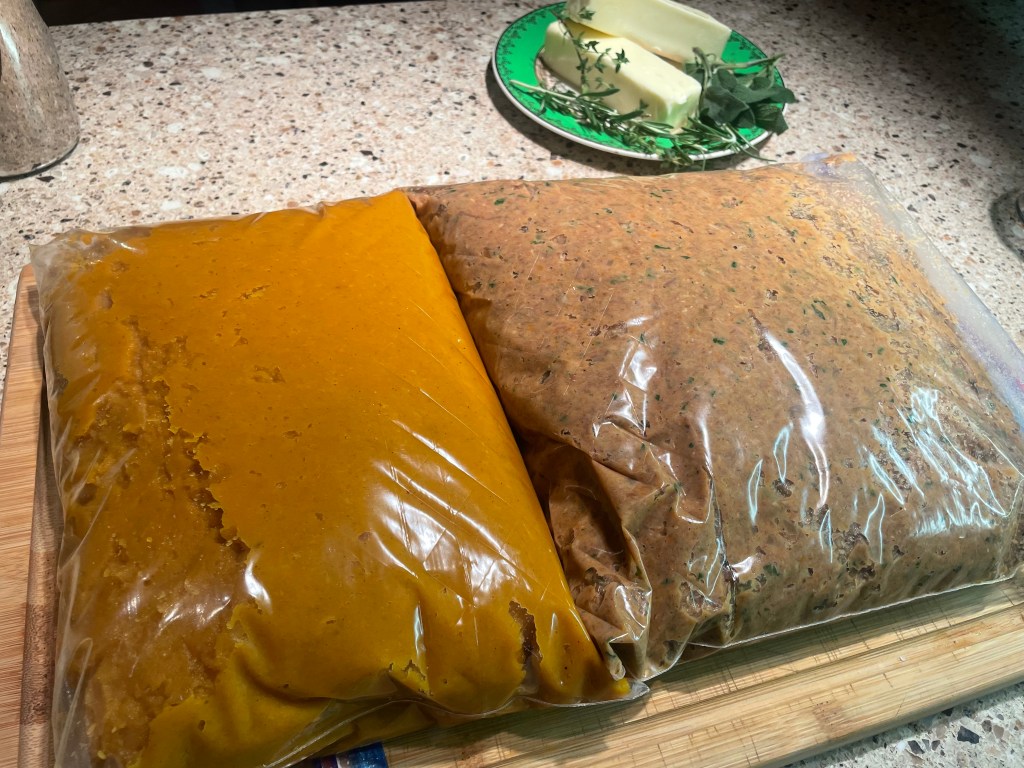
- Refrigerate or freeze the filling until ready to use.

All the ingredients ready to eat.
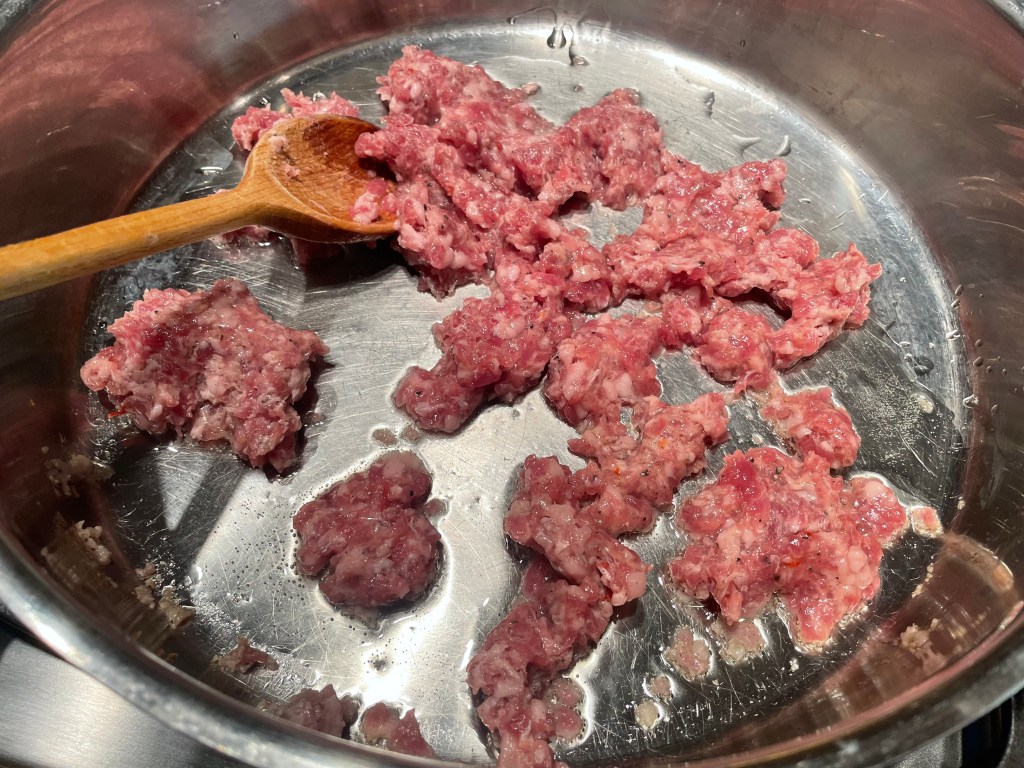
Cook the sausage gently until it is brown and the fat is rendered.

Meanwhile, chop your vegetables.
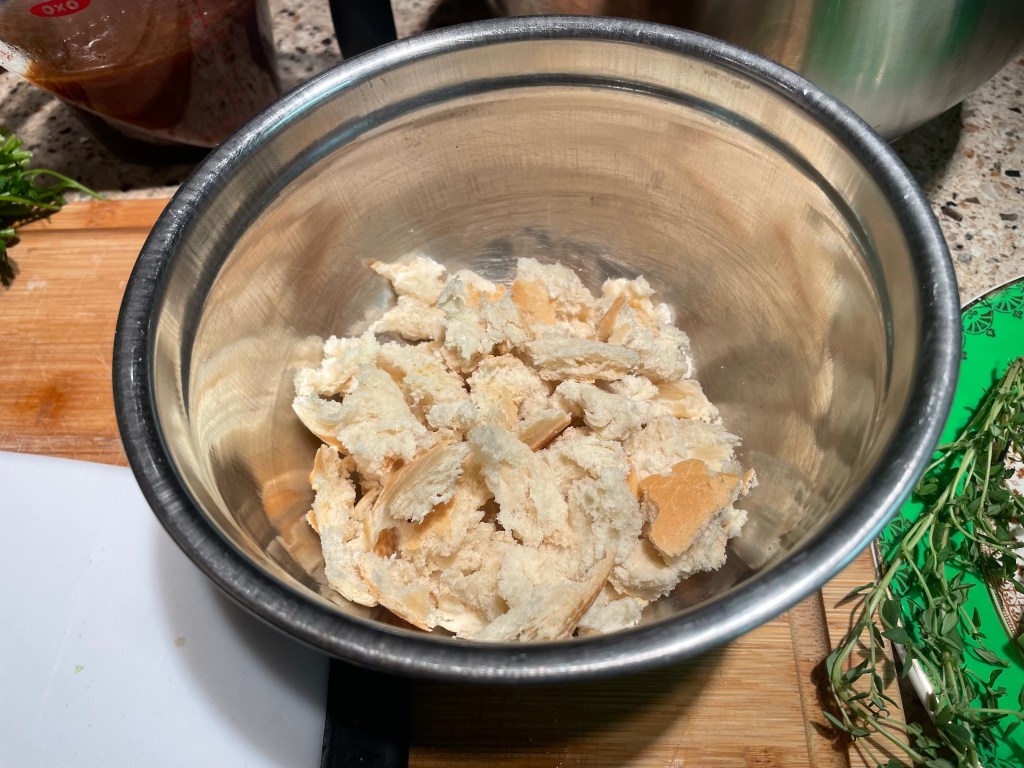
And tear your bread into small pieces.

Add in the pre-packaged stuffing mix.
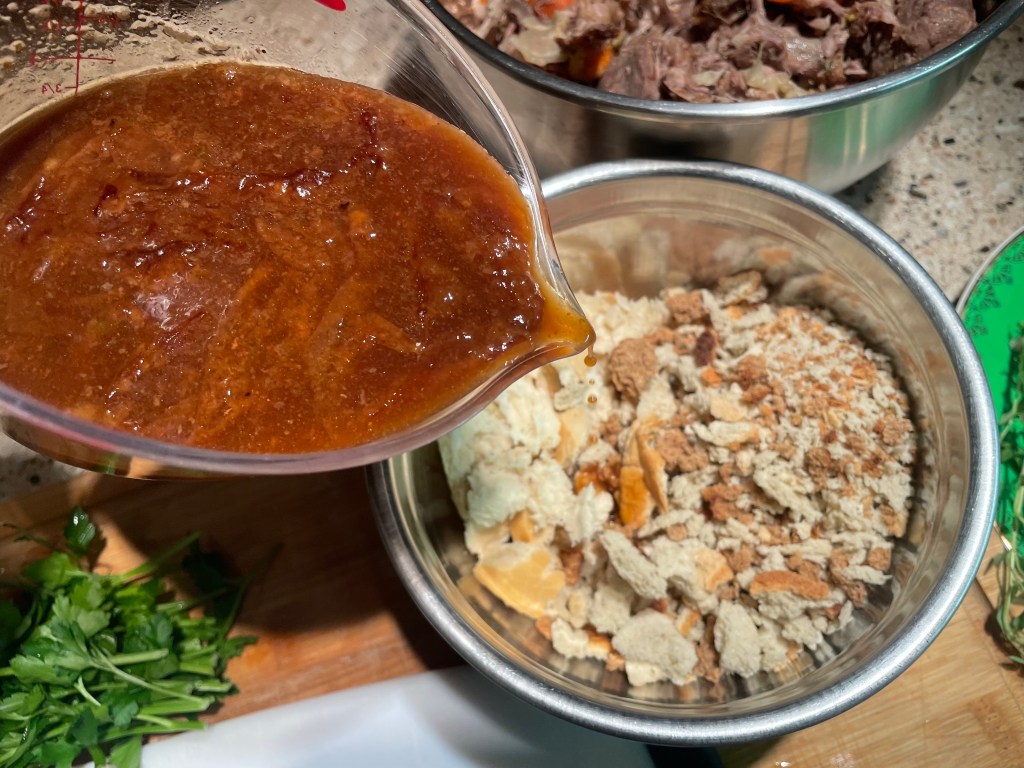
Pour over the reduced turkey broth.
Let the breads soak until softened.
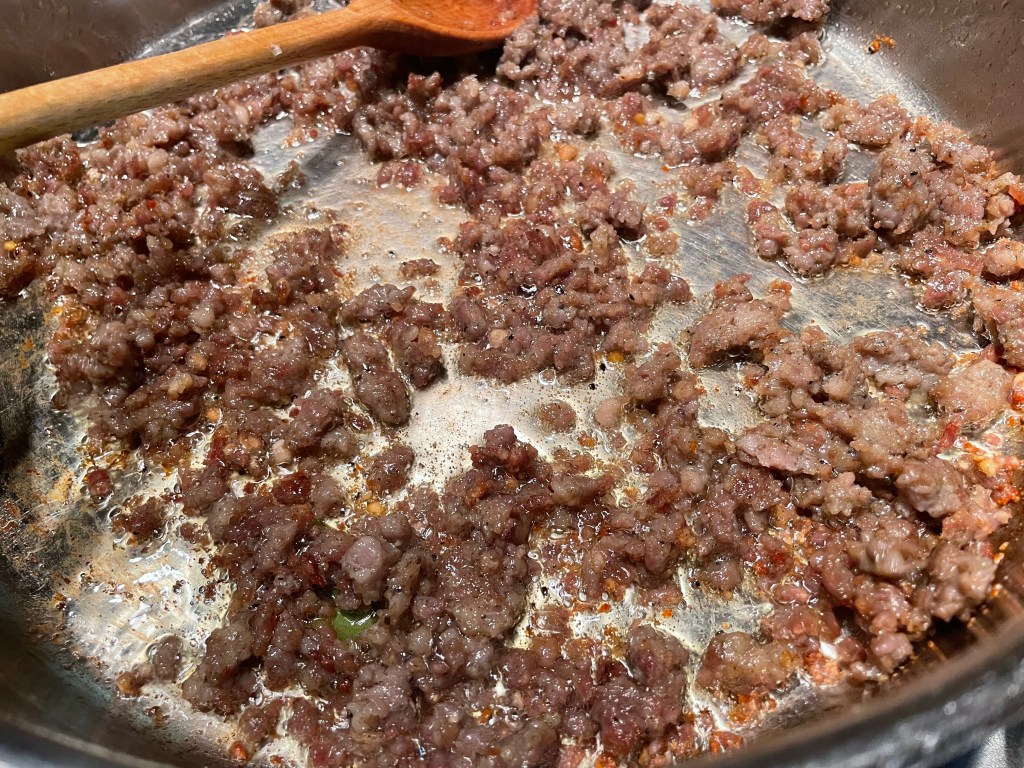
Sausage should be browned.
Transfer out of the pan, leaving the rendered fat behind to continue frying the vegetables. Discard the bay leaf.
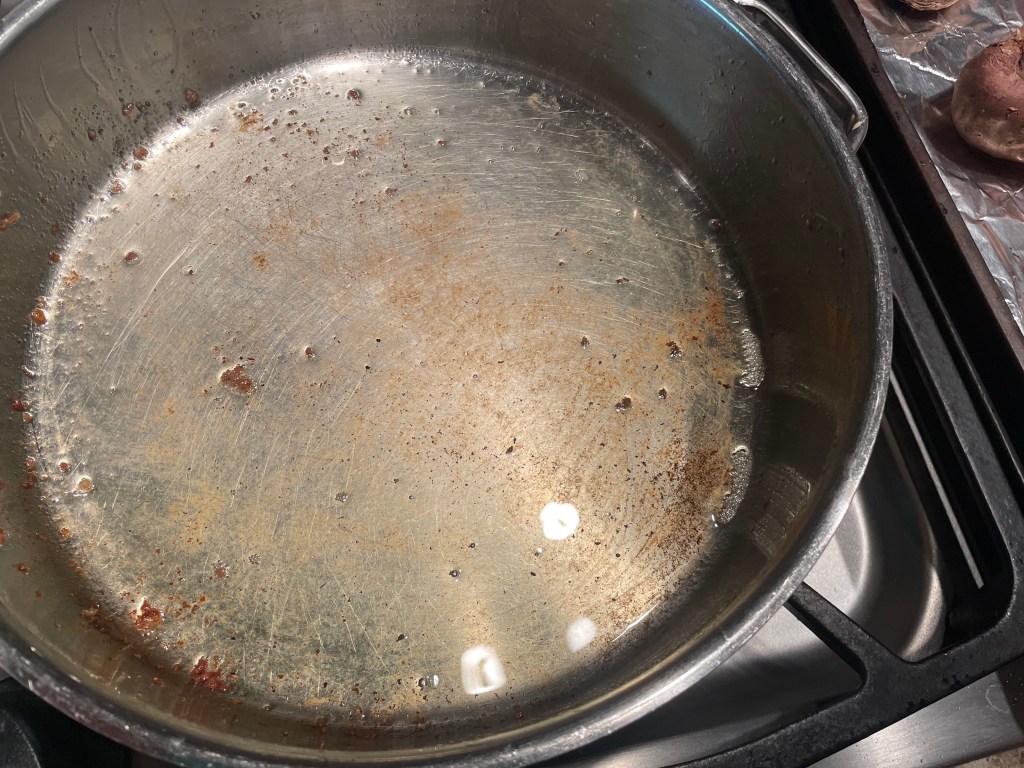
There should be ample fat left in the pan.

Add the onion.

Sauté until turning golden-brown.

Add in the celery.

And garlic.
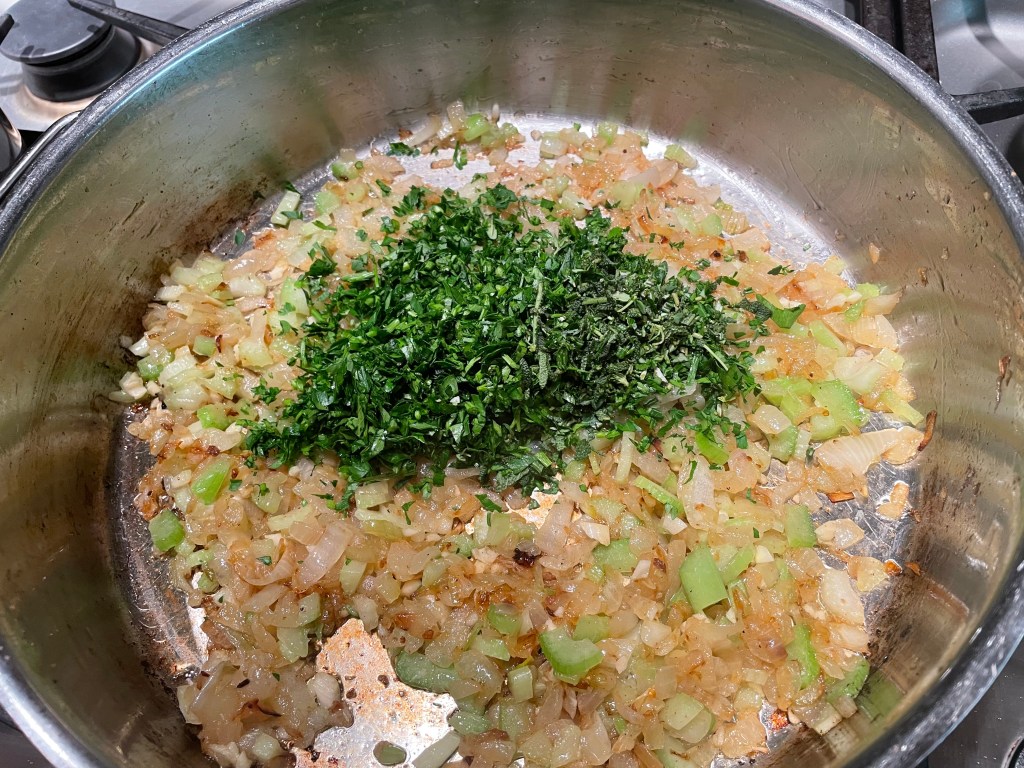
Here come the herbs.
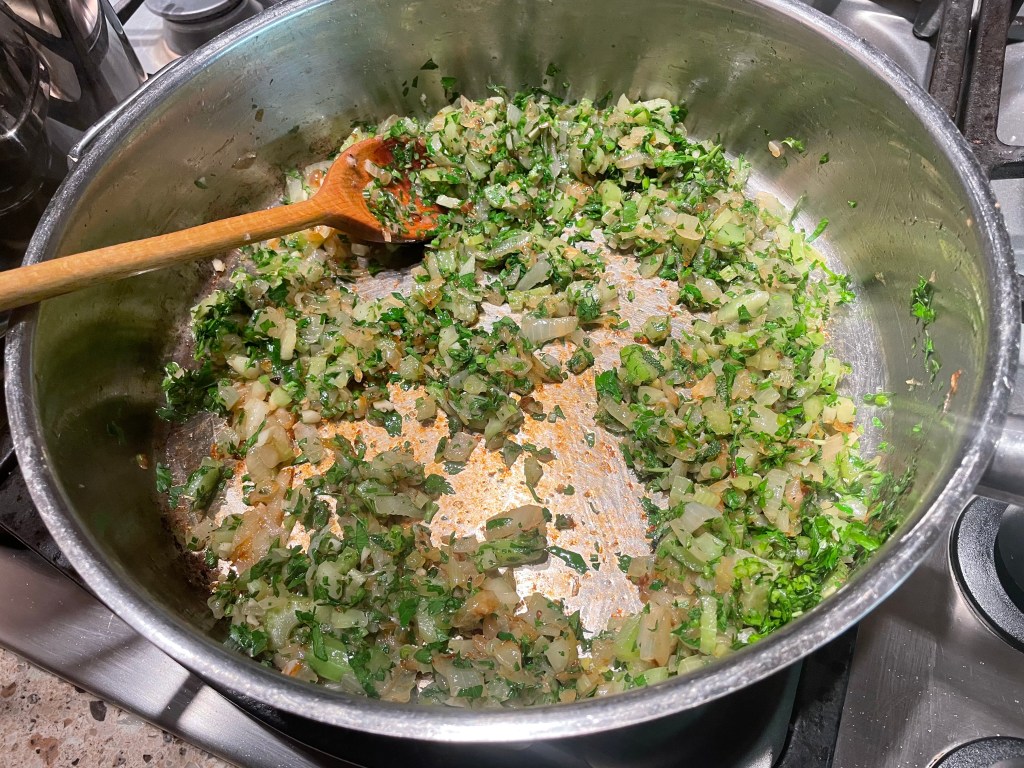
Mix together.
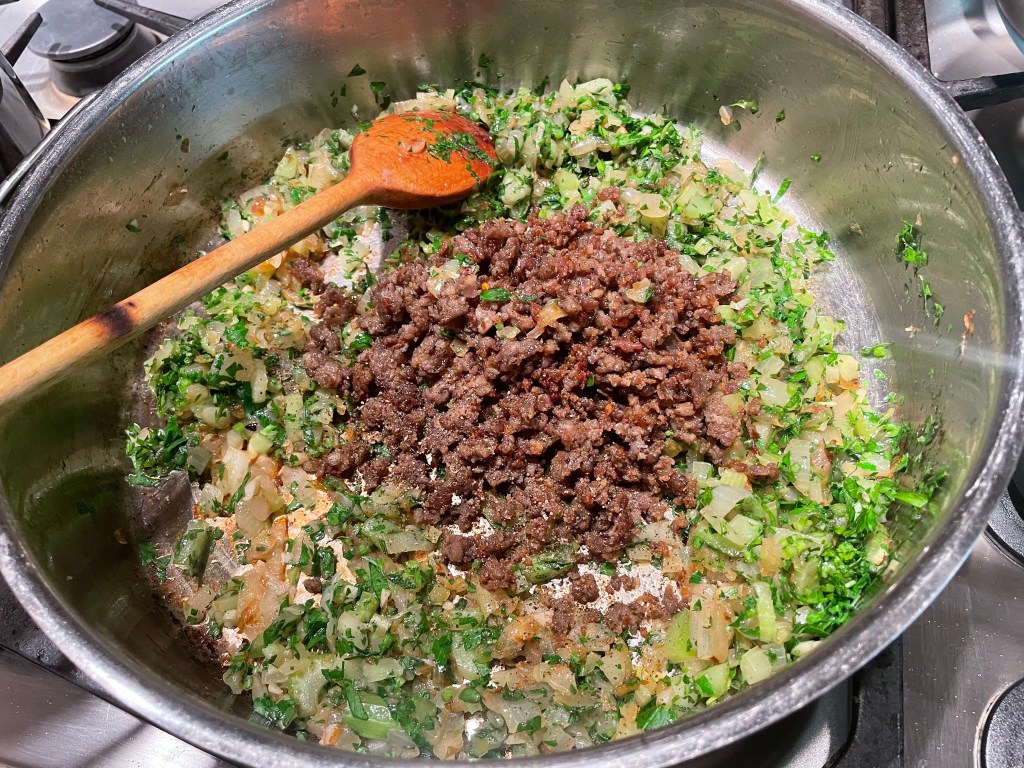
Reunite with the sausage.
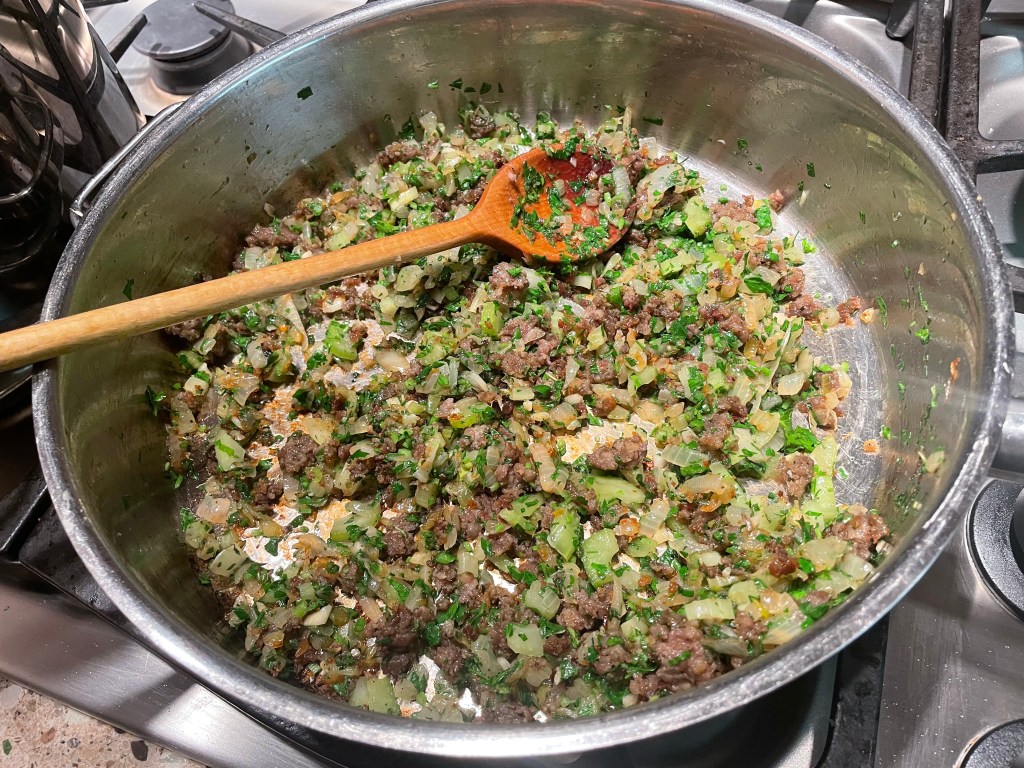
Mix it all together.
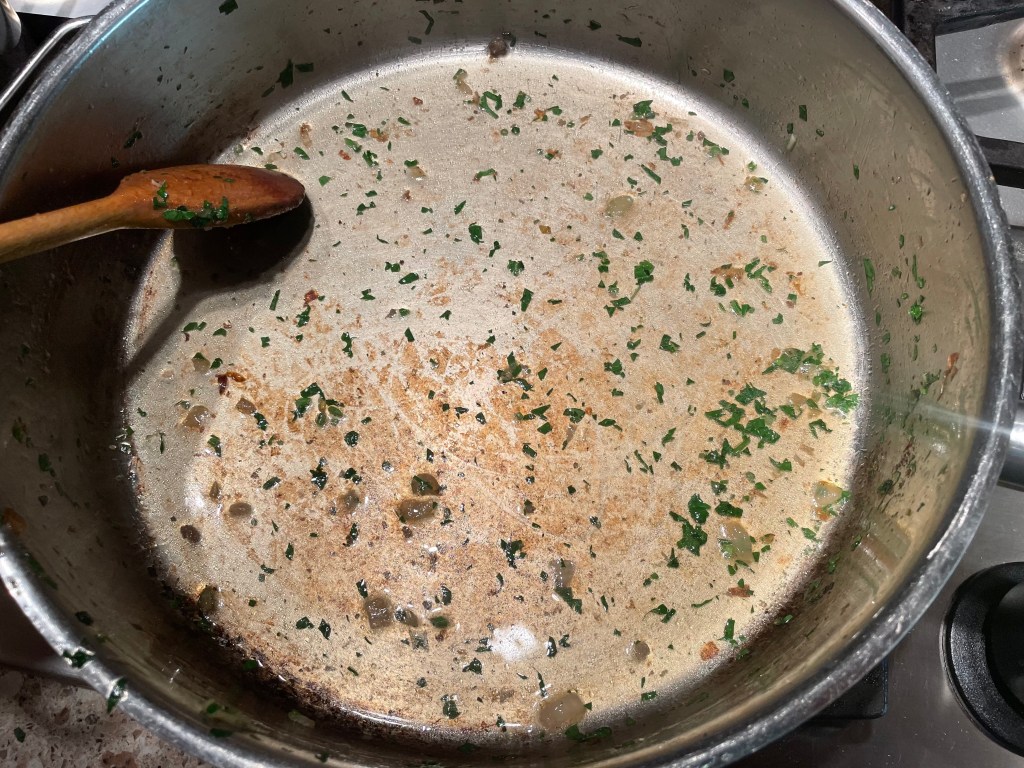
Don’t forget the tasty bits left behind in the pan!

Save that flavor!
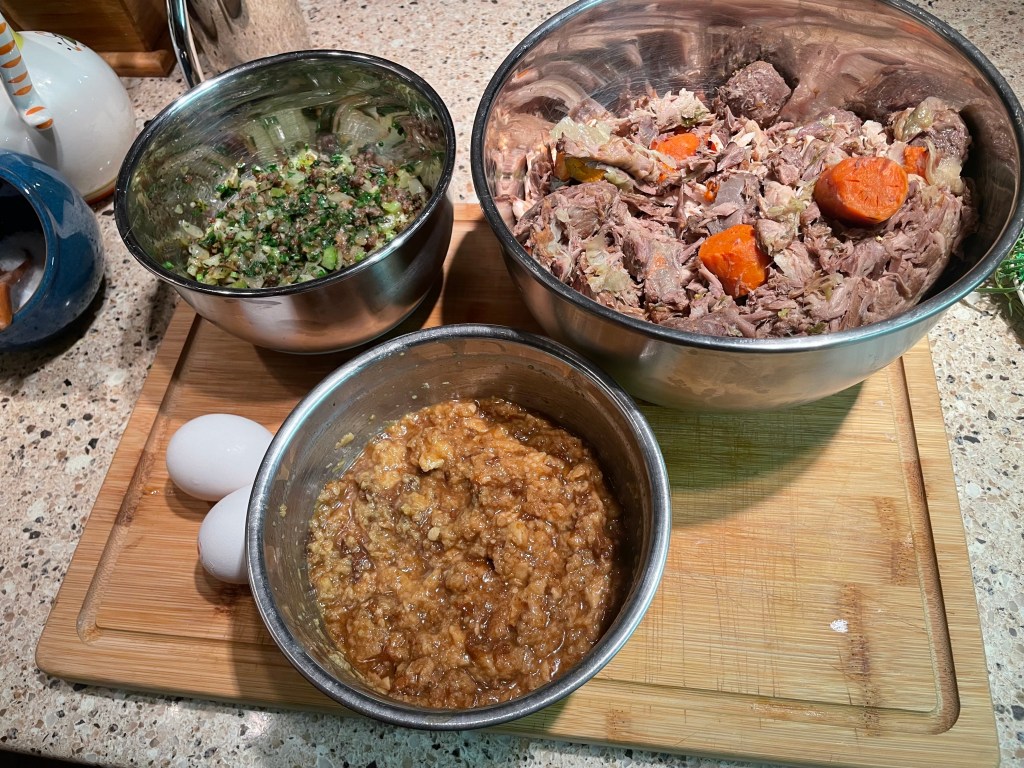
The filling components, waiting patiently to come together.

The processor struggles a little with just the broth meat.

Adding some of the soaked breads introduces much-appreciated moisture/lubrication and lets everything get blend together smoothly.
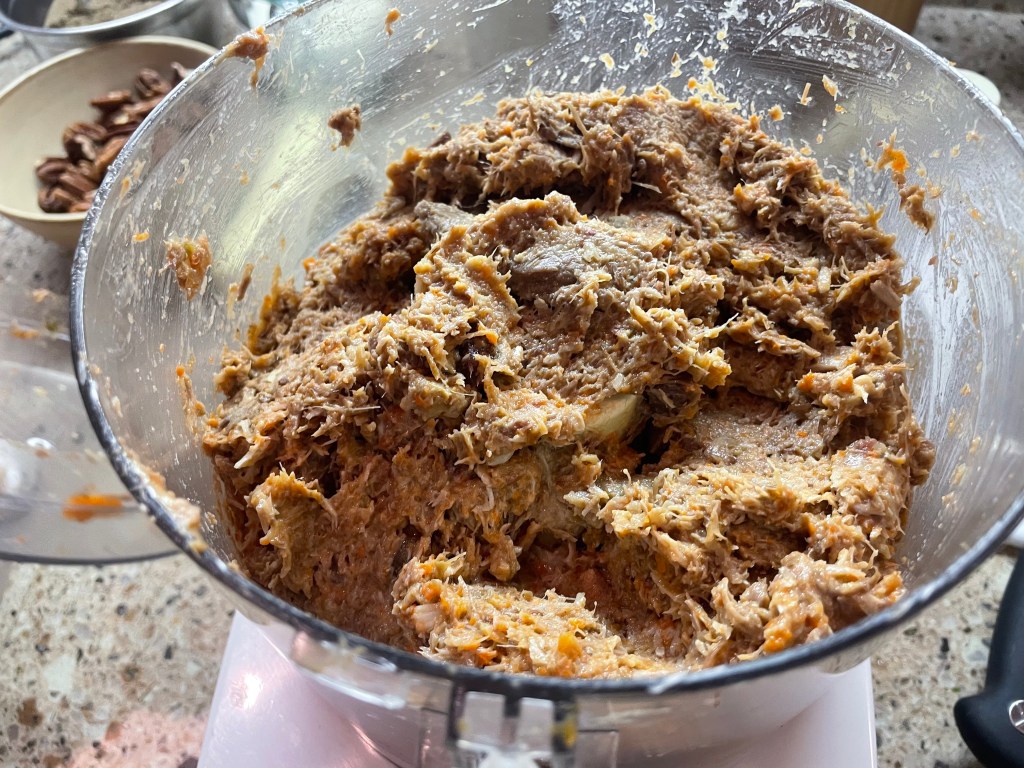
It make not look too appealing but it is nice and smooth.
Basically, a pâté.

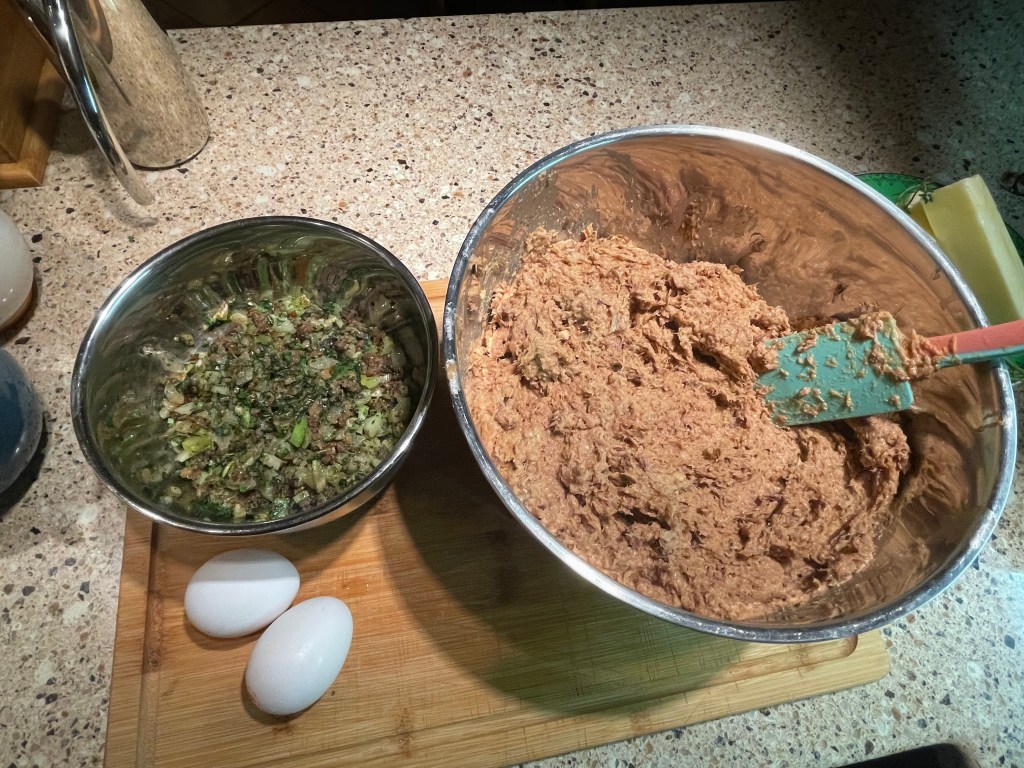
Eggs make everything look happy.
Mix in the sausage.
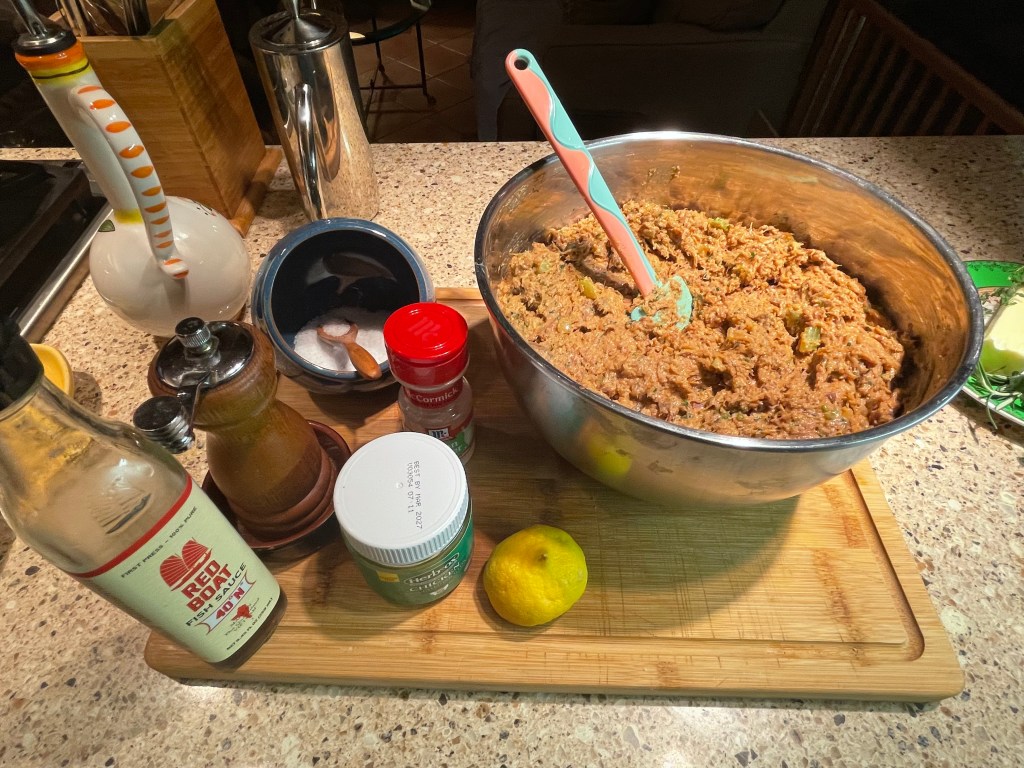
Here come the reinforcements. Flavor bombs to boost the taste of the filling. No bland pierogi for us!
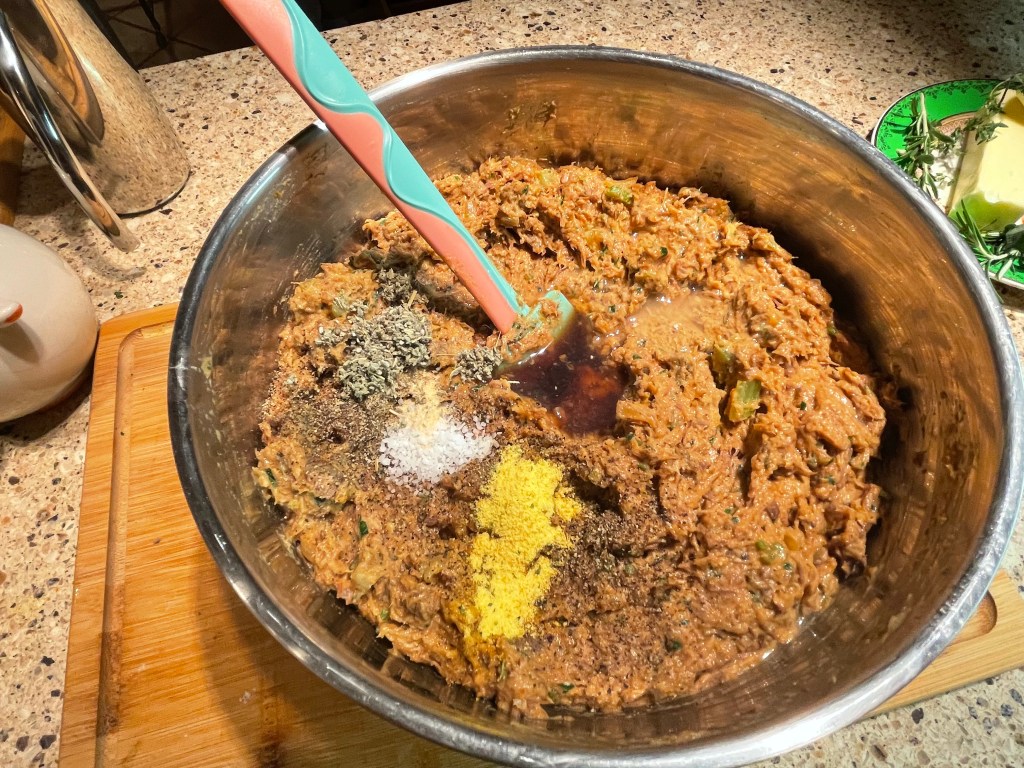
Bam!

Yummy meat paste…
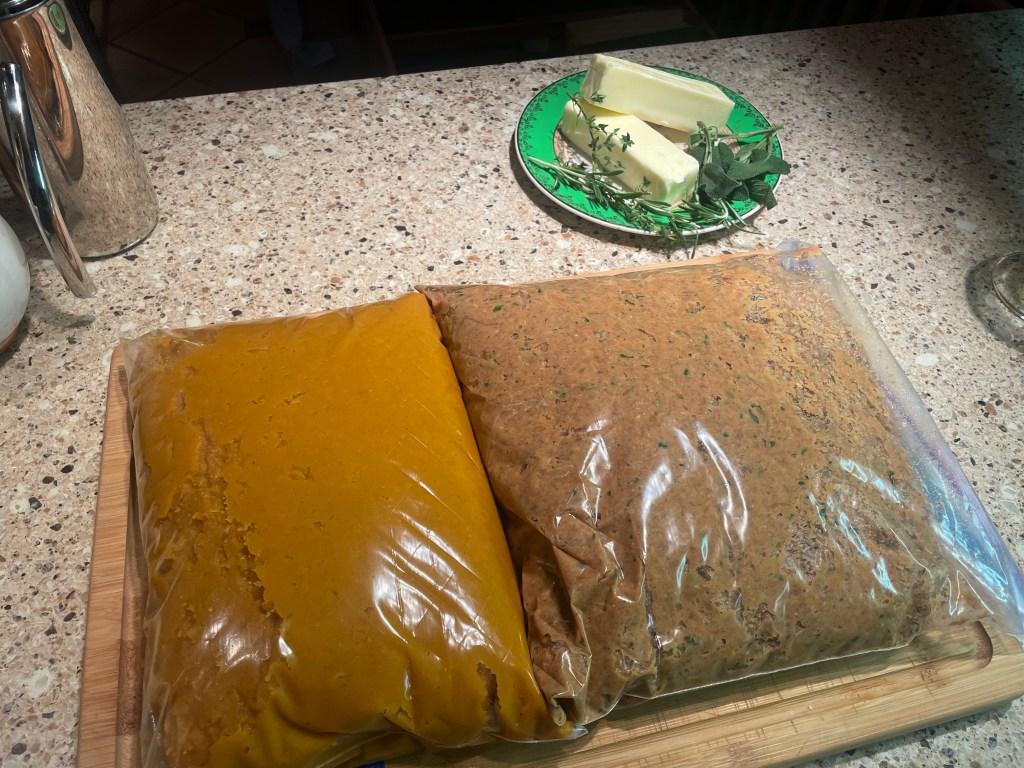
Filling ready to go.
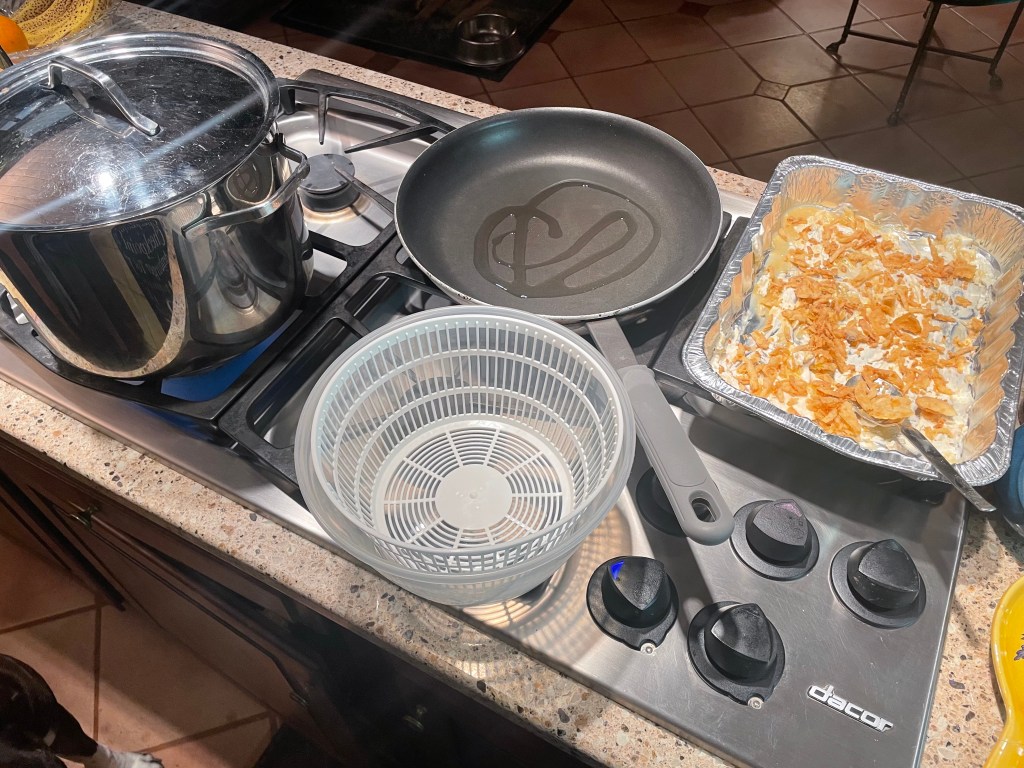
Boiling stations everyone!

Out of the boiling pan…
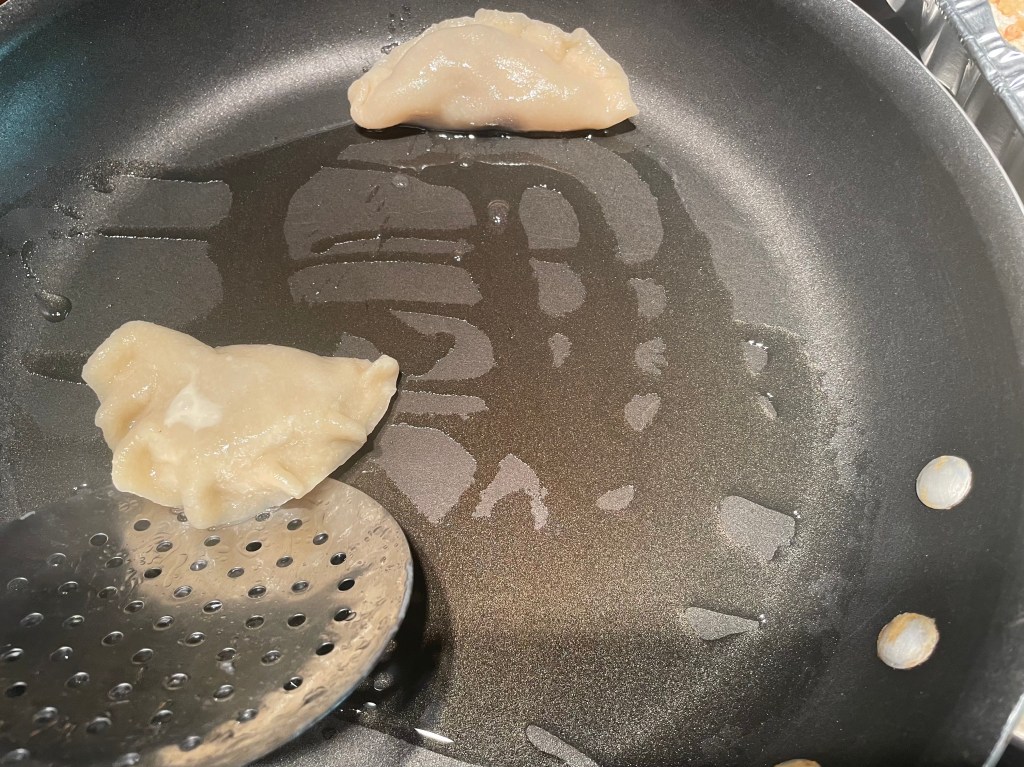
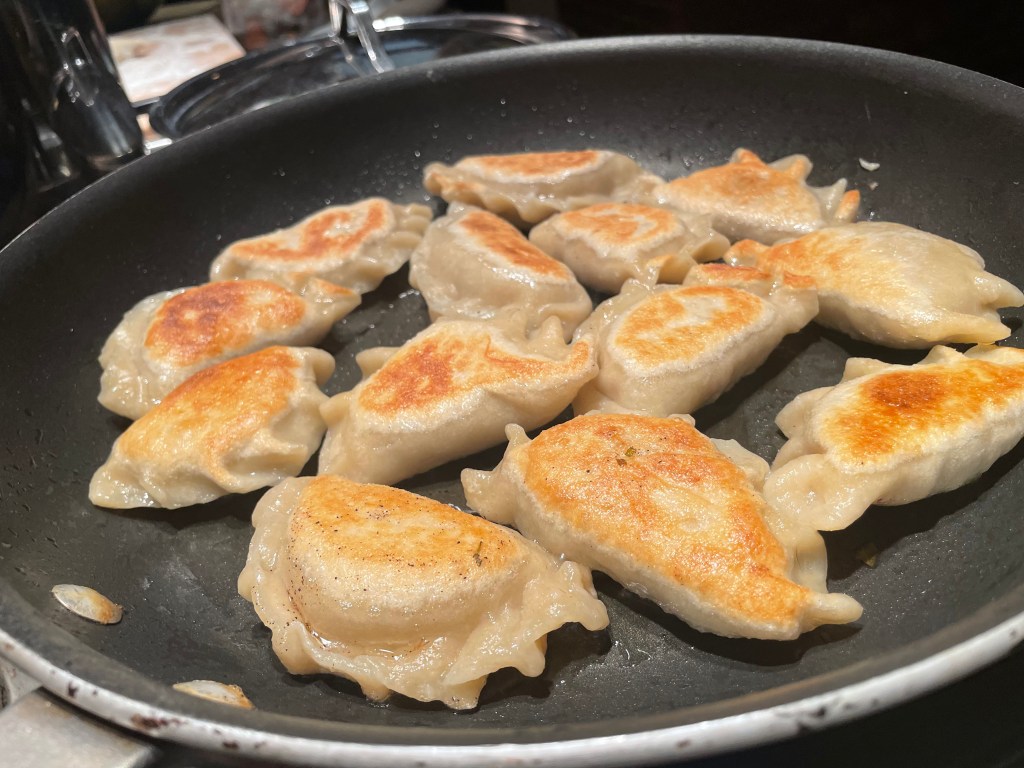
And into the fryer.
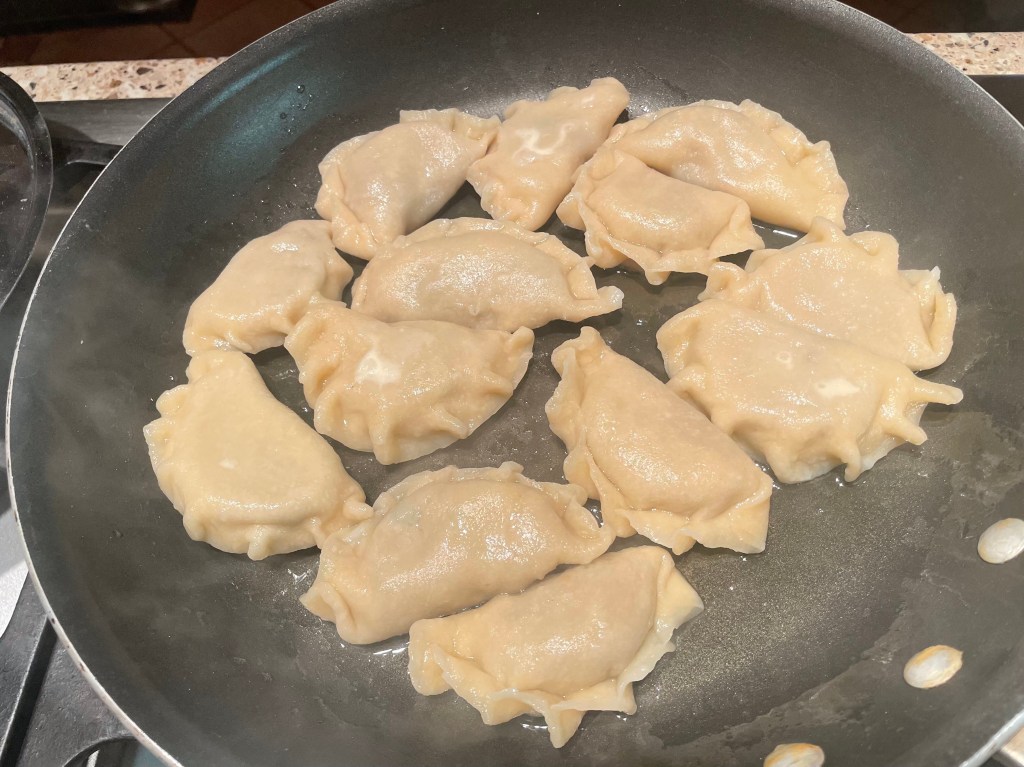
Pierogi party.
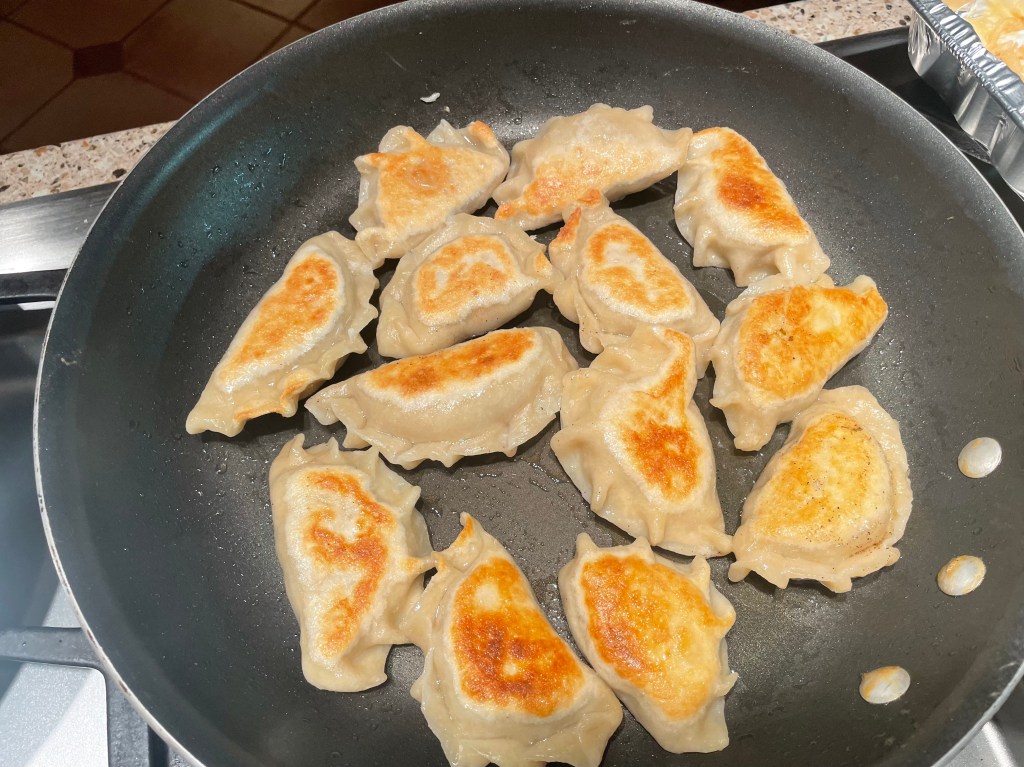
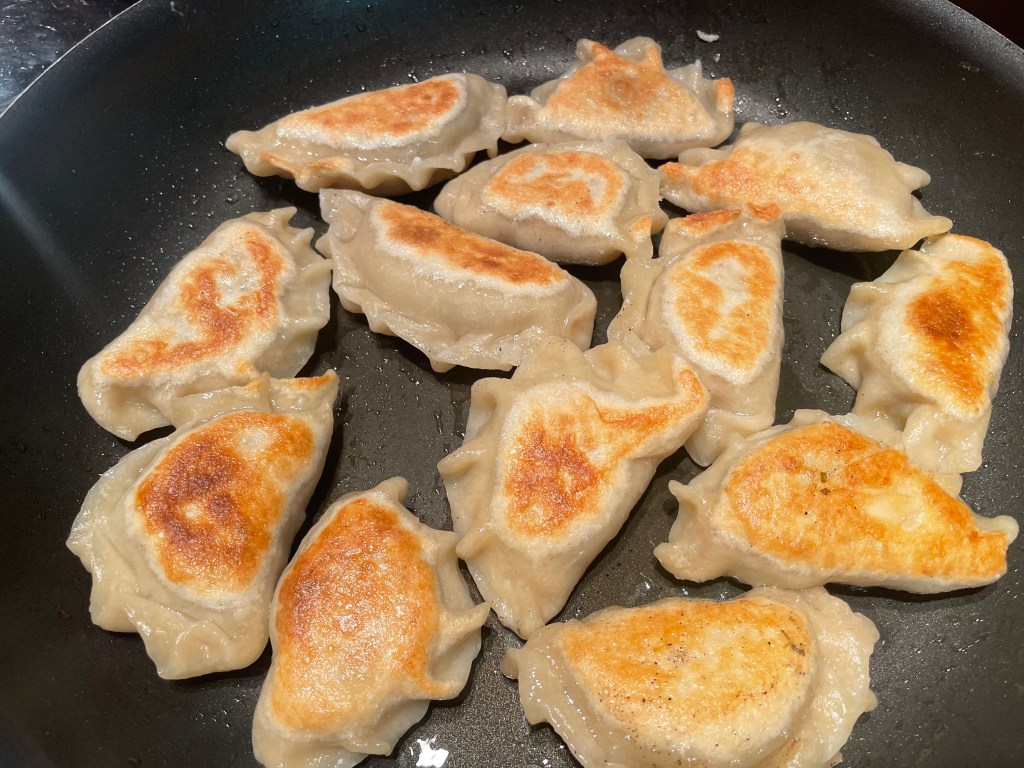
Fry until golden.

Building layers for a casserole with browned butter, sour cream, and fried onions.
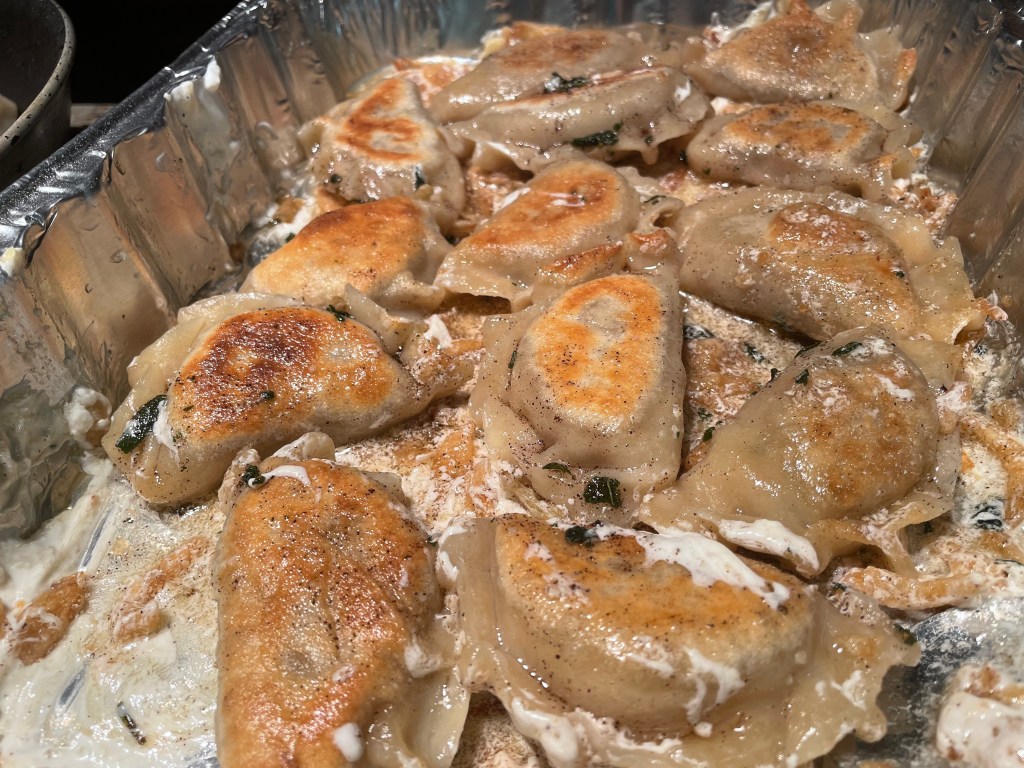
All this needs is a quick reheat in the over before serving.

Straight sautéed is good too.


Herbed Brown Butter
Makes approximately 230ml/1 cup
This will fill your kitchen with the most tantalizing nutty and herbal fragrance. It is a good pairing with the Thanksgiving pierogi but would also be delicious on gnocchi (especially butternut squash gnocchi) or any other pasta. Or substituted for plain butter as an ingredient when baking savory dinner rolls. Or sprinkled over some pan-roasted chicken breast. Or toast. Or cardboard…
Ingredients:
230g/2 sticks unsalted butter
5g/1 tsp kosher salt
6-10 fresh sage leaves, washed and roughly torn into 0.5cm/1/4 inch pieces
1 sprig fresh rosemary
2-3 sprigs of fresh thyme
Method:
- Place the butter in a small saucepan over medium-high heat. A non-stick surface is preferred. It prevents all the glorious, flavor-filled toasty bits of browned butter from adhering to your pot’s walls and bottoms. I did not have a non-stick saucepan so I just made sure to scrape every last little delicious speck off the bottom.
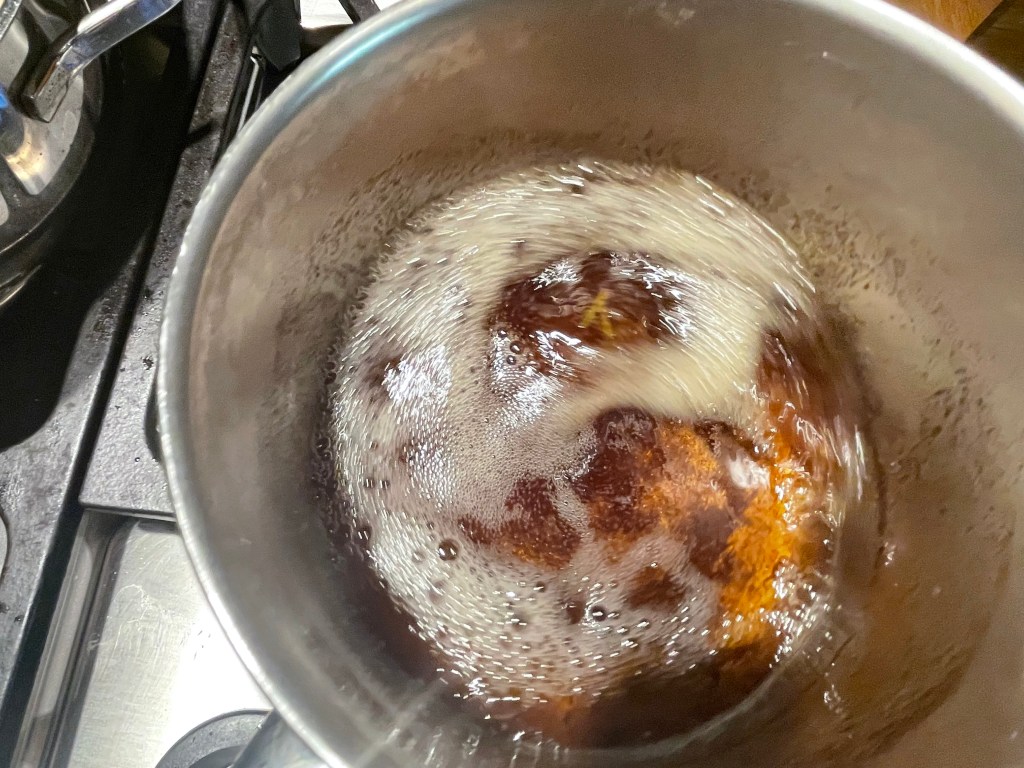
- Allow the butter to come to a boil, watching it closely. It will bubble loudly at first, as the water is cooked off. When the bubbles become smaller and more quiet, be extra vigilant. The butter will start to turn color and smell intoxicatingly toasty. Remove from the heat when it is a nut-brown color.
- Add the herbs to the butter. Be prepared for a renewal of spluttering and foaming as the moisture in the greens meets the hot contents of the pan. This will subside in just a moment.
- Pour the finished butter into a heat-proof bowl. It is delicate and, if left in an overly-hot saucepan, may cook past the point that you want. I.e. burn.
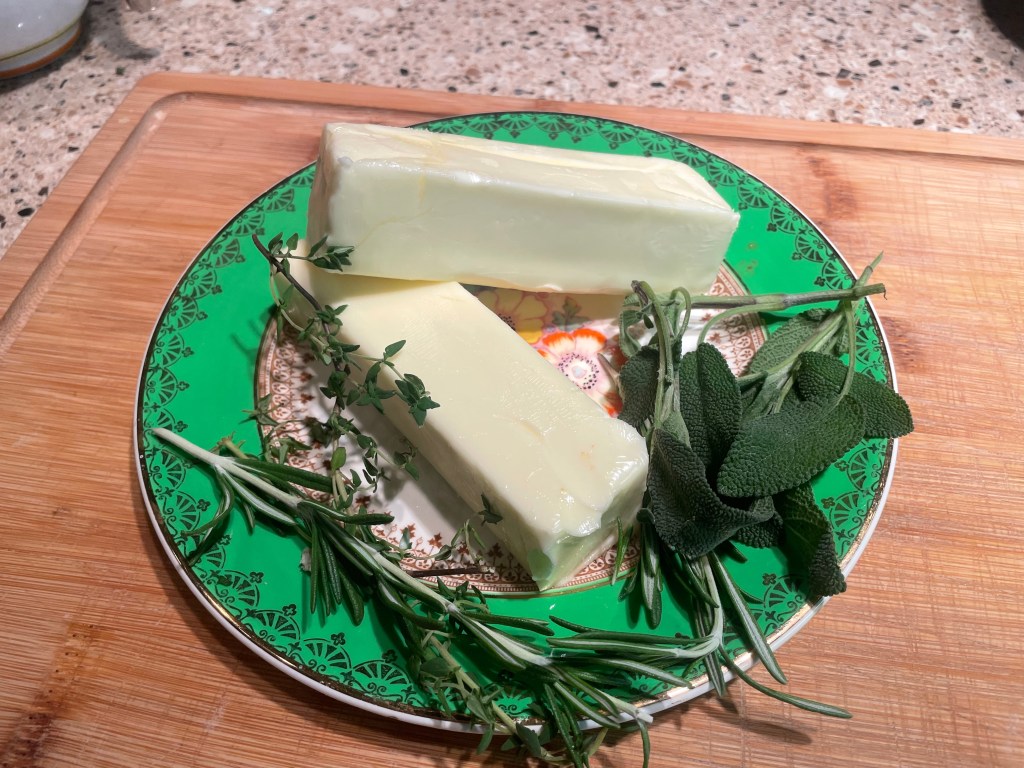
Prepare your ingredients. Let’s face it: mostly butter.
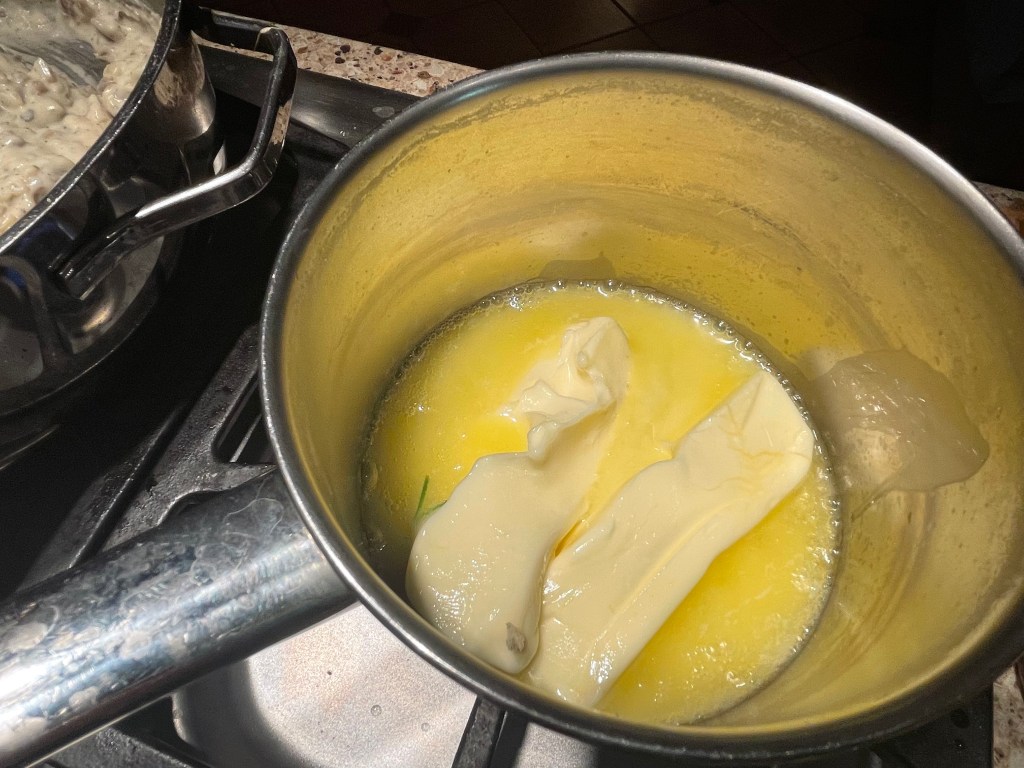
Melt the butter.
Herbs ready to go.

Butter is busily boiling. I apologize but please note how, well, pustular, the bubbles look. Like little blisters. This is early in the process and the water is still cooking off.
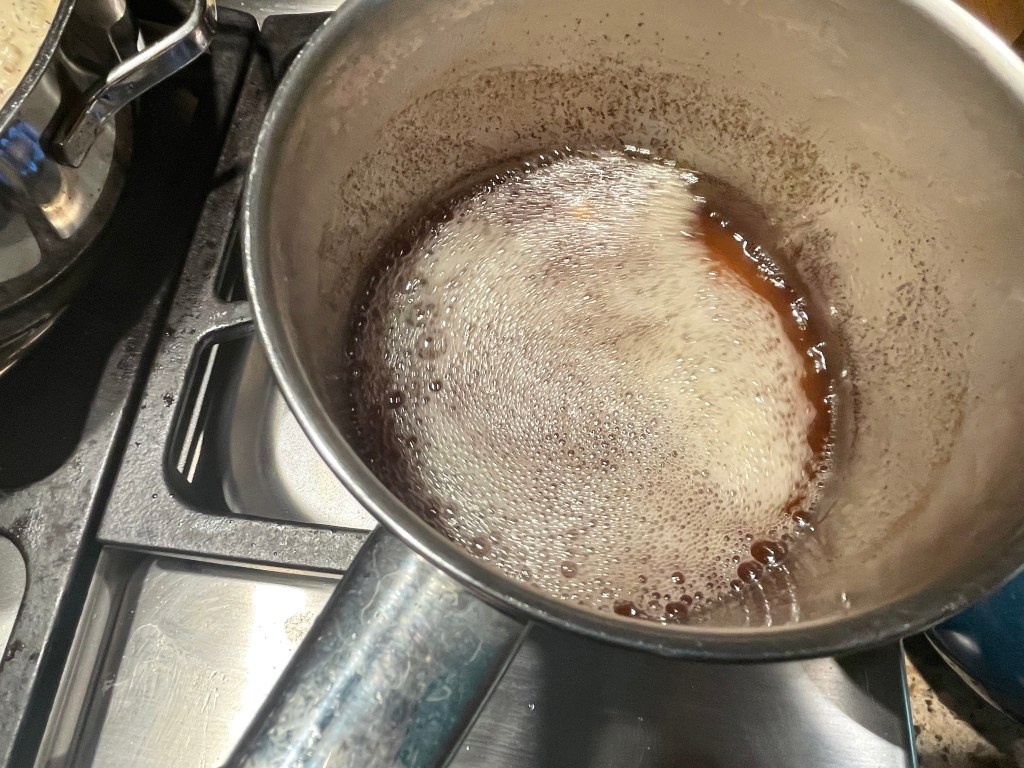
As opposed to these foamy, more calm bubbles as the water disappears and the butter begins to brown.

It’s a bit blurry because of active pan-swirling, but this is where you want to be.

Adding the herbs can be….explosive.

But things soon, and very fragrantly, calm down.
Thanksgiving Sweet Potato Pierogi

Makes enough filling for 80-100 dumplings. Can be easily scaled down if you are not in the habit/have no desire to cook Halfling-style. But remember: freezers exist. As do sad, cold, dreary evenings when a cheerfully orange filling in a pillowy little dumpling can make so many things so much better…
I think that, for Americans, the pierogi that they are most familiar ones are those filled with cooked mashed potatoes and cheese. So it is only a small mental step from that to a mashed sweet potato filling. For this recipe, I thought about all of the flavors and textures that I like best in Thanksgiving candied yams and sweet potato casserole side-dish category.
I elected to keep the filling smooth and creamy. But I wanted the flavors of each mouthful to really sing. So in went a good bit of butter, maple syrup, vanilla, orange juice, orange peel, and spices. I kept all of the textural interest and nutty component for the sauce, using a base of, ahem, more butter, brown sugar, pecans, and more spices. Please enjoy.
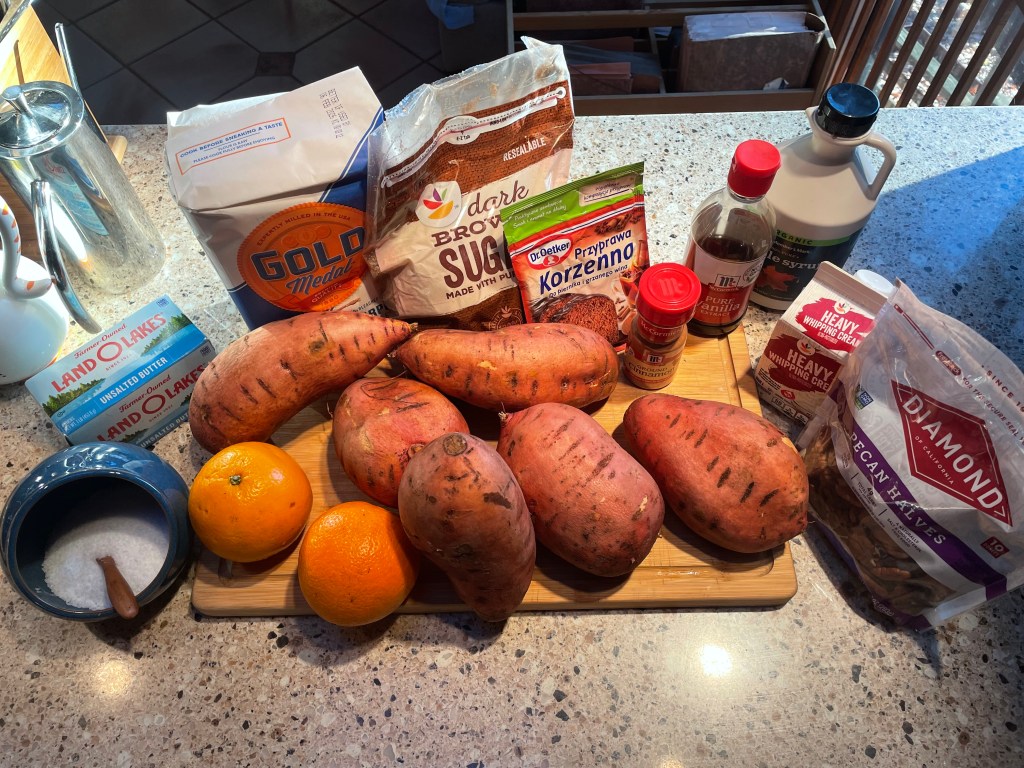
Ingredients:
4-6 medium sweet potatoes, well-scrubbed (the ones with the pink-red skin and the bright orange flesh, are those yams?)
115g/1 stick unsalted butter, melted
5g/1 tsp cinnamon
10g/ 2 tsp mixed spice (I use a spice mix that is made for traditional Polish Christmas ginger/spiced cookies and spiced cake that is then layered with plum butter, chocolate, and other goodies. Most of these mixes contain cinnamon, cloves, cardamom, cocoa, black pepper, ginger…You can make your own preferred concoction or use Pumpkin Pie spice if you prefer)
Fresh zest of one orange
Fresh juice of one orange
120ml/1/2 cup maple syrup
5ml/ 1tsp vanilla essence
Method:
- Center a rack in the oven and preheat to 190C/375F.
- Poke a few holes in your sweet potatoes (I guess this is to keep them from doing anything violent, like exploding, in your oven. I like how it lets the sweet potato juices leak and caramelize a little as they roast. It makes the whole house smell good). Place the potatoes on a foil-lined baking sheet (makes for easier clean-up, see above about burnt-sugar juices) and roast for 1.5- 2 hours until soft and cooked all the way through.
- When cool enough to handle, peel the sweet potatoes and cut them into rough chunks, directly into a large saucepan.
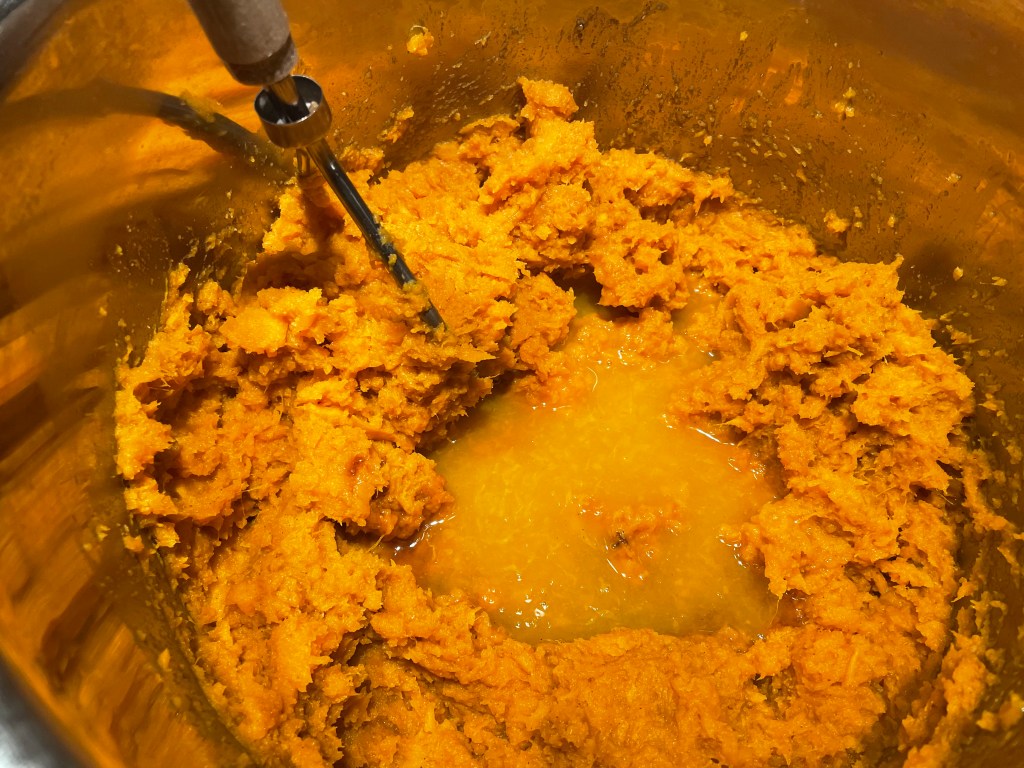
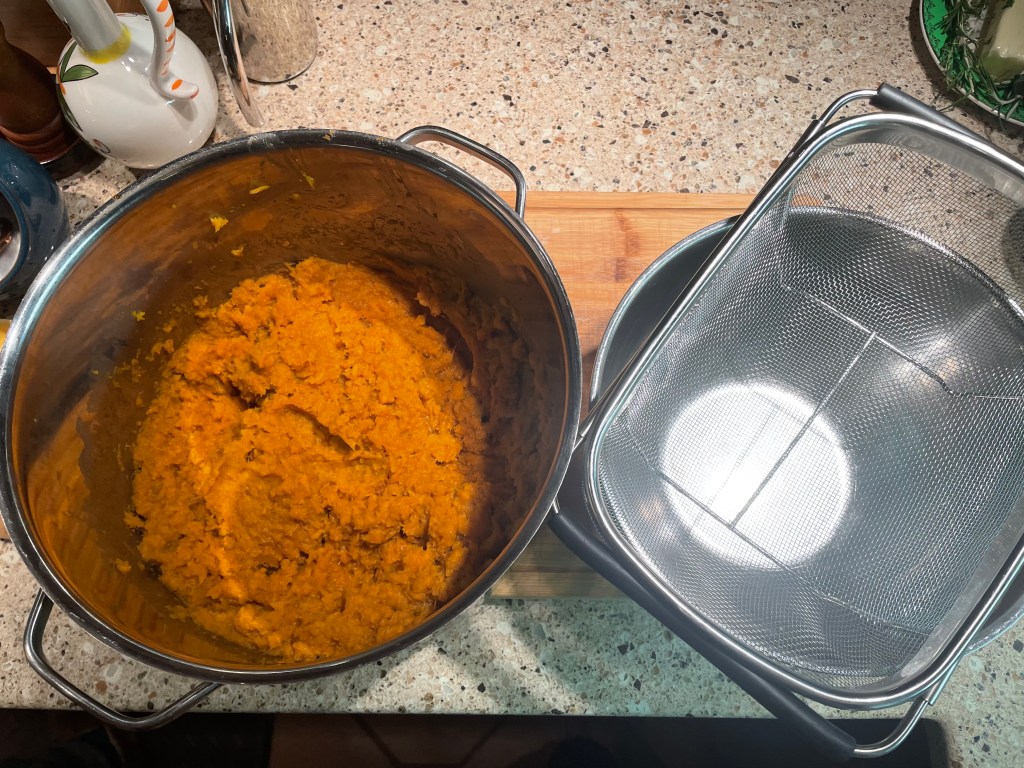
- Over low heat, mix in the butter, cinnamon, mixed spice, maple syrup, vanilla, orange juice and orange zest. Stir everything together until well combined, mashing the sweet potatoes into a fairly smooth puree.
- You can use this as is but, if you want a silkier, creamier texture for your filling, pass the mash through a fine sieve into another bowl. I imagine that, to save time, you could also use a wand-mixer or blend the sweet potato mixture. I have not tried this yet so cannot speak as to the resulting texture.
- Allow the filling to cool and then either refrigerate or freeze until you are ready to make pierogi. Or bake a pie, I suppose :).
Sweet potato pierogi….and go!

Some of these potatoes weren’t just stabbed but lacerated before they went in the oven 🙂

Peel the baked sweet potatoes.
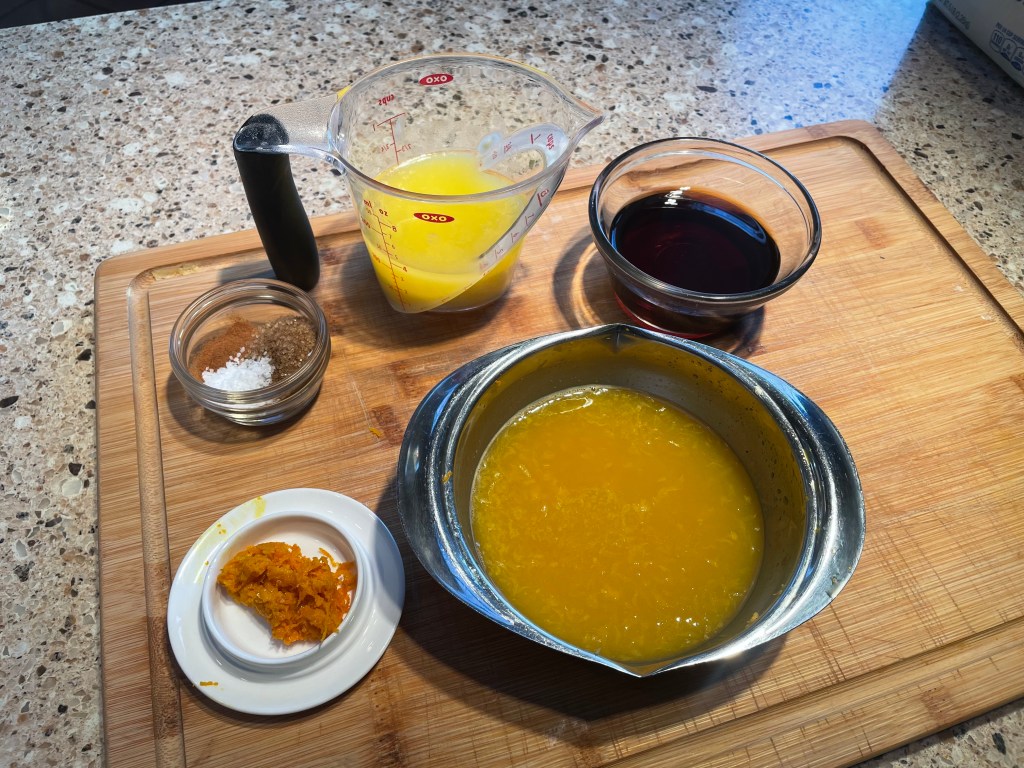
These are the things that will make the sweet potato purée very special.
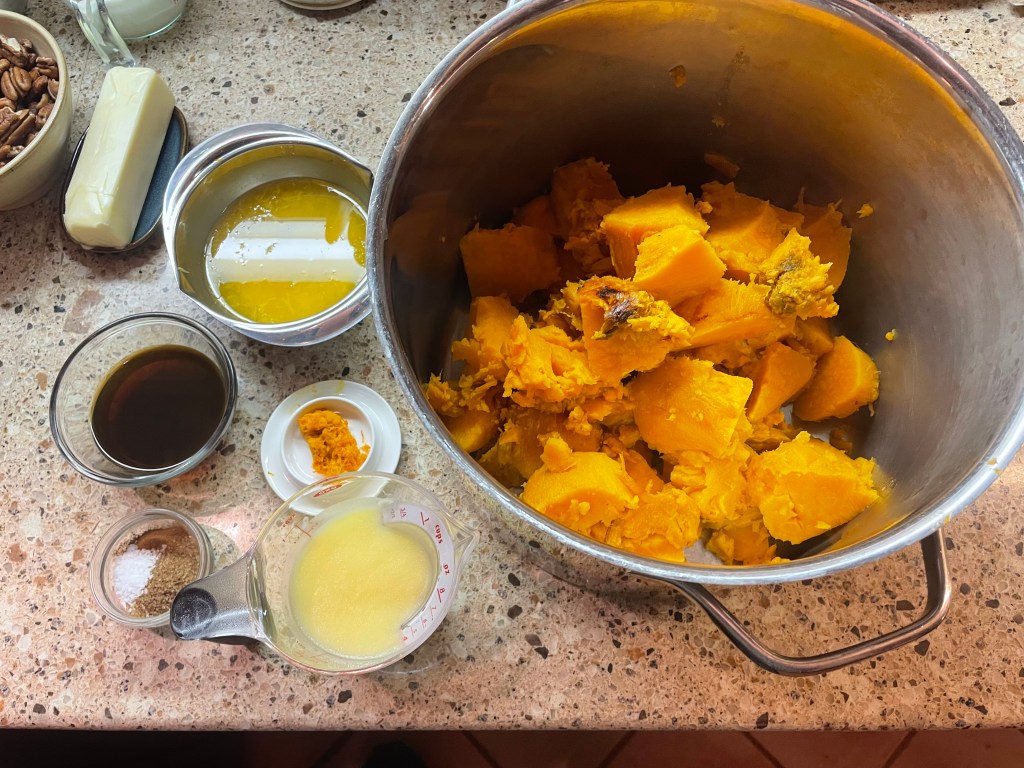
Ready for mixing.
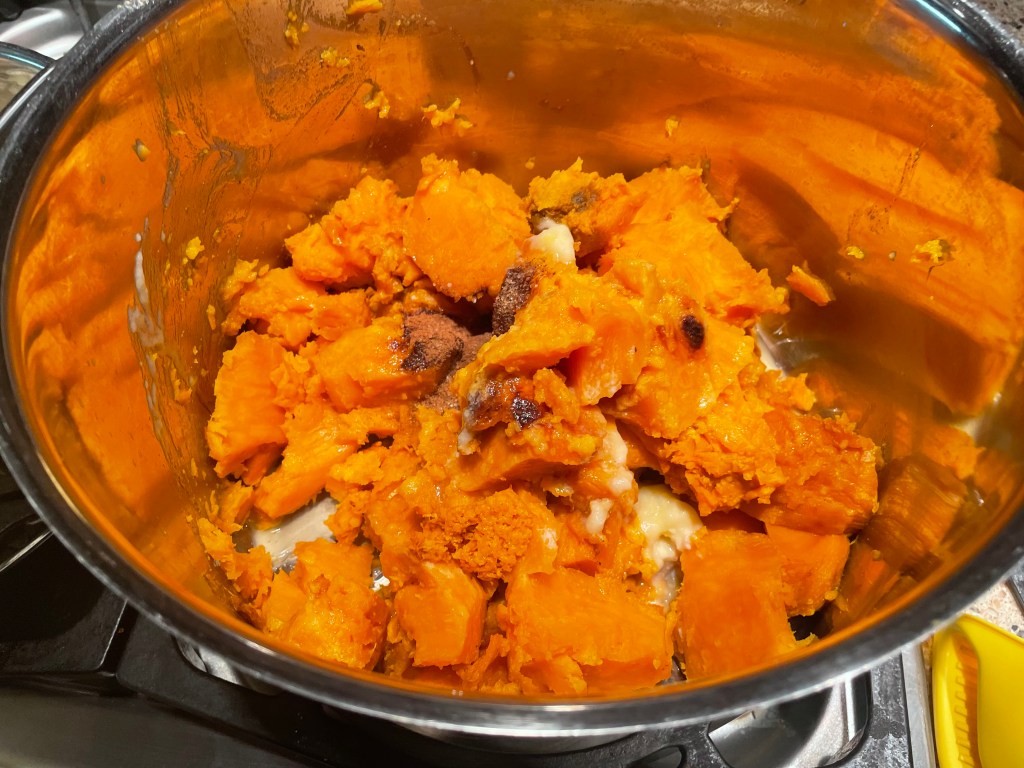
Butter and spice and all things nice…
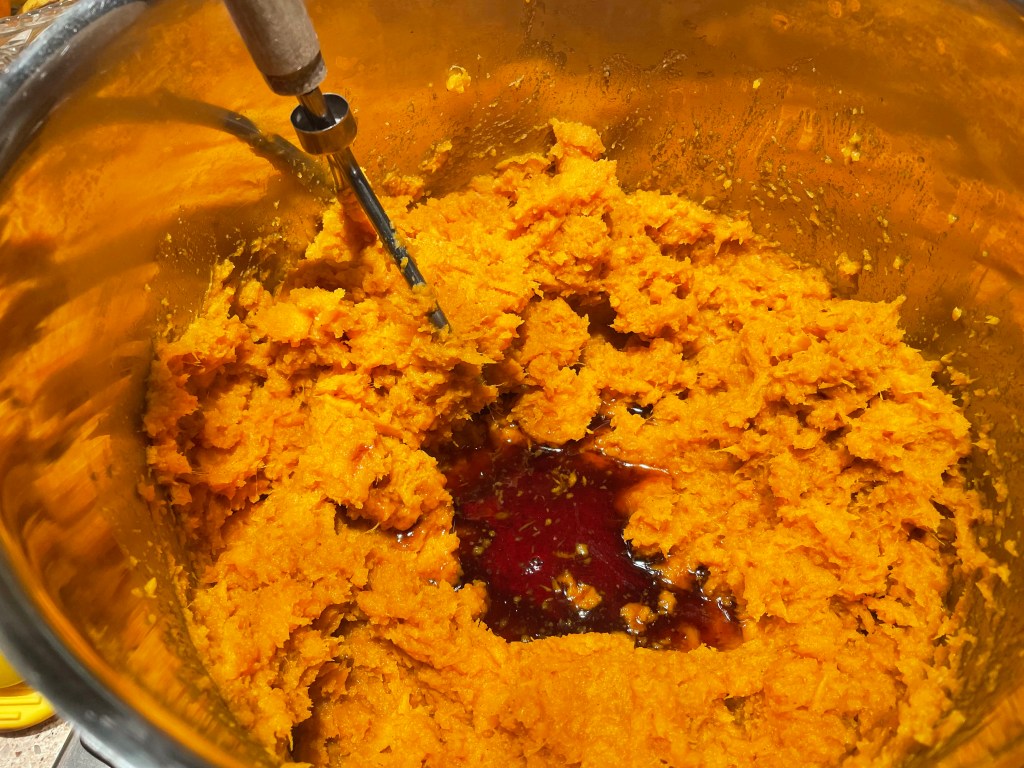
I.e. maple syrup and vanilla.
And orange juice and orange zest.
The slightly coarse result, ready to pass through a sieve.
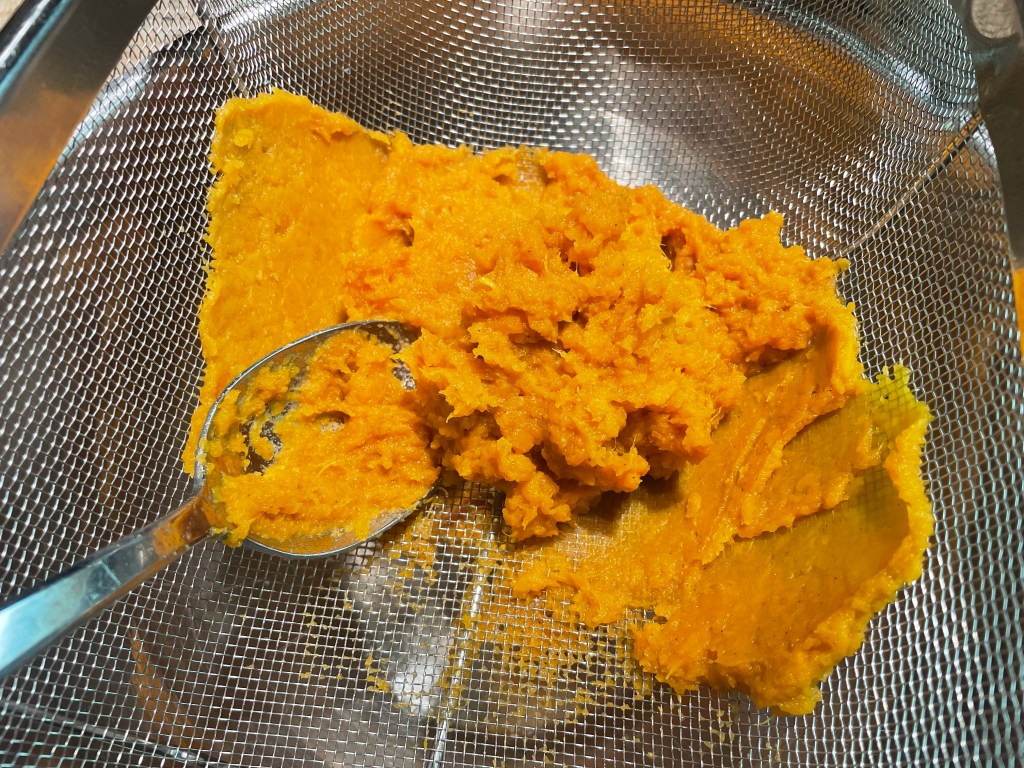
It is a bit tedious…
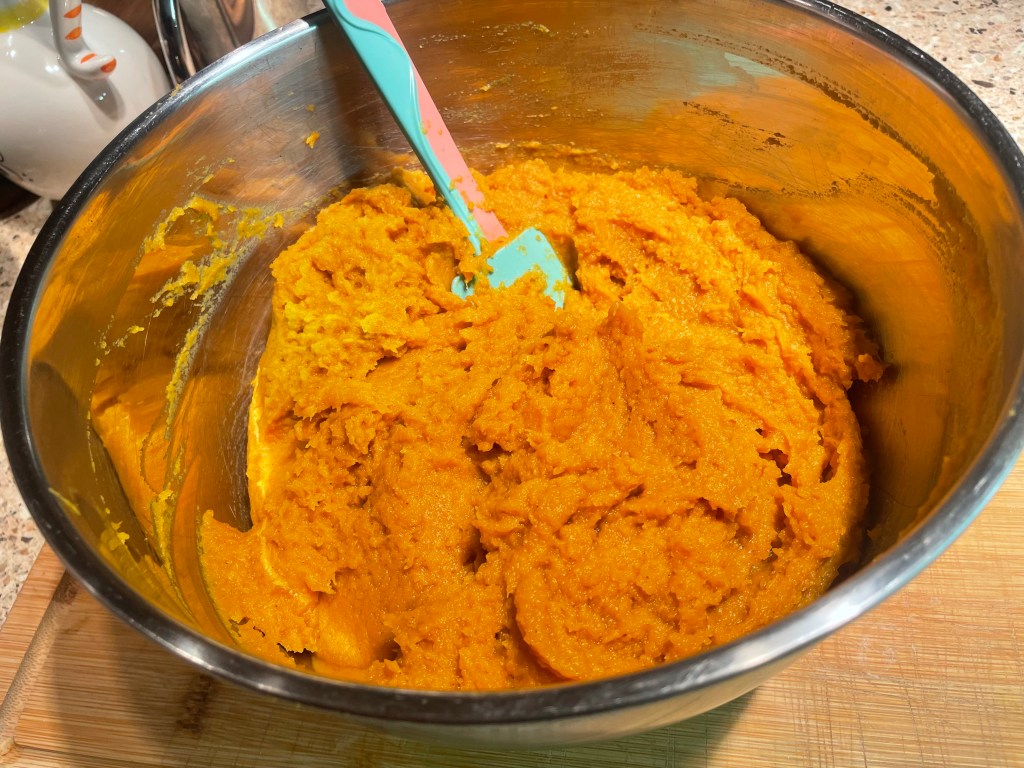
But worth it for a more velvety result.
Ready to fill.
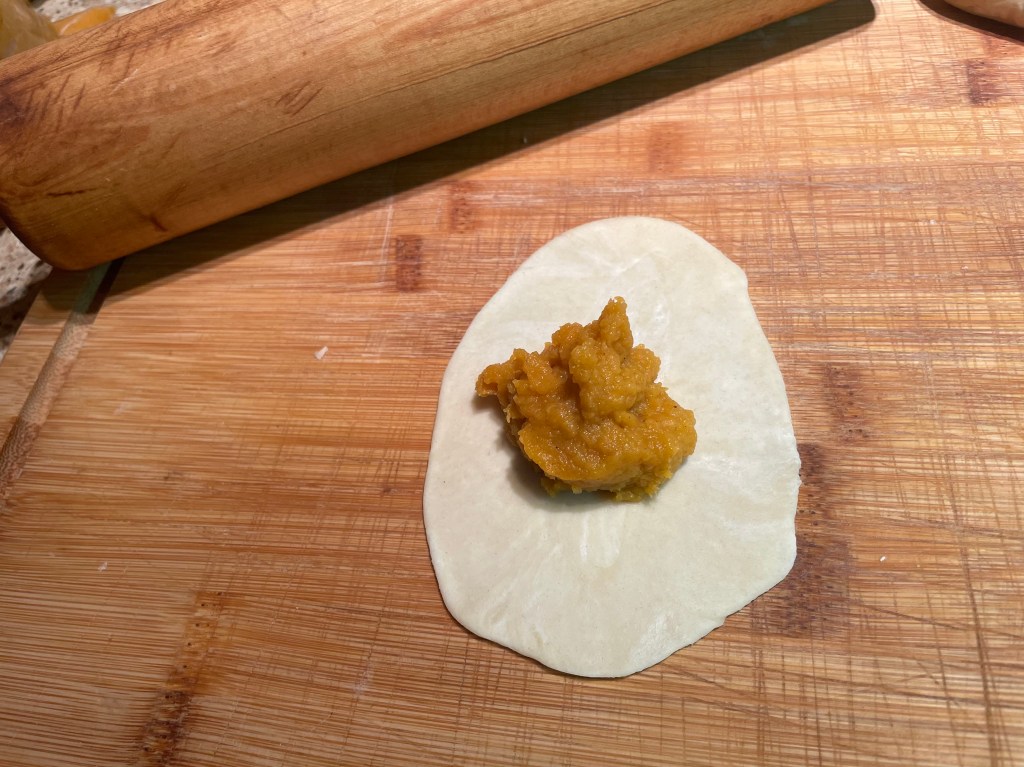
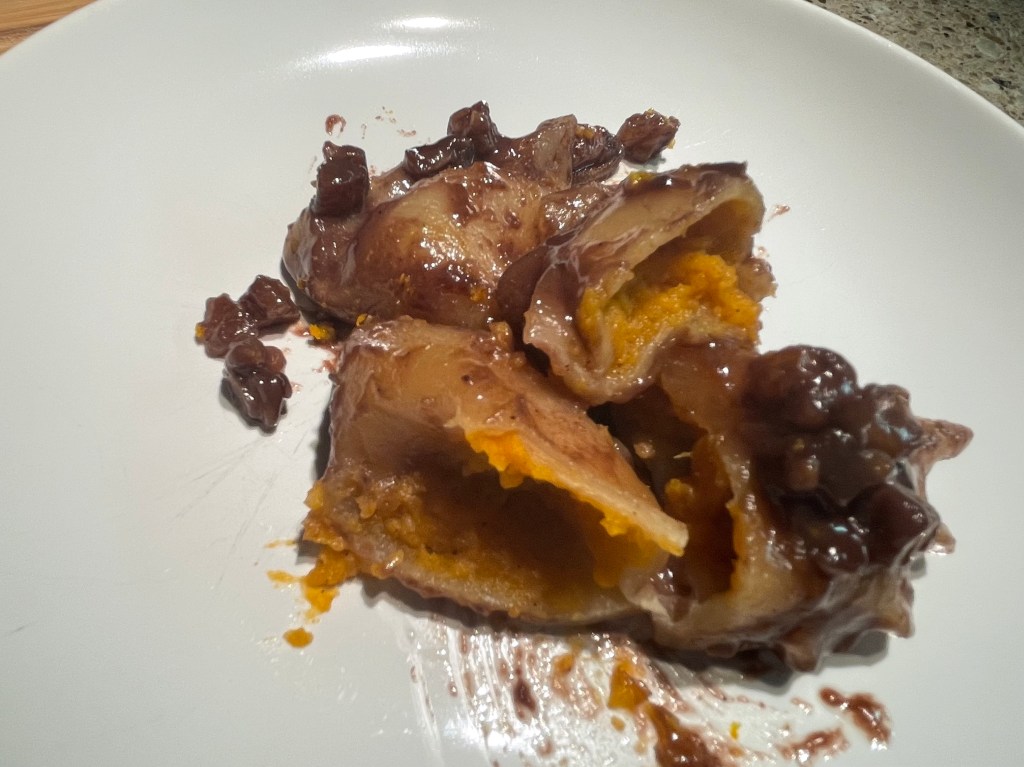
Such a cheerful filling!

All hidden away.
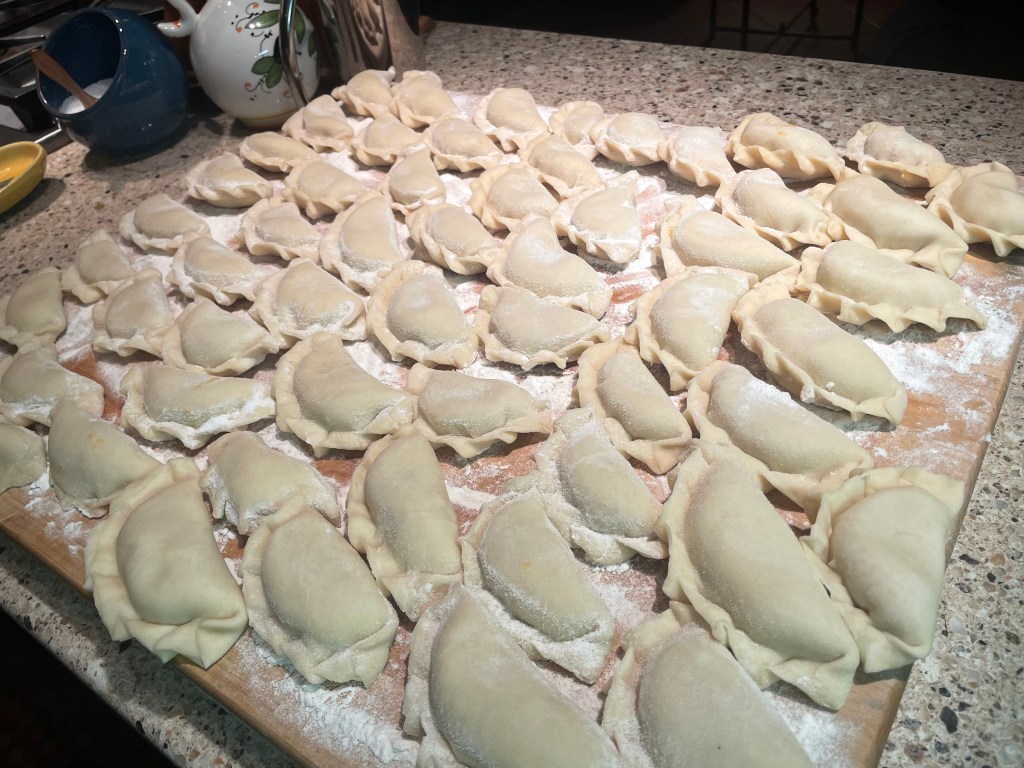
Satisfying…
Buttery brown-sugar and pecan sauce.

This makes 750ml/3 cups of sauce. You may be seeing a theme here: this is probably more than you will need :). But it keeps forever in the fridge (thank you sugar!) and is very tasty spooned over ice-cream.
Ingredients:
115g/1 stick unsalted butter
250g/1 cup dark brown sugar
10g/ 2tsp mixed gingerbread spice (see note above)
250g/2 cups roughly chopped pecans
470ml/ 1 pint heavy cream
Optional alcoholic add-ins: A glug of bourbon or cognac (1-2 tbsp) and a dash of orange bitters.
Method:
- In a large saucepan over medium heat, melt the butter and sugar together until gooey and syrupy.
- Add the gingerbread spice and chopped pecans, stir and allow to simmer for 1 minute.
- Slowly pour in the cream and mix again. Simmer for another minute.
- If you are looking for a more adult flavor, add in bourbon and orange bitters and simmer for one more minute to allow the sharp alcohol taste to cook off. This version of the sauce is more interesting and less child-friendly in flavor.
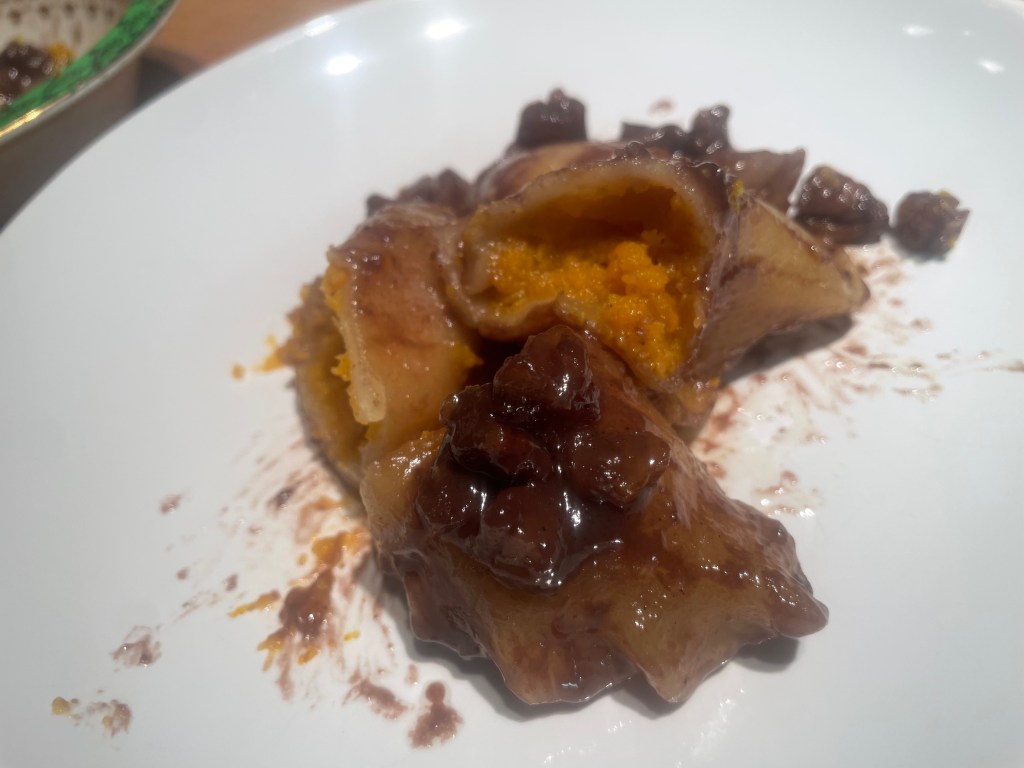
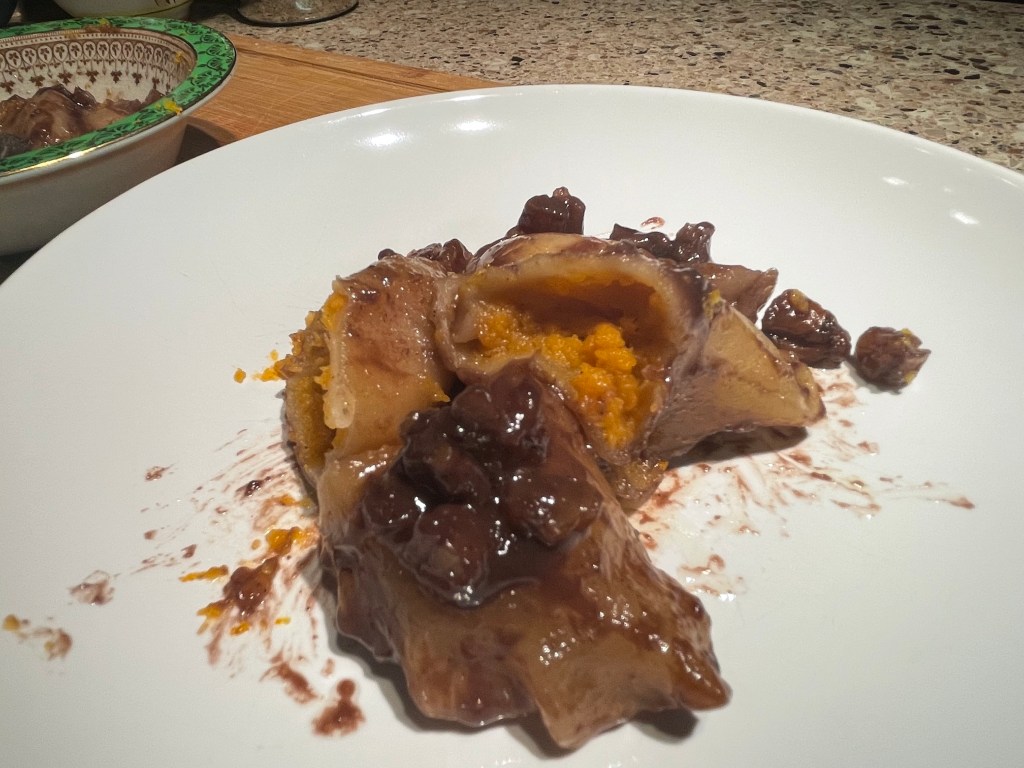
- When your sweet potato pierogi are cooked, layer them in a casserole pan and pour the sauce over and around them. Bake in a 190C/375F oven for 15-20 minutes until bubbling and caramelized around the edges. You could strew the surface of the pierogi and sauce with little marshmallows before baking. You know. If you really wanted to. I’m good leaving them out. I do like to sprinkle a little extra grated orange zest over the top of the pierogi when serving.
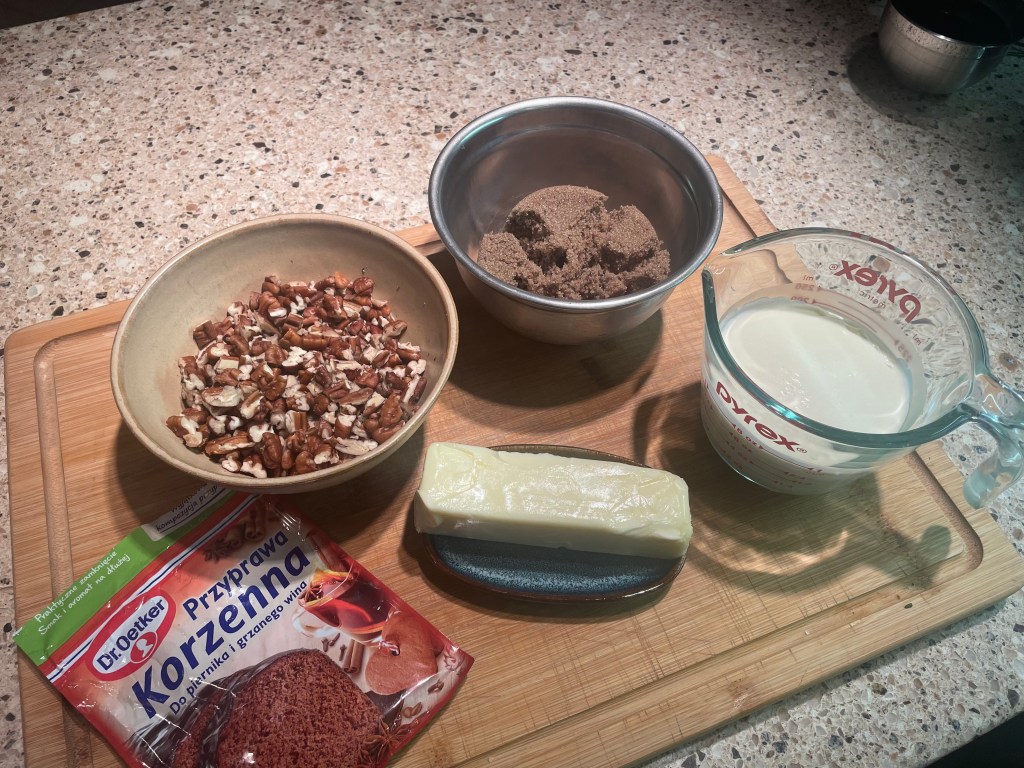
Ingredients.
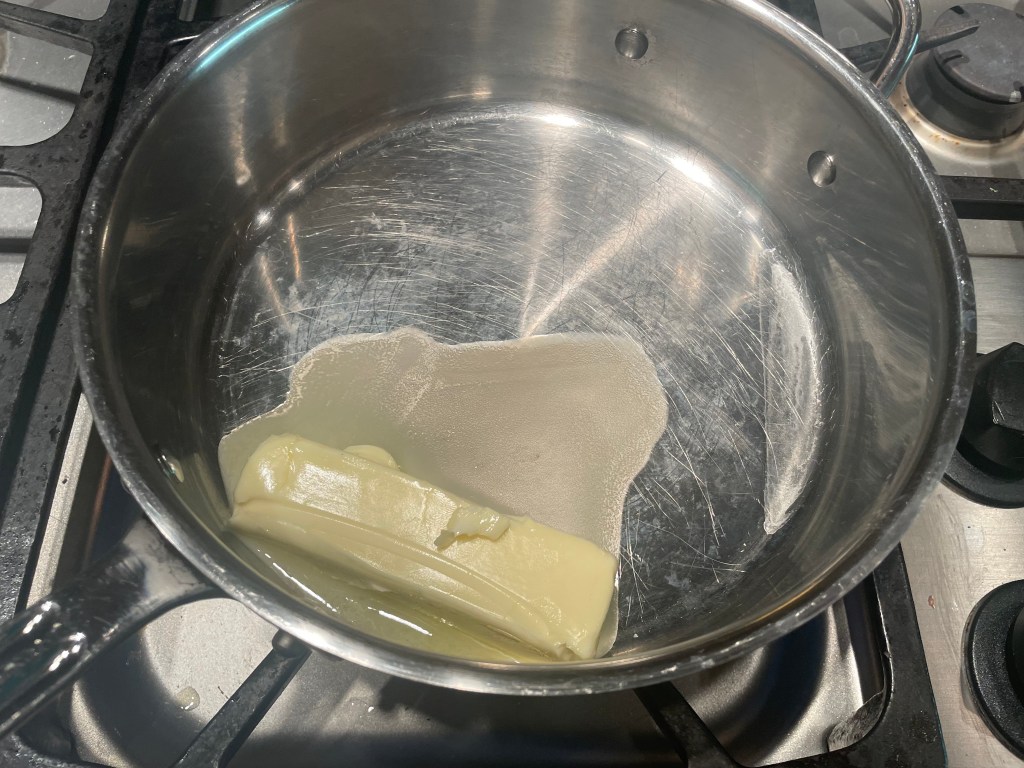
Melt the butter.

Sugar and spices in.
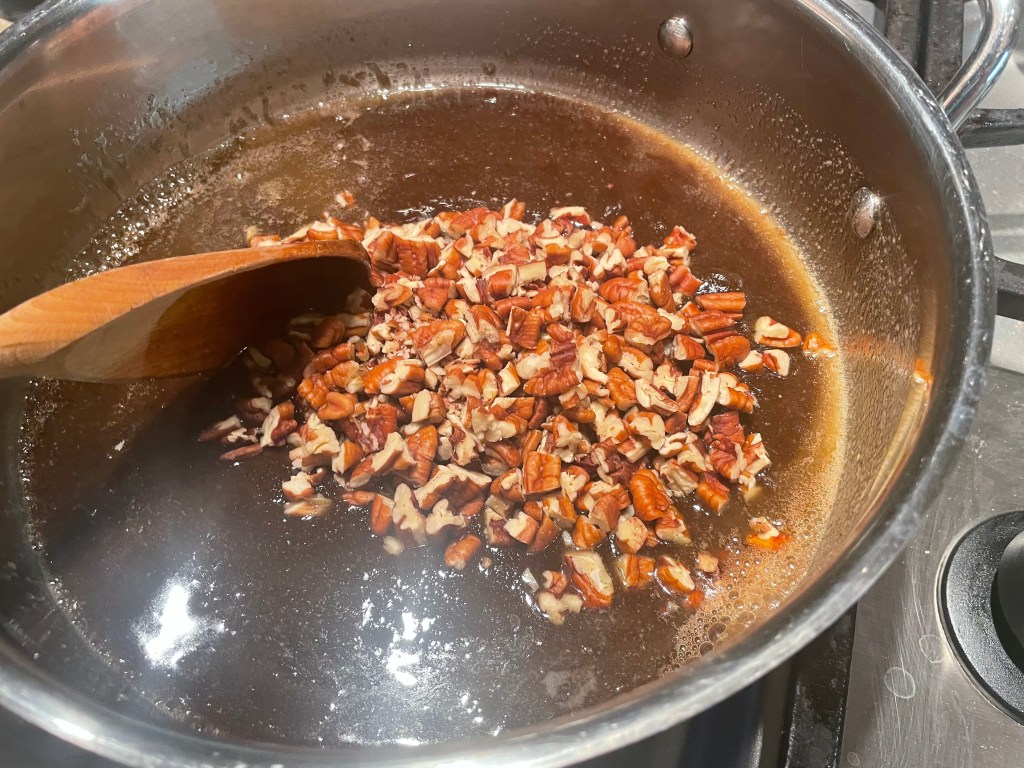
And the stars of the show: the nuts.
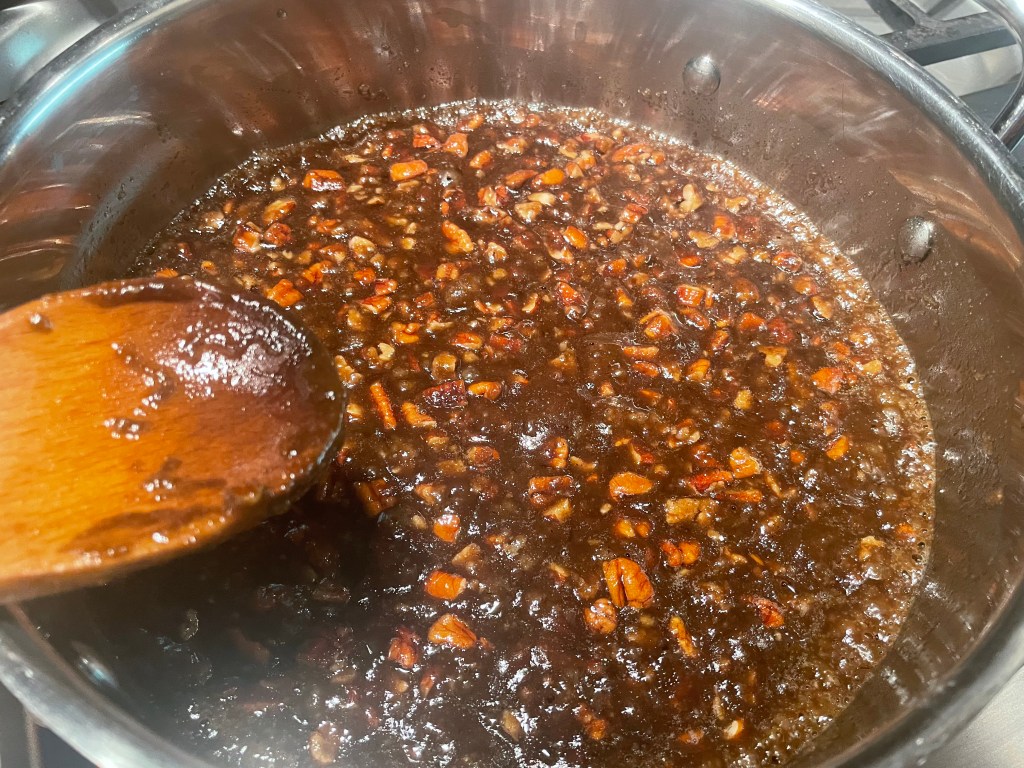
Fairly luscious, I think…
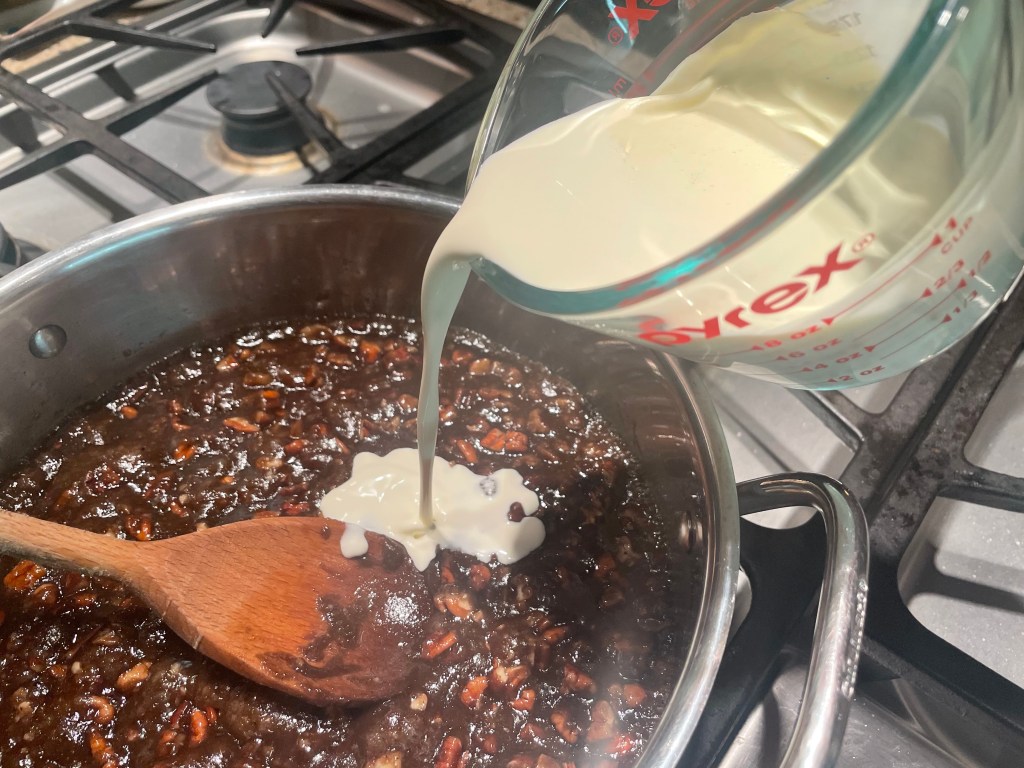
Slowly add the cream.
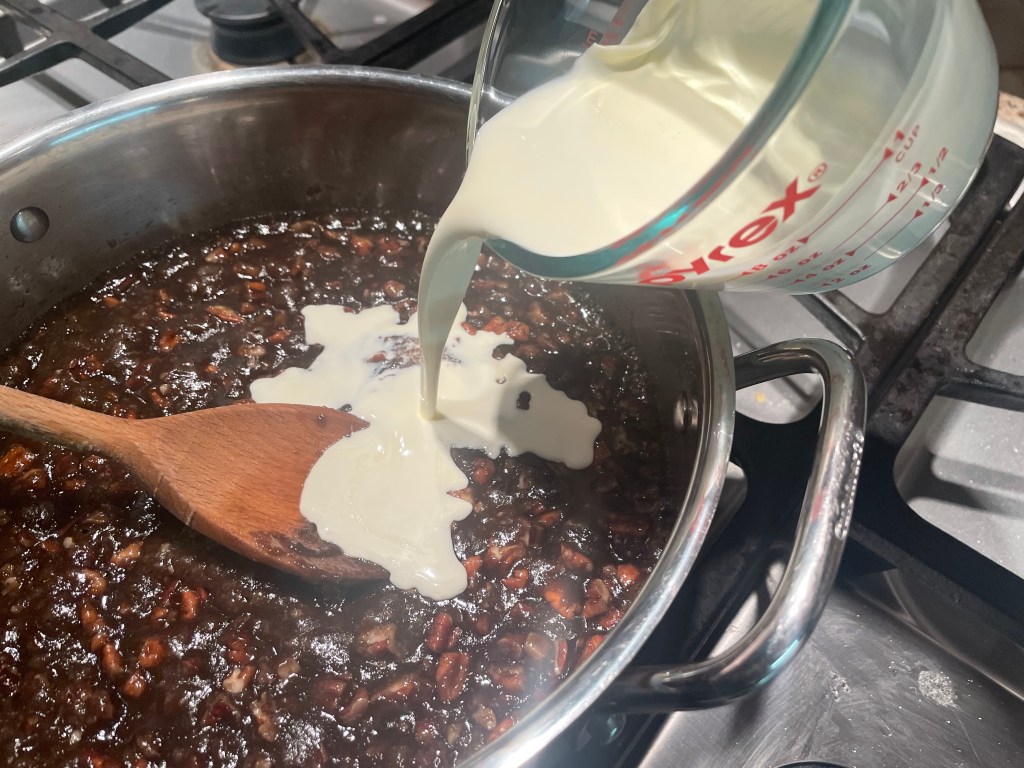
Keep going…
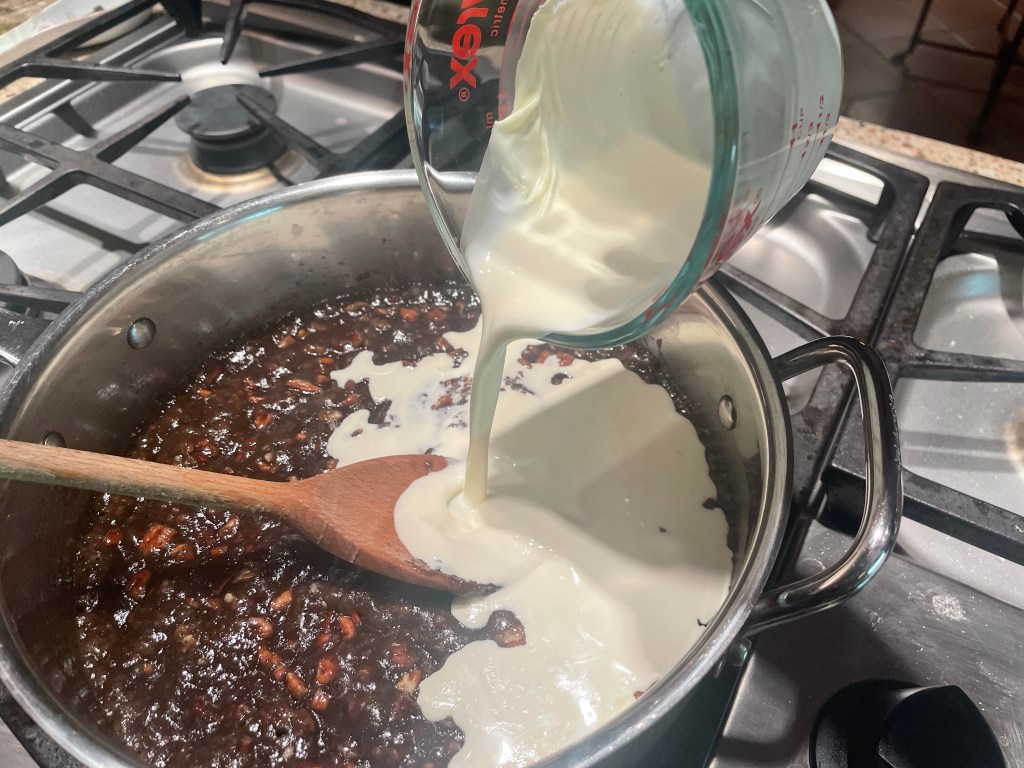
And a little more 😉

Finished sauce looks a bit too milk-chocolatey in this picture. But it is very tasty.
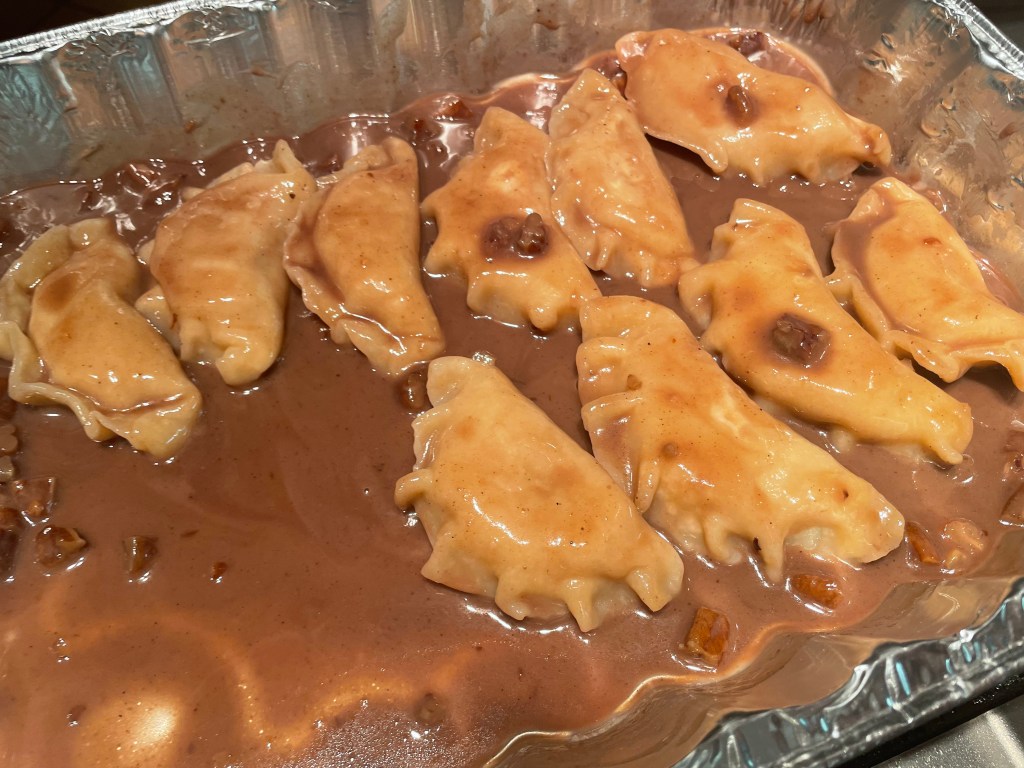
Cooked sweet potato pierogi being dunked in the sauce.
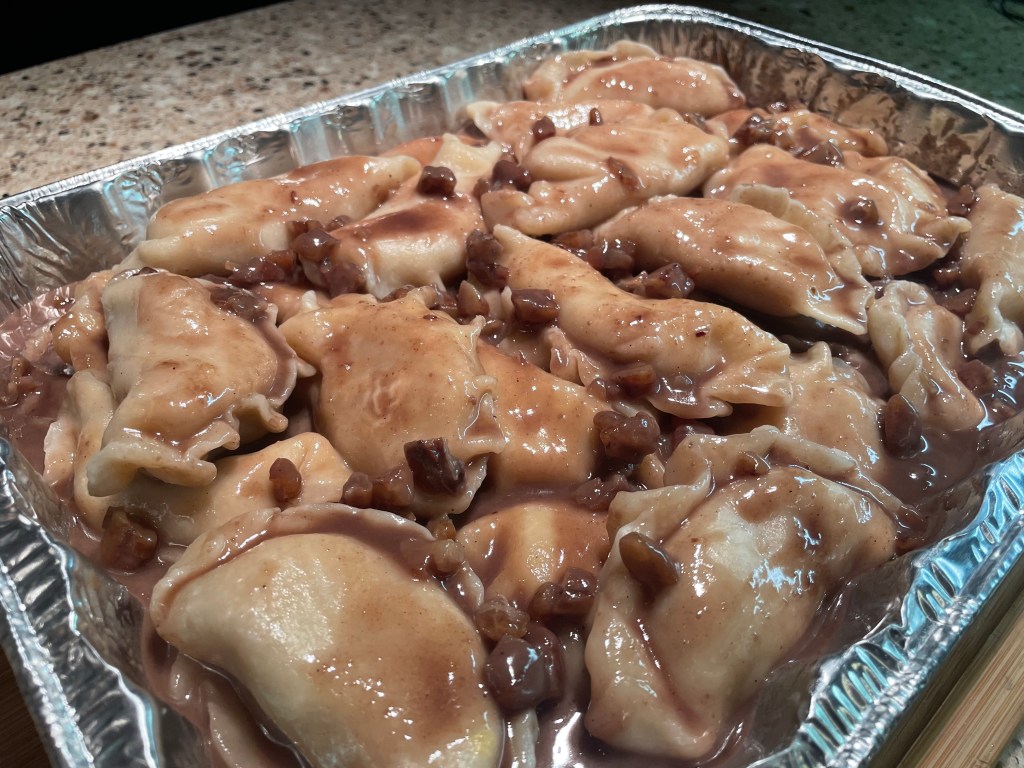
All layered and ready to bake.
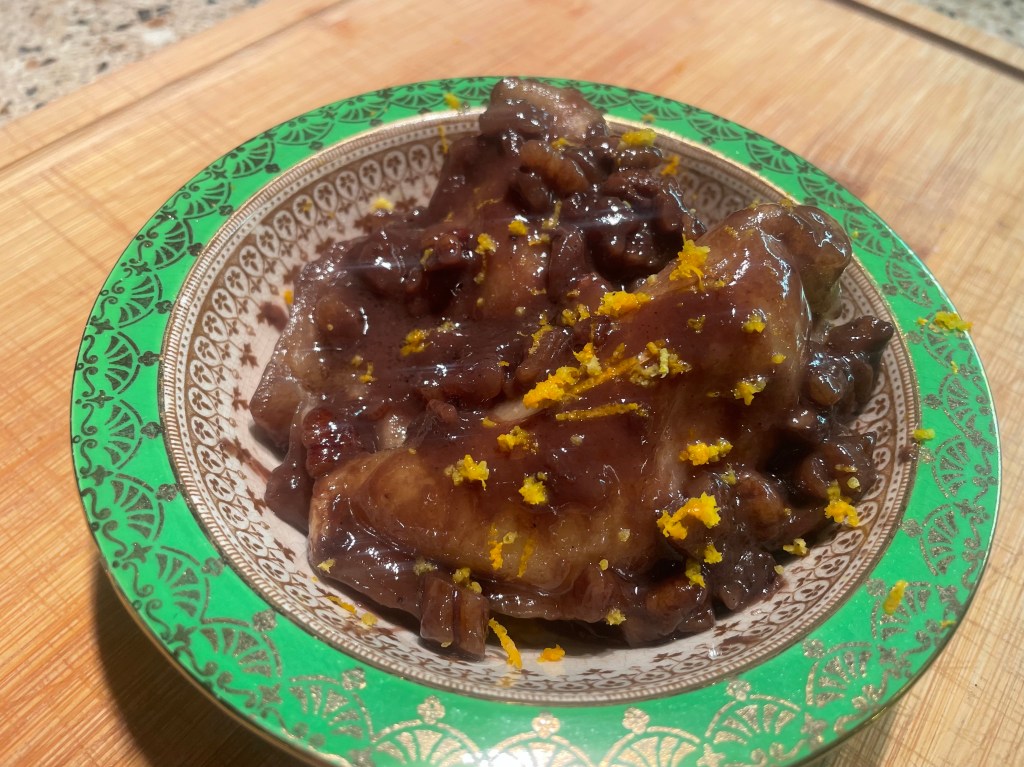
Sprinkle with some more orange zest to serve.

Leave a comment