When my dear friend and endearingly enthusiastic eater, EH, has a birthday, my ability to separate our D&D campaign from mundane reality grows even more pitiably poor than normal. I want to make my friend happy but I also want to please her character. So, most of my decisions are driven by the question: what would Elie like to eat? Fortunately, EH and Elie’s appetites overlap in many ways. When it comes to food! Still your pervy thoughts!
So here is a birthday menu designed to spoil and entertain an over-worked, tired, and hungry friend. As well as to, hopefully, satisfy a slightly cranky, burdened, and ravenous Ranger…
Slow-braised brisket with dried apricots and prunes
Serves 8
This recipe is based on one from an absolute favorite among my (ahem, many) cookbooks: Small Victories by Julia Turshen. This book is so fantastic not just because of its approachable, encouraging tone but also because every single recipe that I have tried to make from it has turned out genuinely good. They are clearly well-tried, tested, and true. Every Paladin should have a favored weapon as deliciously reliable as this…
This dish is comfort on a plate. Meaty, savory, richly herbal, with a touch of sweetness from the dried fruit: it is really memorable. The brisket can (should) be made ahead. It will be easier to slice and will be more flavorful if first allowed to braise and then cool in its aromatic sauce. It reheats beautifully, ready to take pride of place at a hearty birthday feast.
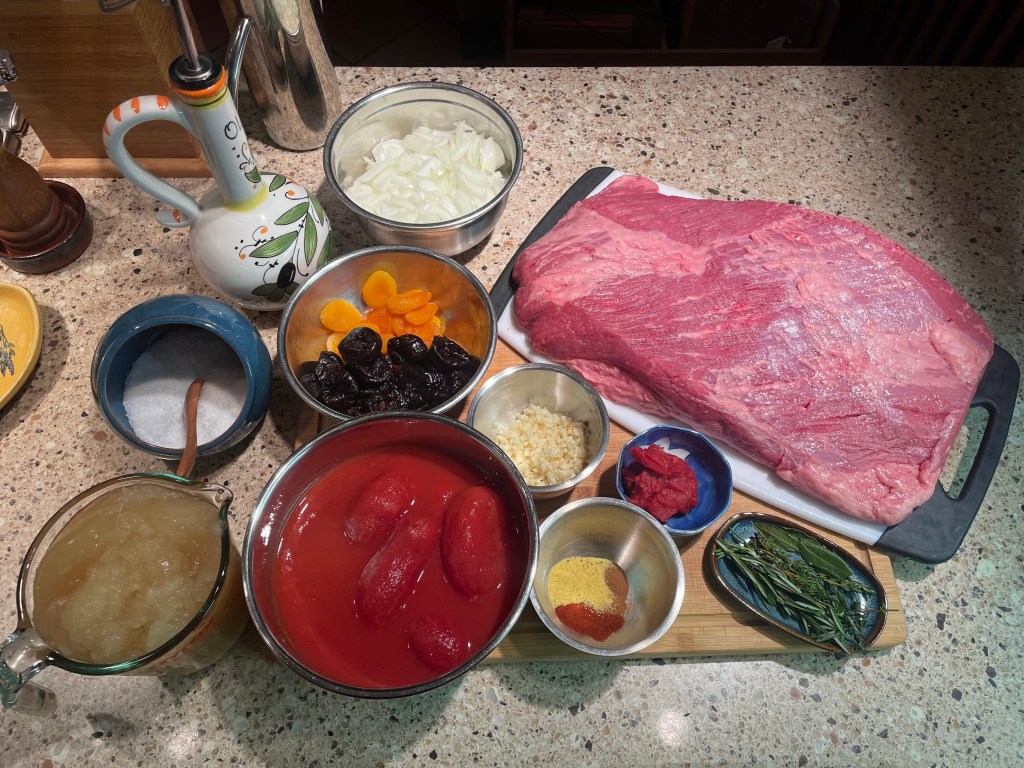
Ingredients:

One large beef brisket, 1.5-2 kg/3.5-4.5 lb, brought to room temperature and patted dry
10g/2 tsp kosher salt
45ml/3 tbsp cooking oil
2-3 small onions, peeled and sliced into thin half-moons
5 cloves garlic, peeled and crushed
5g/1 tsp smoked paprika
2.5g/1/2 tsp ground cinnamon
4-6 sprigs of fresh thyme
2-3 bay leaves
2-3 sprigs of fresh rosemary
30ml/2 tbsp tomato paste
425g/15oz/1 large can whole peeled tomatoes
360ml/1 1/2 cups beef or chicken stock
12 pitted prunes
12 dried apricots.
Method:
- Center a rack in the oven and preheat to 150C/300F.
- Generously season the brisket with salt. Heat the oil in a large Dutch oven until ripplingly hot. If the roast is too big to fit in the pan (mine was), cut it into two pieces. Brown the brisket until well-seared with tempting-looking crusty bits on the outside. This will take about five minutes per side on medium-high heat. Remove onto a plate, leaving behind the oil and any tasty meaty crunchies remaining in the pan.
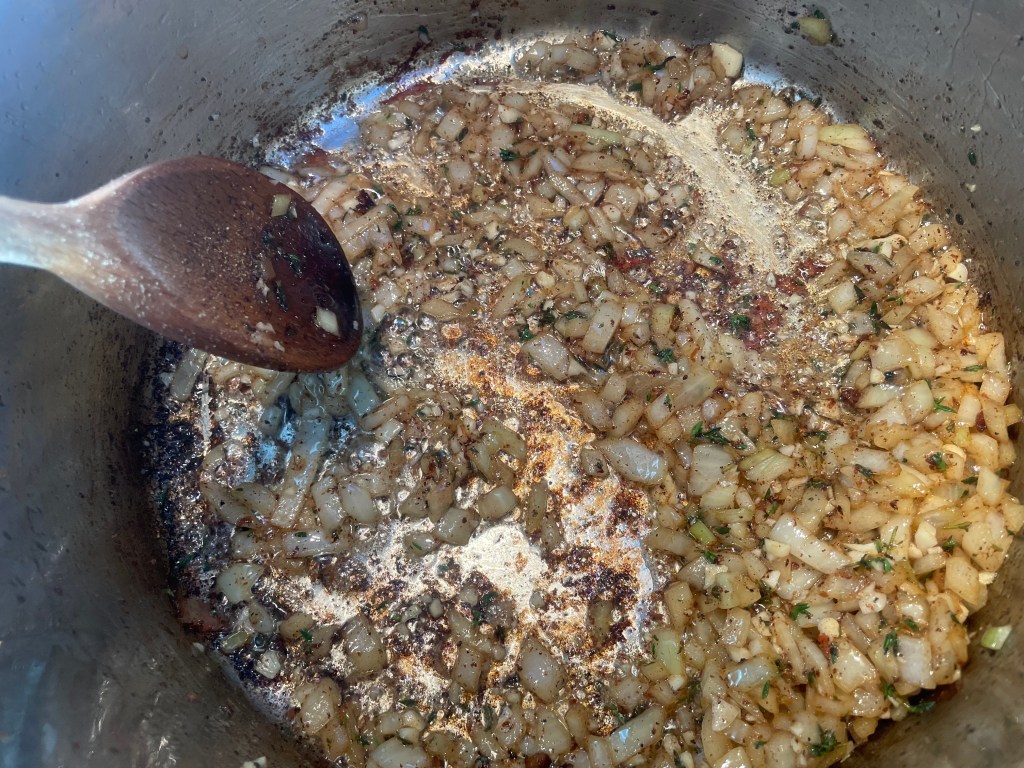
- Lower the heat and add onion to the pan. Sauté until soft and golden-brown. Stir often and scrape the bottom of the pan to pick up all of the flavorful bits left behind by the brisket.
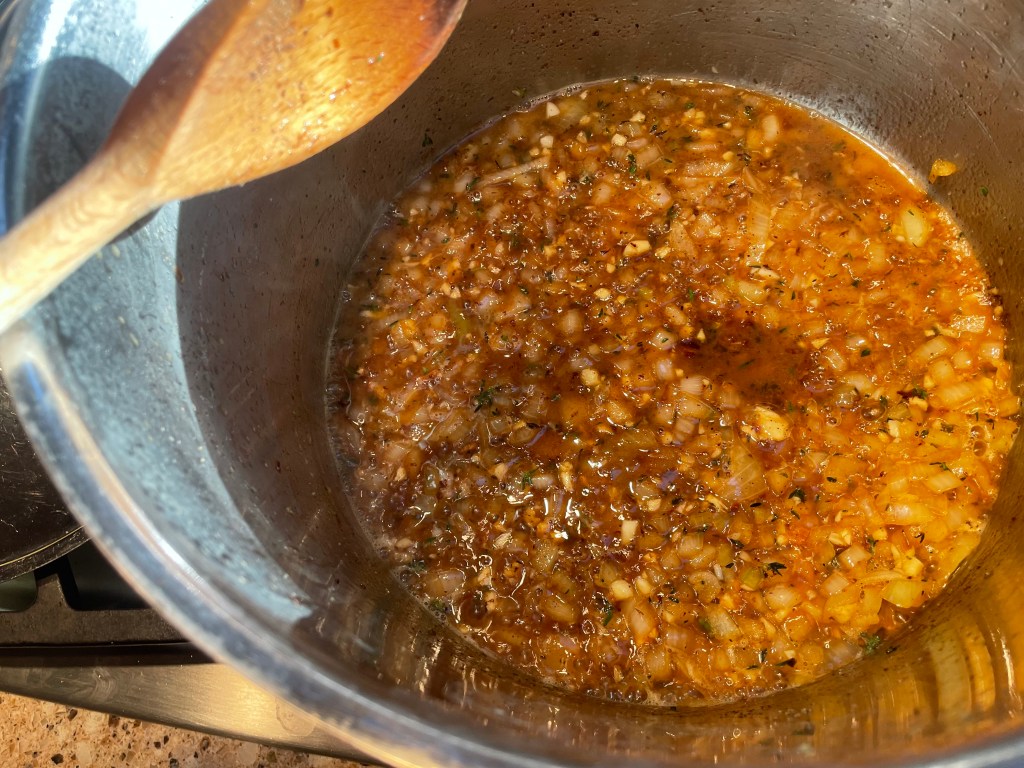
- Add smoked paprika, cinnamon, garlic, herbs, and tomato paste. Continue frying until the tomato paste is starting to caramelize and the whole pot is redolent of garlic and rosemary.
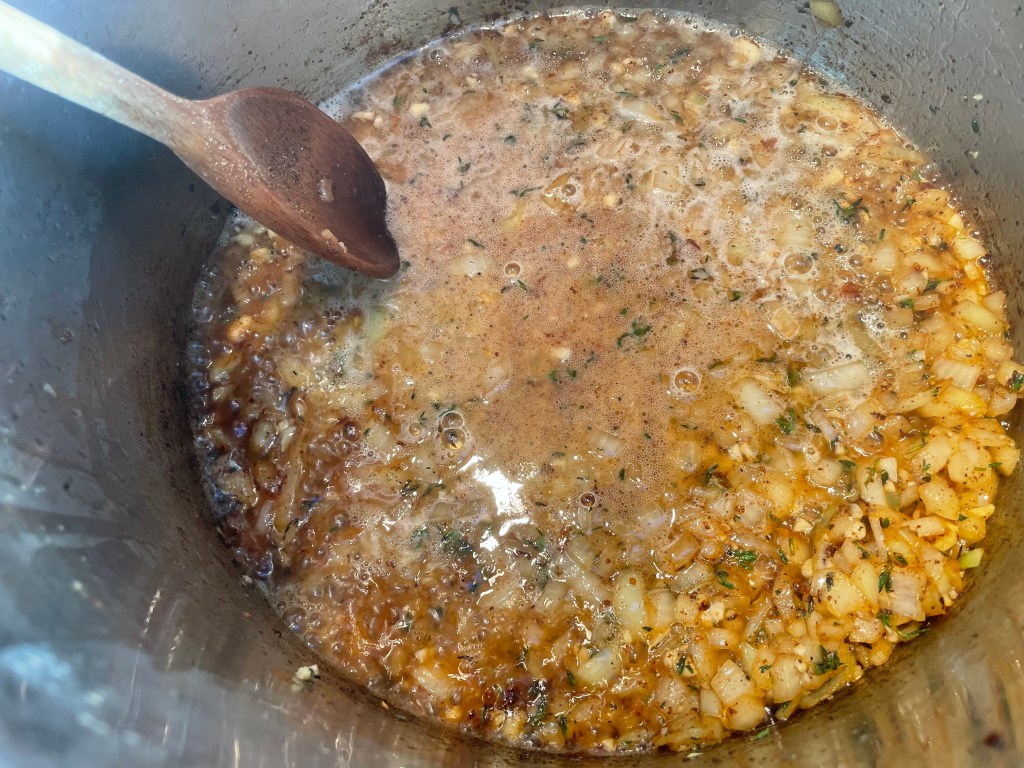
- Add the canned tomatoes and their juices, followed by the stock. Bring the mixture to a boil and then add in the apricots and prunes. Finally, return the meat to the pot, along with any of its juices that have collected on the plate.
- Cut a piece of parchment paper large enough to comfortably cover your Dutch oven, scrunch it up and wet it thoroughly in cold water. Place the wet parchment over the surface of the braise, and then cover the pan with a lid.
- Place the pan in the oven and cook until the brisket is fork-tender. This will take 3.5-4 hours. The heavenly smell of this dish will torment you for most of that time.
The brisket can be served directly or, even better, be left alone to slowly cool in its sauce. It can be kept in the fridge for several days. When ready to eat, remove from the sauce, slice, and then reheat the slices gently in the sauce (either over very low heat on the stovetop or in a 150C/300F oven). Remove the herb stalks and bay leaves before serving.
I went Julia Turshen’s suggestion of serving the rich brisket with a sprightly salad. In my case, I went with arugula and lots of very thinly sliced white button mushrooms and shaved celery, liberally doused with a lemony-garlic dressing.
That’s a big slab of beef!
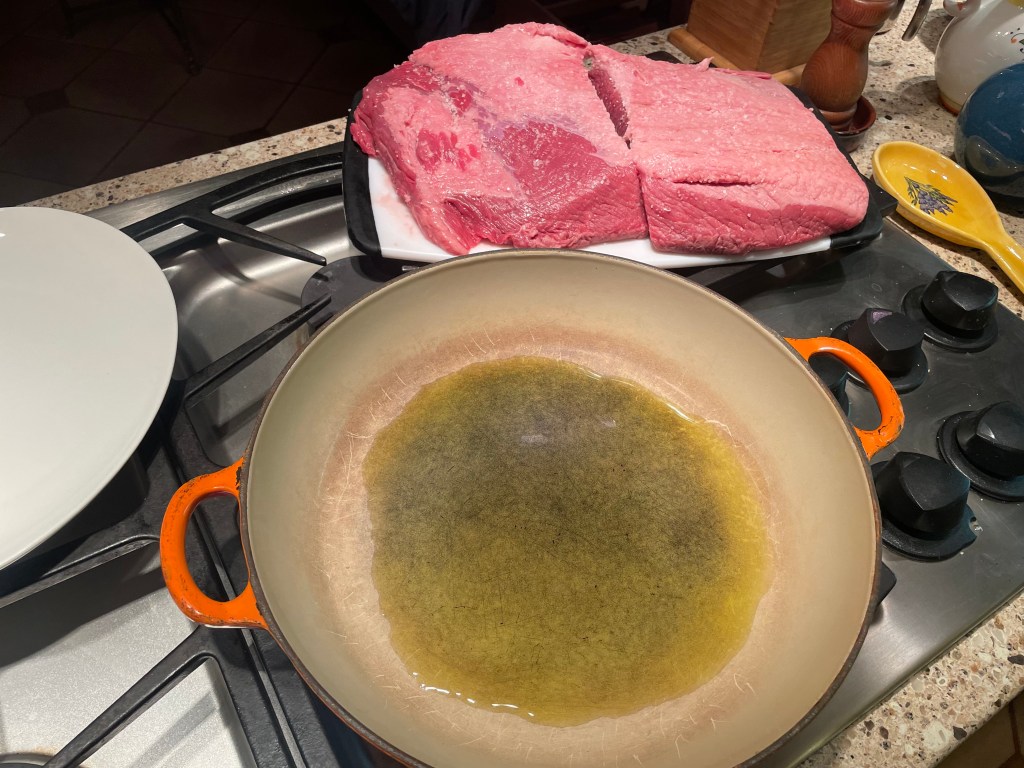
Too big to fit into my pan. Hence, the brisket has been bisected.
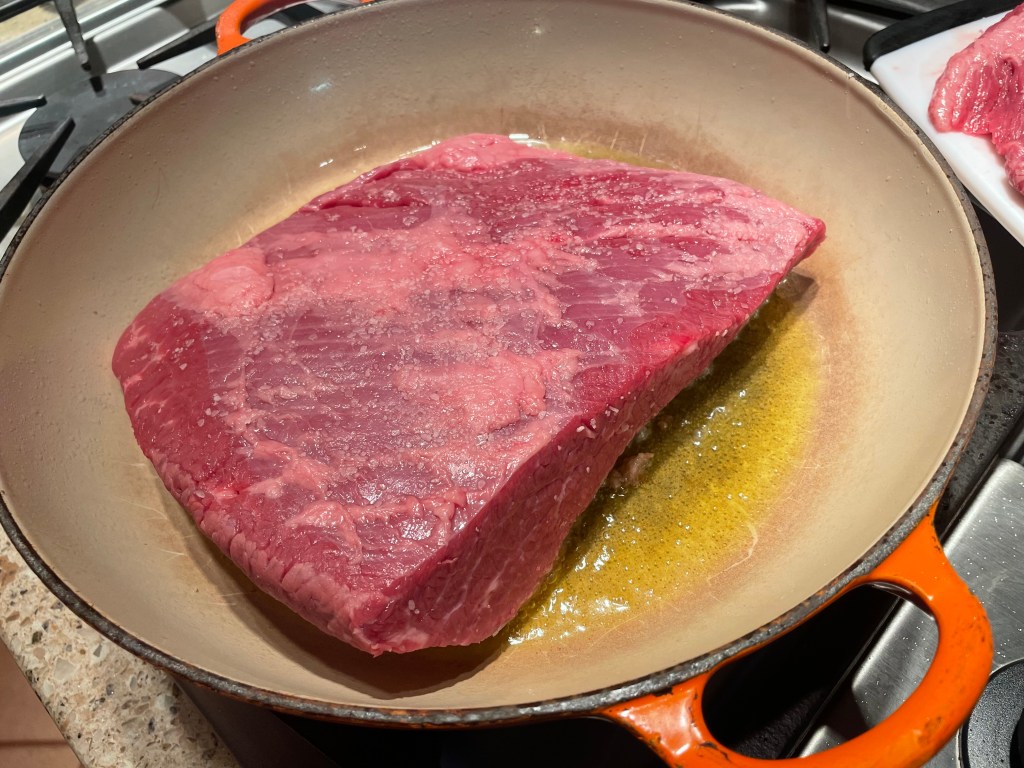
Sear the outside for color and flavor.

Beefy browning…

More beefy browning.
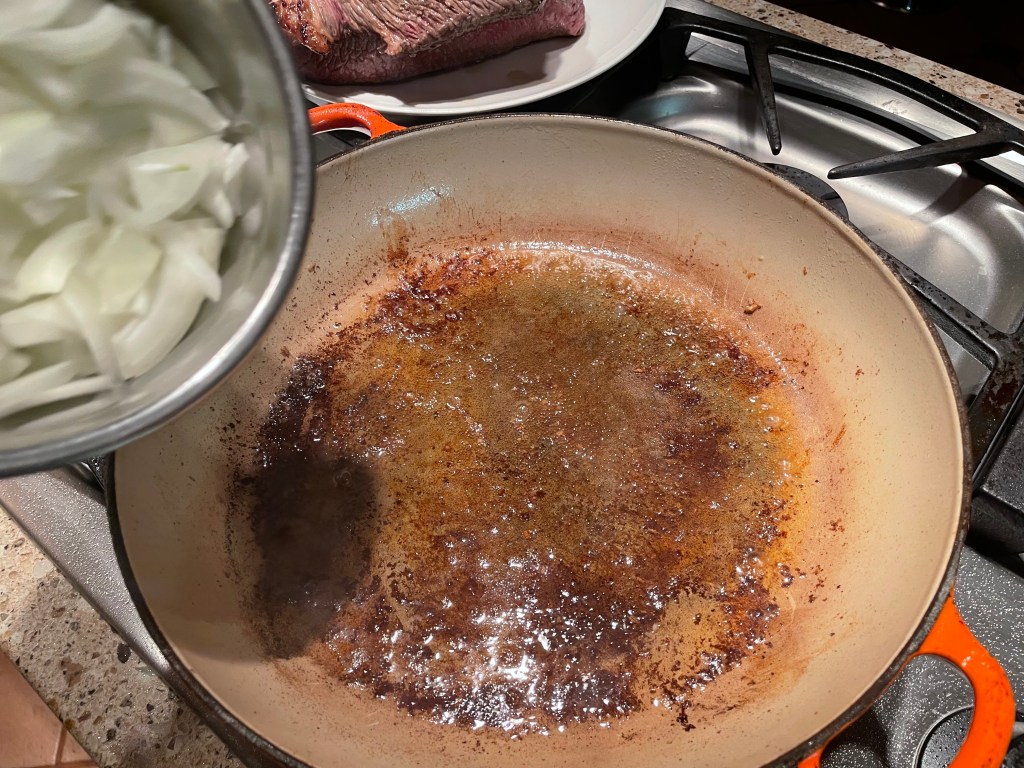
Add the onions to these glorious accretions of meaty flavor…

Here they are, pristinely white and ready to sauté.
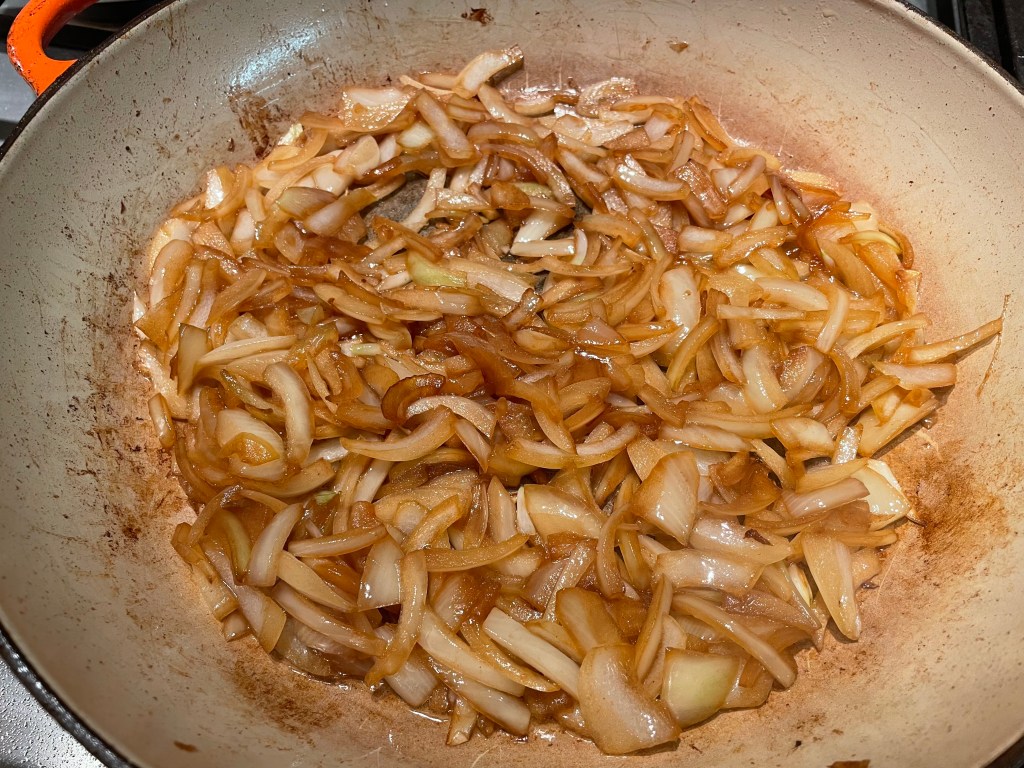
They turn a most appetizing brown.

Add in your garlic, tomato paste, herbs, and spices. It’s a flavor party now.

Let it all cook down together.
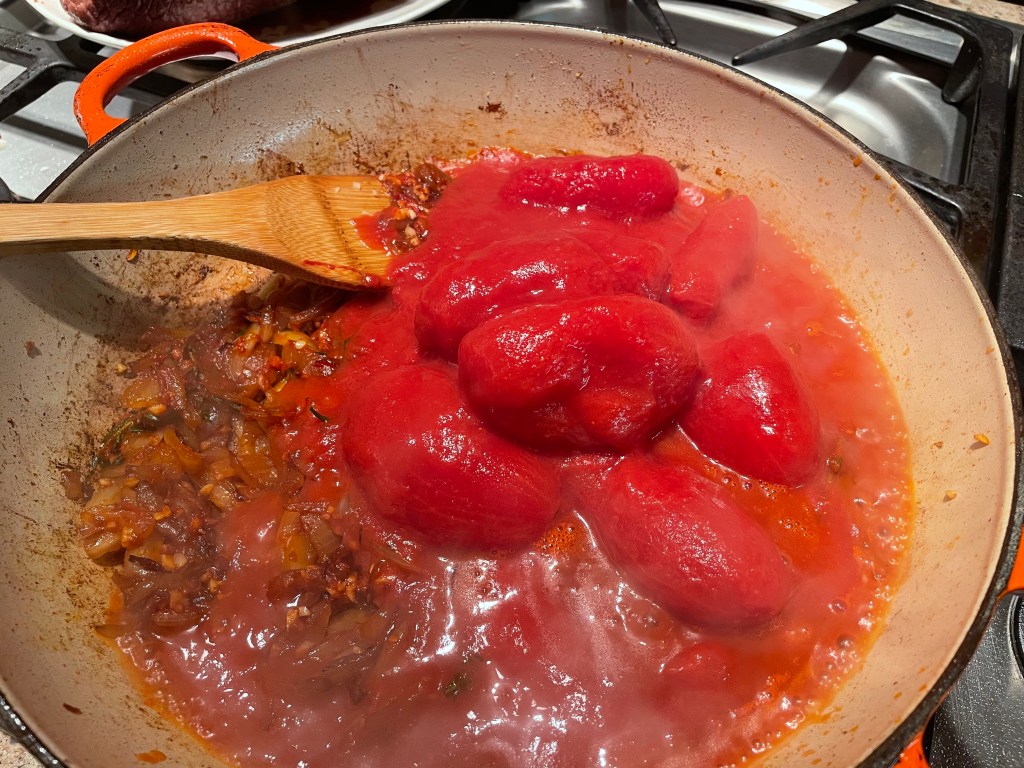
In go the tomatoes.
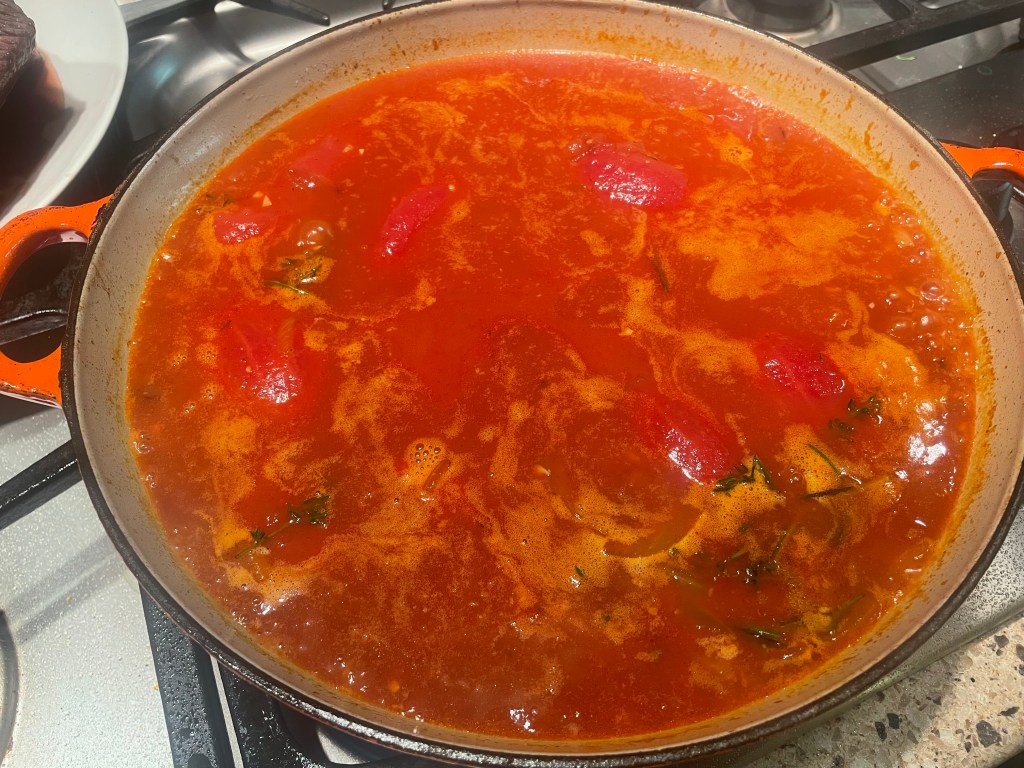
And the broth.
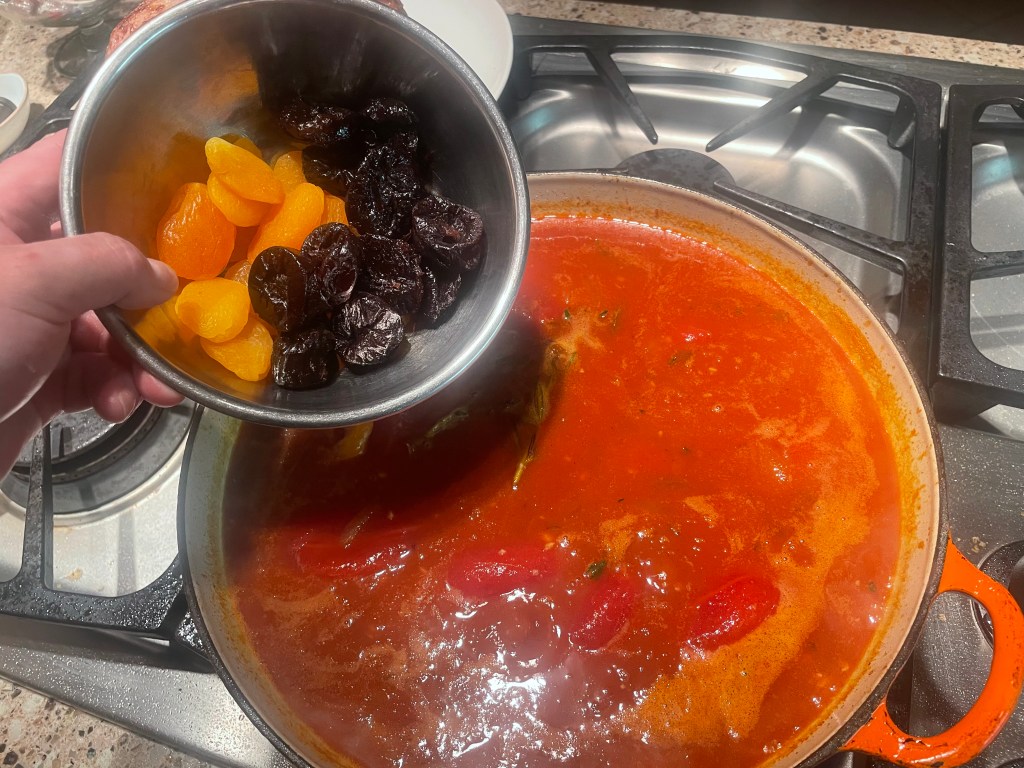
And the dried fruit.
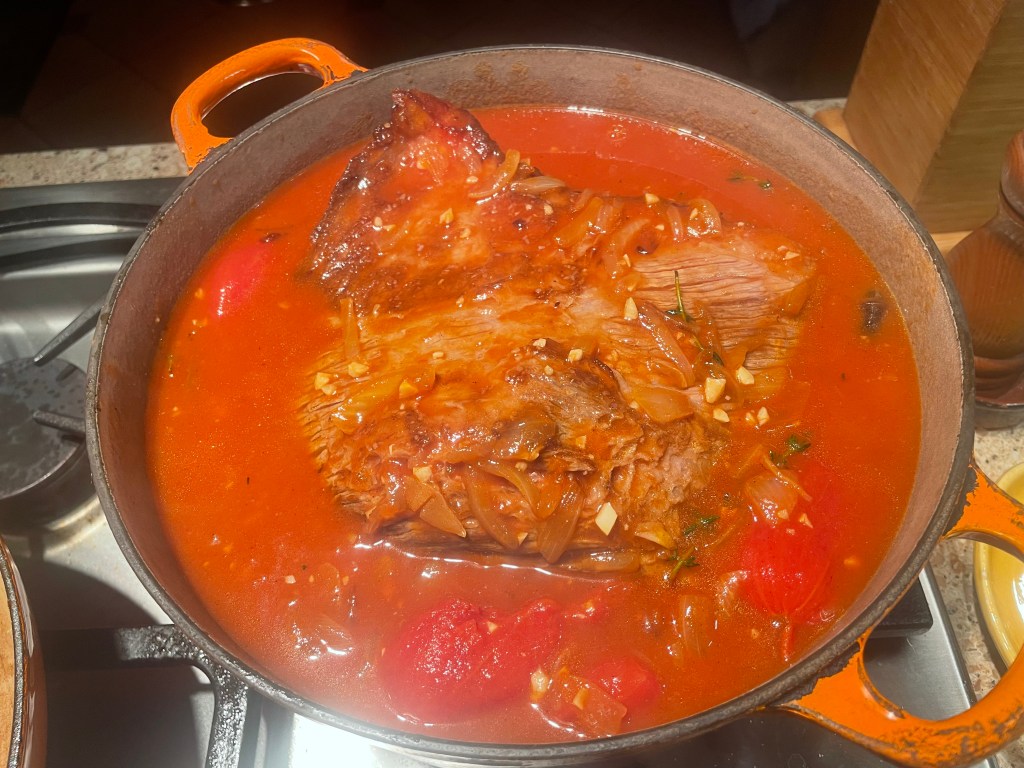
And, whew, the beef.
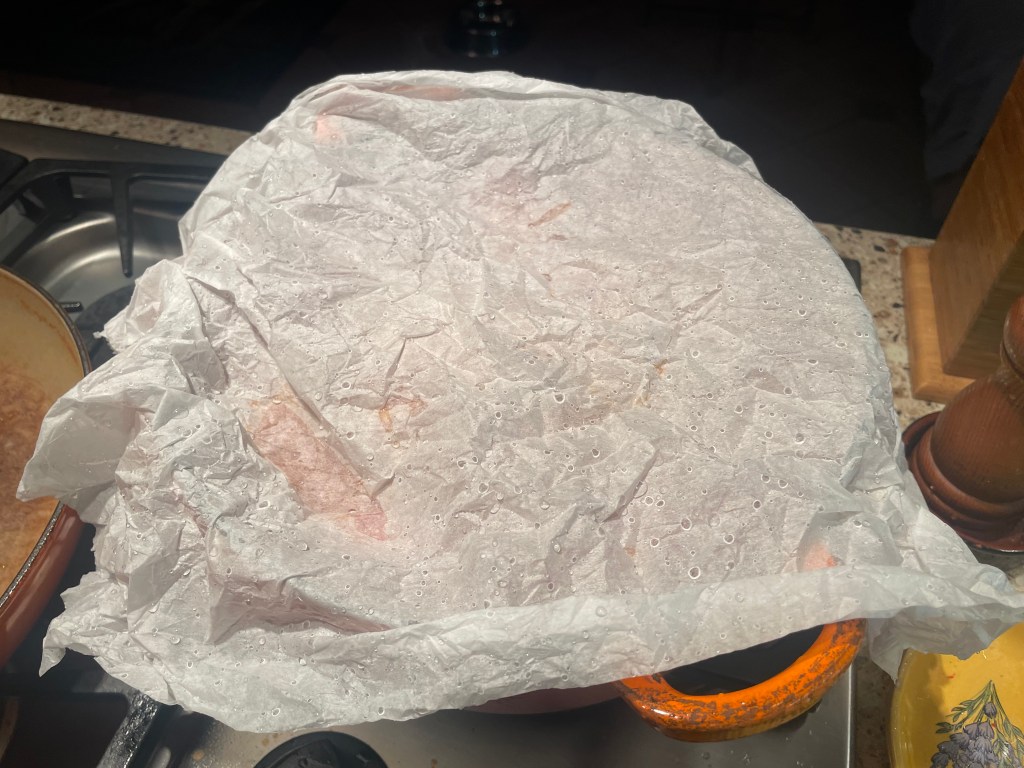
Wet parchment blanket.
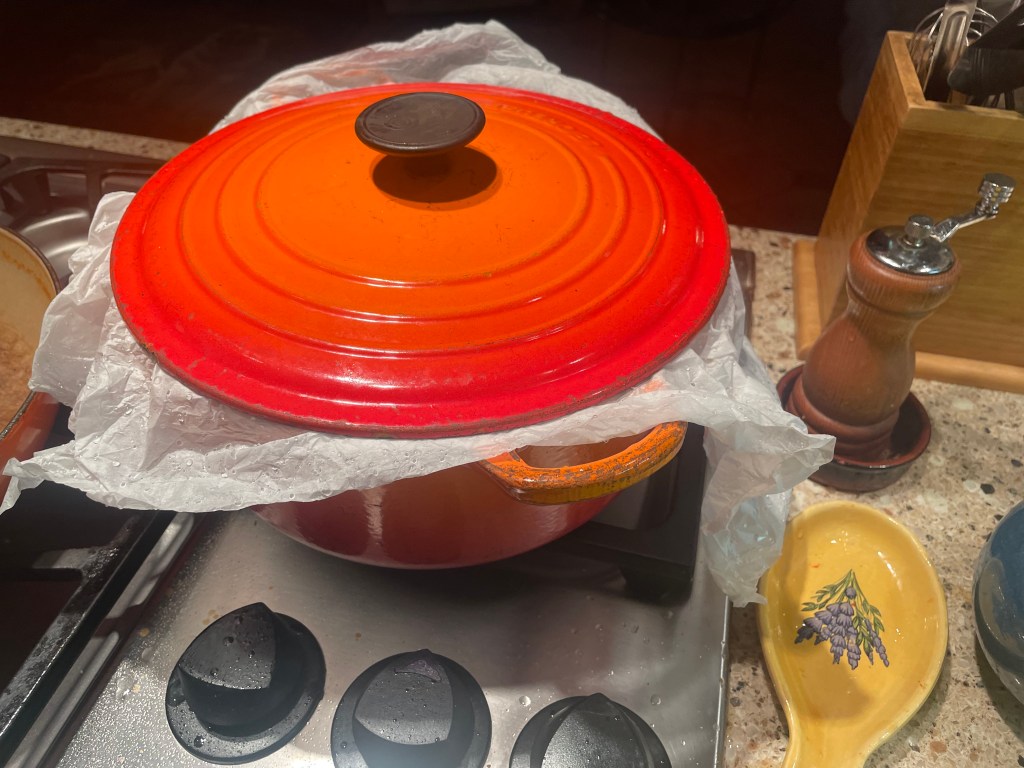
All covered and cosy and ready for the oven.

Here it is after four hours. The parchment paper looking a little worse for wear.
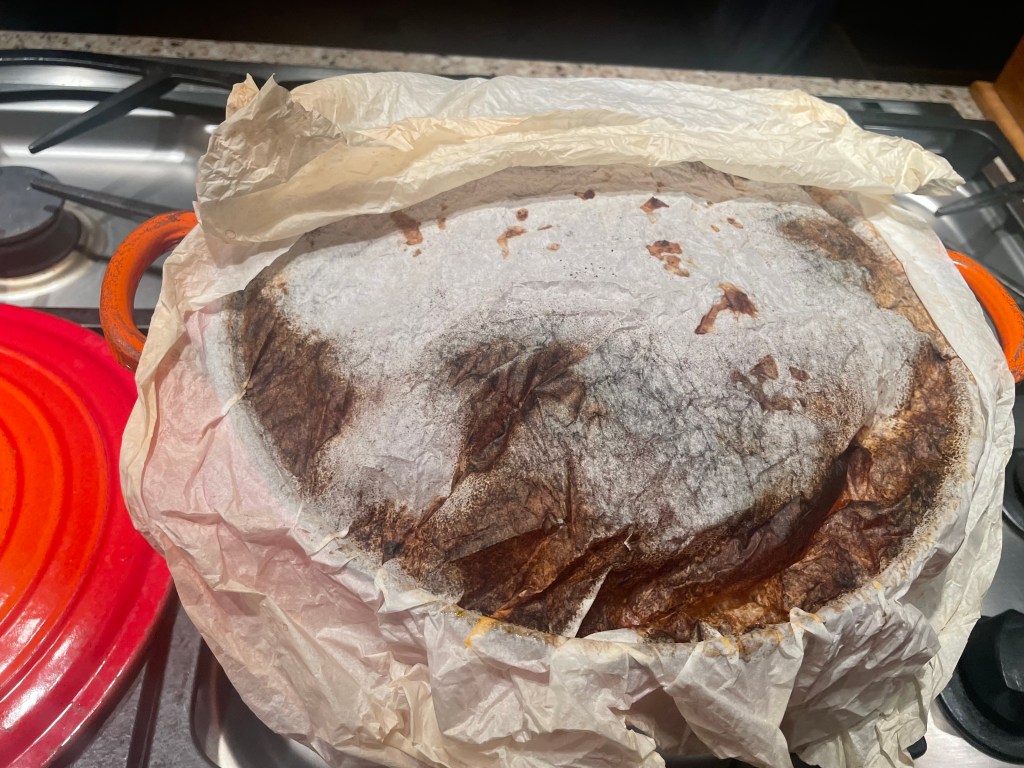
Alright, quite a bit worse for wear.
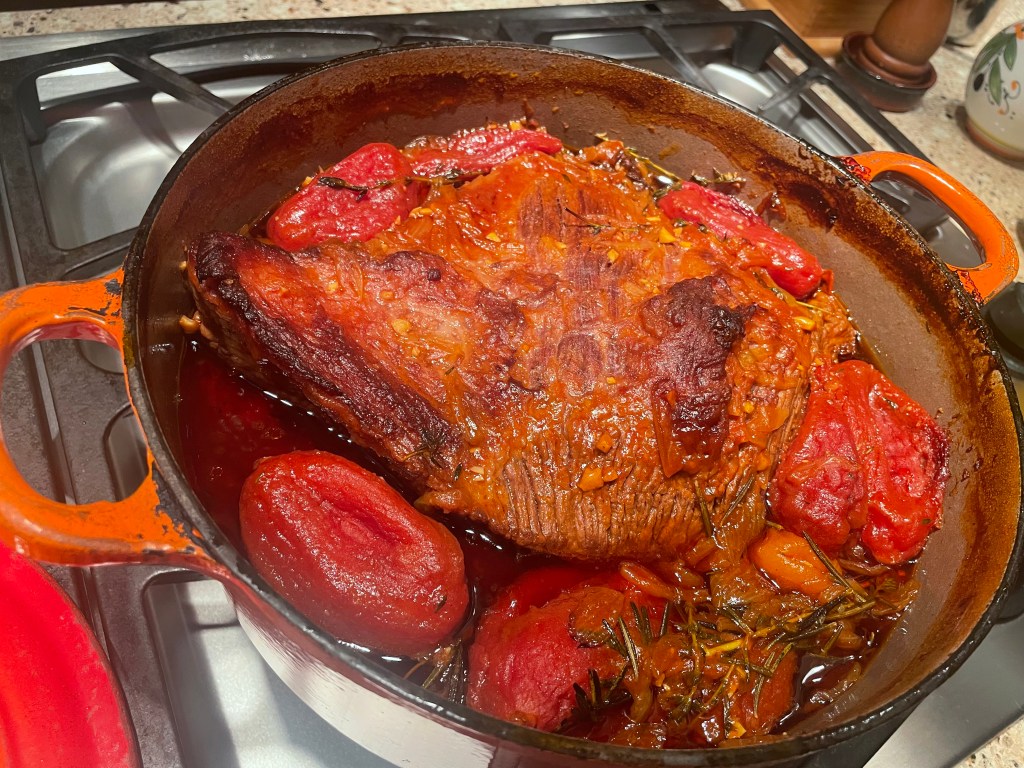
All braised.
After being poked and prodded a bit, but then allowed to cool in its sauce. And fridged overnight.

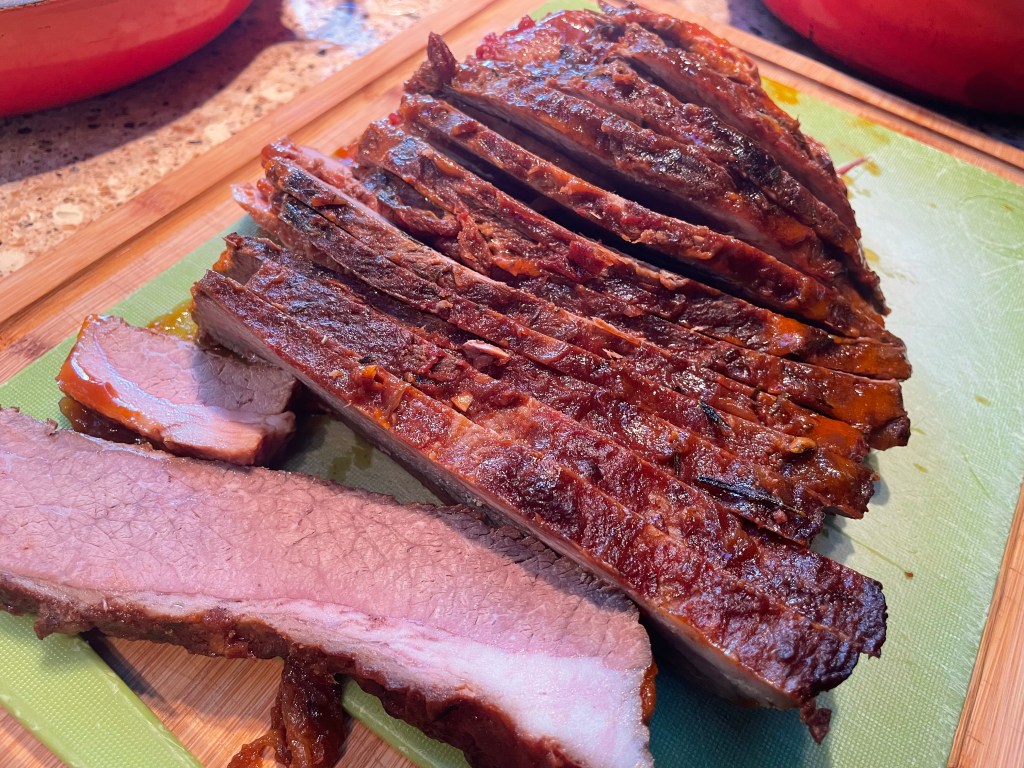
Ready for slicing.
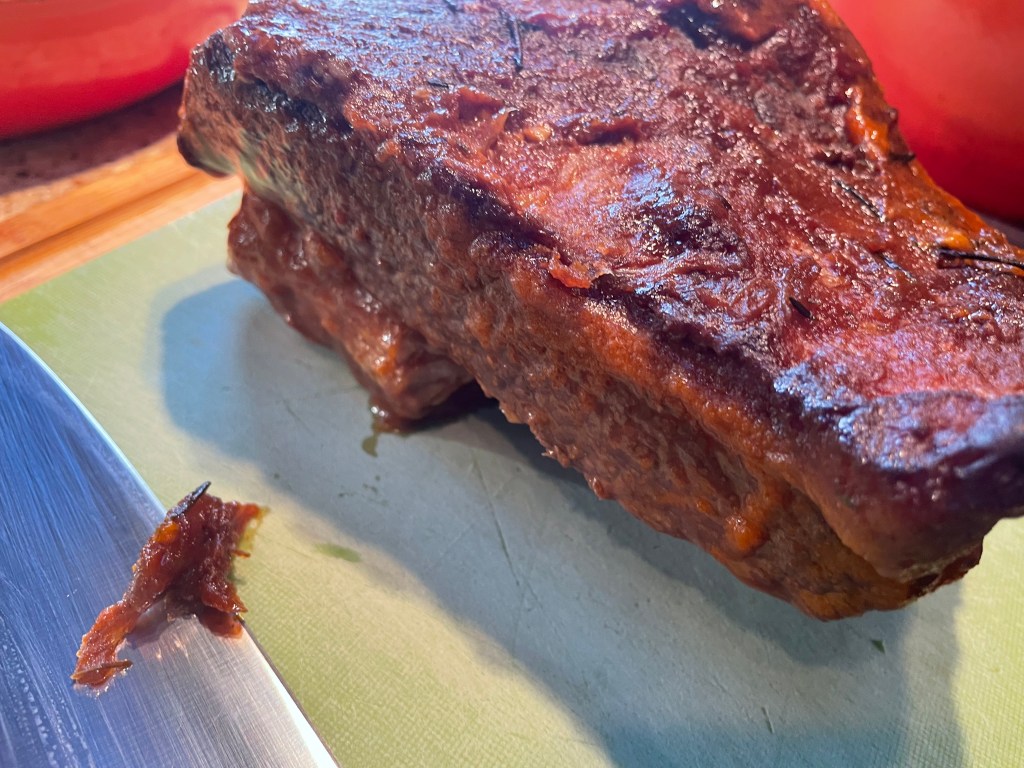
Got to have some beefy close-ups.

Yum.

Yum.

And yum.
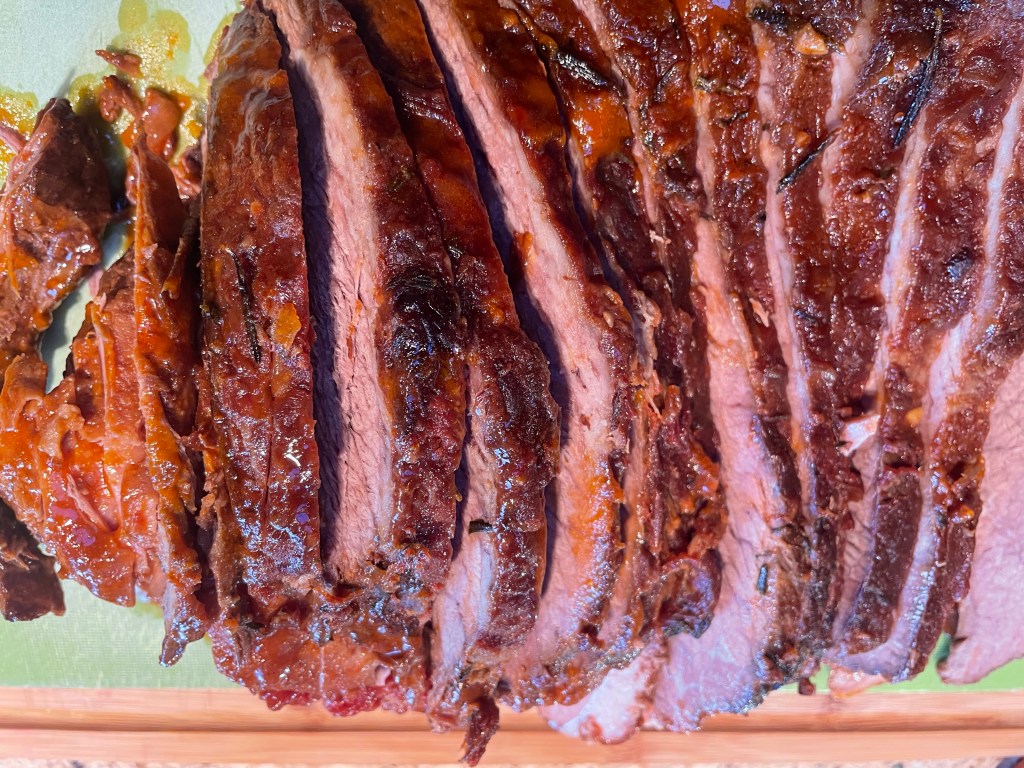
Ok, last one.
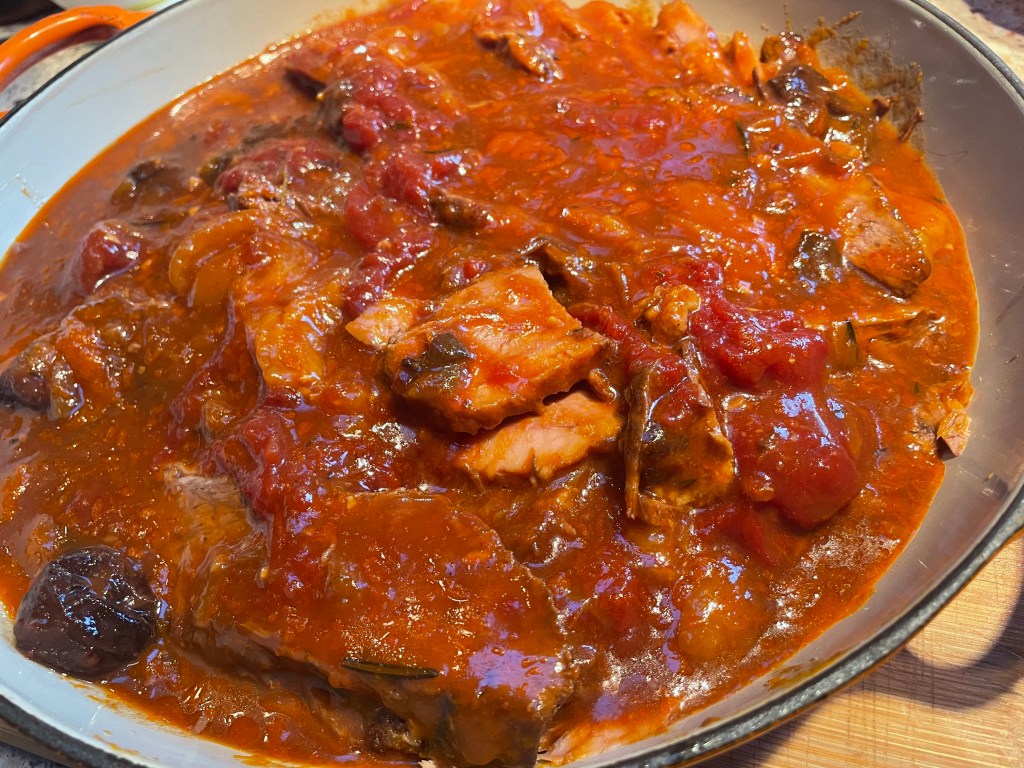
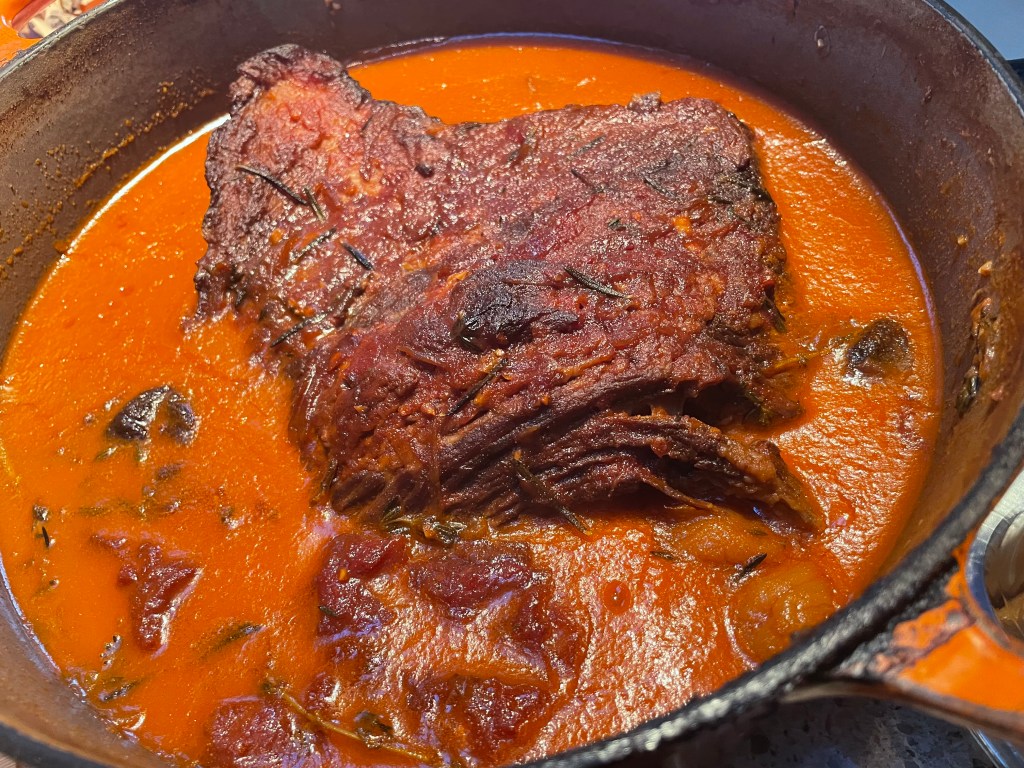
All the components reunited in the braising liquid. Ready to gently reheat and serve!
Tartiflette (French potato, bacon, and cheese casserole)

Serves 8
This recipe is luscious. Maybe a little too rich and creamy to serve as a side dish that is meant to soak up beefy juices from the brisket. But..oh well? I really have nothing to offer beyond that. EH/Elie likes carbs and we all like cheese and this is a greedy birthday celebration, after all.
If you wish to be more reticent (although, how restrained are you, really, while layering potatoes with bacon, cream, and a dreamy multitude of cheeses?) make this casserole your main meal, not a side. The salad I described above is not fussy. It goes as indiscriminately well with this potato dish as with the brisket.
The bones of this recipe come from www.thekitchn.com. Then I add the fat. I mean cheese. By fat, I mean more cheese than is technically sane…
Ingredients:

2kg/5lb Yukon gold potatoes, washed, peeled, and thinly sliced (0.5cm/1/4 inch thick – use a mandolin but only if you roll high on your dexterity check)
15g/1tbsp plus 5g/1tsp kosher salt, divided
115g/4oz Gruyère cheese, grated
500g/16oz round of soft, creamy, soft-rind cheese such as Brie or Camembert, cut into pie-shaped wedges
230g/8oz round of Reblochon cheese, cut into 12 pie-shaped wedges (this is the traditional, washed-rind, cow’s milk, Alpine cheese that makes Tartiflette Tartiflette. And not just a cheesy potato gratin. If you cannot find it, up the proportion of the other cheeses however your dairy-loving little heart desires)
200g/7oz thick-cut bacon (6 slices), cut into small lardons
3 cloves garlic, peeled and minced
1 yellow onion, peeled and diced
2 sprigs fresh thyme
Freshly ground black pepper, to taste
125ml/1/2 cup dry white wine
350ml/1 1/2cups heavy cream.
Method:
- Center a rack in the oven, preheat to 190C/375F.
- Place the sliced potatoes and 1 tbsp salt in a large pot of cold water. Bring to a boil and then turn down the heat, simmering for 5 minutes. The potatoes should be just cooked but still firm. They will finish cooking in the oven. Drain and set aside.
- Put the same pot back on the heat (No need to wash! Yay!). Add the bacon and cook until brown and crisp. Using a slotted spoon, remove the bacon to a bowl.
- Add the onions to the bacon grease in the pot and cook until softly translucent. Add in the garlic, thyme, 1 tsp salt, and black pepper. Cook until fragrant, another 1-2 minutes.
- Pour in the white wine, stirring and scraping to bring up any browned bacon and onion bits that may be sticking to the bottom. Let the mixture bubble away for 2-3 minutes. The wine will reduce and the harsh alcohol smell will dissipate. At this point, add the heavy cream and simmer for another 1-2 minutes.
- You are now ready to put the dish together. In a large baking dish (20x35cm/9x13inch), layer one half of the potato slices. Sprinkle with one half of the bacon pieces. Pour half of the cream mixture over the bacon, spreading the onion bits out evenly as you go. Top with one half of the grated cheese and cheese wedges. Repeat the layering with the remaining potatoes and all of the rest of the cream/onion mixture. Top with the second half of the grated cheese, and then arrange the cheese wedges over the top of the casserole. Finally, sprinkle the last of the bacon on top.
- Bake for 35-45 minutes until the cheese has melted, is bubbling luxuriantly, and is turning a tempting golden-brown. Allow to cool to a point where it will not immediately sear your tastebuds away, and then devour.
This recipe can be prepared up to the point of layering the dish. Cover and refrigerate until ready to bake. Or transport to a friend’s house to bake there, in preparations for spud and dairy-filled birthday celebrations…

Thinly sliced potatoes.

Cook until just starting to soften but still firmly keeping their shape.
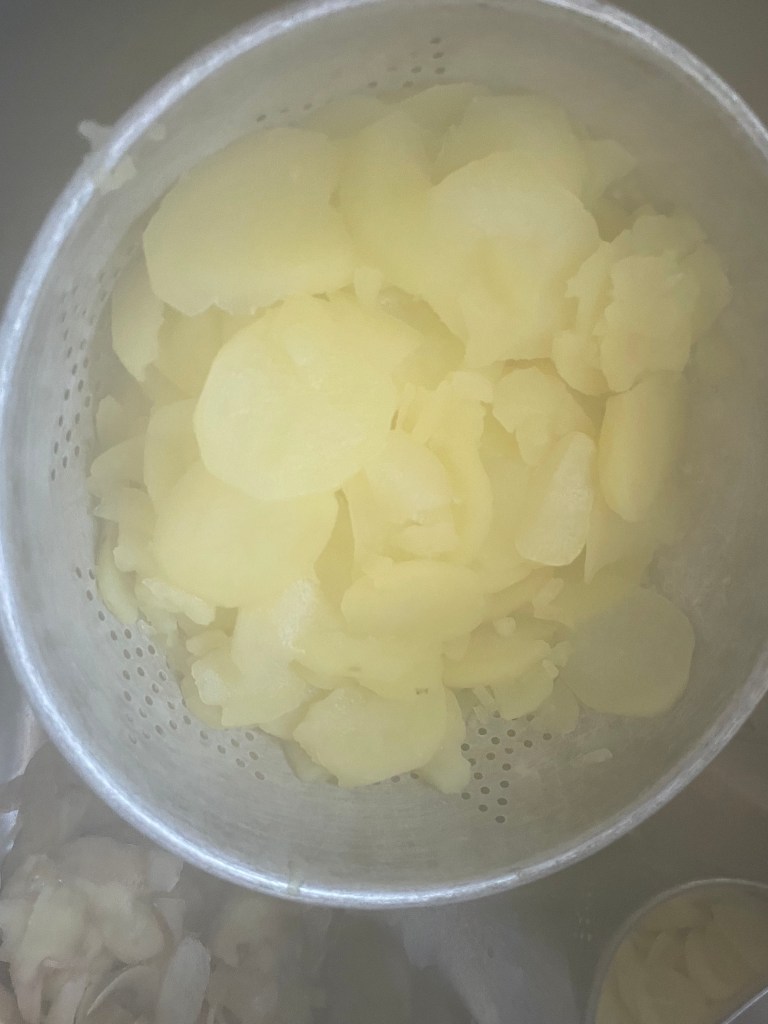
I definitely over-cooked mine.
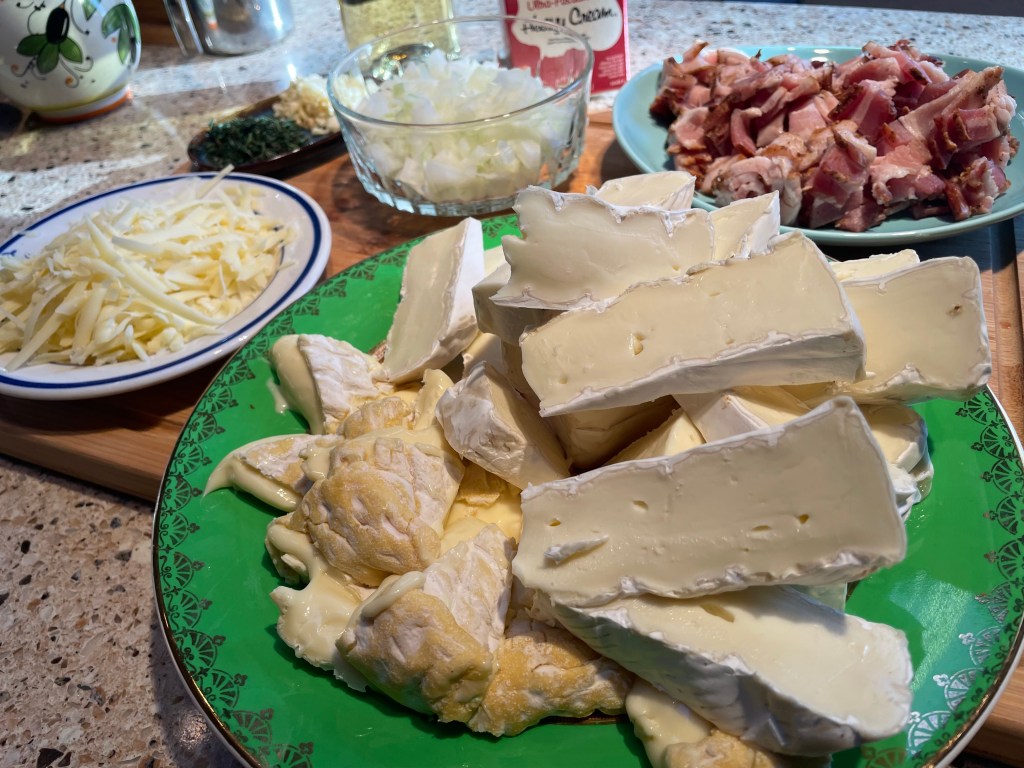
Prep your other ingredients. Drool a bit over the cheese. Gooey gooey cheese!

Pop the bacon into the same pot in which you (over) cooked those potatoes.

And cook until crisp and golden.
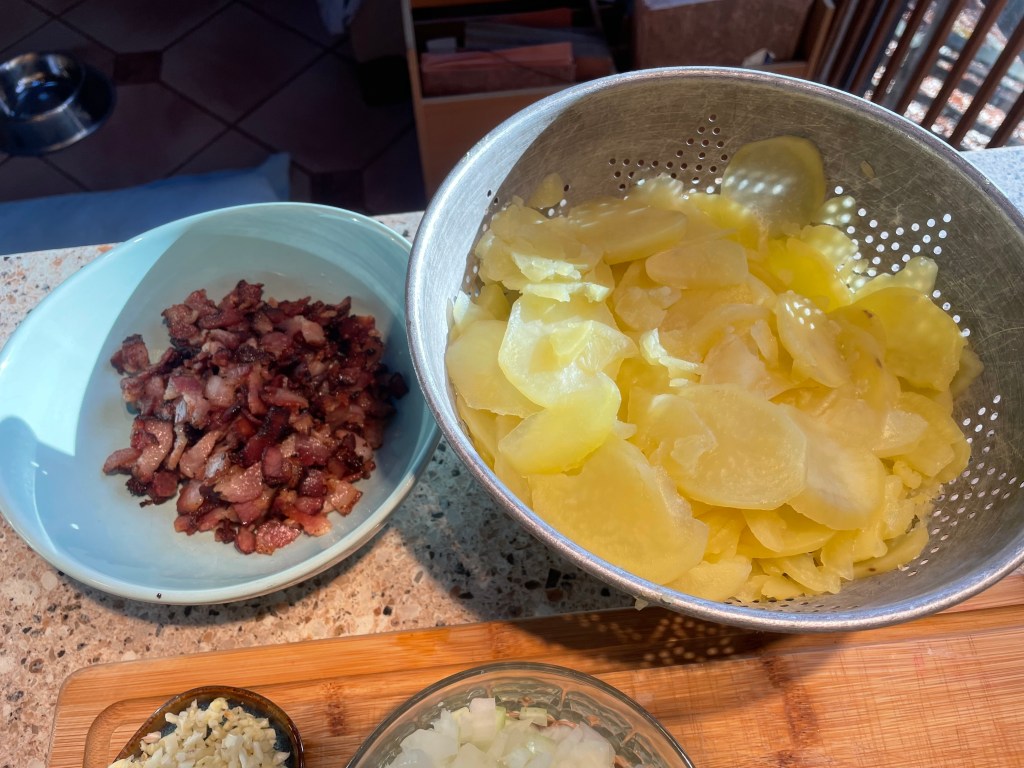
Set aside with your cooked potatoes.

Gratuitous cheese pic.
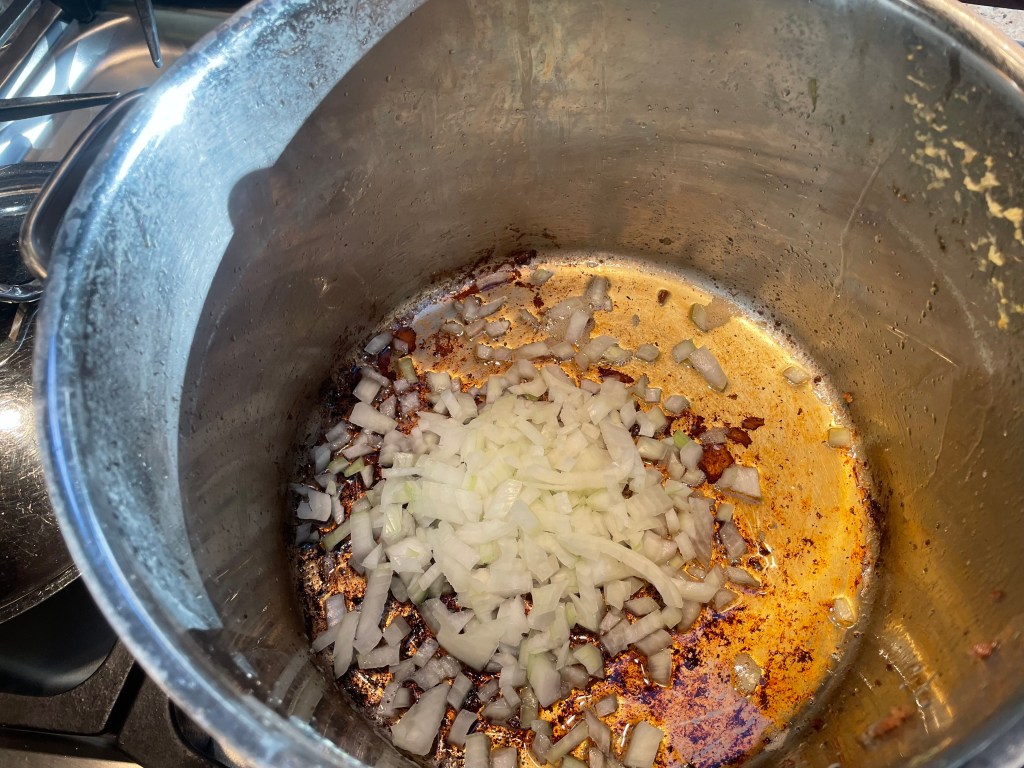
Sauté onion in the bacon grease.
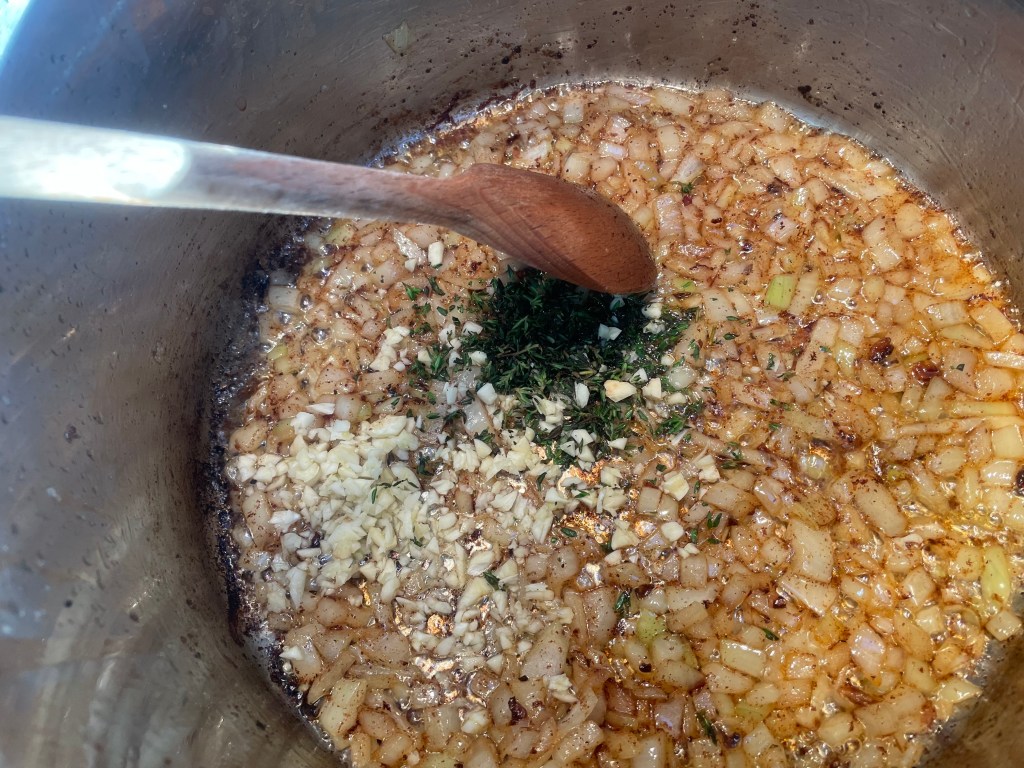
Add garlic and herbs.
Cook together for a minute or so.
Add wine and reduce.
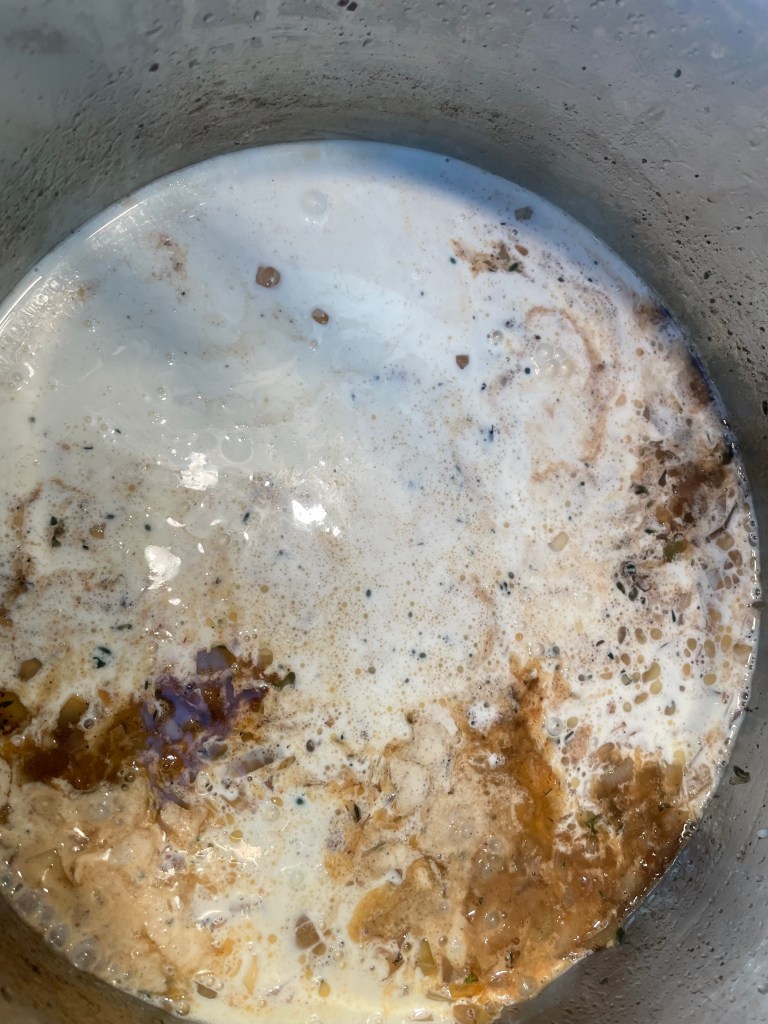
Mmmm. Cream.
Sauce is bubbling and ready.

Everything is in place. Let the layering begin!
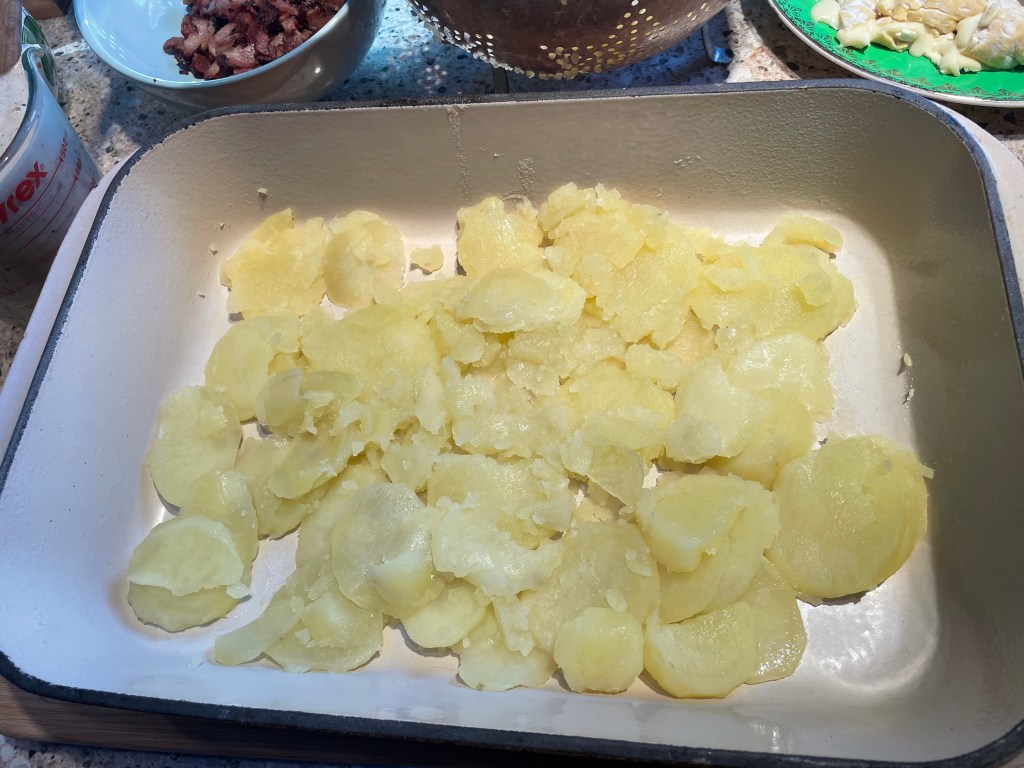
Spuds to start.

Then bacon.

Creamy sauce.
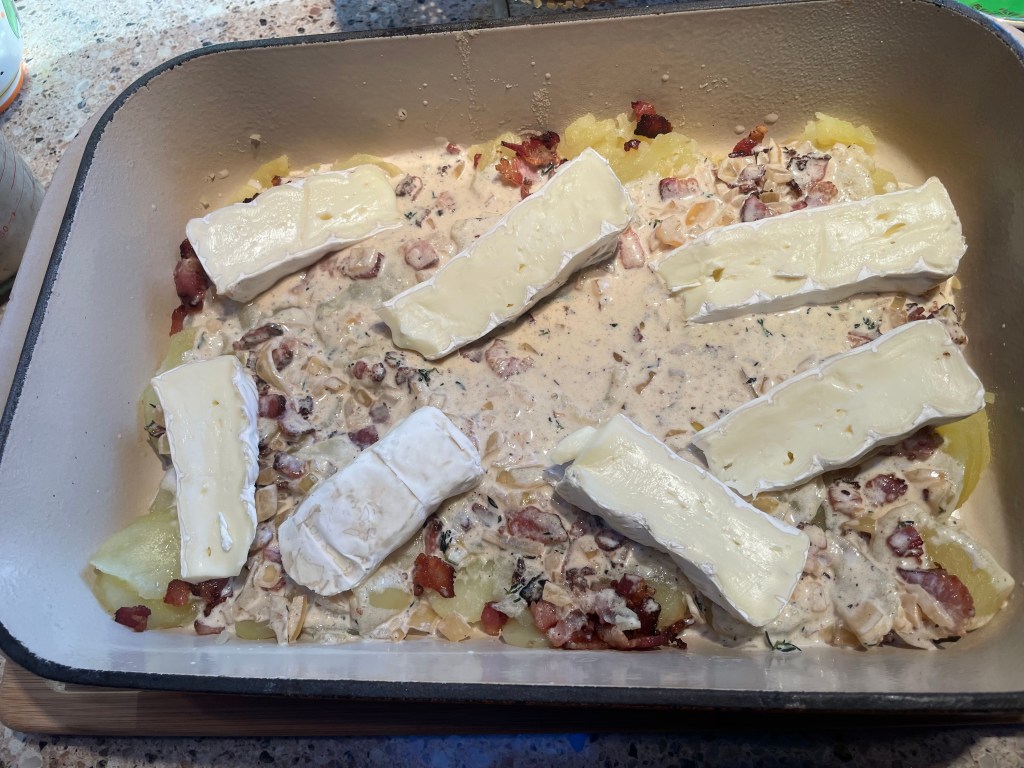
And cheese.

The triumphant return of the spuds.

More cream.
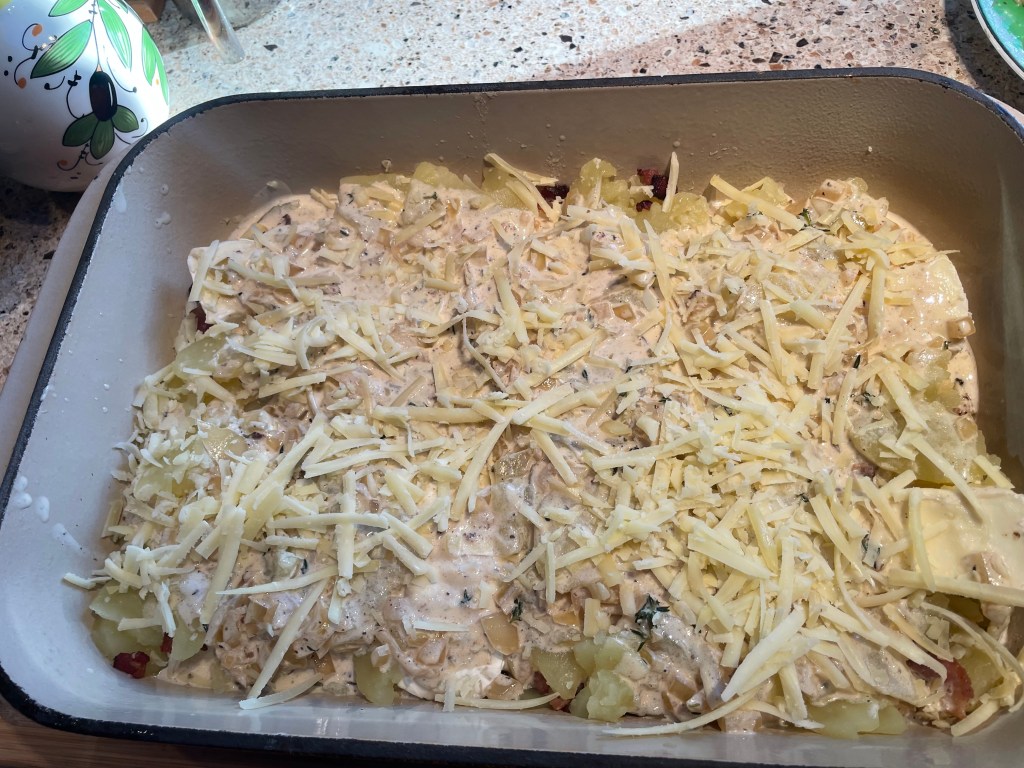
And cheese.
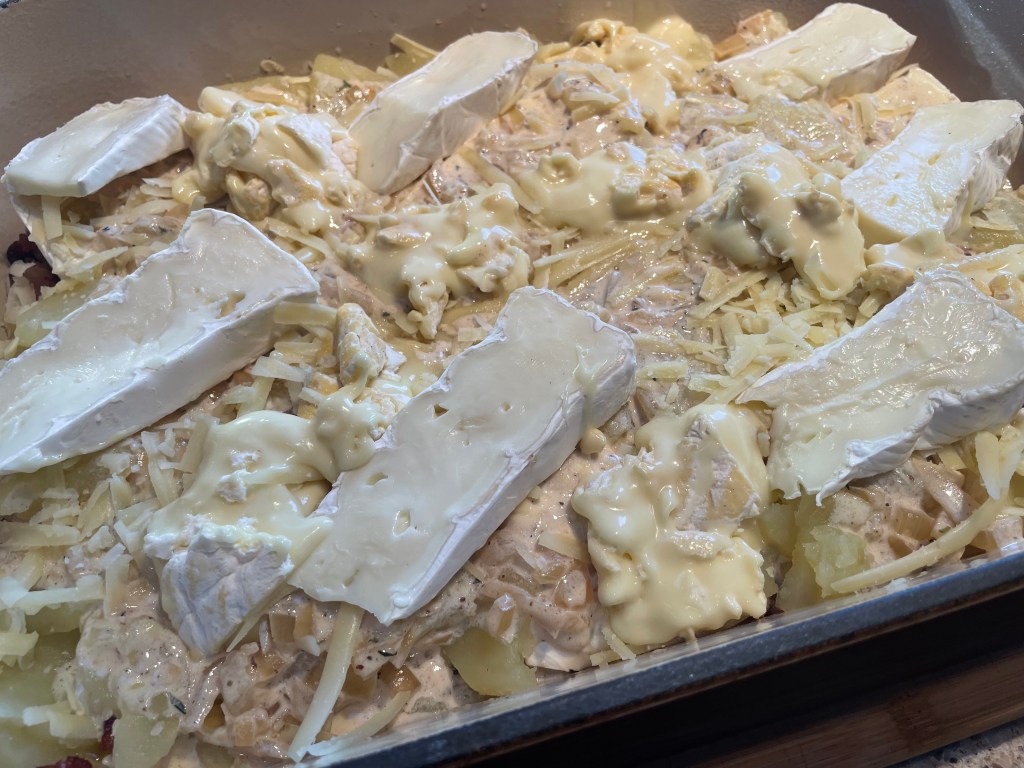
All the cheese!
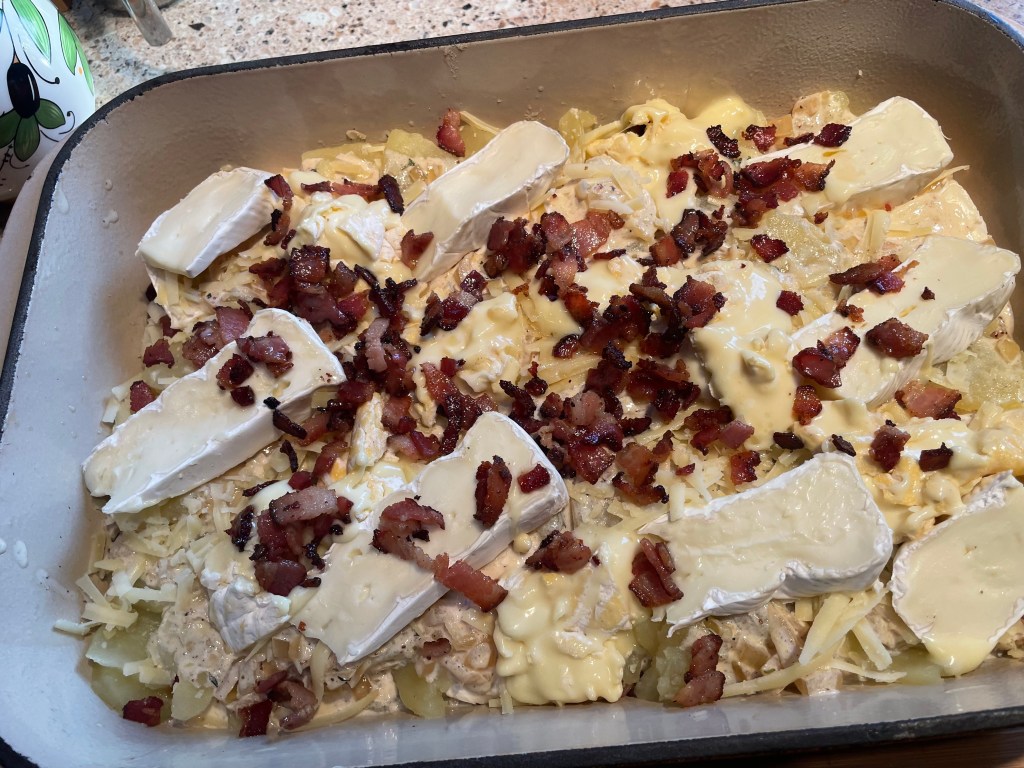
Final flourish of bacon. And it is ready to go into the oven. Alas, after this I packed up the baking pan and cooked it at EH’s home. Where, in all the birthday excitement, I forgot to take pictures of the finished dish. Just picture the above only meltier and golden and bubbling and hot…
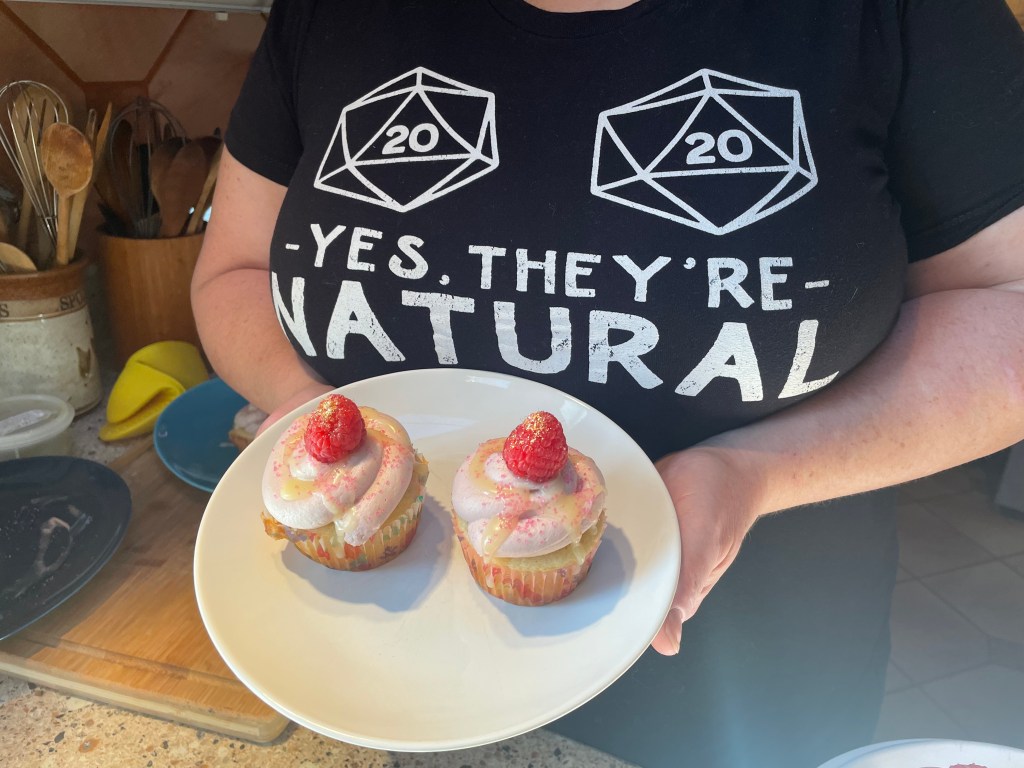
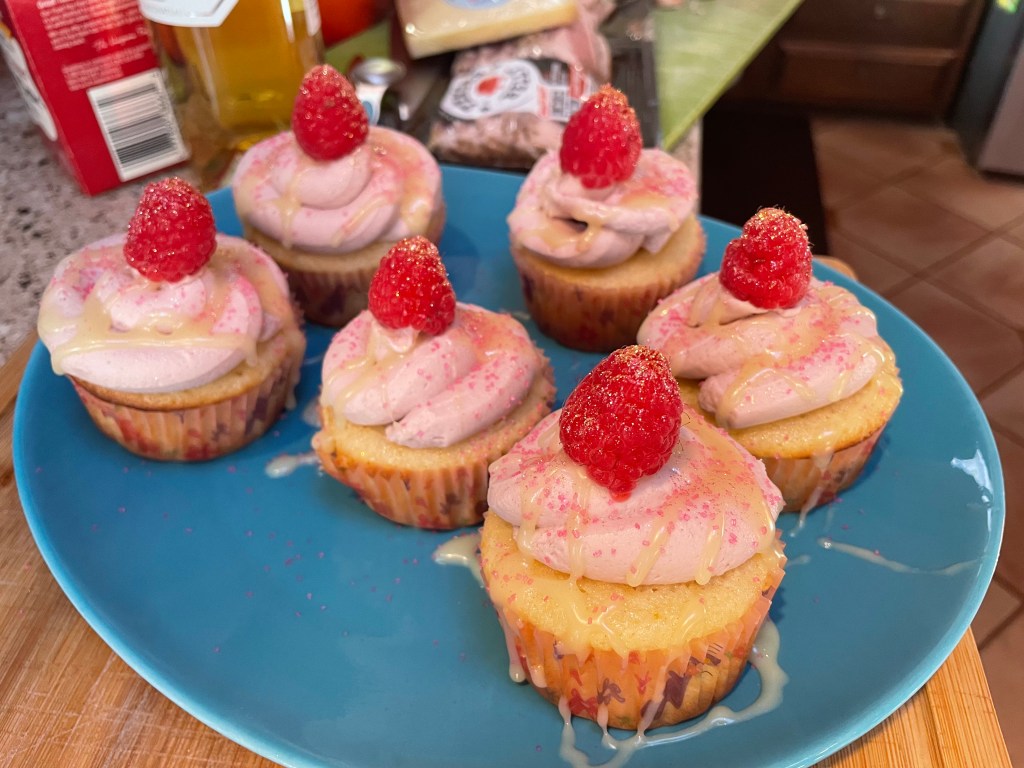
Vanilla cupcakes with raspberry filling, raspberry-buttercream frosting, and white chocolate ganache drizzle. Or, let’s face it: Boob Cakes.
Makes 12 cupcakes
I have happily reached my Nanny Ogg apotheosis with this cheeky dessert. The recipe is from www.chelsweets.com. But the snort-inducing qualities of the cupcakes (these little confections would, I fondly imagine, have Elie guffawing in raucous delight) are my own. It’s really all about how you place the raspberries. And how you drizzle that white chocolate…
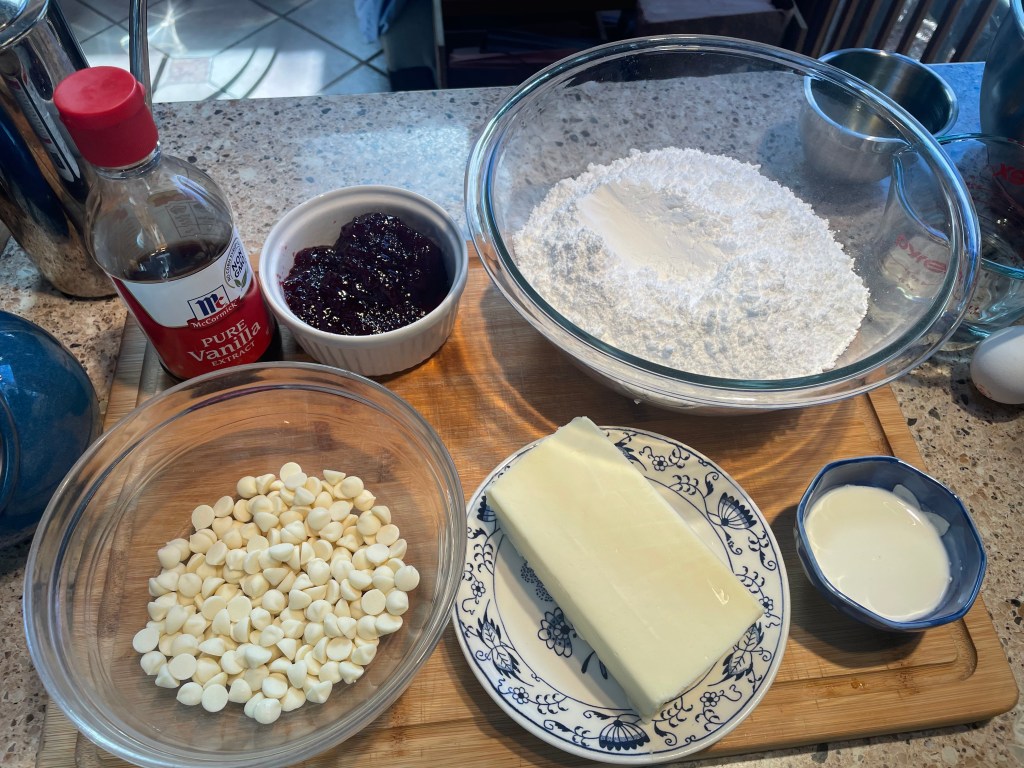
Ingredients:
For the vanilla cupcakes:
160g/1 1/4 cups all-purpose flour
200g/1 cup granulated sugar
7.5g/1 1/2 tsp baking powder
2.5g/1/2 tsp salt
125ml/1/2 cup sour cream, brought to room temperature
125ml/1/2 cup water, tepid
54ml/1/4 cup vegetable oil
1 large egg, brought to room temperature
15ml/1 tbsp vanilla extract
For the raspberry-buttercream frosting:
85g/1/2 cup white chocolate, melted and allowed to cool slightly
230g/2 sticks unsalted butter, room temperature
5ml/1 tsp vanilla extract
1g/ 1/4 tsp salt
454g/3 1/2 cups icing or confectioners sugar
15ml/1 tbsp heavy cream
90/1/4 cup raspberry preserves
For the white chocolate ganache drizzle
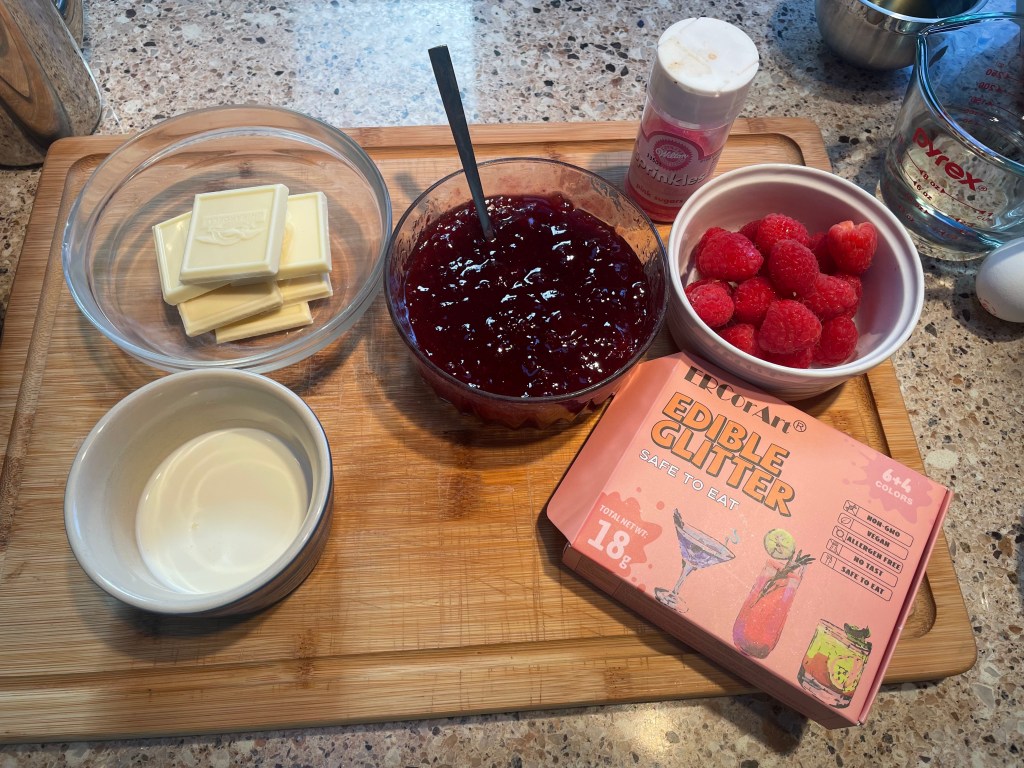
85g/1/2 cup white chocolate
30ml/2 tbsp heavy cream
Cupcake filling and garnish:
250g/1 cup raspberry preserves
Edible glitter
Method:
For the cupcakes:
- Apply non-stick spray or spread of your choice, or line your cupcake pan with paper liners (I used unicorn-patterned ones!). Center a rack and preheat the oven to 175C/350F.
- Combine flour, sugar, baking powder, and salt in a large bowl. Whisk briefly to aerate.
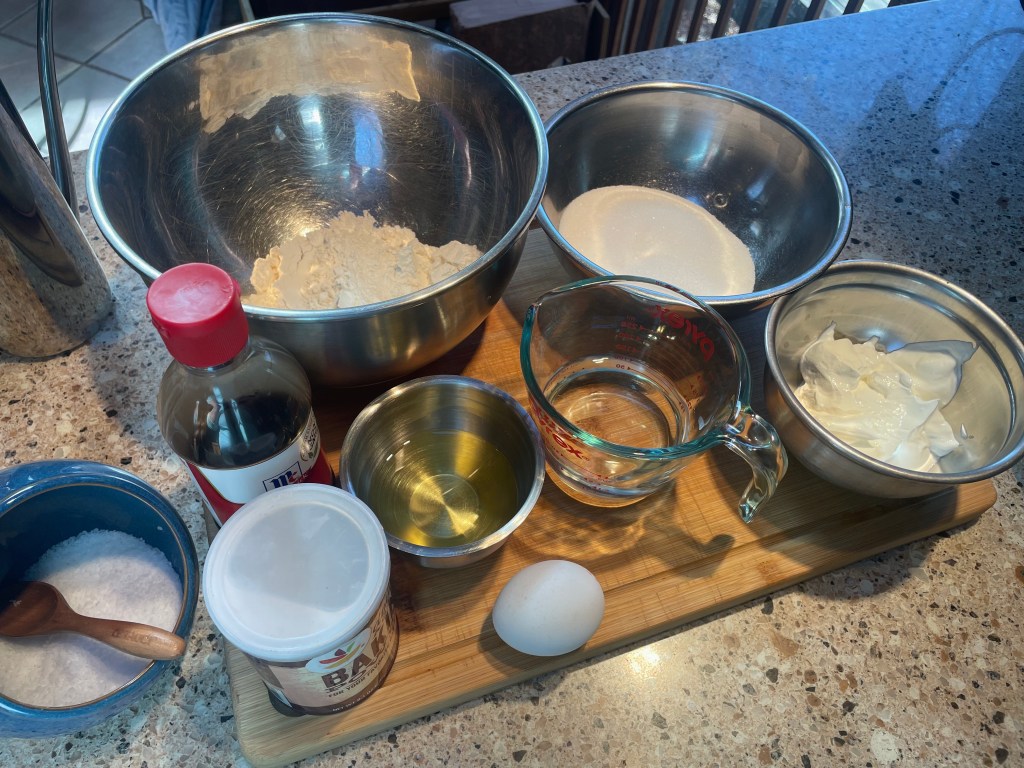
- Add sour cream, water, vegetable oil, egg, and vanilla extract to a jug or medium bowl. Whisk to mix them together.
- Pour the liquid ingredients into the dry ingredients and mix gently. Do not over-mix. Stir just long enough to bring everything together into a mostly cohesive batter.
- Divide the batter between the cupcake liners. I use an ice-cream scooping spoon to plop down enough batter to fill each liner about 3/4 full.
- Bake for 18-20 minutes, until the edges of the cakes are just pulling away from the sides of the liners, the centers of the cakes are set, and a toothpick stabbed into a defenseless cupcake emerges looking clean.
- Allow to cool fully before decorating. If you are in a hurry, place the cupcakes in the freezer to cool.
For the raspberry-white chocolate buttercream:
- Place a small pot, approximately 1/4-/13 full of water, over high heat. Bring to a boil, then lower the heat until just simmering. This is your water bath. You are welcome to attempt to melt your white chocolate in the microwave. But, as a reluctant, bitterly humbled member of the “First-it-goes-grainy-then-it-immediately-chars-but-somehow-it never-actually-stops-being-solid” club, I vote for double-boiler method for white chocolate. Every time. Every time that you want silky smooth, meltingly sensuous chocolate, that is. Rather than a glob of curdled dairy weirdness that mocks you with its persistently chunky state.
- In a medium, heat-proof bowl, place your 1/2 cup of chocolate or white chocolate chips. Put the bowl over the simmering water and warm gently. Stir frequently and, when melted, remove from the heat and set aside.
- Place the room temperature butter in a large bowl, or in the bowl of a stand mixer. Beat briefly with the paddle attachment, just until smooth.
- Add vanilla extract and salt, mixing on low speed to combine. Add the icing sugar, raspberry jam and heavy cream. Pause and scrape down the sides of the bowl as needed, and then continue mixing until all the ingredients come together.
- Pour in the melted chocolate and mix until combined. The recipe suggests adjusting the consistency of the frosting as needed (add additional heavy cream if too thick, or more icing sugar if too runny). I found that the recipe, as written, resulted in a lovely, thick but spreadable, frosting consistency.
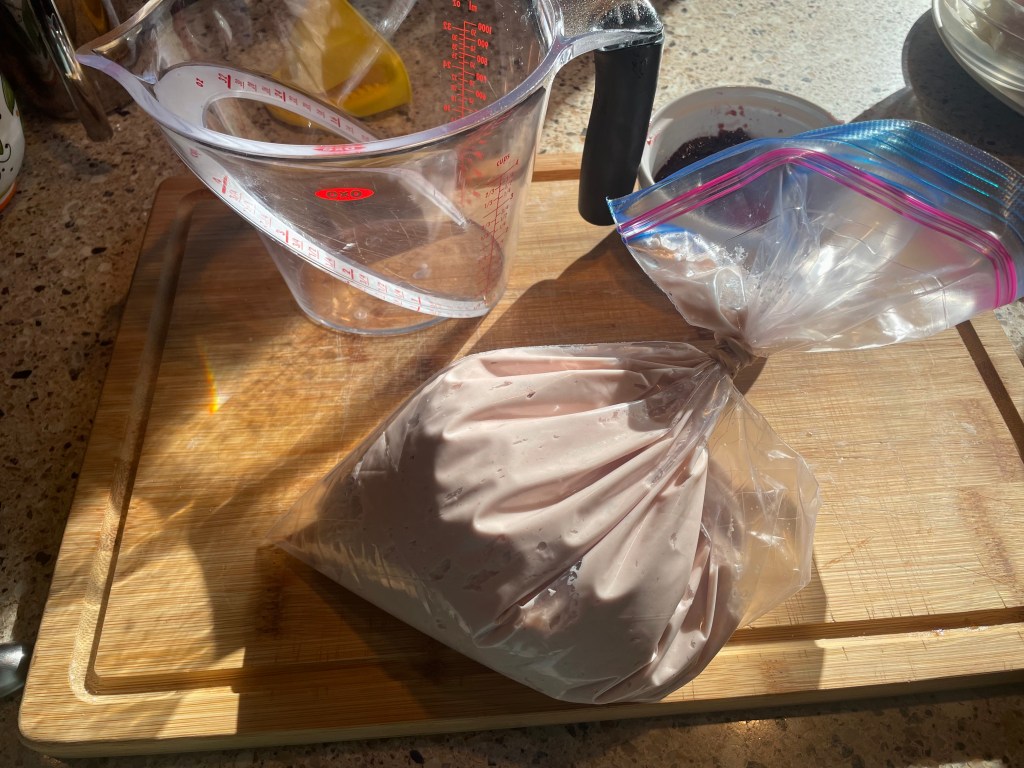
- Transfer the frosting into a piping bag. Or, in my case, a large sealable plastic bag. Set aside until you are ready to decorate your boobs. I mean, cupcakes.
For the white chocolate ganache:
- Hey, look at that! You already have a double boiler situation prepared! Use it.
- Place the white chocolate and heavy cream in a heat-proof bowl, set over the gently simmering water, and allow the mixture to melt.
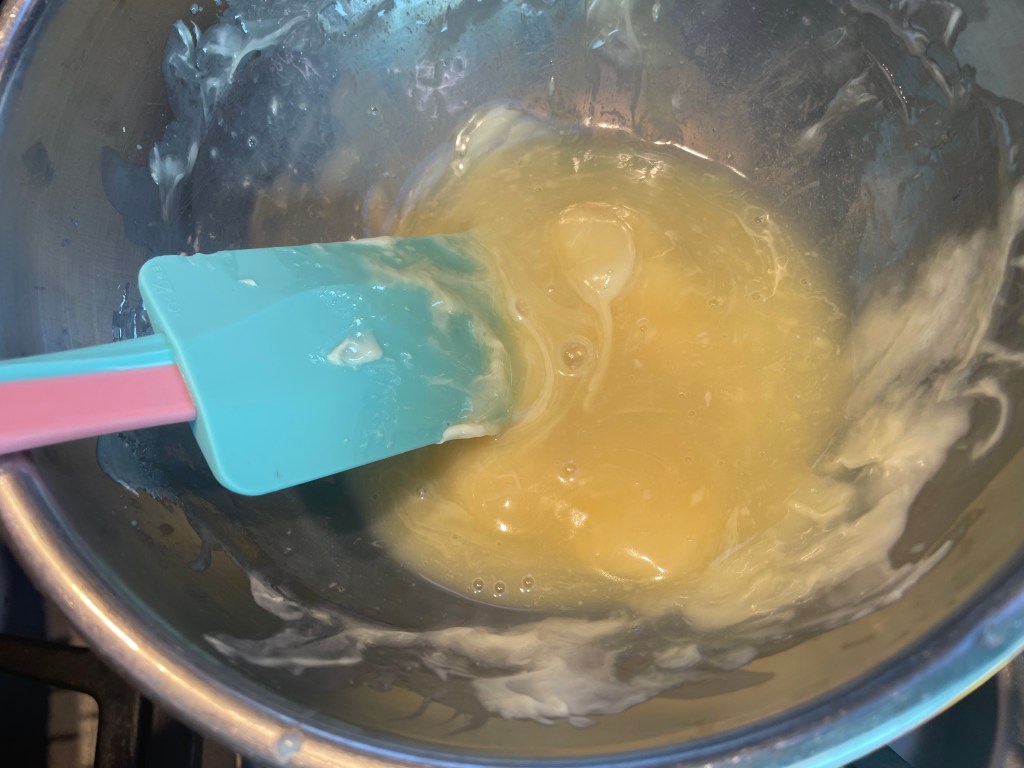
- When the chocolate has mostly melted, remove from the heat and allow to rest quietly. The residual heat will finish the melting process. But this will not work if you prod and poke at it nervously. Just let it do its thing for a hot second. I mean, minute.
- After a minute or two, stir the ganache together. It should be very smooth and glossy. Leave to cool for another few minutes (maybe 7-10), and then transfer to a small piping bag. Or a smaller plastic resealable baggie. Set aside until – oh my – ready to drizzle.
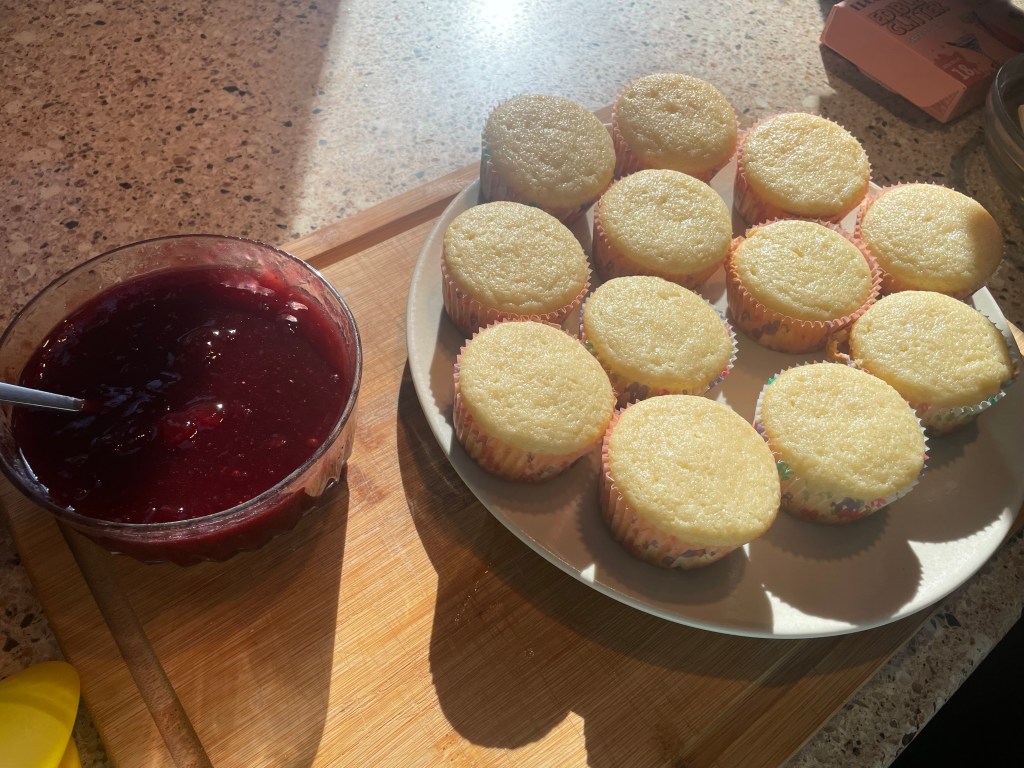
Bringing it all together:
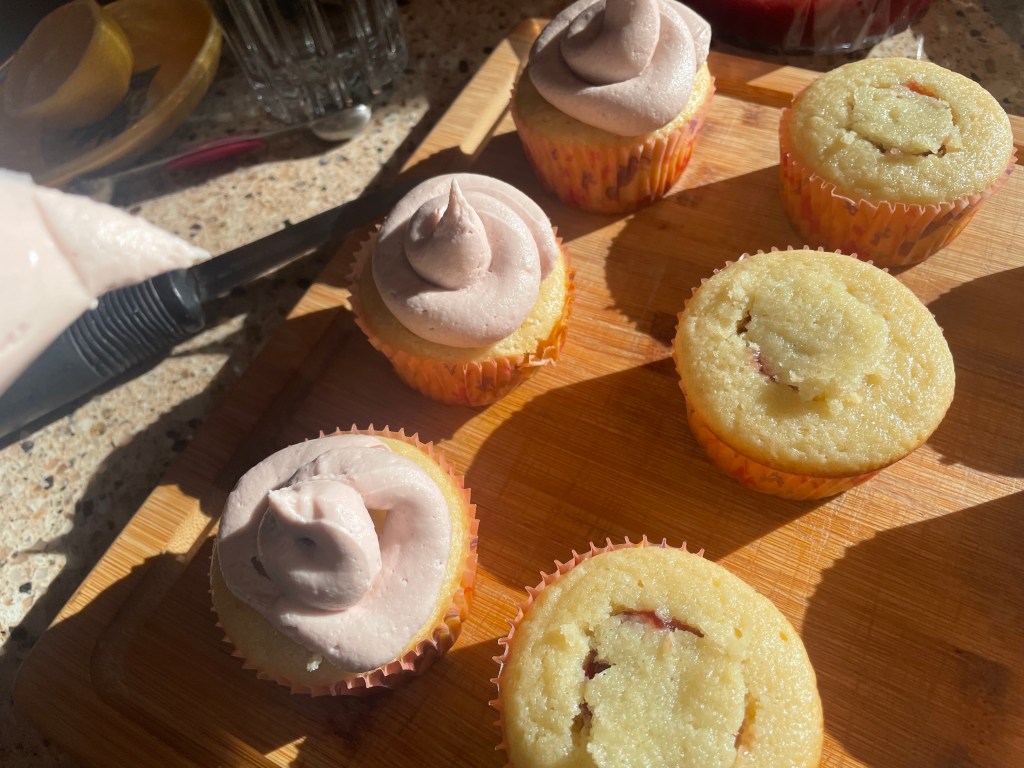
- Use a small knife or spoon to cut or scoop out the top and center of each cooled cupcake. Fill the resulting defect with a spoonful of raspberry jam. I trimmed and replaced the little cake tops after filling the cakes. To create a more even top surface and to prevent the jam filling from bleeding into the frosting. But the original recipe does not call for this step.
- Pipe a swirl of raspberry buttercream frosting over each cupcake. Chill the frosted cakes in the fridge for 15 minutes. Or in the freezer for 5 minutes. Or in the freezer for 25 minutes if, like me, you get busy doing something else and forget about your overly-chilled babies. Anyway, this will ensure that the frosting is sufficiently firm to take the ganache drizzle without smearing or collapsing.
- Proceed to drizzle the white chocolate ganache over the frosted cupcakes. Have fun with this. Embrace your chaotic alignment. Only you know what aesthetic effect you are, er, aiming to achieve…
- Time for the best part: the raspberries. I find that selecting especially juicy and well-shaped berries and then delicately balancing each jewel-like fruit atop the creamy pyramid of frosting gives the desired appearance. Or, at least, the appearance that I desire. But that’s just me. And Nanny Ogg…
- As a final flourish, because it’s me, sprinkle a little edible glitter over the entire suggestive production. Mmmm, so deliciously sparkly…
PSA: Raspberry nipples may be moved aside to allow a birthday candle to be pushed into the cake. It will still taste good.
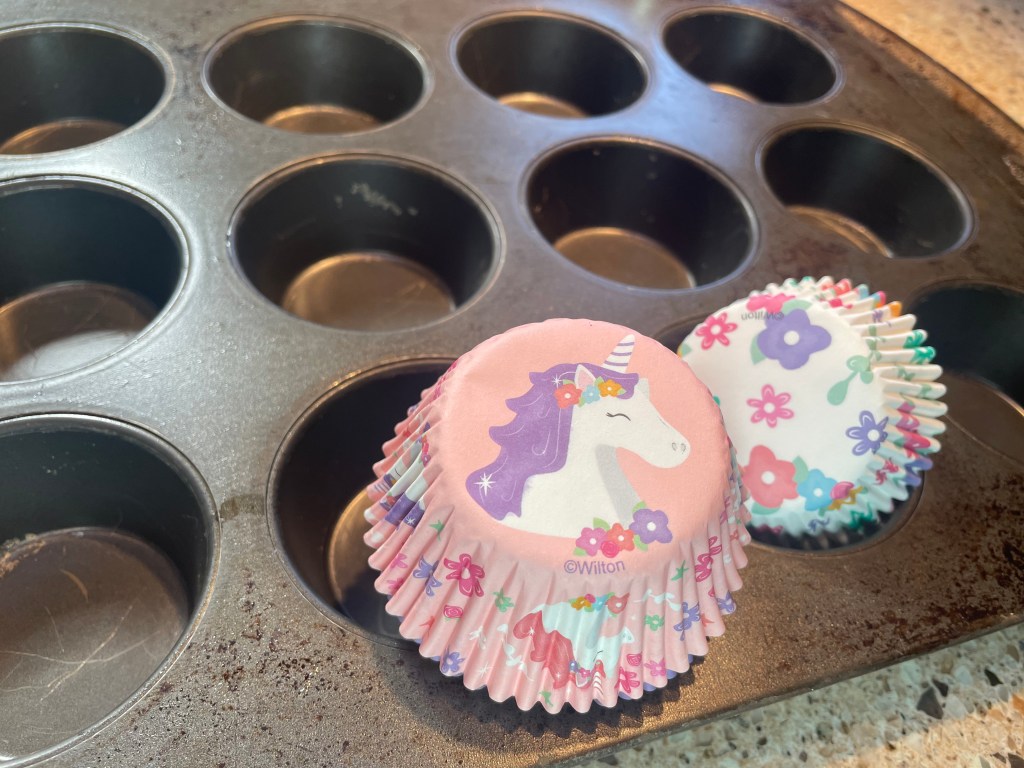
Unicorn happiness!
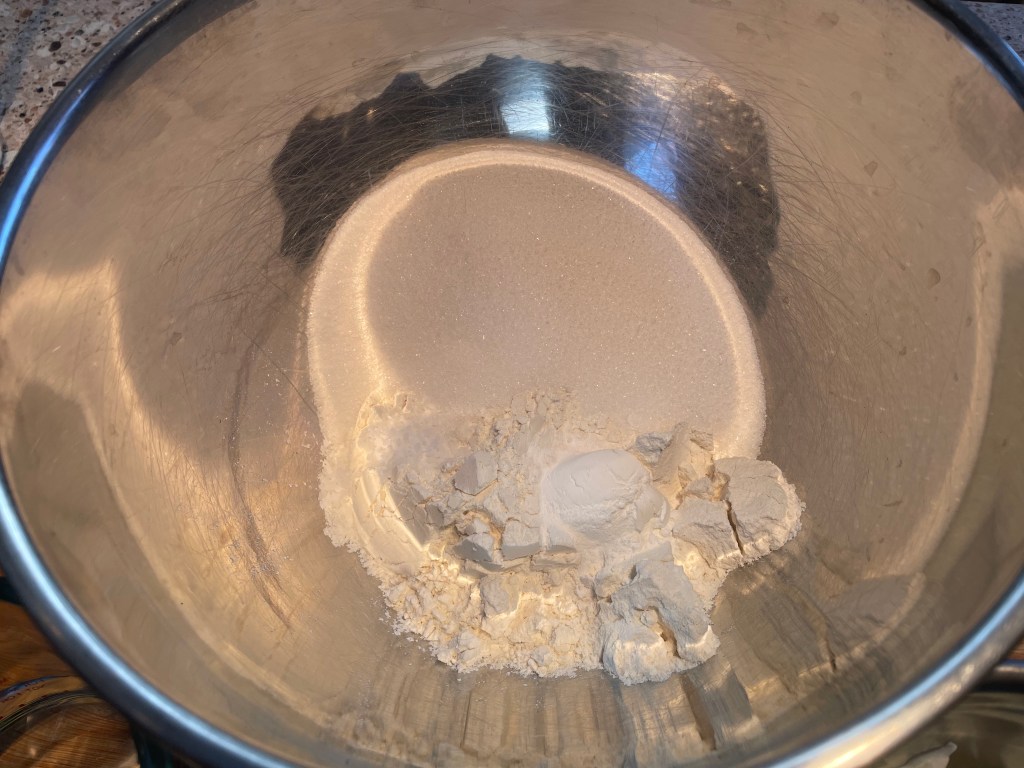
Weigh out your dry ingredients.
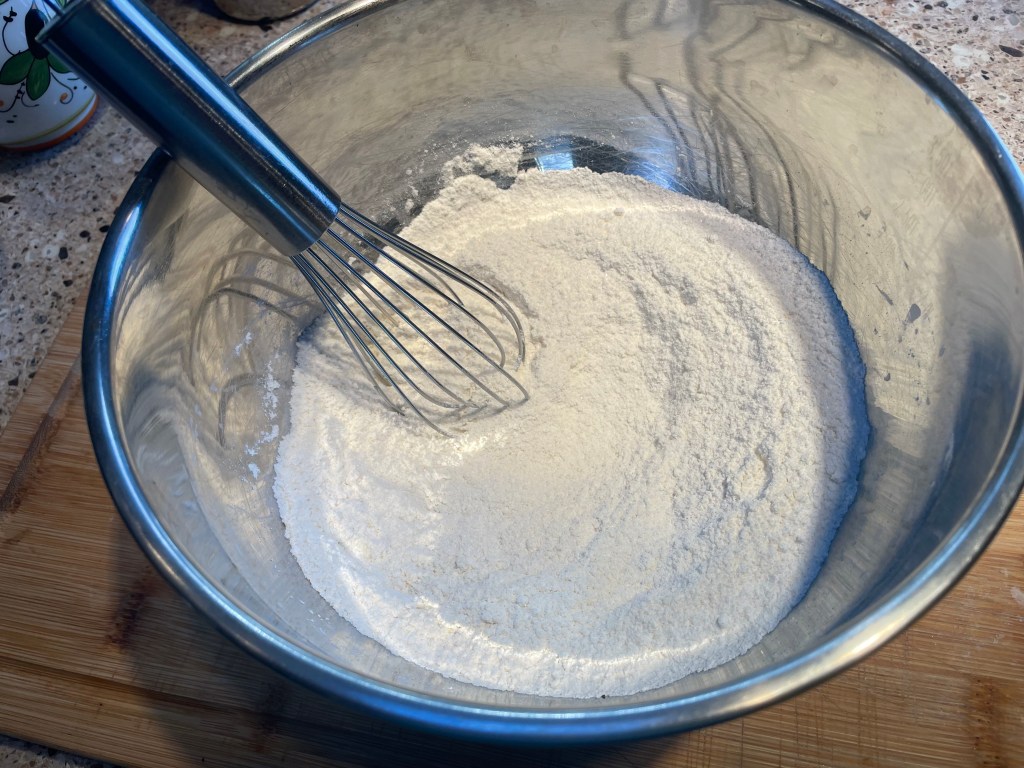
Whisk briefly to combine.
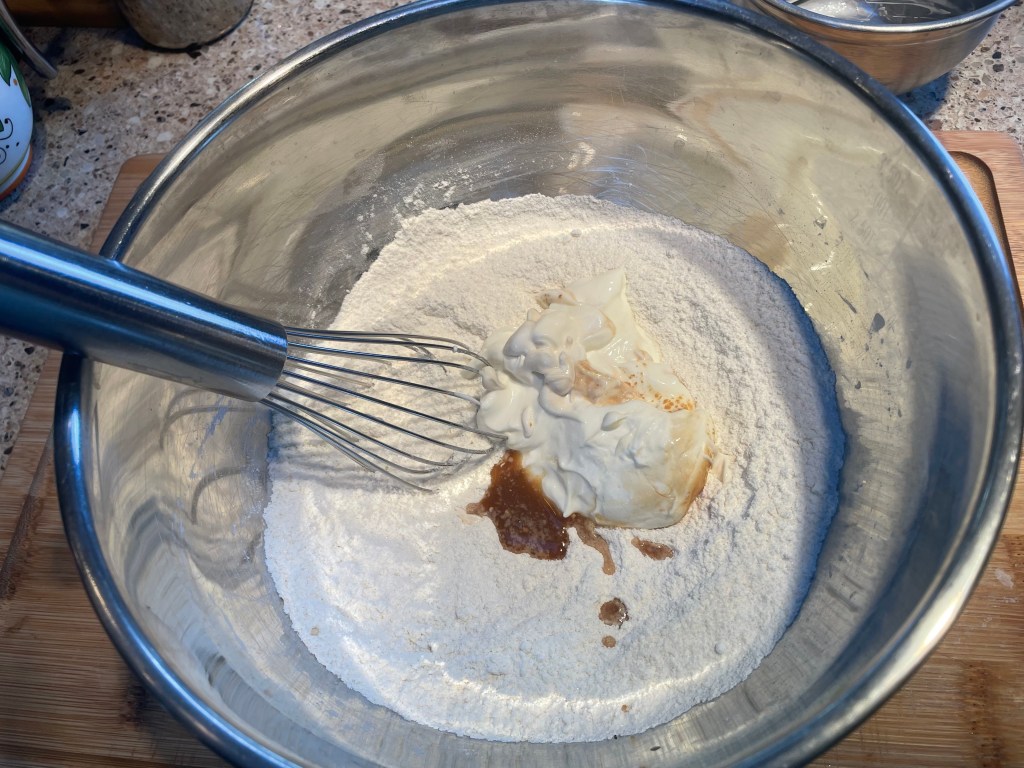
Then start adding your liquid ingredients.

Ready to mix.

Bring it together gently.

Scoop into your cupcake liners.

Resist the overwhelming temptation to overfill the liners. Or maybe that’s just a me problem.
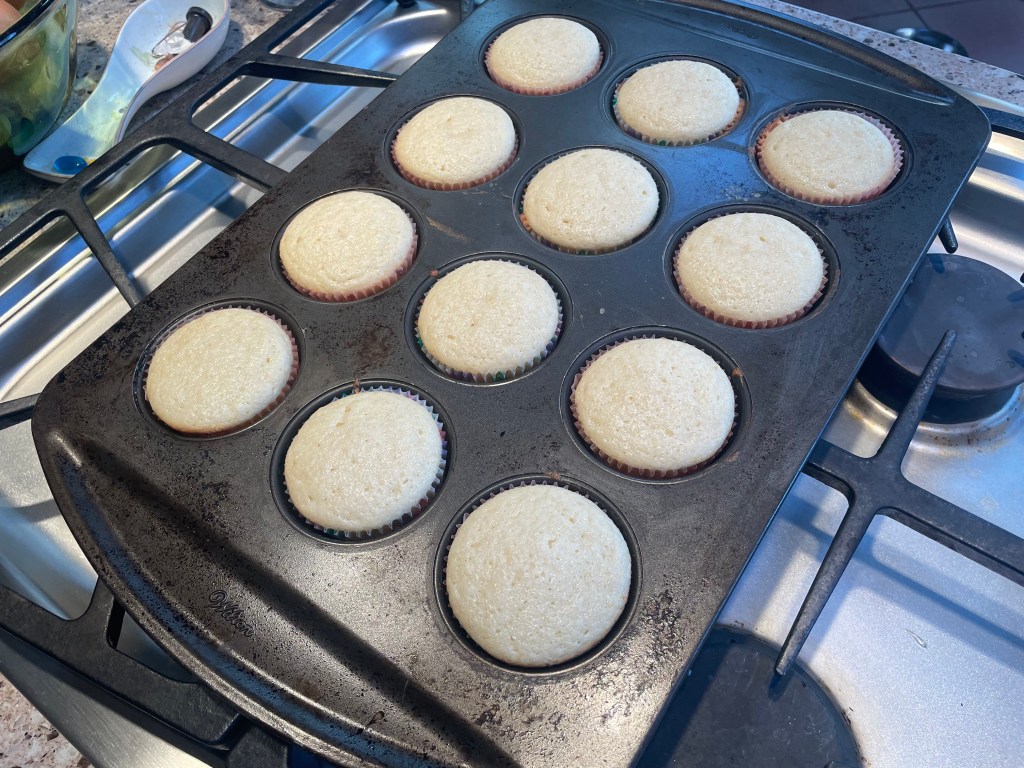
All baked.
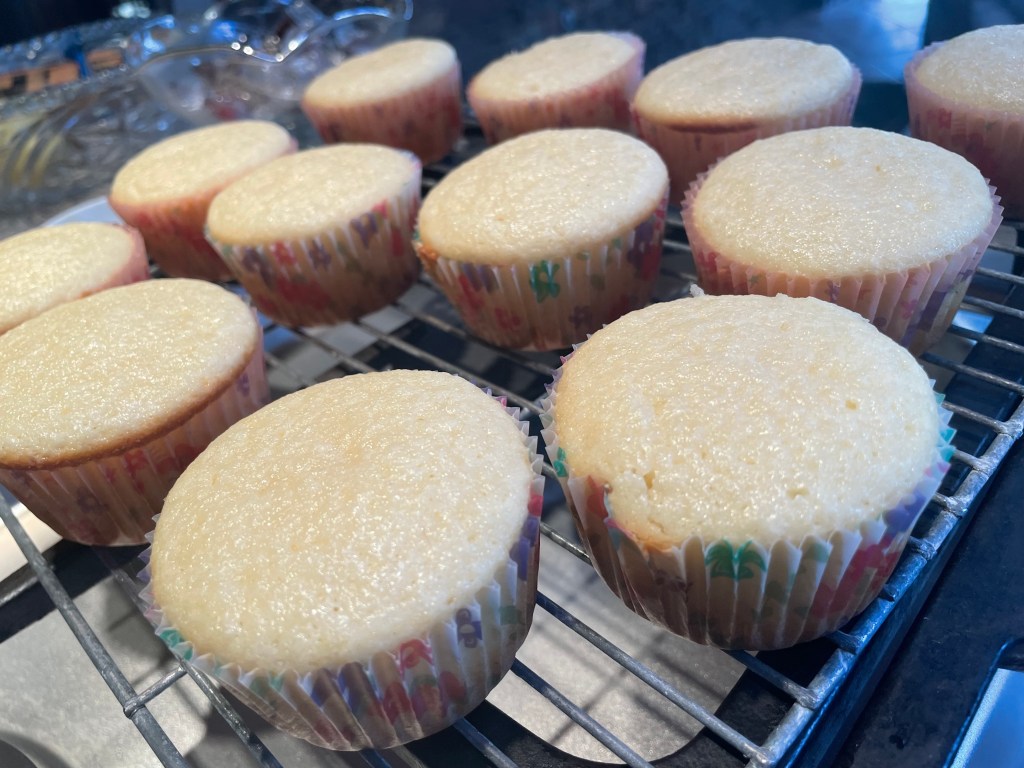
And cooling.
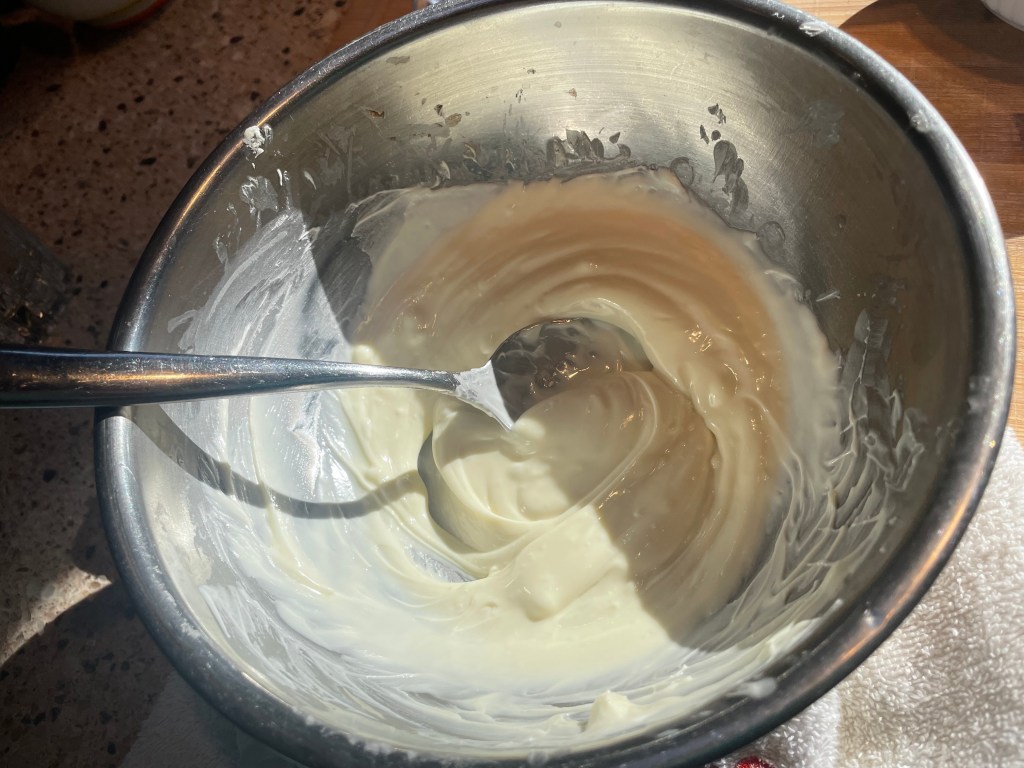
Remember, white chocolate hates you. It is not personal. White chocolate hates the world. Do not show fear. Be firm. And use a double boiler.

Finger impression in the butter to show that it is good and squishy.

Paddle it. Don’t be shy.
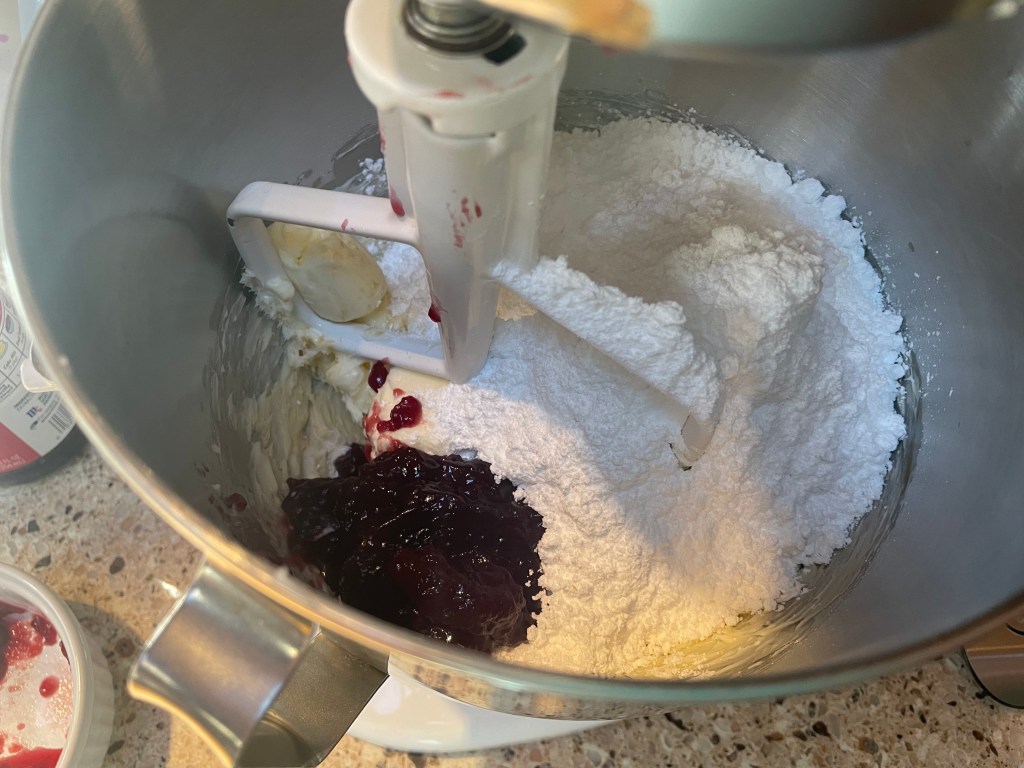
Add sugar and preserves.

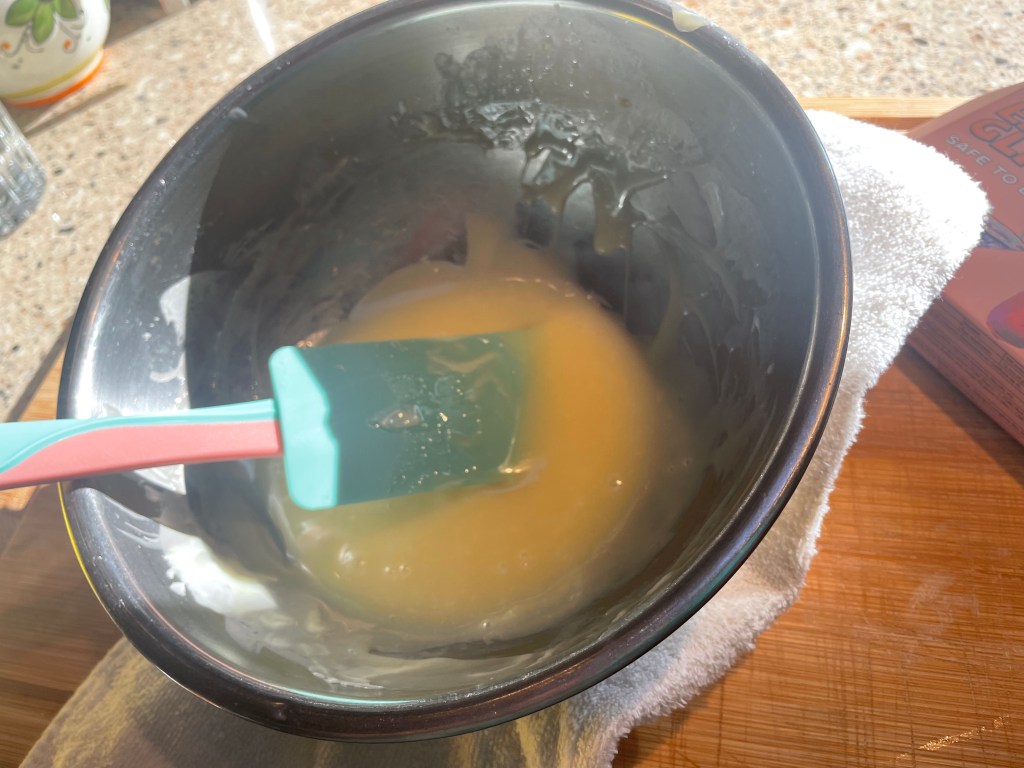
It comes together into something rather vividly pink.
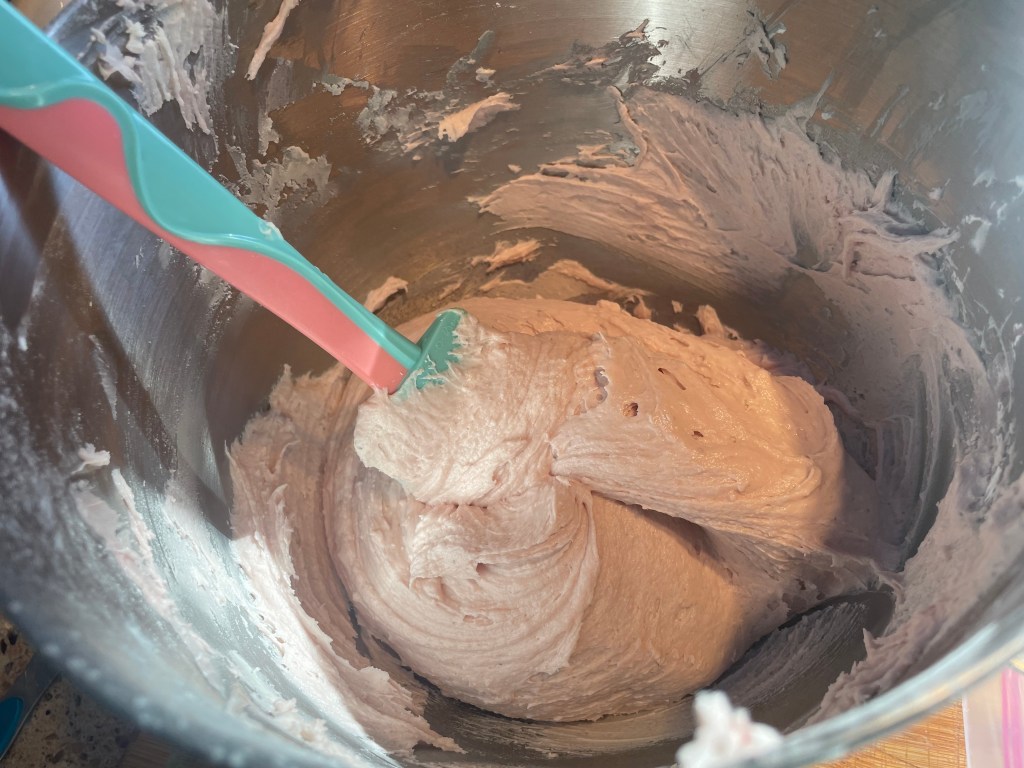
Adding the melted chocolate mutes that color into slightly more…anatomically accurate tones.
Ready to frost.
But don’t forget to first fill your cupcakes.
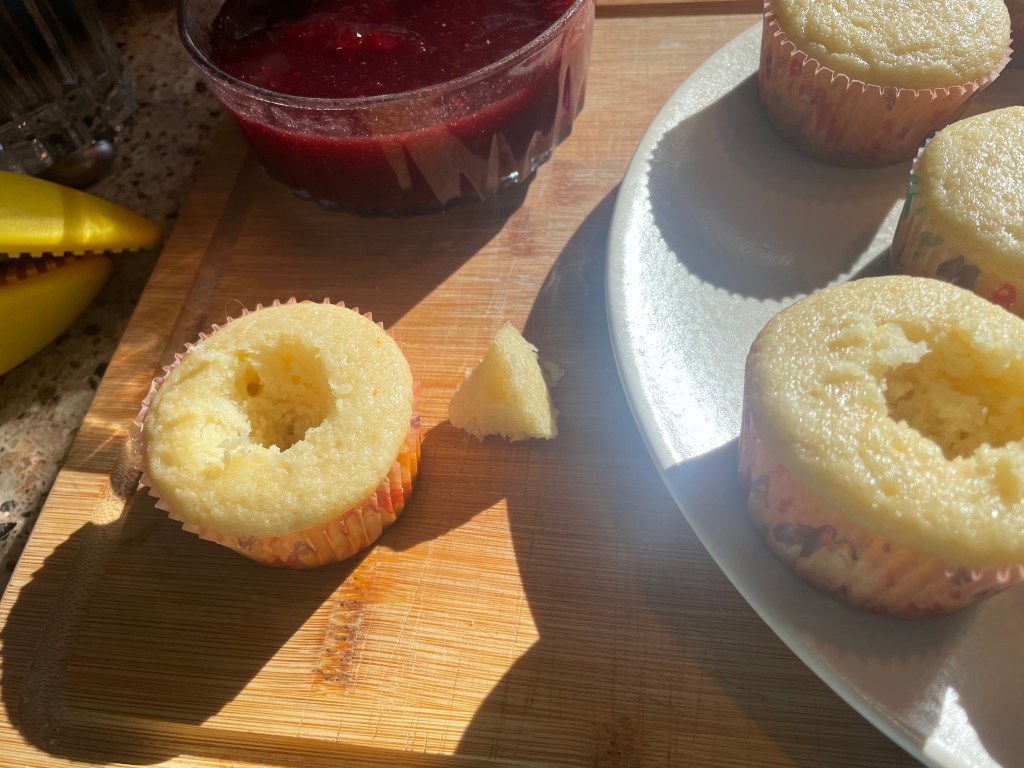
Excavate a small opening.

Repeat with all the cakes.
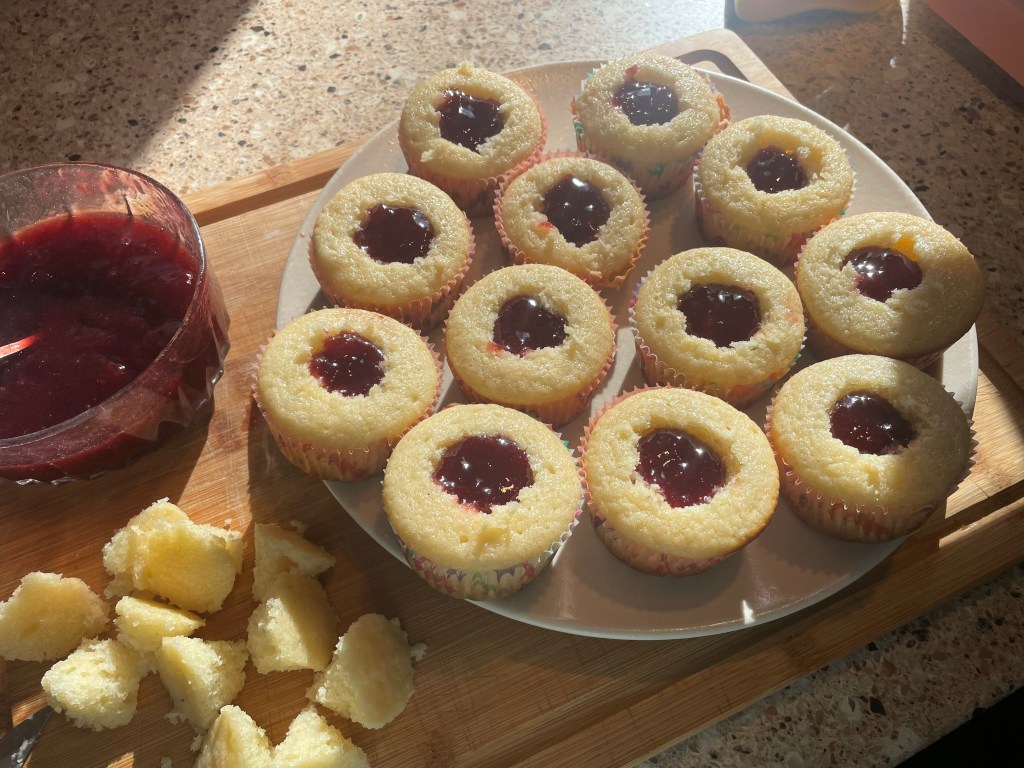
And fill.

I love how jewel-like they look!
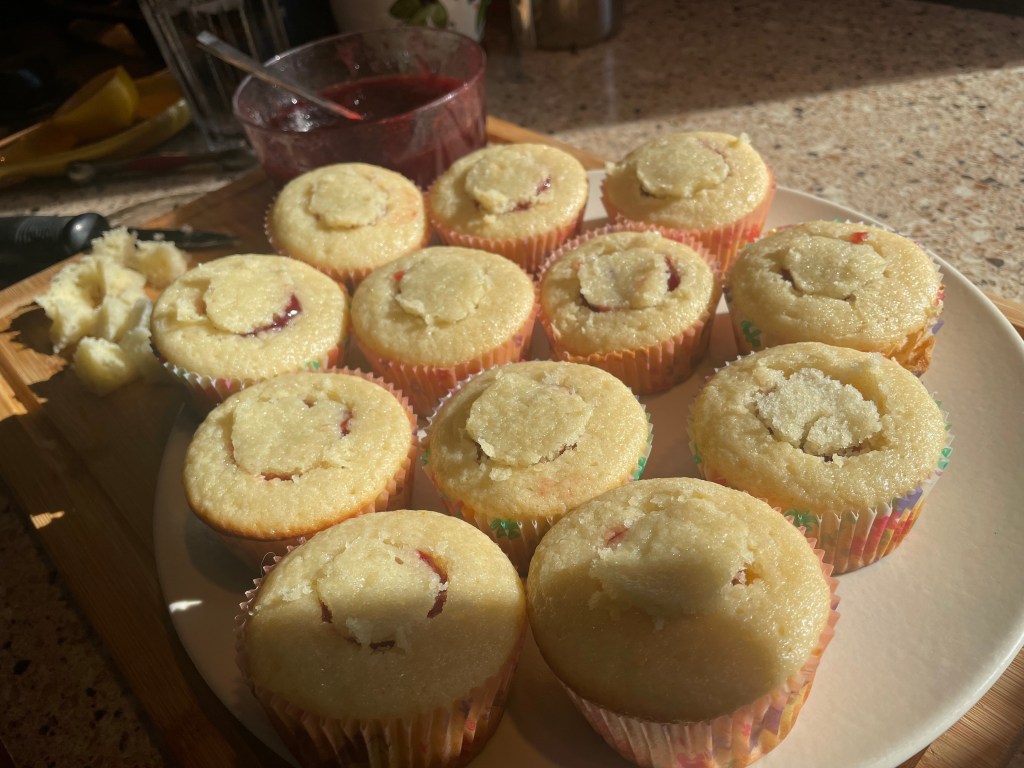
Pop the lids back on.
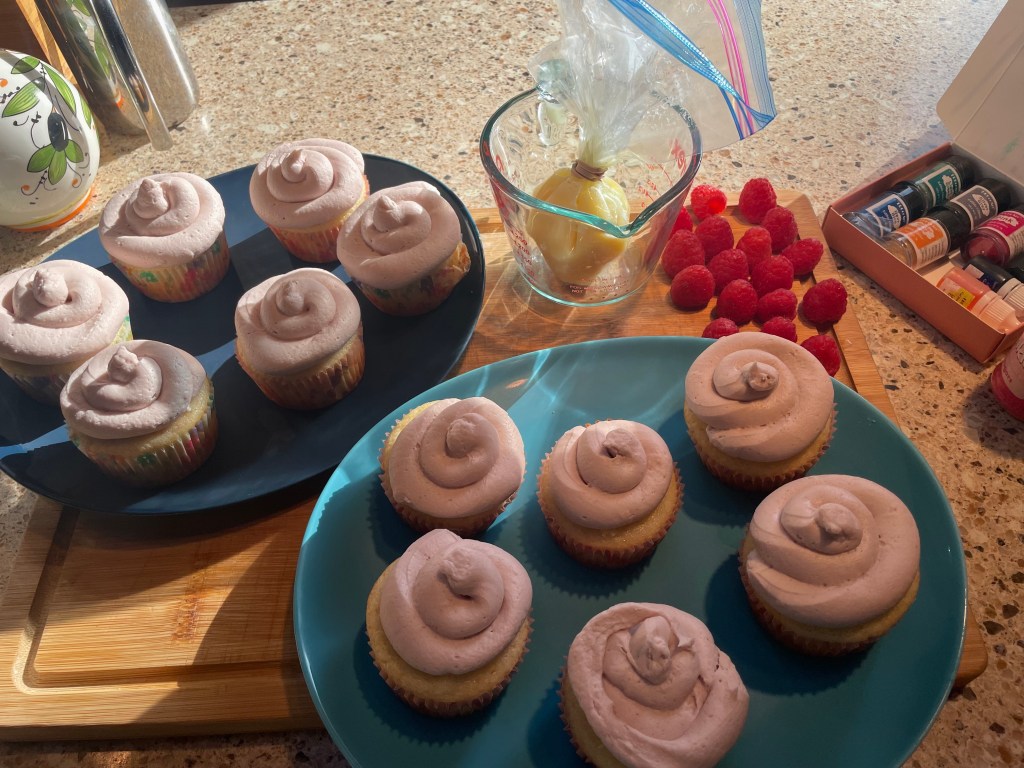
And frost.
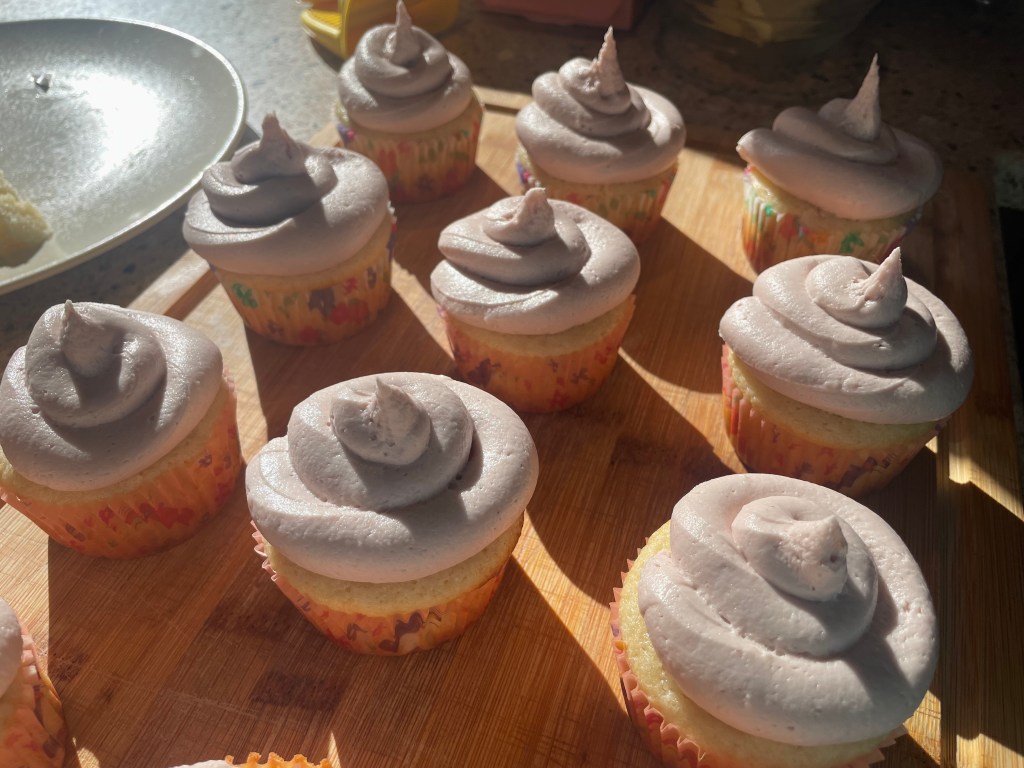
Chill these little babies down to set the frosting.
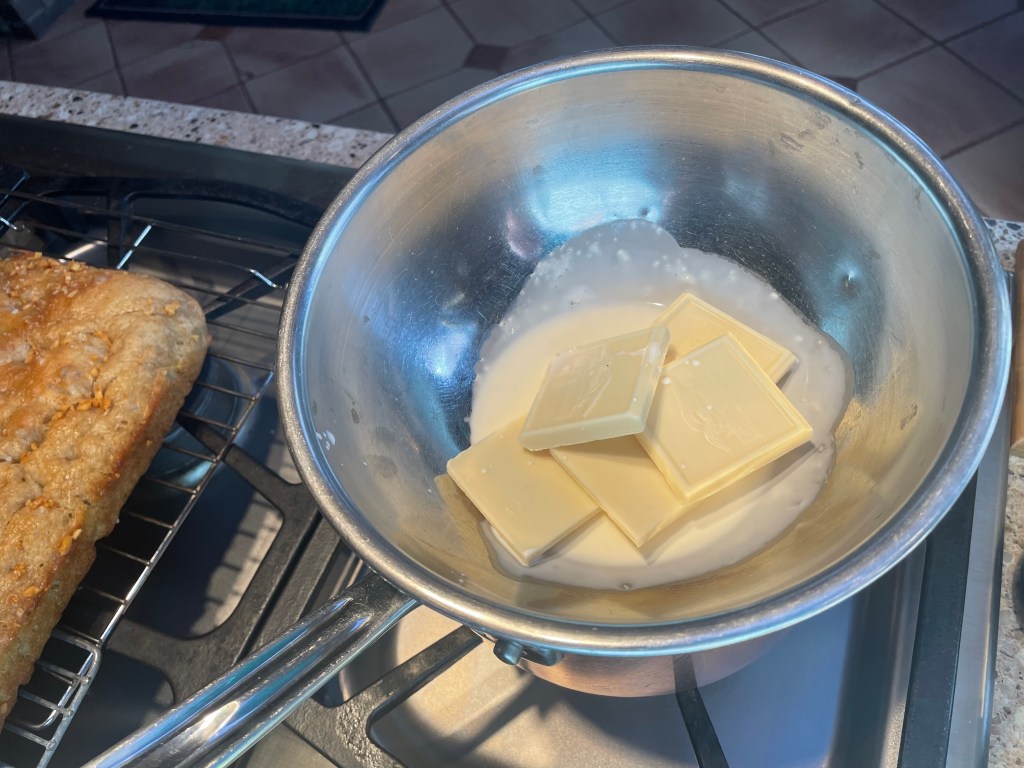
While you work on the ganache. Again, please note the double boiler strategy.
Chocolate is (reluctantly) melting over low and gentle heat.
It will come smoothly together, just have faith and give it a little time.
Alright, time to splatter white chocolate all over these pink-cloud cupcakes’ innocence. I mean, time to drizzle some ganache. Baybee.
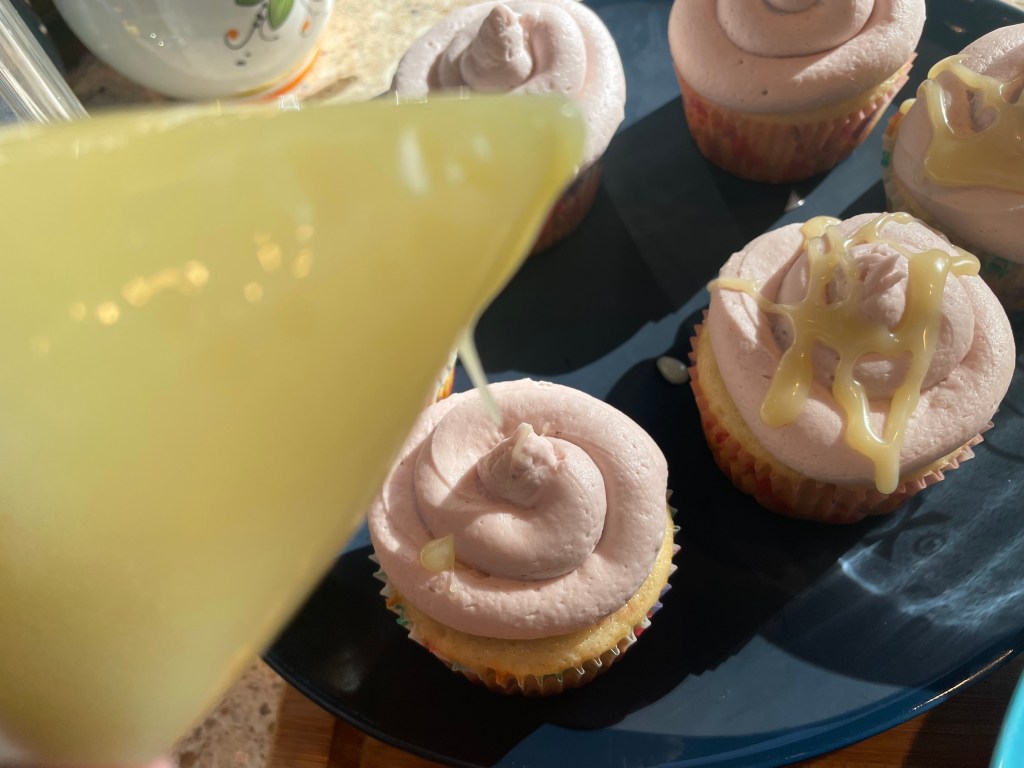
Enough said. Just go to town.

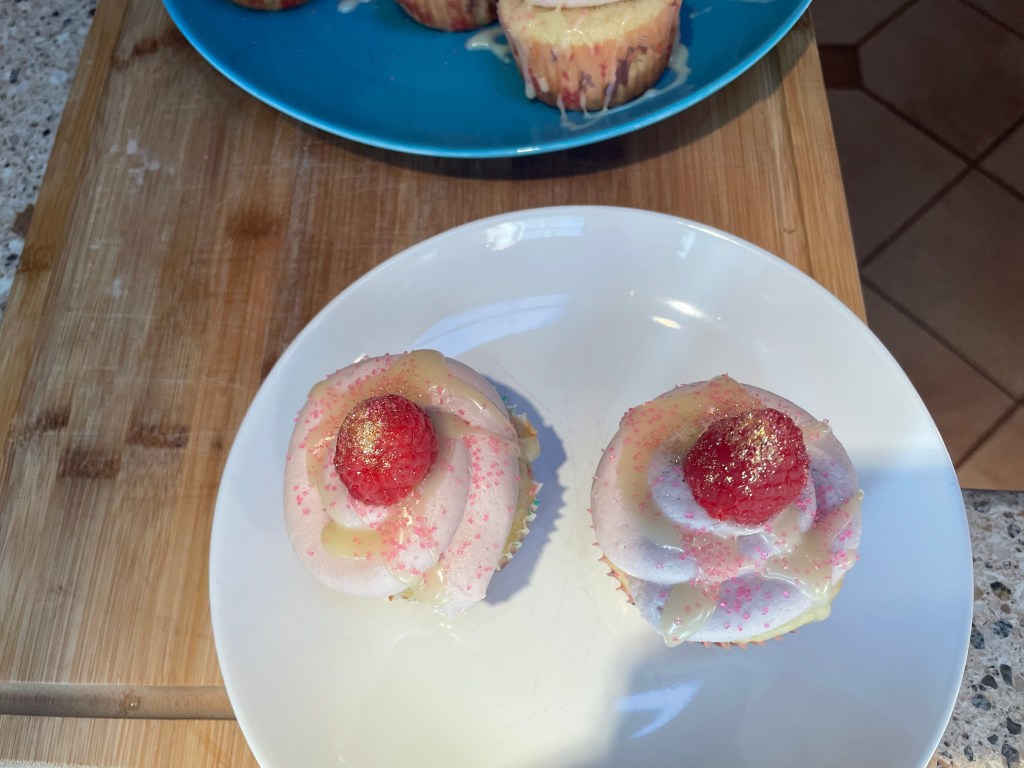
All important berry placement is next.

So juicy. And some sprinkles. Because, at this point, why not?
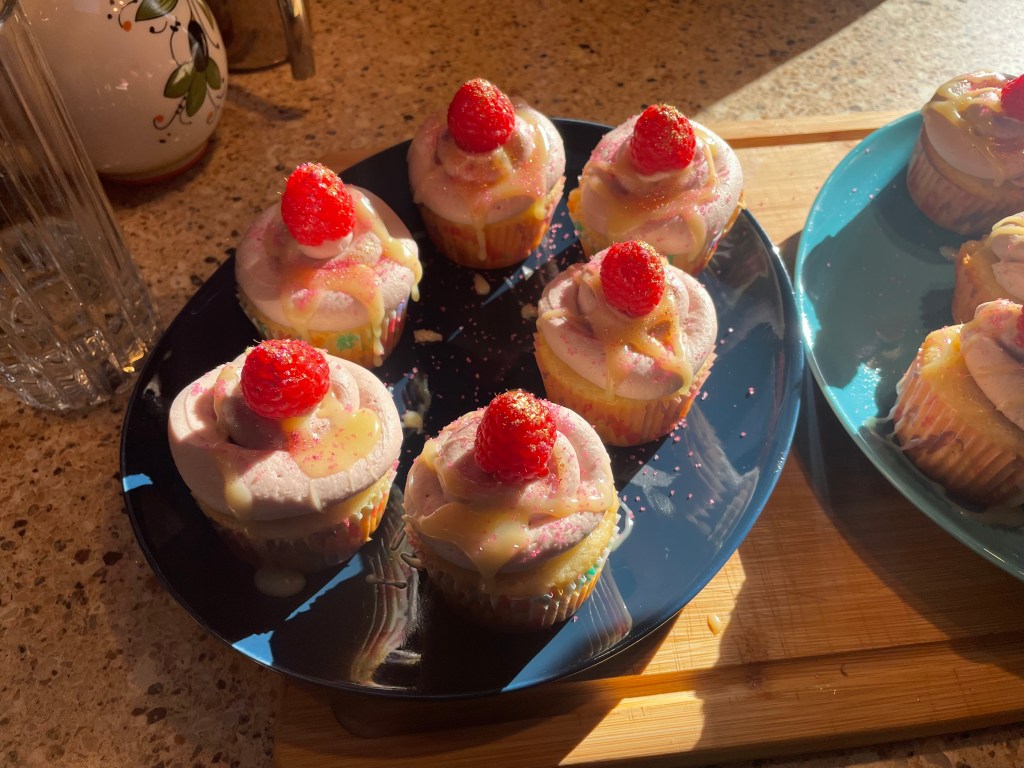
Also a little edible glitter. Just brush this delicately over the tips of the, um raspberries. I mean, we are all about subtlety here, right?

Wrong!!! Hehehe.


Leave a comment