
Well, things are, in a flagrantly ridiculous understatement, not better. Taking joy in baking and blogging is not meaningful resistance. But, fortunately, intricate decorating skills are not required to at least get a punchy topping added to your bake.
“Fuck Ice”: short, sweet, and simple to accomplish in frosting.
I am writing this in grim times in the middle of a snow storm. That shows how long it has been since I’ve actually worked on this recipe. Because it showcases apricots and was therefore baked in early summer.
Still, we should take sunshine wherever we can find it, yes?
This recipe, again only slightly altered, is from Dessert Person by Claire Saffitz. Fresh apricots are not easy to obtain here. And only available for a very short time when they can be found. So, on the special and exciting occasion when I am able to purchase an irresponsibly large amount of the fragrant little orbs, I want to make something spectacular with their golden sunshiny goodness. Clair Saffitz’s recipes are reliably delicious as well as being clearly written, detailed, and easy to follow. And, as this particular tart is all about showcasing the joy of apricots, it seemed like a great one to try.
As always, when making a stunning tart, you need a buttery and supportive base pastry. Feel free to experiment here. Use store-bought puff pastry (if you can get hands on, and budget for, an all butter product, it makes a big difference, taste-wise). Or make your own favorite flaky pastry. Or, as described in Dessert Person, use brioche dough as a rich, slightly sweet base that stands up with aplomb to creamy lemony custard and jammy, syrup-glazed fruit. This is the recipe that she provides:

Brioche Dough
Makes enough for two of the tart recipes below. Or use half to make the apricot tart and bake up a brioche loaf from the second half.
Ingredients:
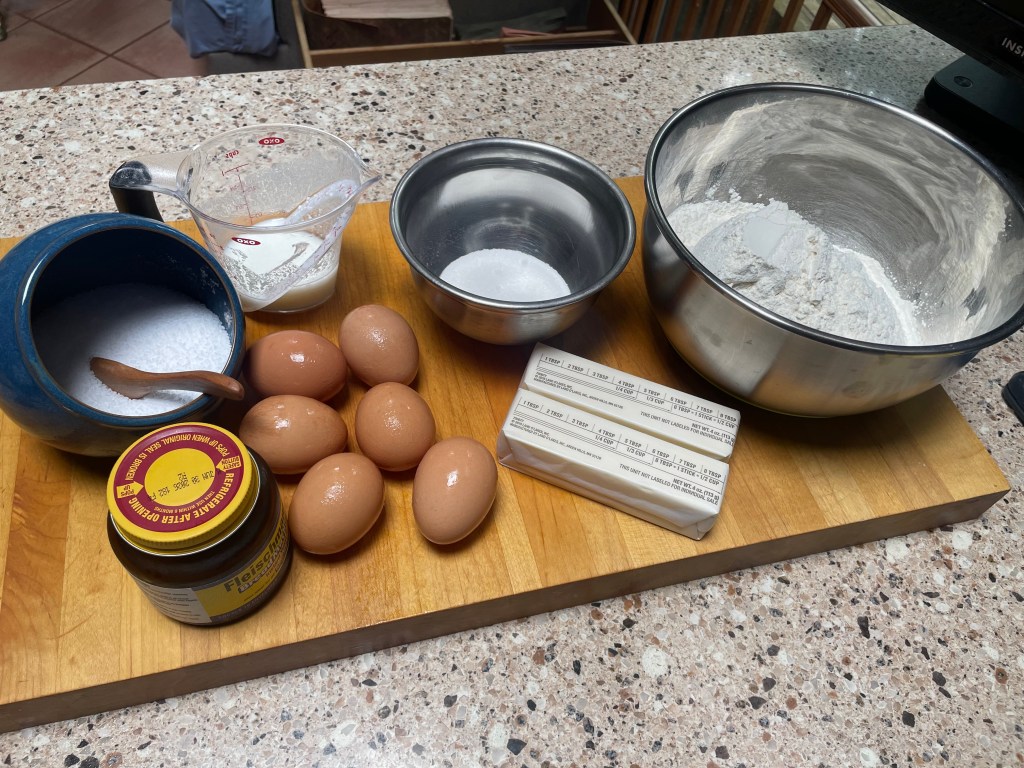
57g/1/4 cup whole milk
5g/1 tsp active dry yeast
520g/4 cups all purpose flour plus more for dusting
50g/1/4 cup granulated sugar
10g/2 tsp kosher salt
300g/6 large eggs, at room temperature
227g/2 sticks of butter, each cut into 8 pieces, at room temperature
Method:
- Warm the milk (either on a low heat on the stove top or, very briefly, in the microwave) until it is lukewarm (40C/105F degrees). Whisk in the yeast and stir. Leave to grow foamy (life check for the yeast) – about 5 minutes.
- In the bowl of a stand mixer, combine flour, sugar, and salt. Pour in the yeast mixture and the eggs.
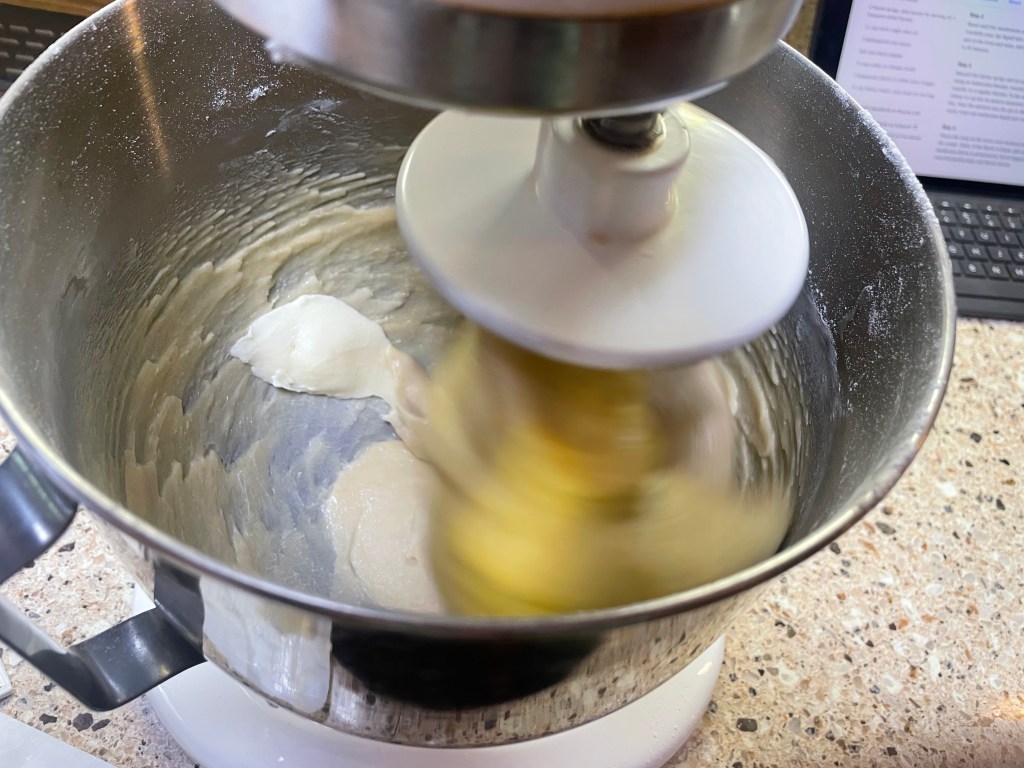
- Start the mixer on low, using the dough hook to mix the wet and dry ingredients together into a shaggy, rough dough. Then increase the mixer speed to medium and continue mixing, stopping and scraping down any errant dough bits from the side of the bowl periodically. It will take 8-10 minutes for the dough to turn soft and gather around the dough hook. It will rotate hypnotically, still attached to the base of the mixer bowl. But it should stop sticking to the sides of the bowl and become shiny and supple. If the dough continues to stick to the sides of the bowl, you can sprinkle in an additional tablespoon or two of flour as it is kneaded. You can also embark on this process by hand, on a lightly floured work surface. But it will take 15-20 minutes – it really should not be underworked.
- Start adding butter at this stage. The mixer should still be set to medium. Drop soft buttery lump after soft buttery lump into the bowl. Do not rush this part. Your beautiful silky dough will start to fall apart and slap around the bowl. Then, as each butter nugget gets incorporated, it will come back together. Make sure that each piece of butter is completely absorbed into the dough mass before adding the next one. This is where we tell apart the stand mixer men from the stand mixer boys. The poor kitchen machine has to work on for another 15 minutes or so to get all the butter properly incorporated. Show no pity. You are after the perfect buttery brioche.
- Once all the butter is in, the dough will be very soft. Gently gather it into a lightly floured bowl (a big one: it will grow). Form it into as much of a ball as it permits, very lightly flouring the whole surface as you go. Cover the bowl and leave to rise at room temperature until doubled in size (1-1.5 hours – all that butter weighs the yeast down).
- After it has had its first rise, place the bowl (still covered) in the refrigerator for at least 8 and up to 24 hours. It will rest, becoming firmer and easier to work with. At this point it is ready to remove back out into the kitchen world, to be used in any number of yummy recipes.
Dry ingredients combined.
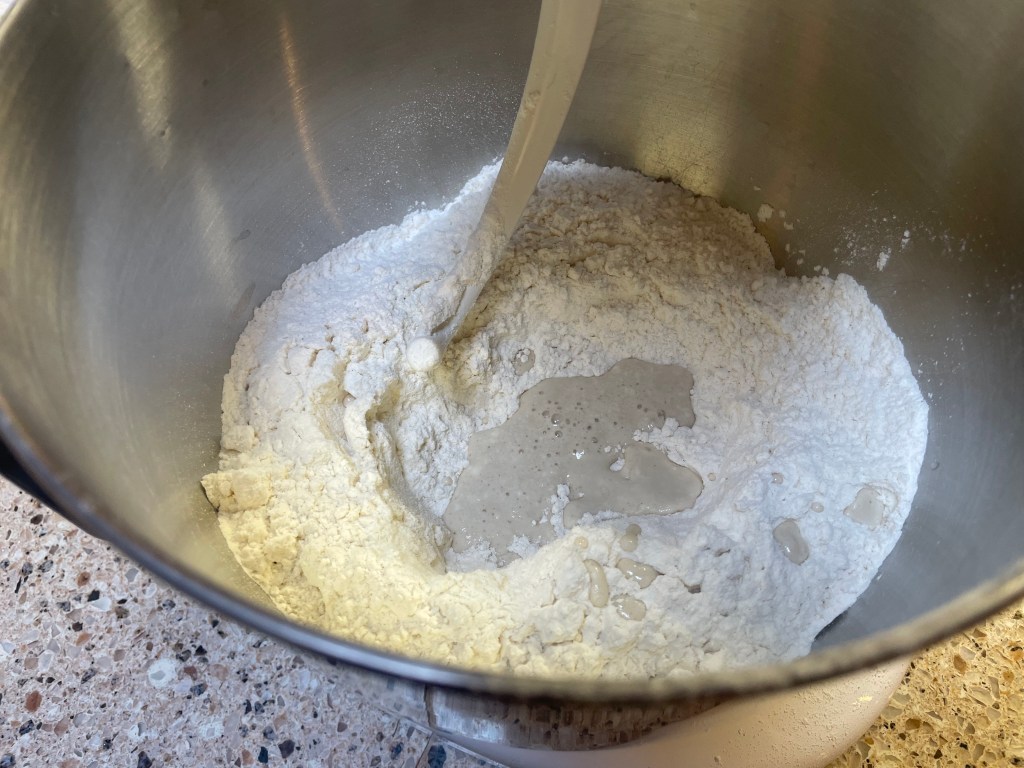
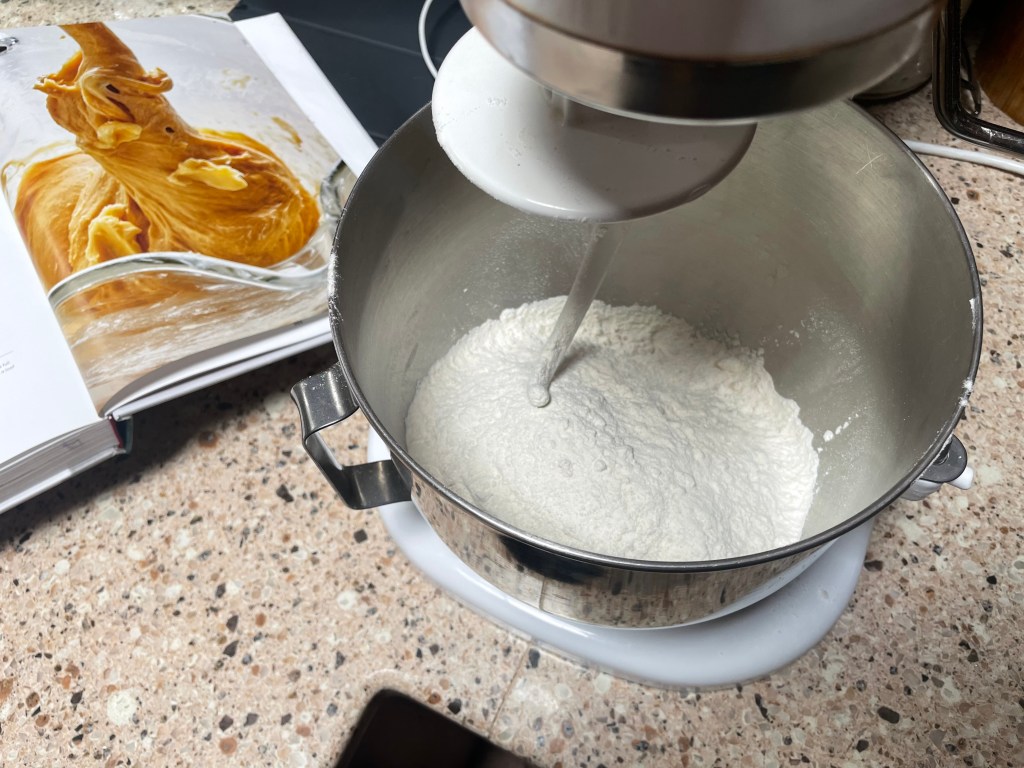
Foamy, yeasty life added.
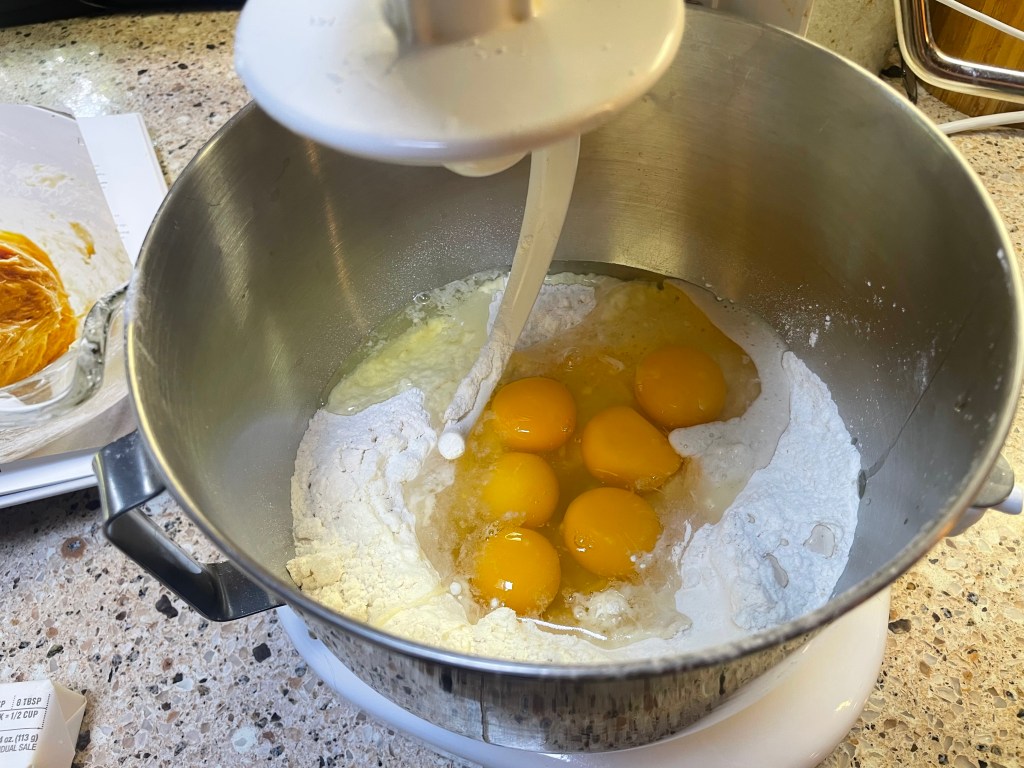
Eggs plopped into the mix.
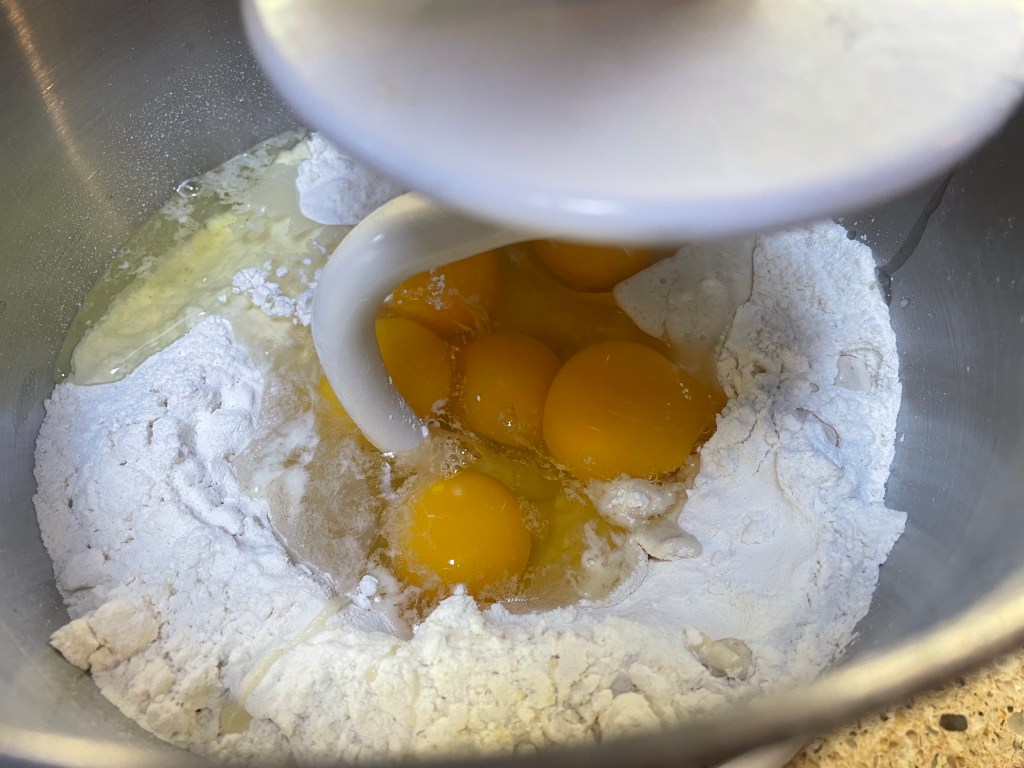
Engage the hook to begin the egg carnage.

It should not be this satisfying to smoosh flour, yeast, and eggs together.
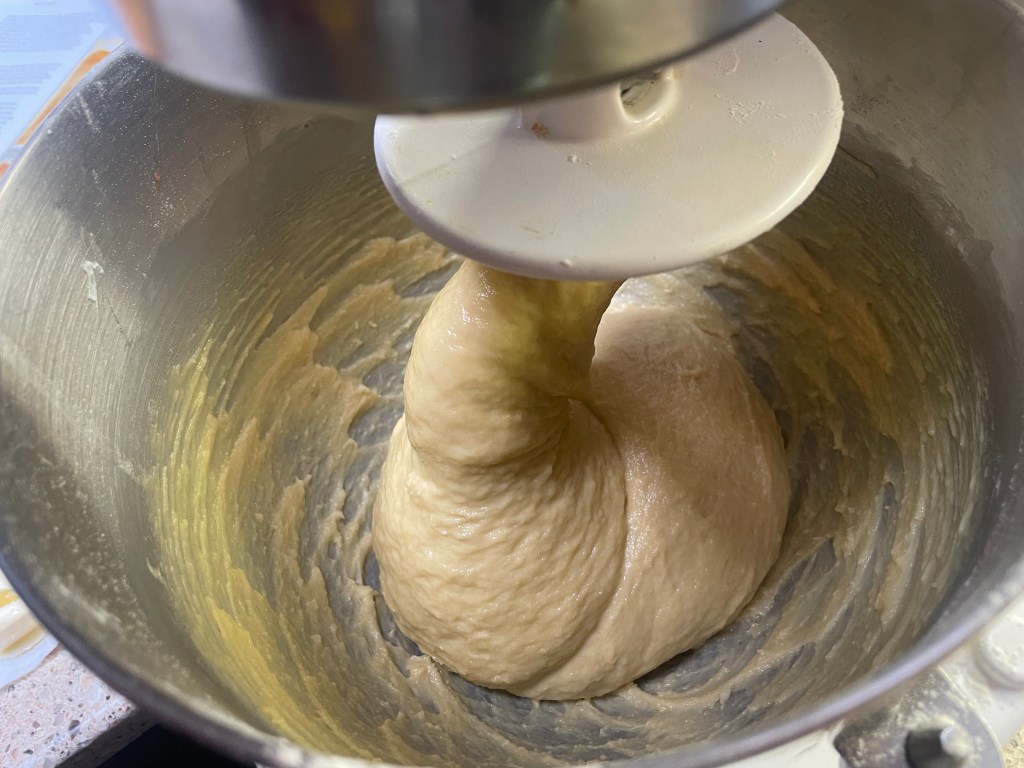
Especially when it all comes together so smoothly.
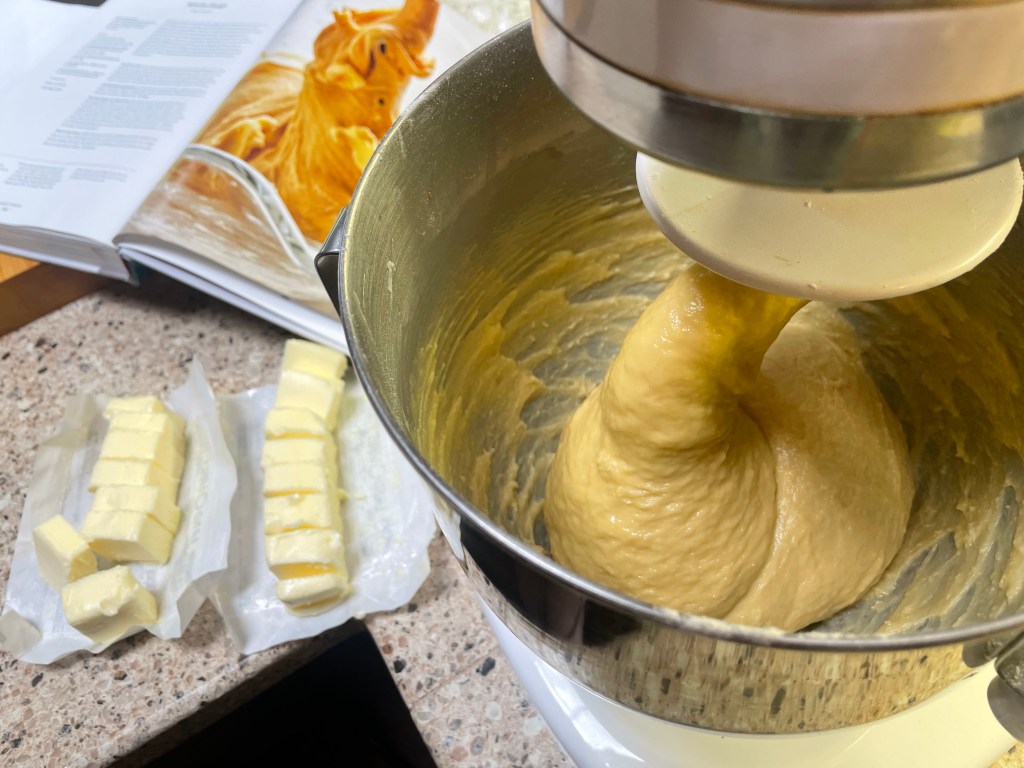
All the butter, ready to go in.
Mwahaha! Butter smooshing!

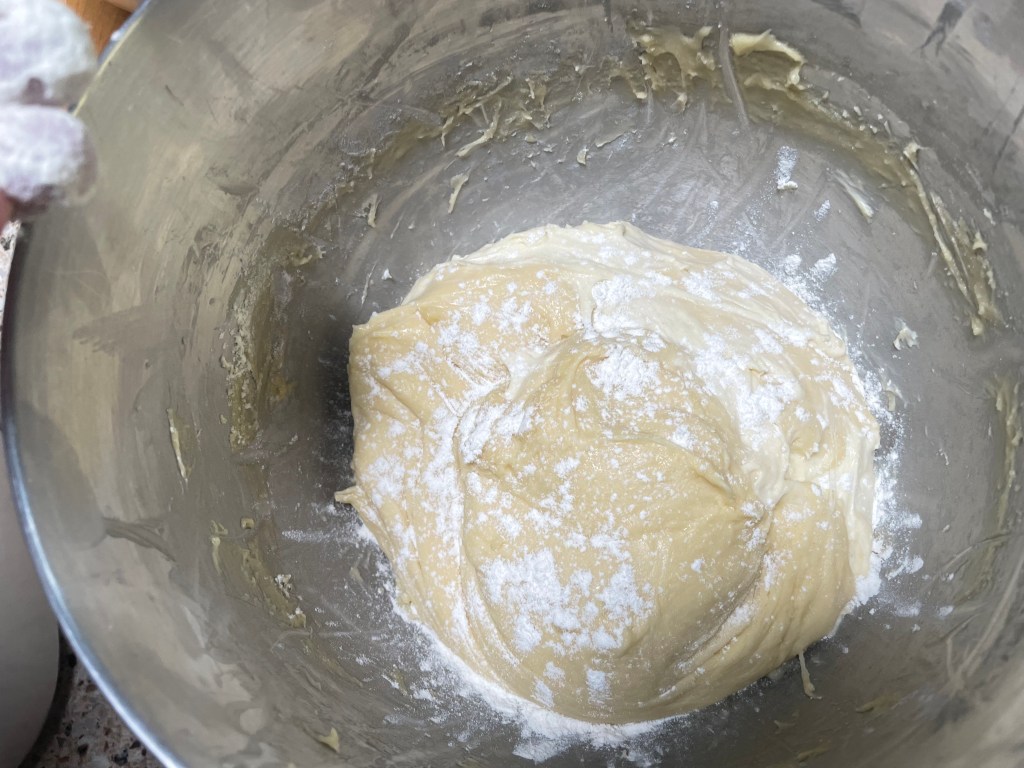
The dough gets a little chaotic but starts to become silky once more.
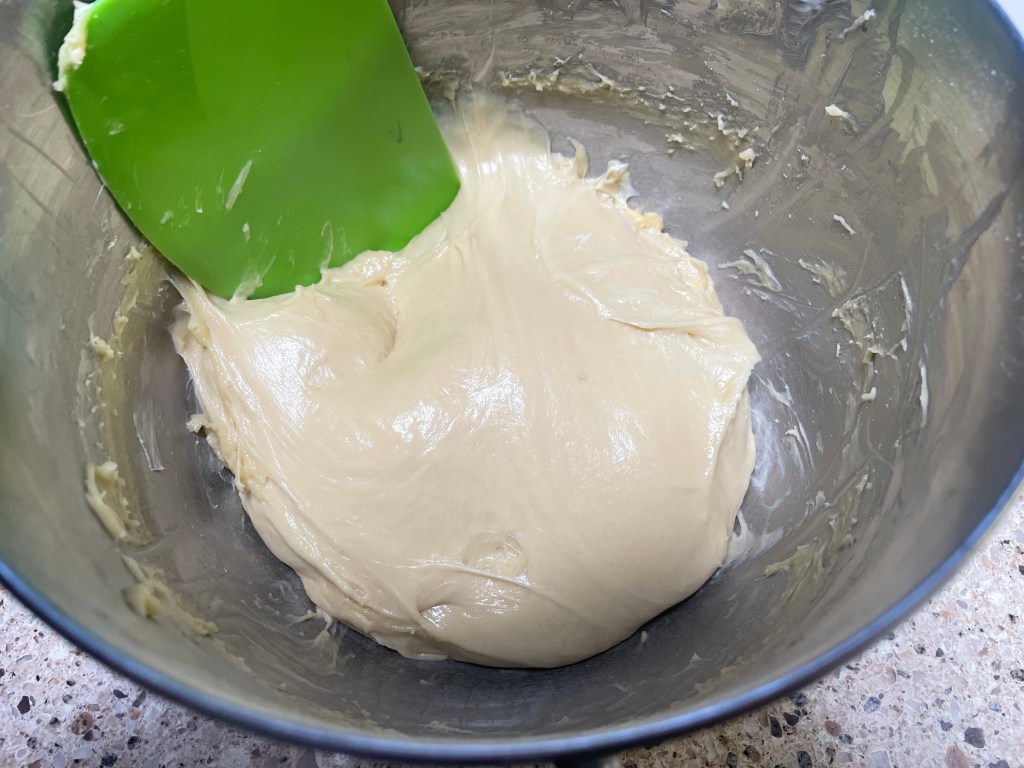
Silky and shiny and ready to use.
Apricot and Cream Brioche Tart
Serves 12

Ingredients:
1/2 recipe brioche dough (from the recipe above, or use your preferred version)
Flour for rolling out the dough
120g/1/2 cup sour cream
15g/1 large egg yolk
Zest of 1/2 lemon
15ml/1 tblsp lemon juice
50g/1/4 cup light honey (e.g. orange blossom or clover honey)
1.5kg/3.25lb fresh apricots (about 16), washed, pitted, and cut into 1cm/1/2 inch wedges
1 large egg, beaten
50g/1/4 cup sugar
125ml/1/2 cup Honey Almond Syrup (made by combining 85g/1/4 cup honey, several drops almond extract, and a pinch of salt in a jar, adding 55ml/1/4 cup hot water, and shaking vigorously until the honey is dissolved)
Method:
- Place your oven rack in the upper third of the oven and preheat to 180C/350F.
- Place a rectangle of parchment paper, roughly 35 x 45cm/14 x 18 inches, on your work surface and dust lightly with flour. Roll out the chilled brioche dough, sprinkling with more flour as needed, on the parchment paper. You want to stretch it gently and roll it into a rectangle approximately 30 x 40cm/12 x 16 inches in size. It will be quite thin by this point. Slide the parchment sheet, dough and all, onto a rimmed baking sheet.
- Fold up the edges of the dough (about 2cm/1inch all around) to form a reinforced wall that will form the edges of the tart. Pinch and press the dough roll all around to make sure it sticks down to the dough base.
- Cover the dough with a damp kitchen towel and leave to rise at room temperature until slightly puffy, 25- 35 minutes.
- When ready to assemble, whisk the sour cream, egg yolk, lemon zest, lemons juice, and honey in a small bowl until smooth. Drizzle this mixture over the surface of the dough. Using a spoon or spatula, spread it gently and evenly all the way up to the borders of the tart. Arrange the apricot wedges over the top of the tart. They should be clustered together closely over the surface of the sour cream mixture and pressed gently down into the custard. Brush the edges of the tart with the beaten egg. Sprinkle the sugar evenly over the entire tart.
- Bake until the apricots shrink a little into jammy intensity and start to brown at the edges. The brioche border should be a golden brown color and puffed up (30-35 minutes).
- Remove from the oven and immediately brush the honey almond syrup over the apricots and the edges of the tart. As the dessert cools, continue to brush with more of the syrup, roughly every 10 minutes, until all of the syrup is used up. Slice and serve with more sweetened sour cream or vanilla ice-cream.
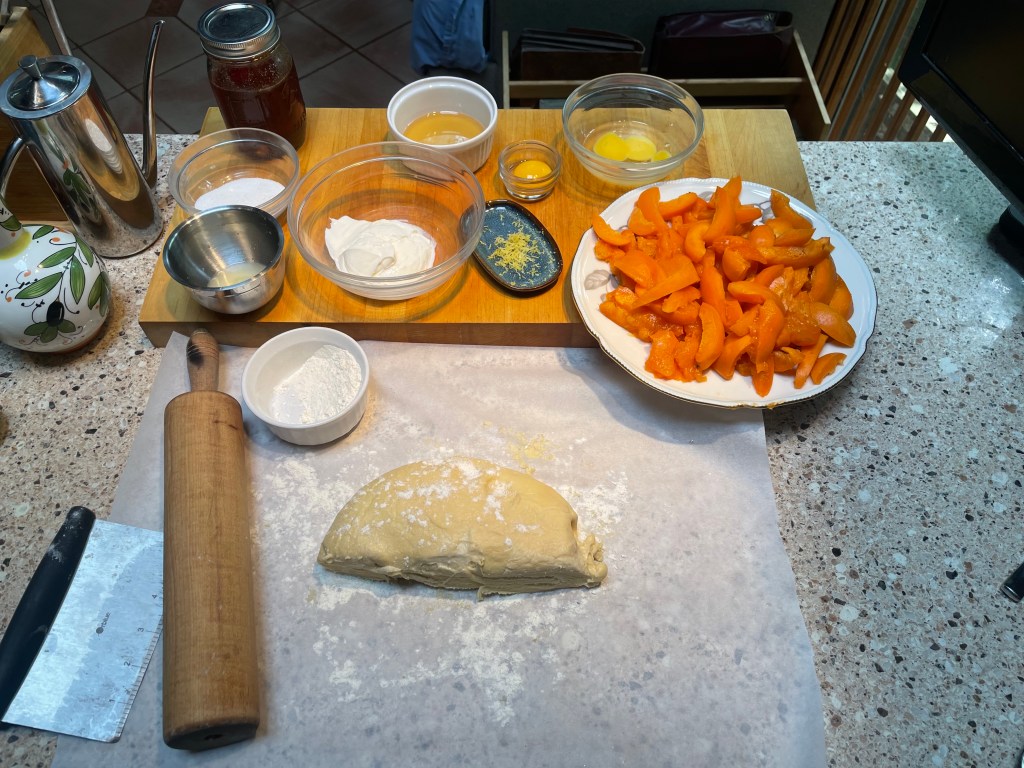
1/2 dough recipe, floured and ready to roll.
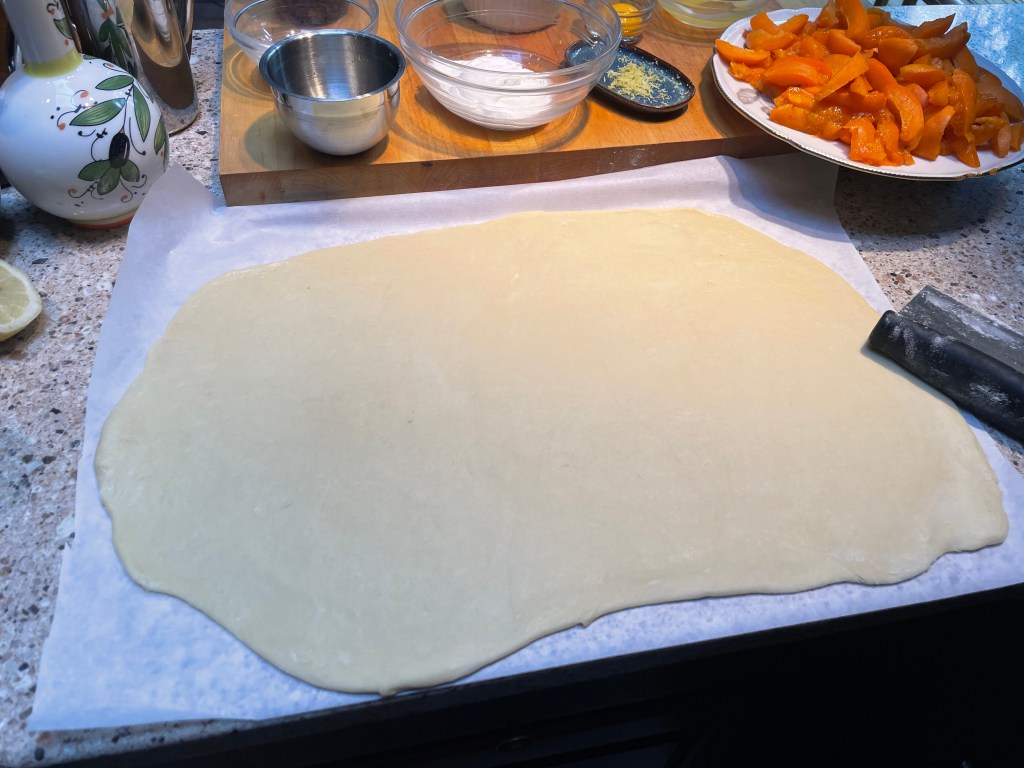
There is a nice elasticity to it: it does not take much effort to get it rolled out.
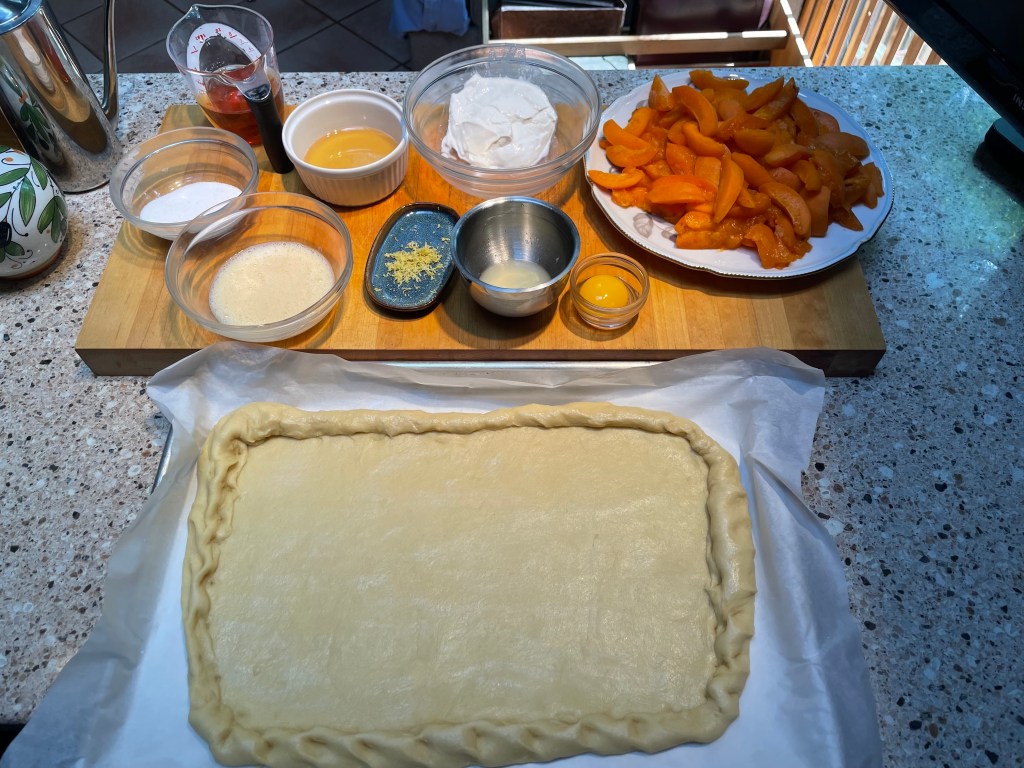
Pinch edges up to contain all the juicy apricot goodness.
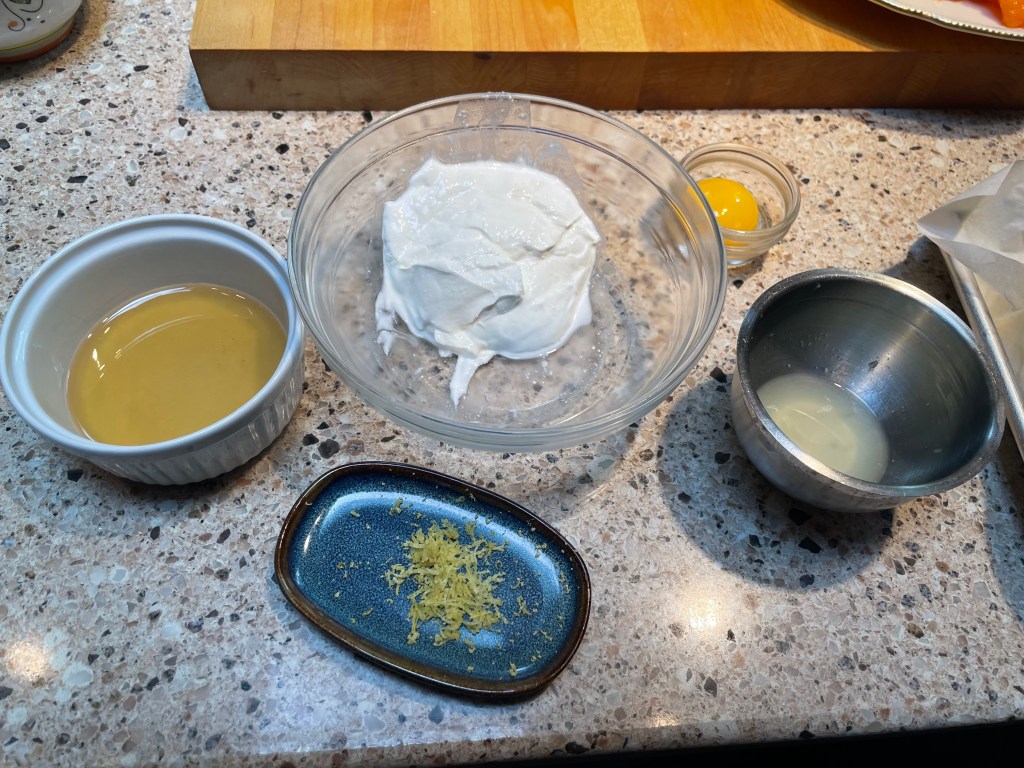
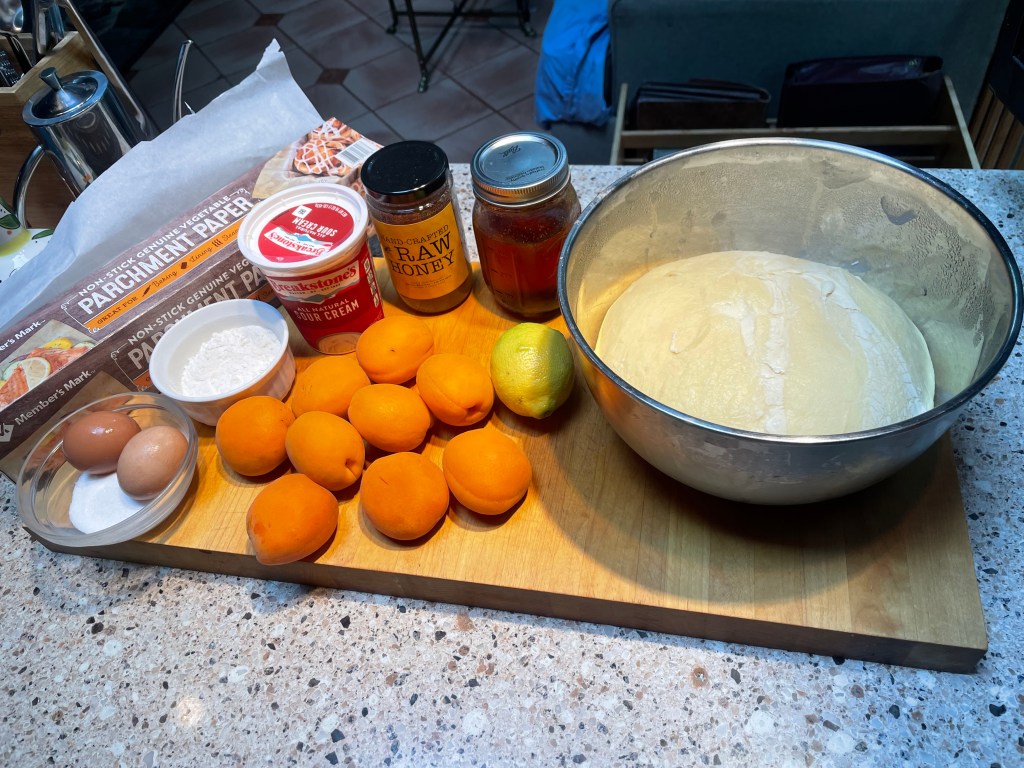
Ingredients for the tart filling.

Mixed into a tart, fragrantly lemony, creamy concoction.
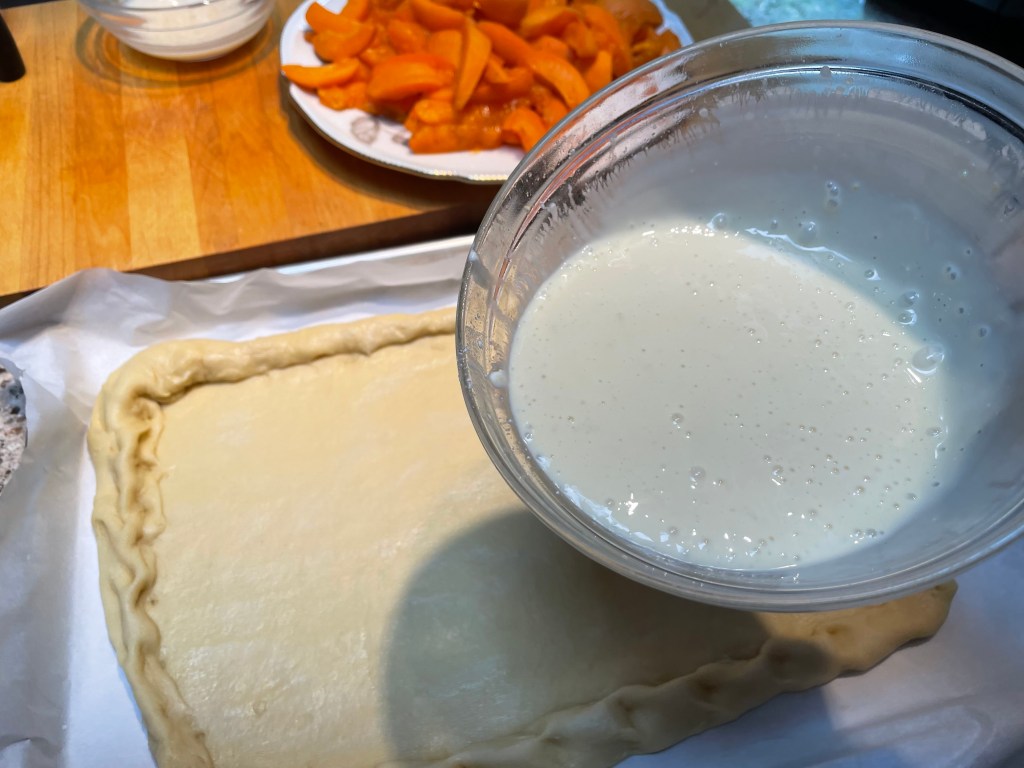
Which you then threaten the dough with. Approaching-Great-Evil-from-Fifth-Element-style.
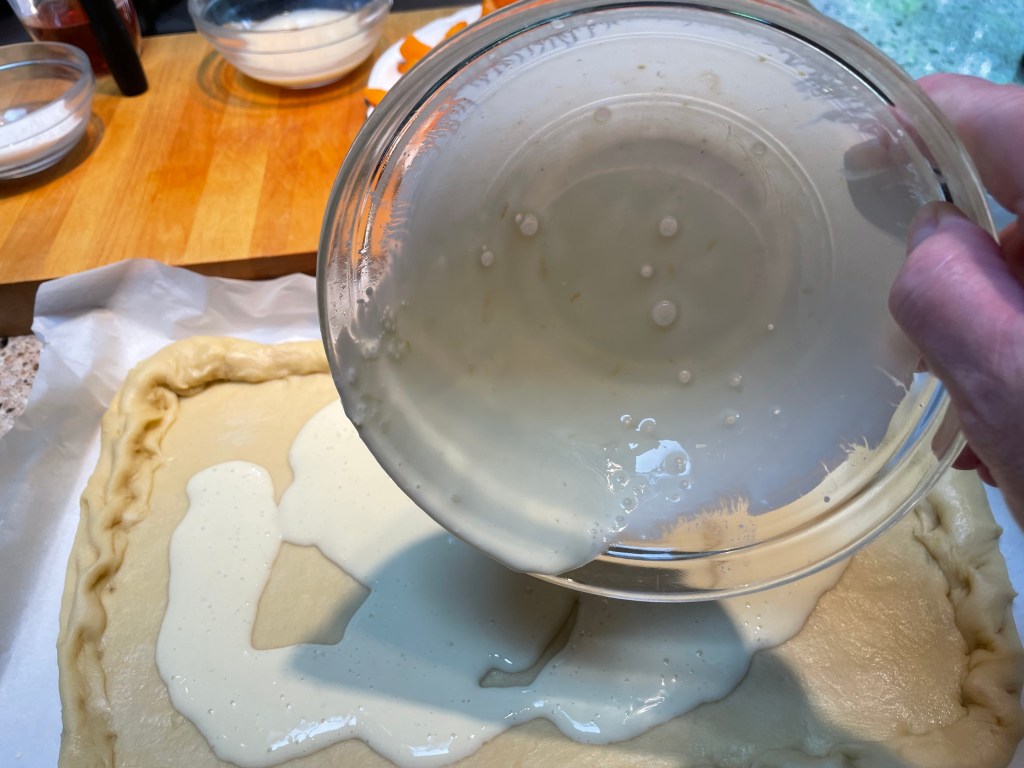
Attack of the lemony filling!
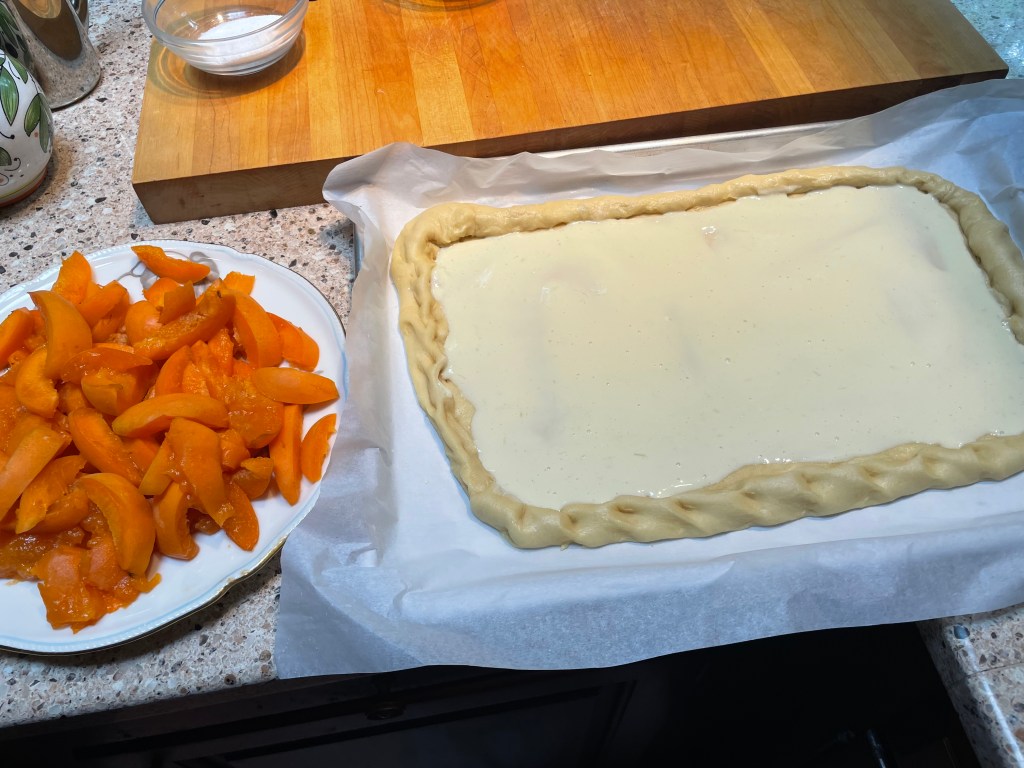
Dough is properly pacified and ready for apricots…
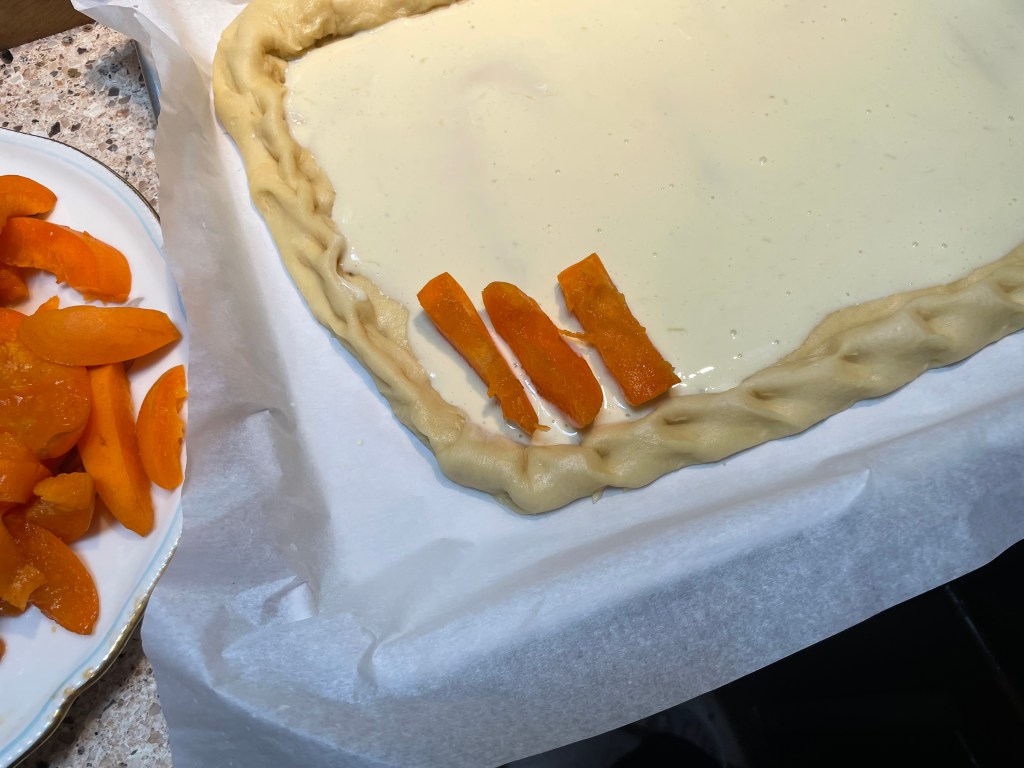
It is very soothing (to my anxious brain anyway) to neatly arrange pieces of fruit in rows.
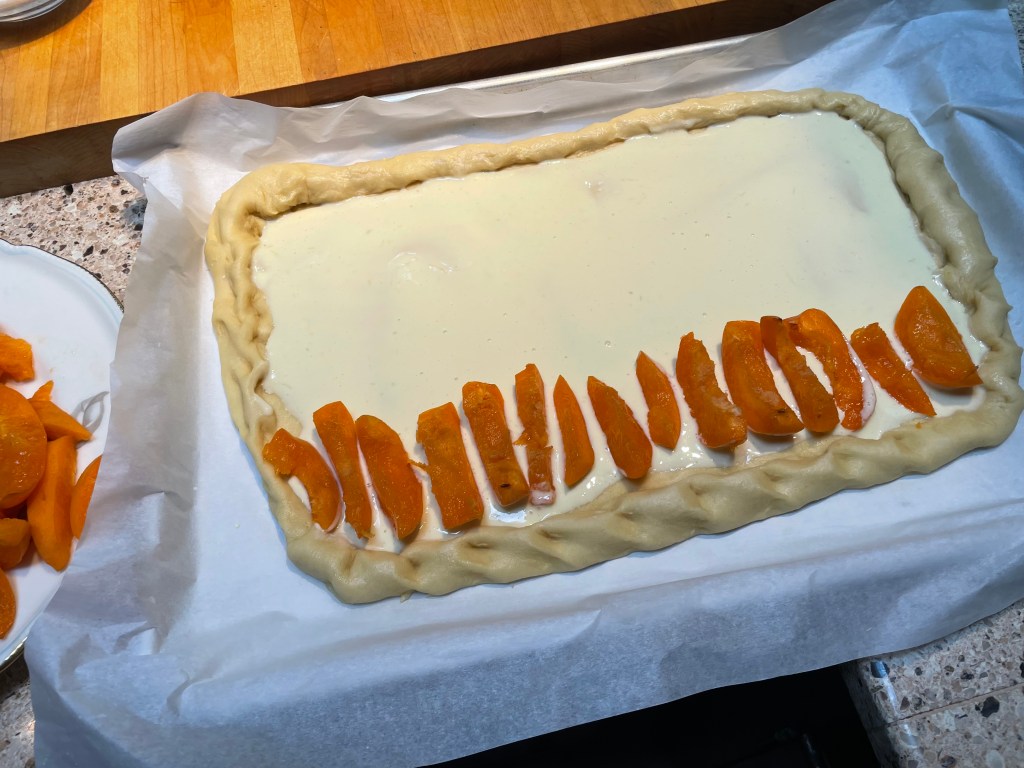
Continued forming rows.
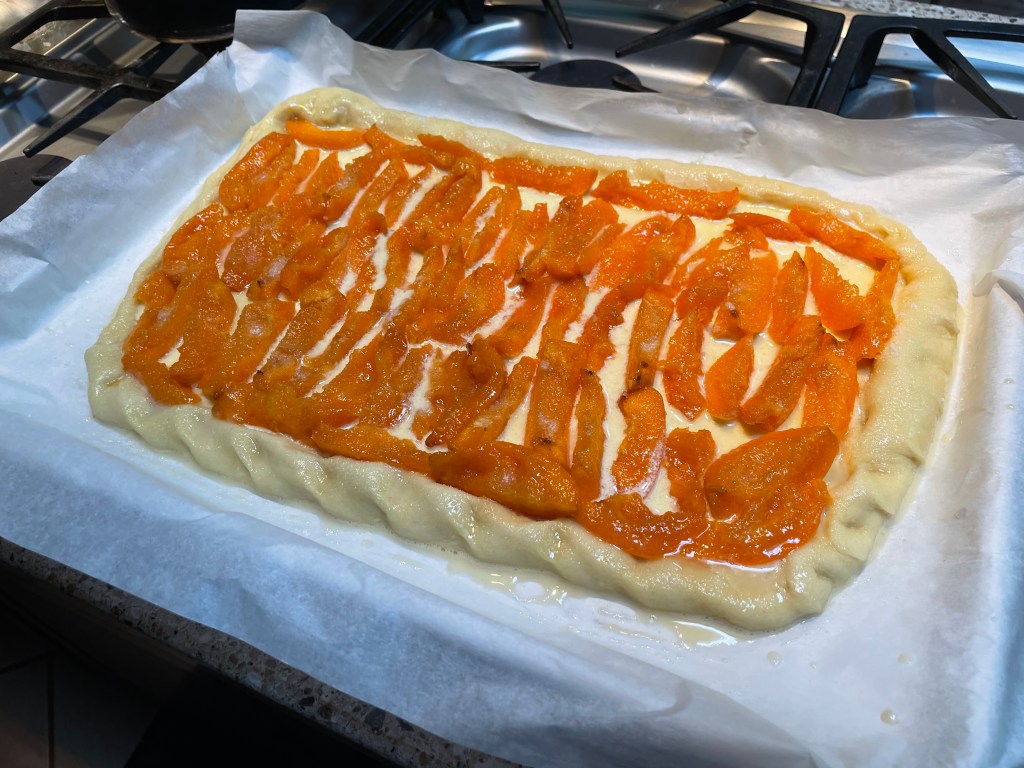
Ready for baking.
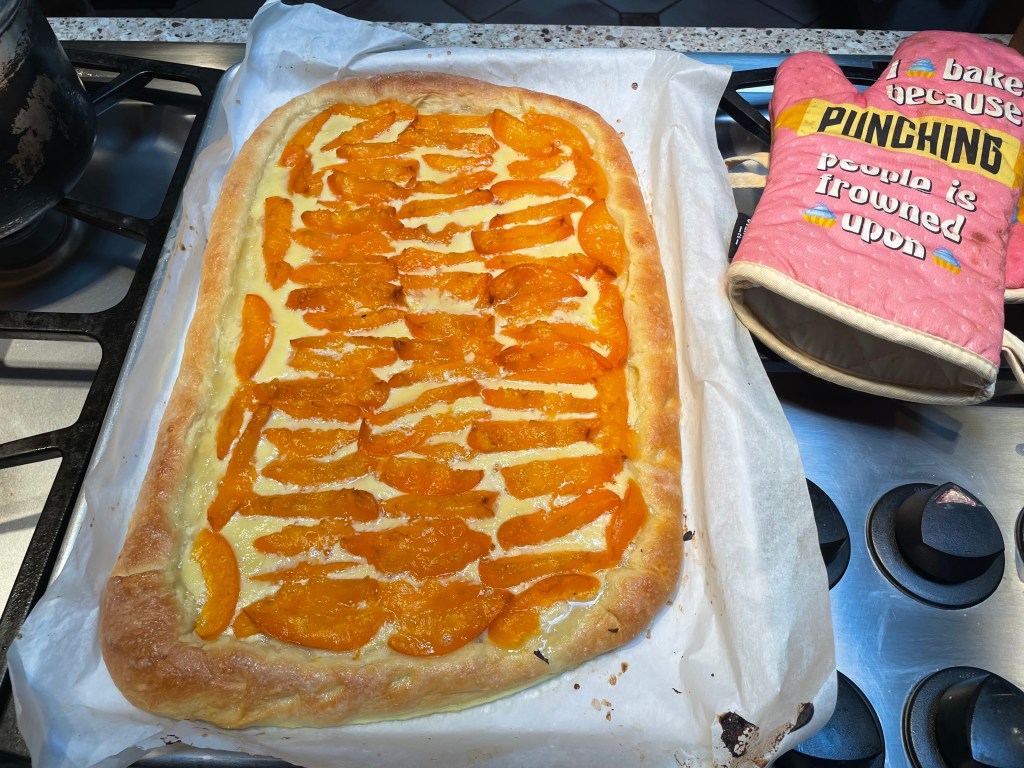
Ready for eating!

Leave a comment